

Star Lights T8-18 User Manual

- 1 -
REVOLUTION T8 LED TUBE LIGHT
™
INSTALLATION AND OPERATIONS
INSTRUCTIONS
THANK YOU FOR CHOOSING THE
REVOLUTION T8 LED TUBE LIGHT
™
- 2 -
We are very pleased that you have chosen our product to enhance your camping experience! We are confident
that you will be completely satisfied with your new REVOLUTION T8 LED TUBE LIGHT™ for years to
come.
Jason P. Weaver
President, CEO
Starlights, Inc.
CONTENTS of Box
The REVOLUTION T8 LED TUBE LIGHT™ packaging should include the following parts to make the
installation simple and convenient.
1. One REVOLUTION T8 LED TUBE LIGHT™
2. 2ea. Wire Nuts
3. Instruction Manual
SAFETY INSTRUCTIONS
For the REV T8 LED TUBE LIGHT™
IMPORTANT SAFETY INFORMATION
Disconnect battery before installing or replacing the REV T8 LED TUBE LIGHT™.
The REV T8 LED TUBE LIGHT™ is designed to be used only with 12 DC Power [Automotive
type], any modifications of the unit may result in a hazard and will VOID the warranty.
The REV T8 LED TUBE LIGHT™ lighting fixture must be installed in accordance with any state
and national codes.
Please do not attempt to open the REV T8 LED TUBE LIGHT™ housing as there are no
serviceable parts inside and doing so WILL VOID the warranty.
Please read all of the installation instructions before installing the REV T8 LED TUBE LIGHT™.
INSTALLATION INSTRUCTIONS
For the REV T8 LED TUBE LIGHT™
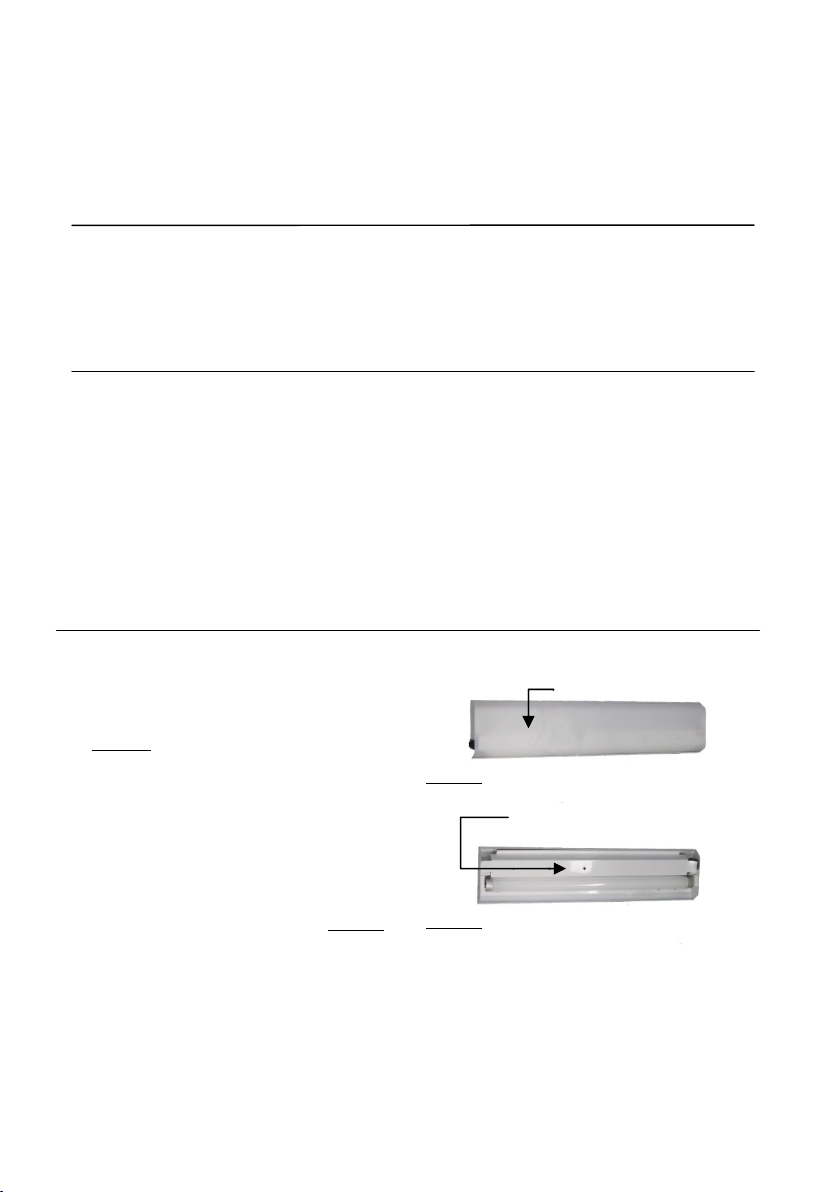
1. Figure 1 depicts a typical 12 volt fluorescent
fixture. With the 12 volt power disconnected,
remove the lens.
2. With the lens removed, locate and remove the
Fluorescent fixtures’ Ballast Cover, Figure 2.
Lens
Figure 1 - Typical 12 Volt T8 Fluorescent Tube Fixture
Fluorescent fixtures’ Ballast Cover
Figure 2 -T8 Fluorescent Tube Fixture with Lens Removed
 Loading...