

Star Lights 1000 User Manual
REV-7.23.2012, CSA
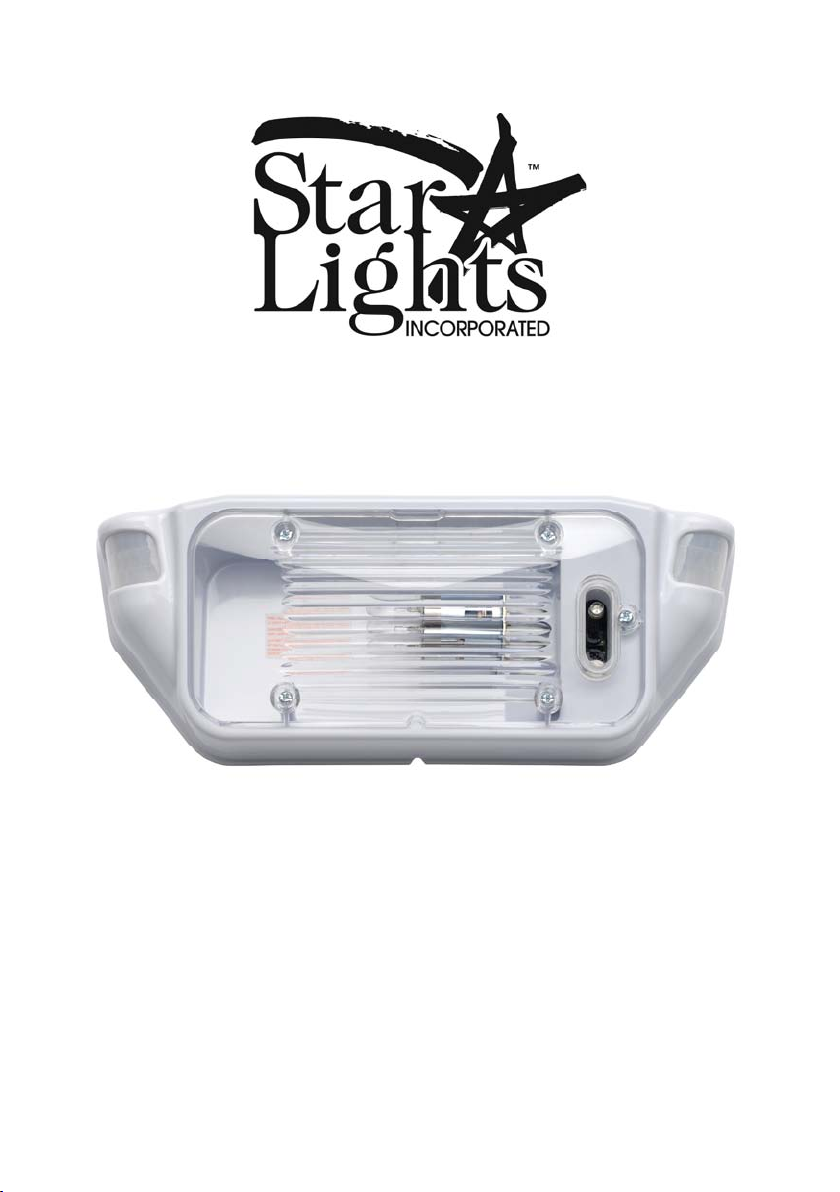
SMART LIGHT 1000
™
INSTALLATION AND OPERATIONS
INSTRUCTIONS
- 1 -

REV-7.23.2012, CSA
THANK YOU FOR CHOOSING THE SMART LIGHT 1000™!
We are very pleased that you have chosen our product to enhance your camping
experience! At Starlights, Inc., we are passionate about improving your safety, security,
and convenience. We feel that the Smart Light 1000™represents a giant step forward in
improving an already wonderful experience – Rving!
Developed and designed in the United States, by RVers, for RVers, the Smart Light
1000™has the versatility to adapt to differing park conditions, or to dry camping
conditions. Your new Smart Light 1000™also monitors your battery levels, and will
notify you of any serious reduction in power. We are confident that you will be
completely satisfied with your new Smart Light 1000™for years to come. Happy
camping!
Jason P. Weaver
President, CEO
Starlights, Inc.
CONTENTS of Box
The Smart Light 1000™packaging should include the following parts to make the
installation simple and convenient.
1. One lighting fixture
2. Four mounting screws
3. 2ea. Butt connectors
4. Instruction Manual
BULB REQUIREMENT for the Smart Light 1000™--- Incandescent “1003” Bulb or
the NEW "Revolution LED line of Bulbs". This New line of LED Bulbs can be
reviewed at www.starlightsinc.com
OPTIONAL ACCESSORIES
Revolution LED Bulbs.
Smart Light 2000™Motion Light
Smart Light 2000 Scare Light
™
Revolution 2000 FB™Fused Relay Box
Amberizer™Antibug Bulbs
Amber Lens
INSTALLATION & SAFETY INSTRUCTIONS
For the Smart Light 1000™RV Motion Light
IMPORTANT SAFETY INFORMATION
Disconnect battery before installing or replacing the motion sensor lighting
fixture.
- 2 -

REV-7.23.2012, CSA
This product must be installed in accordance with any state and national codes by
a person familiar with the construction and operation of the product and hazards
involved.
This motion sensor light is designed to be used only with 12 DC Power
[Automotive type], any modifications of the unit may result in a hazard and will
VOID the warranty.
Please do not attempt to open the Motion Sensor back housing as there are no
serviceable parts inside and doing so WILL VOID the warranty.
Please read all of the Smart Light 1000™installation instructions before
installing the fixture.
IMPORTANT NOTES
Attaching other accessories or devices without the uses of the Revolution 2000
FB™Fused Relay Box can cause a hazard, may damage the unit, and WILL
VOID the WARRANTY.
INSTALLING the Smart Light 1000
™
IMPORTANT-DISCONNECT THE BATTERY
STEP 1: Remove the old lighting fixture from the RV and clean area of all old sealer,
dirt, etc.
STEP 2: Attach the BLACK or WHITE wire marked positive (+) on the SL-1000 fixture
to the positive wire (+) coming from the RV.
STEP 3: Attach the WHITE wire marked negative (-) on the SL-1000 fixture to the
negative wire (-) coming from the RV.
NOTE: If there are other accessories or devices that together total less than 4 amps that
you would like to trigger using the Smart Light 1000™you can trigger them by using
the Revolution 2000 FB™Fused Relay Box. The Revolution 2000 FB™Fused Relay
Box is triggered using the YELLOW wire located on the back of the fixture and will
supply voltage to the accessories while protecting the circuitry of the Smart Light
1000™. The YELLOW wire is shrink wrapped to the Power wire. To access the
YELLOW wire, remove the shrink wrap.
NOTE: Perform functionality test at this step
The Smart Light 1000™is reverse polarity protected. If it is wired backwards, the unit
will not be damaged. However, if wired incorrectly, the motion sensing functionality will
not work, even though the light can be turned on and off at the switch as with any other
porch light. Thus, it is imperative that you perform this self test in order to assure proper
functionality. To do this test you will have to reconnect the battery.
First, adjust your interior light switch to the on position. Then, turn the light switch off,
then on again. If at this point you find that the light turns on, but the BLUE LED does not
- 3 -
 Loading...