

Page 1
Installing the VHD-V61 camera
Before youinstallthe camera,read the following safety information:
n Do not subject the camera to rainor moisture
n To prevent electric shock, do not remove screws or covers of the camera. There
are no self-serviceable parts. Refer to qualifiedservice personnelfor servicing
n Do not operate under unspecified temperature, humidityor power supply
n Use the soft dry cloth to clean the camera.If the camera is verydirty,clean it with
diluted neutral detergent; do not use any type of solvent,whichmaydamagethe
surface
n The installationmust be performed by qualified service personnel or system installers
inaccordance with all local rules
n Do not move the camera head manually.Doingso results in the camera
malfunctioning
n Before powering the camera, check the power voltage carefully.Ensure you are
usingthe correct power source
n Ensure that the camera is far away from areas where there might be radiation,x-
rays, or strong electric waves, or where magnetismis generated
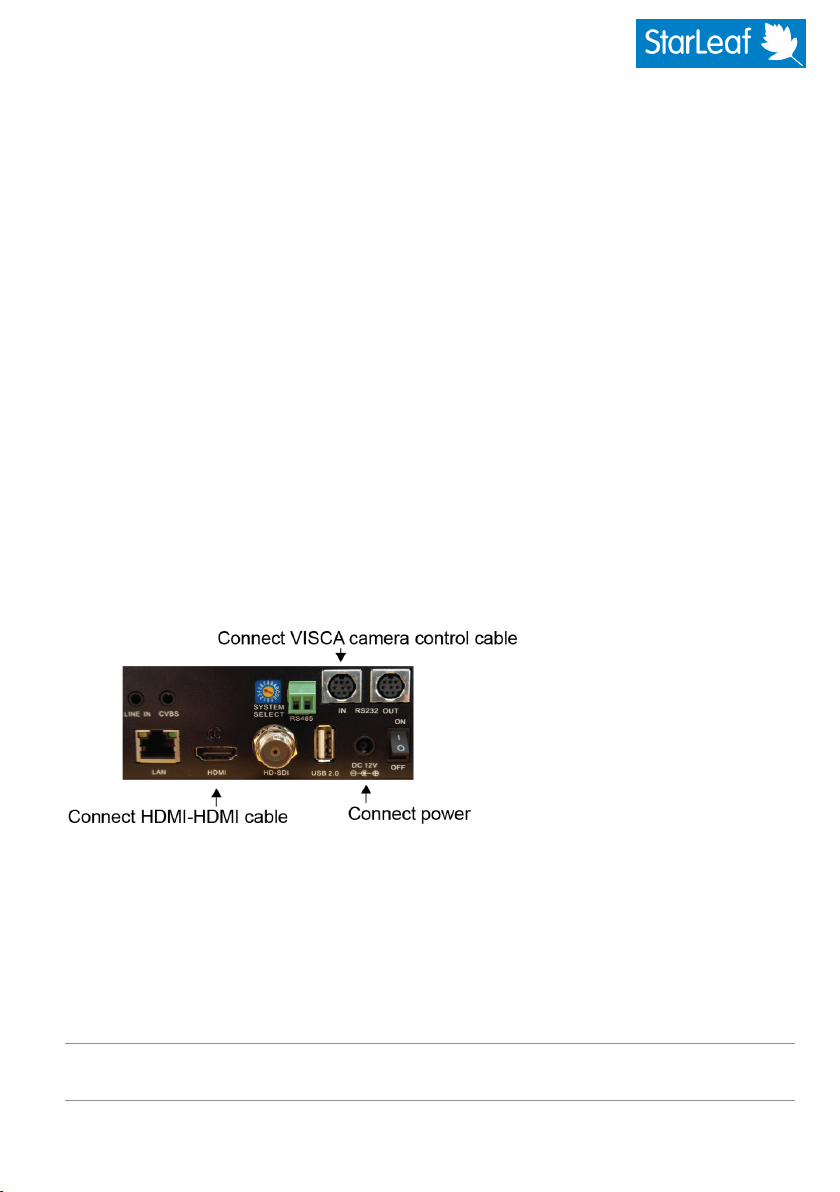
The rear view of the camera, shown below, indicates where to connect the cables:
To installthe camera:
1. Connect the supplied HDMI-HDMI cable to the HDMI connector on the camera.
Connect the other end to the Camera-In connector on the StarLeaf room system.
2. Connect the supplied VISCA camera control cable to the RS-232 IN connector on
the camera. Connect the other end to the room system Camera Control
connector.
3. Connect power to the DC 12V power input connector.
Note: The selector switches on the rear of the camera have no effect on the operation
of the camera.
480-00260-02
Page 2
Mounting the camera upside down
You can mount the camera upside down, but you willneed to flip the image.To do this,
youneed to access the web user interface of the camera.
1. Ensure you have connected the camera to the screen using the HDMI cable.
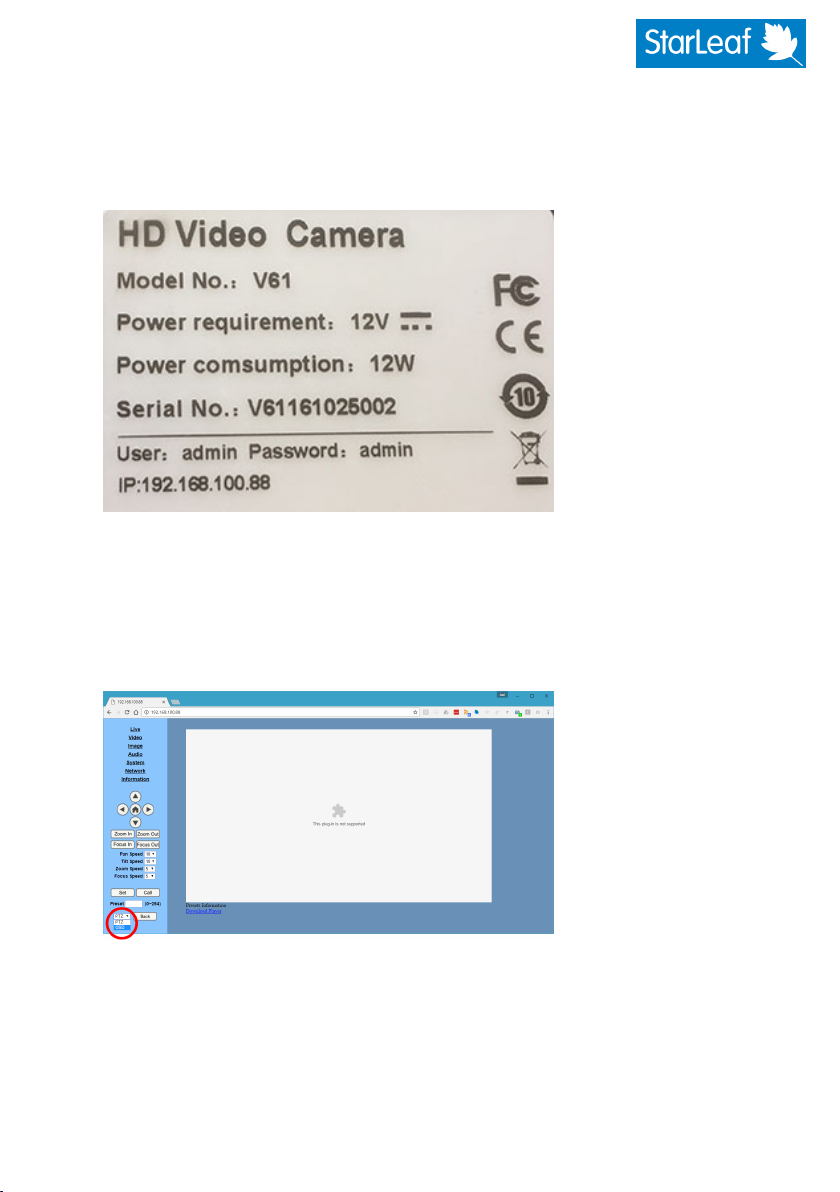
2. Look at the labelon the base of the camera. It will be similar to this:
3. Connect an Ethernet cable between your computer and the LAN port on the
camera.
4. Configure your computer's network adaptor settings such that it is in the same
network as that used by the camera (as shown on the label).For example,
192.168.100.80.
5. In a browser, go to the IPaddress of the camera and log in using the details on the
label. You willsee the web interface of the camera.
480-00260-02
Page 3

6.
In the lower left of the screen, choose OSD.This activates the on-screen display.You
willsee the menuon the screen (rather thanon your computer):
7. Using the arrow controls on the web interface to control the OSD menu, choose
Image and for Flip-H and Flip-V choose On.
8.
Press Back untilyou have reached the top-level menu and then Exit OSD.
480-00260-02
 Loading...