


S - B O W 0 8
Sizes: 3, 5, 8, 11, 13, 15
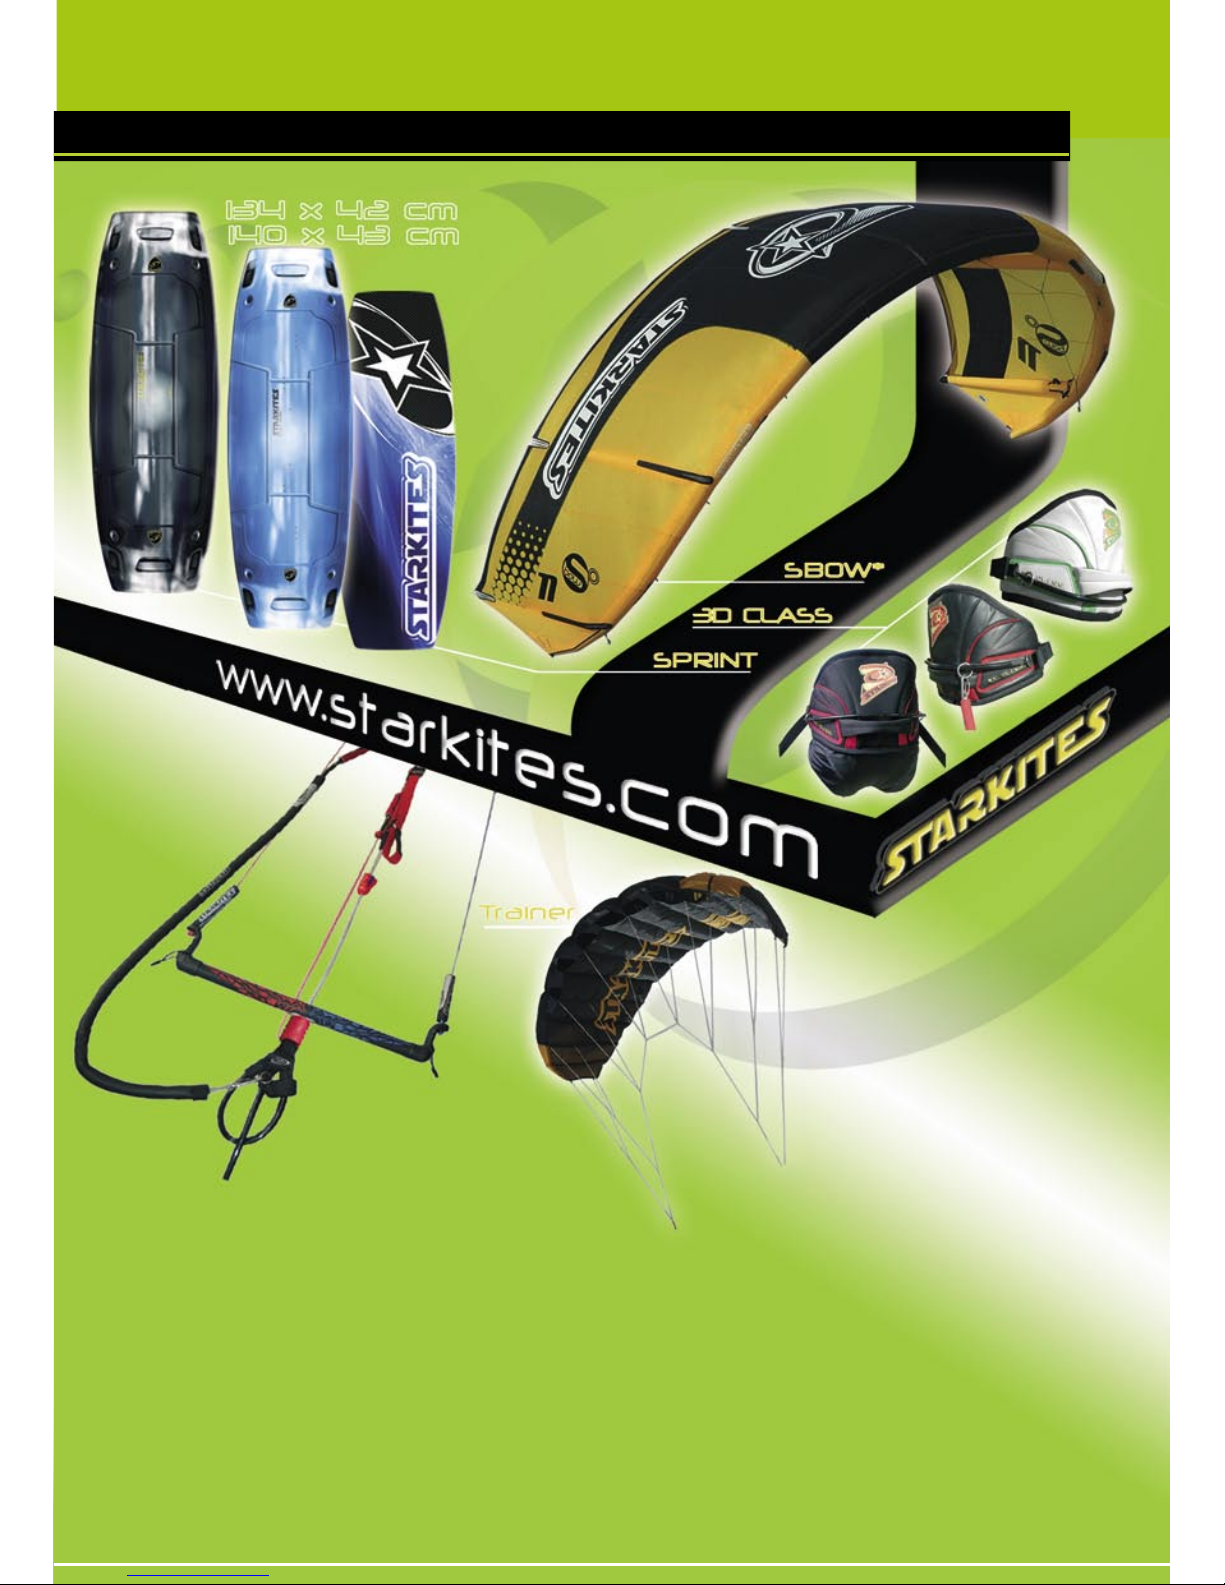
w w w.starkites.com
Q u i c k s e t t i n g G u i d e
‘ ‘ S t a r k i t e s ® is a brand strongly committed to design q u a l i t y kite gear.
Based in Cabarete (DR), worldwide renown all year-round windy spot. Pro
kiters and kiters feedback is integrated in all stages of our product development process. Our team made of genuine passionate and experienced
kiteboarders, test and design strong and innovative kites to help all levels
kiters grow their passion in a fun and safe way.”

w w w. s t a r k i t e s . c o m
«Progressive riders’ ultimate solution»
Knots 6 10 14 18 22 26 30 34 36 38+
S-BOW08
3*
5
8
11
13
15
Introduction
Thank you for purchasing the Starkites® S-BOW08. Your S-BOW08 kite sets
the standard in safety, performance and usability for the next generation of
water and snow kites.
- Featuring:
Genuine 100% de-power
“Just let go” Safety system
Super-easy, super-reliable “no swim” relaunch
Pull-pull power trim
360 degree emergency chicken-loop release handle
Tough, durable construction
3D grip pro bar
S.L.S: Spin Lock Stopper
TM
Before you use your S-BOW08, read this user-guide carefully, even if you are
an experienced kiteboarder; it contains important information about your kite
and the techniques you should use to maximize your fun and safety.
Starkites® gear designed by Eric Beaudonnat
Indicative for S-BOW 08 for average rider of 75kg using 135cm
board
* 3m2 S-BOW 08 is only adapted for light persons (under 50kg)
and for learning purposes.

w w w. s t a r k i t e s . c o m
Always store your kite dry to increase lifespan and avoid color
run.
Always take a lesson from an IKO
approved instructor before using
any kite.
Always wear an helmet when
using kiteboarding equipment.
The location in which you learn
is usually different from the one
you will practice in. Therefore,
make sure you have the necessary
knowledge to be able to practice in
a different spot.
The location for practice must be
evaluated in order to make sure
the wind strength and stability are
Warnings
safe, to see if there are potential
obstacles and to verify that there
is a secure area to launch and land
your kite.
Never practice alone, do not go
away from the shore any further
than you can swim back from.
Almost all accidents occur on land
so before going out on your own,
make sure that your abilities to
determine kite-size, prepare your
equipment and land your kite alone
have been evaluated according to
the IKO kiteboarder
certification standards.
Train to use all safety system before using the kite under power.
1. Letting go of the bar, but staying
hooked in will completely depower
the kite.
2. Releasing the chicken-loop will
completely depower your kite.
3. Releasing the leash will separate you completely from your kite
(provided you are not in the chicken-loop).
Remember, maximum fun comes from maximum confidence,
maximum confidence comes from
maximum safety.
To enjoy your kiteboarding as much
as possible,BE SAFE:
Get lessons from an IKO instructor.
Wear an helmet and appropriate safety gear.
Know your limits.
Know your equipment.
Know the spot.
Know the weather.
For all the latest info on Starkites,
including
new products, press-releases, safety-announcements
and the latest photos, check out
www.starkites.com
Enjoy your Starkites® S-BOW08!
Safety Funamental

Functionalities
w w w. s t a r k i t e s . c o m
Leading edge
Strut
Front bridlesRear bridles
trailing edge
Leash release handle
To connect on harness
Power strap: Red less
power/black more power
Spin Lock StopperTM: Pull
toward you to release/
Push away and press blue
part lo lock in position
2nd Leash release handle
Line keeper
Put on top of lines to
keep them in position
after winding it
Rear line adjustment:
Remove floater and adjust your line length
(4 positions)
Main safety: Push the
red handle away firmly
to kill the kite power
adjustable finger: Choo-
se the position of the finger or remove it

w w w. s t a r k i t e s . c o m
Adjusting the power
To release in an emergency, grab the red handle and firmly push it away
from you (in the direction of the arrow).This action will disconnect you completely from your chicken-loop and the kite power will be killed.
To de-power your S-BOW pull down
(towards you) on the red part (-).
To power-up your S-BOW pull down
(towards you) on the black part (+).
Pull as many time as needed, webbing is released gradudaly.
Emergency Release

Reseting Chicken loop release handle
w w w. s t a r k i t e s . c o m
OK
NO
Make sure the pin is located as in the
picture above, if not do half a turn to
red part
=
=
1 2 3
5 6 7
4

Spin Lock StopperTM (S.L.S)
w w w. s t a r k i t e s . c o m
Locking the S.L.S
1 Push on the blue weel
2 Move stopper up ( toward,
power strap)
Unlocking the S.L.S
Pull toward you
Liabilitie
:
The S.L.S is designed for your safety and self release when bar pressure is to
strong. The factory setting is on hole number 1 ( as in picture below)
Changing to full lock position, hole number 2, will not allow the S.L.S to re
-
lease the kite power automatically.
S.L.S option:
Your Spin Lock Stopper
TM
can be set
on:
1-auto release ( axle in hole 1 on the
blue weel)
2
-complete lock (axle in hole 2 on the
blue weel)
Both allow to adjust the position of the
S.L.S on the center line.
The S.L.S is made of Polyurethane, which is a high resistance material

Kite set up bar down-wind:
w w w. s t a r k i t e s . c o m
The first time you set-up your SBOW, it is strongly recommended
that you have an expert go through
the process with you.
Ensure that all the bridles are untwisted, and that everything on the
bar is untangled and running freely.
The kite should be placed leading- edge
down, facing into wind as in pictures.
You should then attach the lines corresponding to the diagram below.
If you don ’t understand this se cti on you MUS T t ake a l ess on fro m
pro fes ional inst ruc tor wh o w ill explain e ver ything clearl y.

w w w. s t a r k i t e s . c o m
Kite set up bar up-wind:

Self launching
w w w. s t a r k i t e s . c o m
Warning:
DO NOT USE THIS PROCEDURE WITH STANDARD C-SHAPED KITES
OR IN STRONG WIND.
Always double check the lines setting before launching your kite.
Train in light wind and do not disable any safety system.
Your kite is inflated and secured and
you are ready to go in the water.
To secure your kite:
- Position it facing the wind
- Put enough sand so it won’t be lifted by a gust.
Your lines are set. Position your
bar so the lines have an angle of 45
degrees to the wind .
If you have a stopper system on
your center line, release it fully .
If the wind is strong apply some depower before you launch.
Important: if you leave your kite unattended for more than a few minutes,
always disconnect the lines.
Pull on the further tip to the bar, until the kite takes the wind, up to the
second strut.

w w w. s t a r k i t e s . c o m
Secure the obtained position by putting some sand on the kite.
Position yourself like for a standards launching, walk backward to tense the
lines. the kite will automatically get the air, rotate and launch.
Release the power by pushing the bar away once the kite takes off.
Note: the kite may move on the sand to reach the correct angle for launching
according to the wind.

Water relaunching
w w w. s t a r k i t e s . c o m
Never swim toward the kite.
Pull the bar toward you (like for maximum power)
Bend over and grab a leader line (on the side of the bar) as far as possible
Pull on the leader line while keeping the bar as close as possible to your
body.
Push the bar away and release the leader line when the kite starts relaunching.
1 2 3
4 5 6
w w w. s t a r k i t e s . c o m
Starkites 2008’s

w w w. s t a r k i t e s . c o m
Straight to pleasure
 Loading...