

Star SP6000 SERIES Hardware Manual
DOT MATRIX PRINTER
SP6000
Hardware Manual
SERIES

< Approval: CEL >
Trademark acknowledgments
SP6000 : Star Micronics Co., Ltd.
Notice
• All rights reserved. Reproduction of any part of this manual in any form whatsoever, without STAR’s express
permission is forbidden.
• e contents of this manual are subject to change without notice.
• All eorts have been made to ensure the accuracy of the contents of this manual at the time of going to press.
However, should any errors be detected, STAR would greatly appreciate being informed of them.
• e above notwithstanding, STAR can assume no responsibility for any errors in this manual.
Copyright
©
2014 Star Micronics Co., Ltd..

TABLE OF CONTENTS
1. Unpacking and Installation ......................................................................... 1
1-1. Unpacking ........................................................................................... 1
1-2. Notes about Installation ....................................................................... 1
2. Parts Identication and Nomenclature ....................................................... 2
3. Setup ............................................................................................................ 3
3-1. Connecting the Interface Cable to the PC ............................................. 3
3-2. Connecting the Interface Cable to the Printer ...................................... 4
3-3. Connecting Power Cable ...................................................................... 5
3-4. Turning the Power On .......................................................................... 5
3-5. Ribbon Cartridge and Head Gap .......................................................... 6
3-6. Loading a Fanfold Paper ...................................................................... 8
3-7. Loading a Cut Sheet ........................................................................... 11
3-8. Setup Precautions .............................................................................. 12
4. Control Panel ............................................................................................. 13
4-1. Name of each part .............................................................................. 13
4-2. Features according to Panel Buttons ................................................... 13
4-3. LED Indications ................................................................................. 14
5. Maintenance ............................................................................................... 15
6. External Specications .............................................................................. 16
1. Unpacking and Installation
1-1. Unpacking
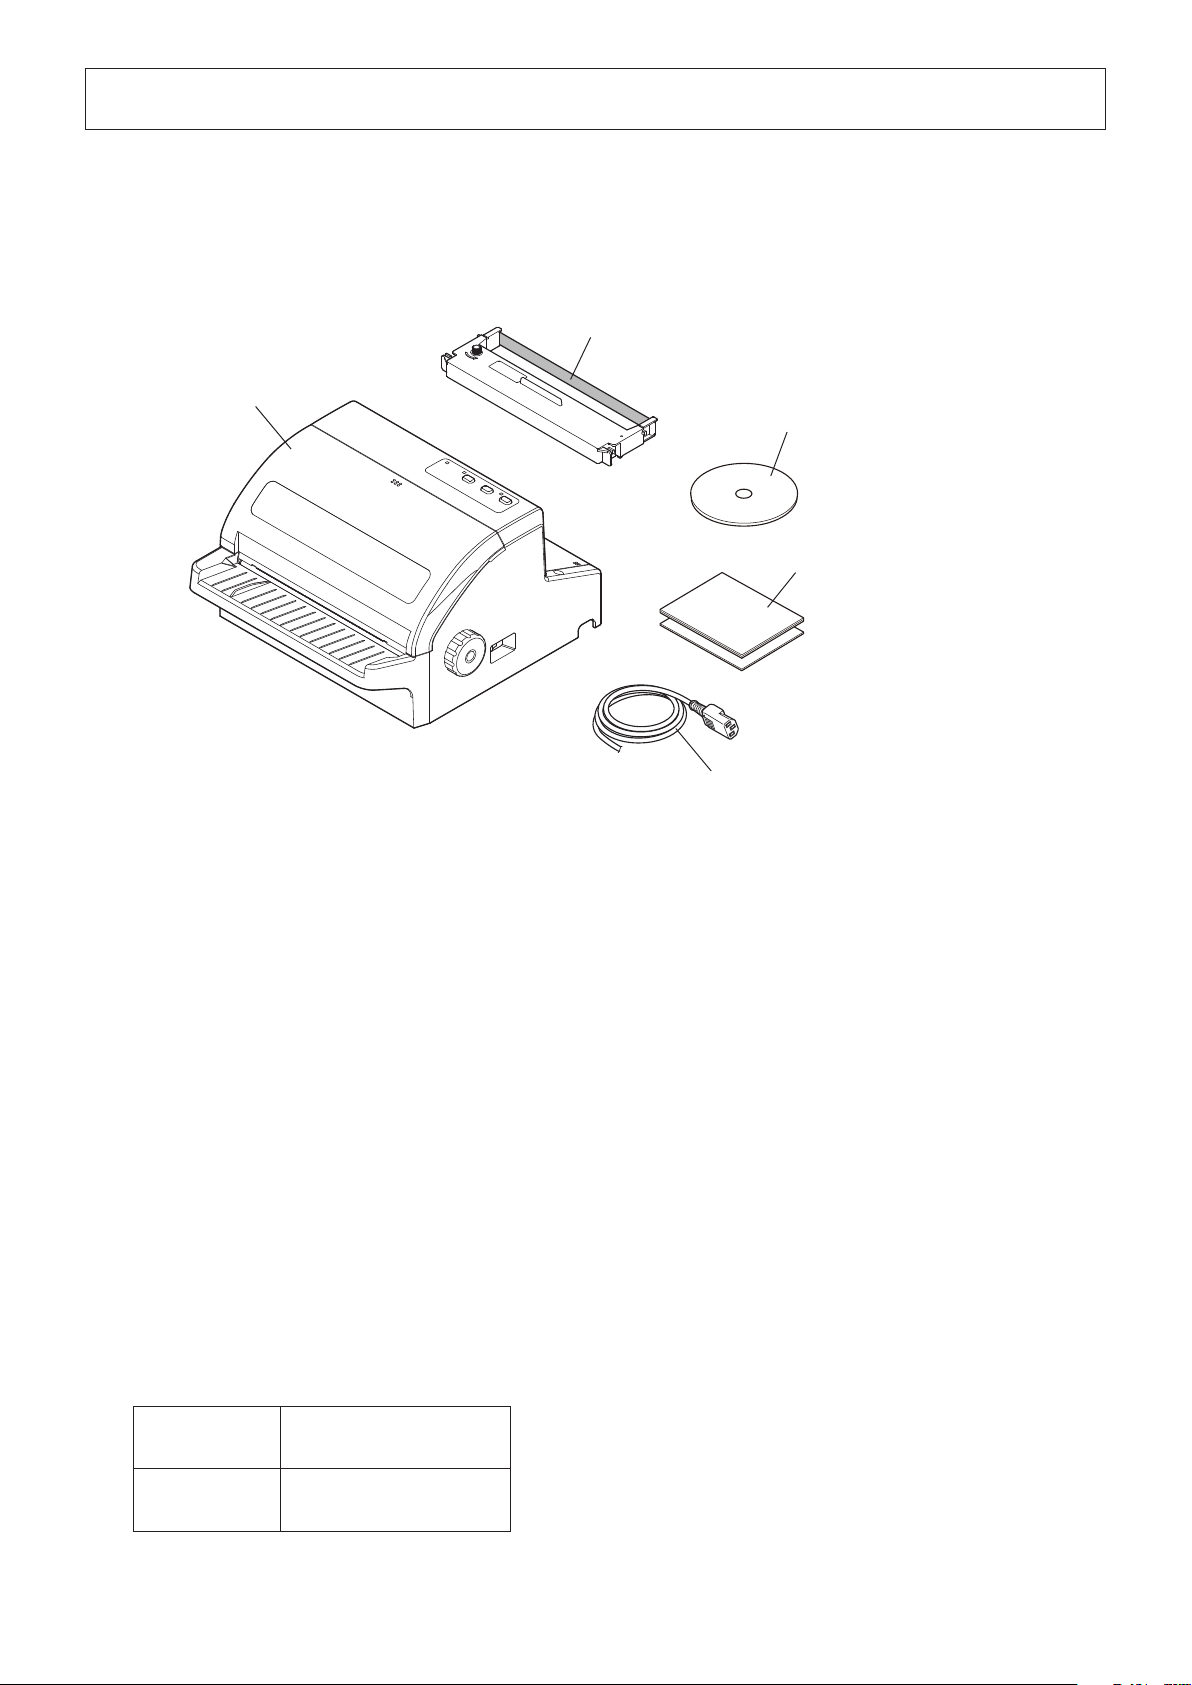
Aer unpacking the unit, check that all the necessary accessories are included in the package.
Ribbon Cartridge
Printer
CD-ROM
Safety Instructions
Holding plate
* Accessories vary depending on the model and the
region where the printer was purchased.
1-2. Notes about Installation
1. Choose a rm, level surface where the printer will not be exposed to vibration.
2. Make sure that the printer is connected to a reliable power outlet. It should not be on the same electric circuit as copiers, refrigerators, or other appliances that cause power spikes.
3. e power outlet you plan to connect to for power should be nearby and unobstructed.
4. Make sure that the printer is not exposed to direct sunlight.
5. Make sure that the printer is well away from heaters and other sources of extreme heat.
6. Do not locate the printer in a badly ventilated or dusty environment.
7. Make sure that the room where you are using the printer is not too humid.
8. Use the printer within the boundaries indicated in the environmental requirements. Even when the ambient temperature and humidity are within the specications, avoid radical changes in environmental conditions. e suitable
operating temperature range is as follows:
Temperature
Humidity
Operating: 0°C to 35°C
Stand-by: -30°C to 65°C
Operating: 30% to 80%
Stand-by: 20% to 90%
9. When disposing of the printer, obey local regulations.
-
-
1

2. Parts Identication and Nomenclature
Printer cover
Open when loading paper or
the ribbon cartridge.
It is also used to reduce noise.
Paper guide plate
Feeds the paper horizontally.
Rear cover
Open when loading paper. It is
also used to protect the printer
from dust and reduce noise.
Power switch
Turns the printer on
and o.
Control panel
Includes buttons to operate the printer and
lamps indicating the status of the printer.
(Refer to Section "4. Control Panel)
Power connector
Connects to the power
source via a cable.
USB interfaceconnector
Connects to a host PC through
a cable.
-
2
Parallel interface connector
Connects to a host PC through
a cable.
-
3. Setup
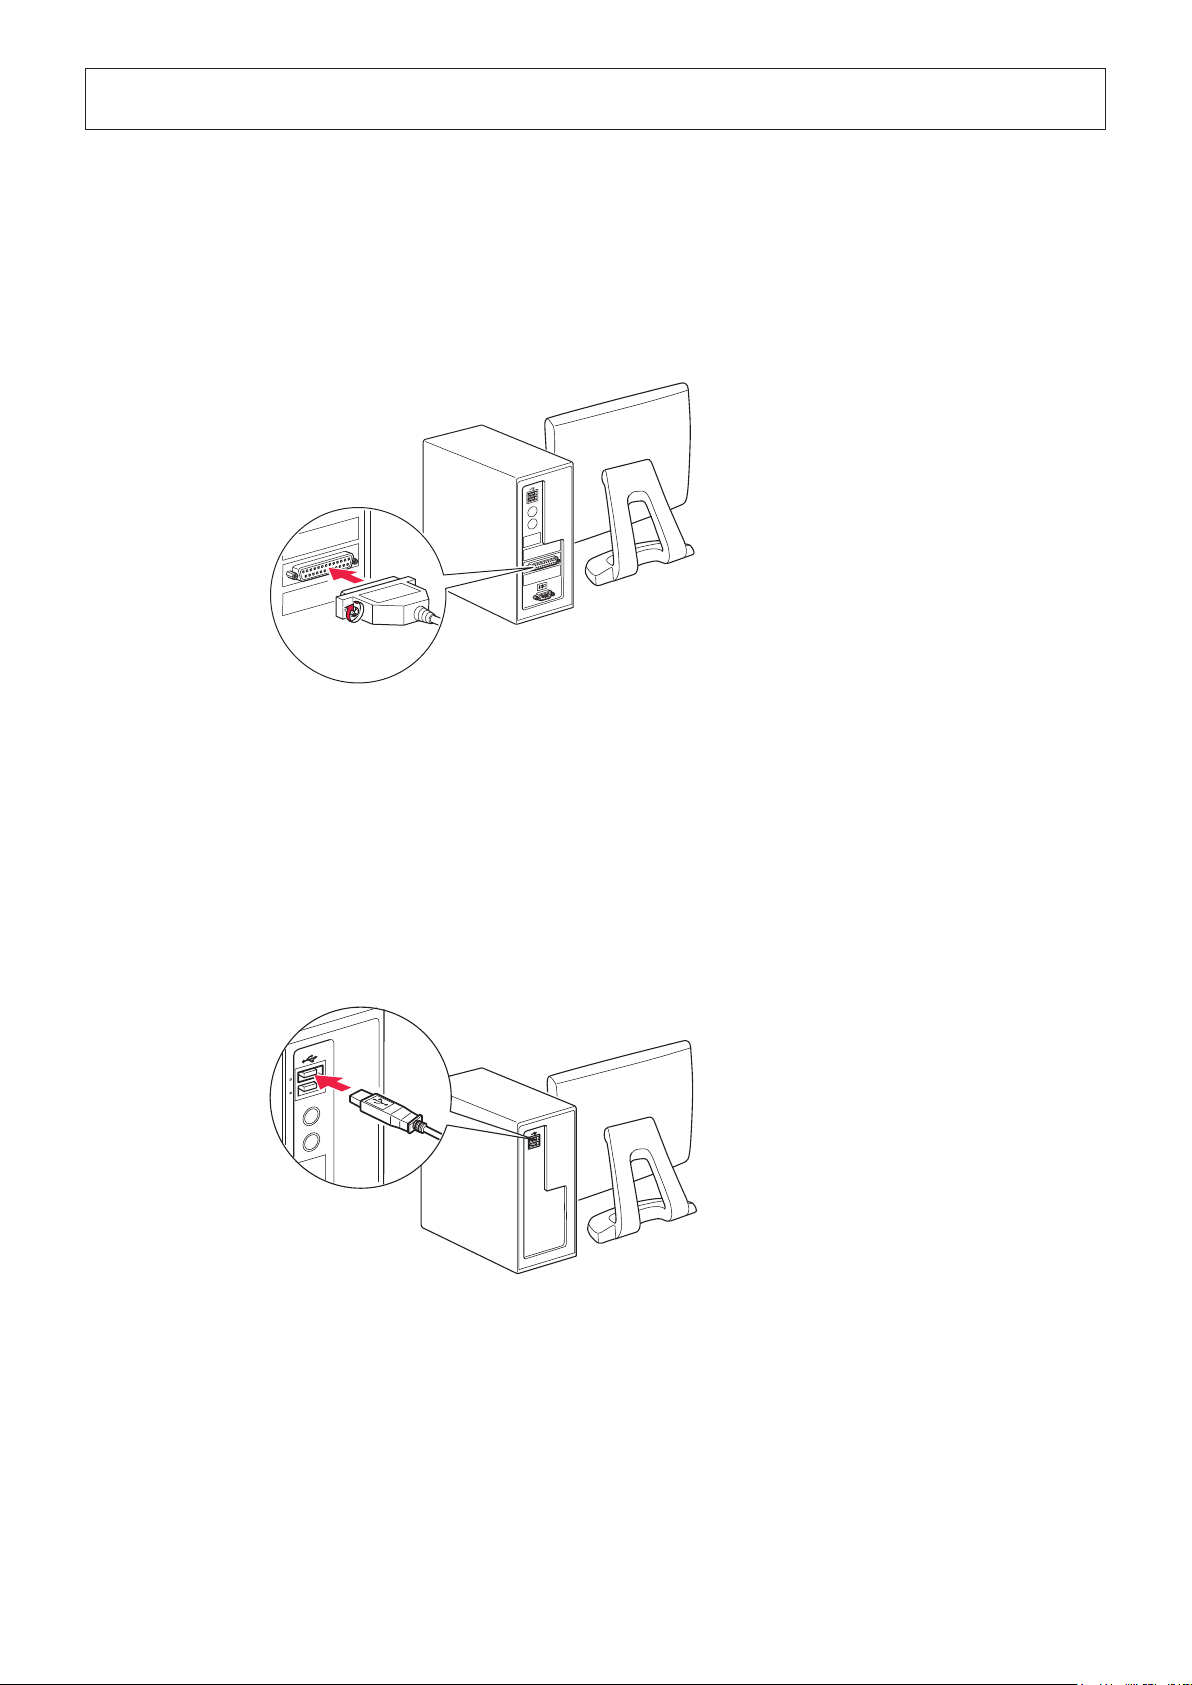
3-1. Connecting the Interface Cable to the PC
3-1-1. Parallel Interface Cable
Connect the parallel cable to a parallel port on your PC.
3-1-2. USB Interface Cable
Connect the USB cable to a USB port on your PC.
-
-
3
 Loading...