

Model Vr
Quick Programming Guide
This guide will assist you with manual programming of the Bed-Check® Model Vr control unit. More
detailed manual programming instructions can be found in the Model Vr User Guide, and more
extensive programming can be accomplished with the use of a PC.
For programming, only the control unit and power cord are needed. Neither the Sensormat
call cord are needed during programming. At each step, if no change is needed, simply press RESET to skip that
step and advance to the next one.
®
pad nor the nurse
ARMING/DISARMING THE SYSTEM
Press and release the RESET button to go from MONITOR to HOLD, or from HOLD to MONITOR, or to silence an
alarm. Please note that if the system is on HOLD, it will reset itself and resume monitoring if weight is placed
back on the Sensormat pad. In addition, if the RESET button is pressed to put on HOLD and weight remains on
the Sensormat pad, the unit will resume monitoring in 25 seconds.
Before you begin PROGRAMMING, the unit must be put in the Programming Mode. Plug the unit in and set the
delay time display on the front panel to 9 using the button. Unplug the power cord (either end) and wait 2-3
seconds. Press and hold the RESET button on the control unit and reconnect the power cord. Continue to hold
the RESET button until you hear a beep and all lights in the status window light up as shown in Step 1 below.
Before setting
You must see
ALARM
MON
HOLD
1. ALARM SOUND (BYPASS THIS STEP BY PRESSING RESET)
Use the button to change the display number to coordinate with the sound you
would like.
0. Fast Beep 4. Warble
1. Medium Beep 5. Triple Tone
2. Slow Beep 6. Music
3. Ring
After selection, press the RESET button to continue to Step 2.
Before setting
You must see
MON
HOLD
2. NURSE CALL SYSTEM RELAY (BYPASS THIS STEP BY PRESSING RESET)
This sets up the interface compatibility between the control unit and your nurse call
system. It is rarely changed, with the most common settings being either 0 or 3. If
unsure, check with your BioMed Department.
0. Continuous Closure (most common)
1. Repeated Pulse
2. One Shot
3. No Pull-Out protection (for no nurse call connection)
Press RESET to move to Step 3.
800-523-7956 | Fax 402-475-4023 | www.bedcheck.com
Model Vr
Quick Programming Guide continued
Before setting
You must see
ALARM
HOLD
Before setting
You must see
ALARM
MON
To ensure the Model Vr retains your setting changes, unplug the power cord (either end) for 2-3 seconds
and plug it back in. This locks in your settings, which will be retained even after power interruptions.
3. HOLD TIME (BYPASS THIS STEP BY PRESSING RESET)
This setting determines the elapsed time (in seconds) from the moment
the control unit senses the patient’s weight on the Sensormat pad until
monitoring begins.
Use the button to change this time from 1-9 seconds.
Press RESET to move to Step 4.
4. VOLUME CONTROL (BYPASS THIS STEP BY PRESSING RESET)
This setting controls the alarm volume. Use the button to adjust volume from 0-9.
1 is low volume, and 9 is maximum volume. 0 will mute the control unit, but the alarm
will still trigger the nurse call system (if it is in use).
Press RESET to exit the Programming Mode.
You have completed programming of the Model Vr. The only remaining setting is Delay Time, which may be se-
lected at any time without entering the Programming Mode required for other settings.
CHANGE DELAY TIME (TIME FROM WEIGHT OFF SENSORMAT PAD UNTIL ALARM)
The number displayed indicates the number of seconds. Change the delay time as desired (1-9 seconds; 3 is typical) using the button.
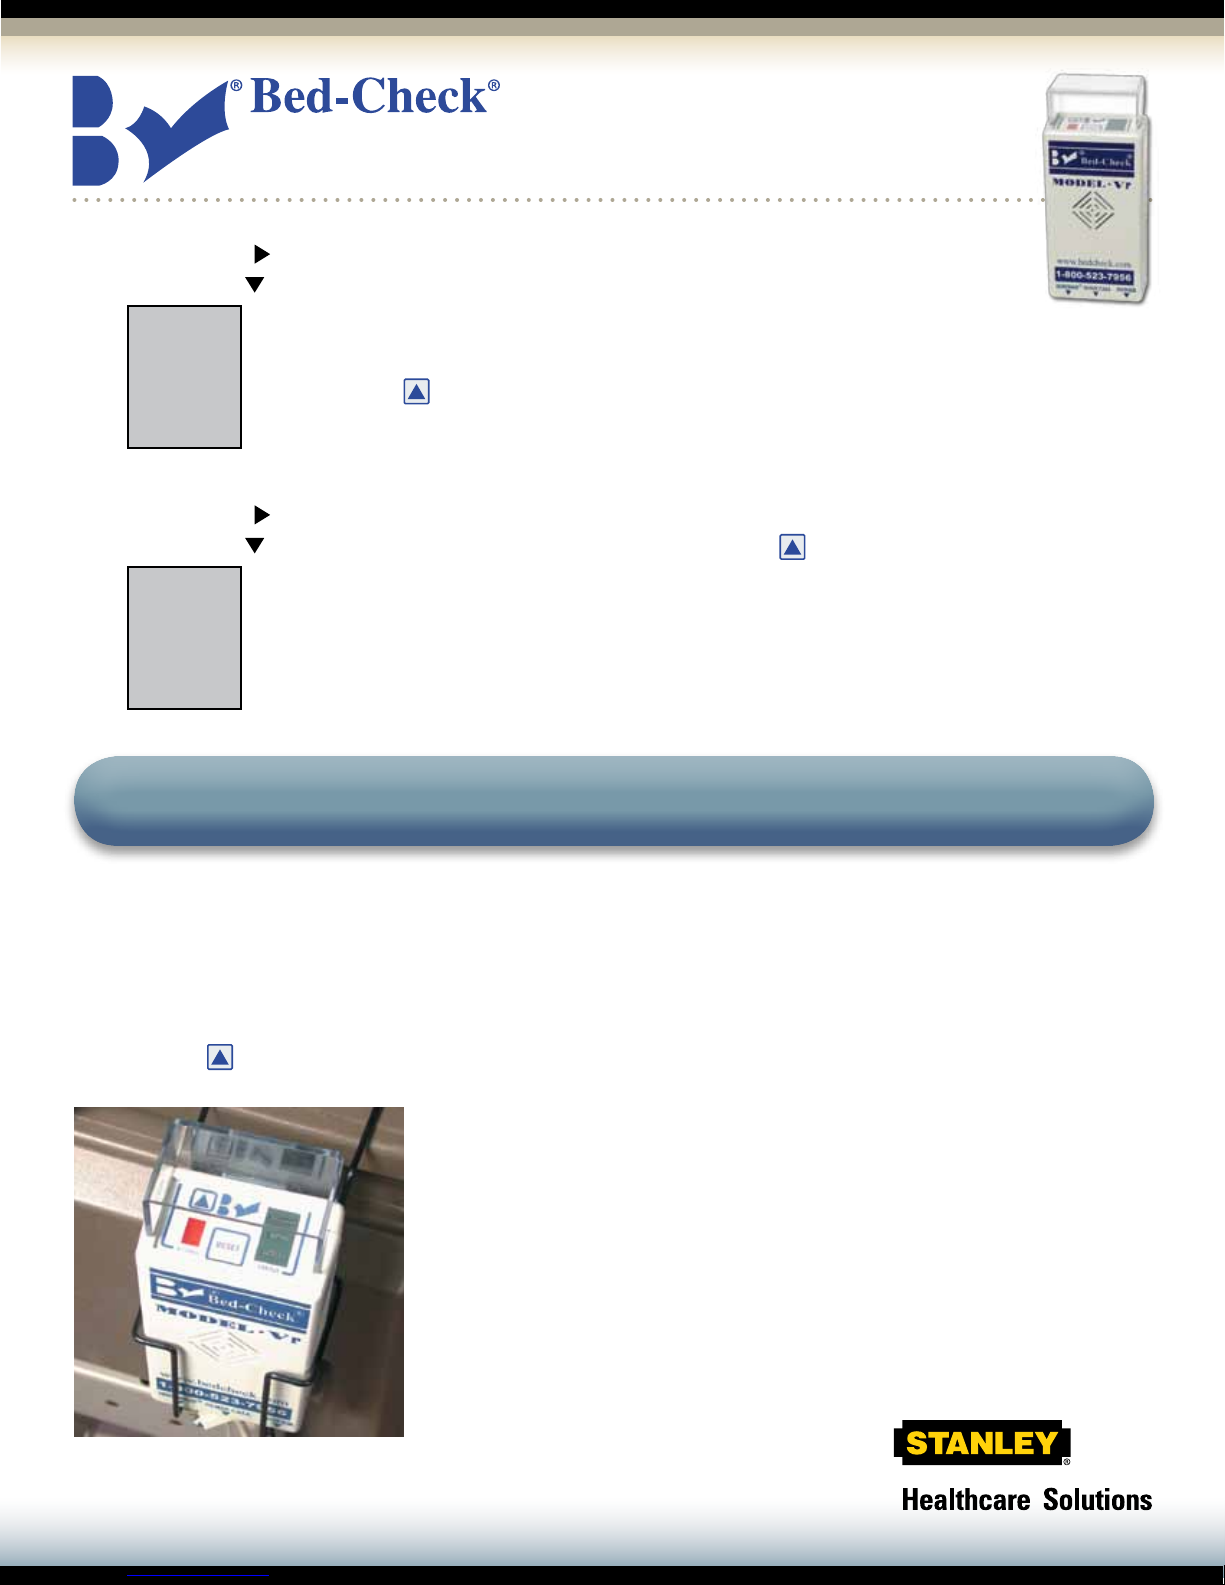
Your Bed-Check Model Vr is now ready to monitor your fall risk individual
as soon as the Sensormat pad is properly placed and connected, and the
nurse call system is connected (if used).
800-523-7956 | Fax 402-475-4023 | www.bedcheck.com
©2008-2011 Stanley Security Solutions, Inc. DOC-02-70001-AA
 Loading...