

Page 1
USER MANUAL
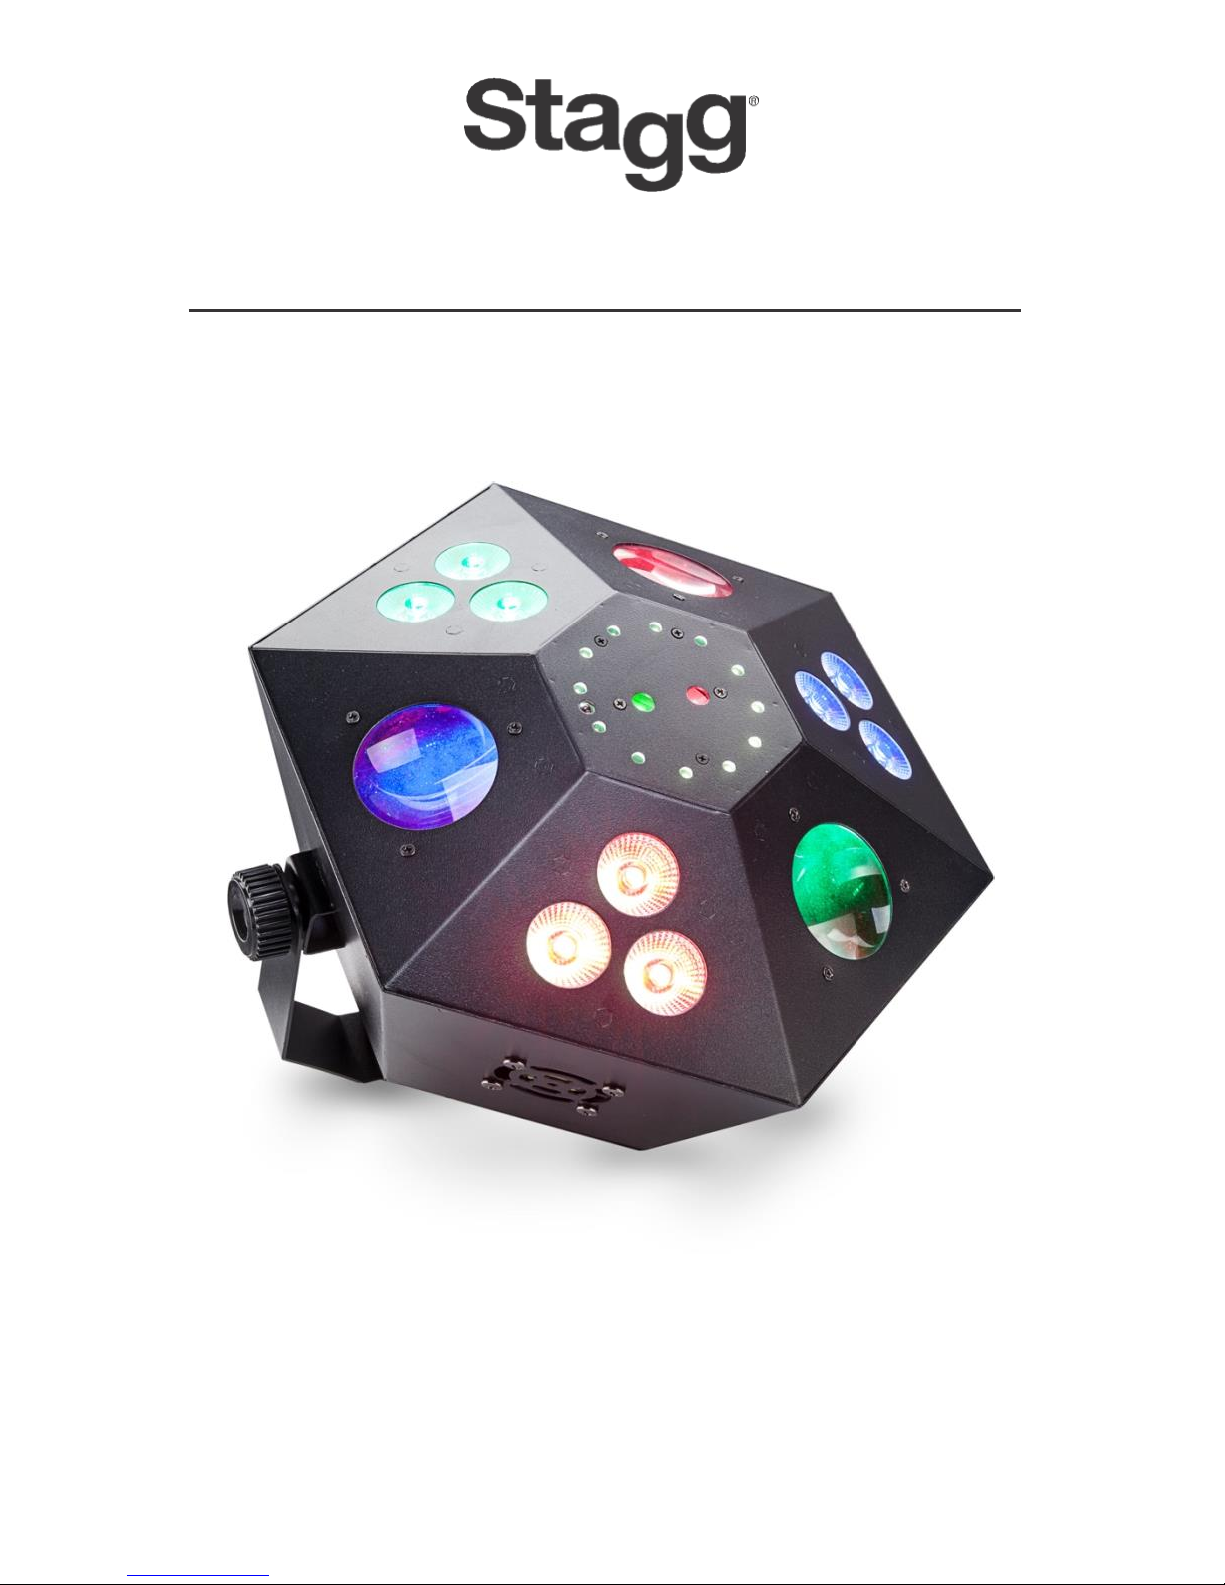
TRANCE60
SLE-TRANCE60
Please read the instructions carefully before use.
Page 2

!
SAFETY INSTRUCTIONS
Please read the instructions carefully as they include important
information about the installation, operation and maintenance.
• Please keep this user’s guide for future consultation. If you sell the unit to another
user, be sure that they also receive this instruction booklet.
• All fixtures leave the manufacturer intact. Please note that any damages incurred
by the user is not covered by the guarantee.
• Unpack and check carefully that there is no transportation damage before using the
unit.
• The unit is for indoor use only. Use only in a dry location.
• Use a safety bond when attaching the fixture to a lighting rig.
• The unit must be installed in a location with adequate ventilation at least 50 cm
from adjacent surfaces.
• Make sure that no ventilation slot is blocked, otherwise the unit will overheat.
• Before operating, ensure that the voltage and frequency of the power supply match
the power requirements of the unit.
• Make sure all equipment is properly earthed.
• Do not operate the unit if the ambient temperature is higher than 40°C.
• Do not hardwire to any mains dimmer.
• On the first start, there may be some normal operational start-up smell.
• Make sure that there is no flammable material close to the unit while operating, as
it is a fire hazard.
• Examine power wires carefully and replace immediately if there is any damage.
• Never run on for a long time lest shortening lifespan. Avoid any inflammable liquids,
water or metal objects entering the unit. In case it happens, cut off the mains power
immediately.
Page 3

• Do not operate in a dirty or dusty environment. Clean fixtures regularly.
• Do not allow children unsupervised to operate the fixture.
• Do not touch any wire during operation as there might be a hazard of electric
shock.
• Avoid placing power wires next to other cables.
• Disconnect the mains power before replacing or servicing the fuses.
• Replace fuse only with the same type.
• In the event of a serious operating problem, stop using the unit immediately.
• Never turn on and off the unit time after time.
• The housing, the lenses, or the ultraviolet filter must be replaced if they are visibly
damaged.
• Do not open the unit as there is no user serviceable part inside.
• Never try to repair the unit by yourself. Repairs carried out by unskilled people can
lead to damage or malfunction. Please contact the nearest authorized technical
assistance centre.
• Disconnect the mains power if the fixture is not used for a long time.
• Use the original packaging to transport regarding any warranty issue.
• Do not look directly at the LED light beam while the fixture is on.
• Do not connect more than 7 units to the same power source.
Page 4
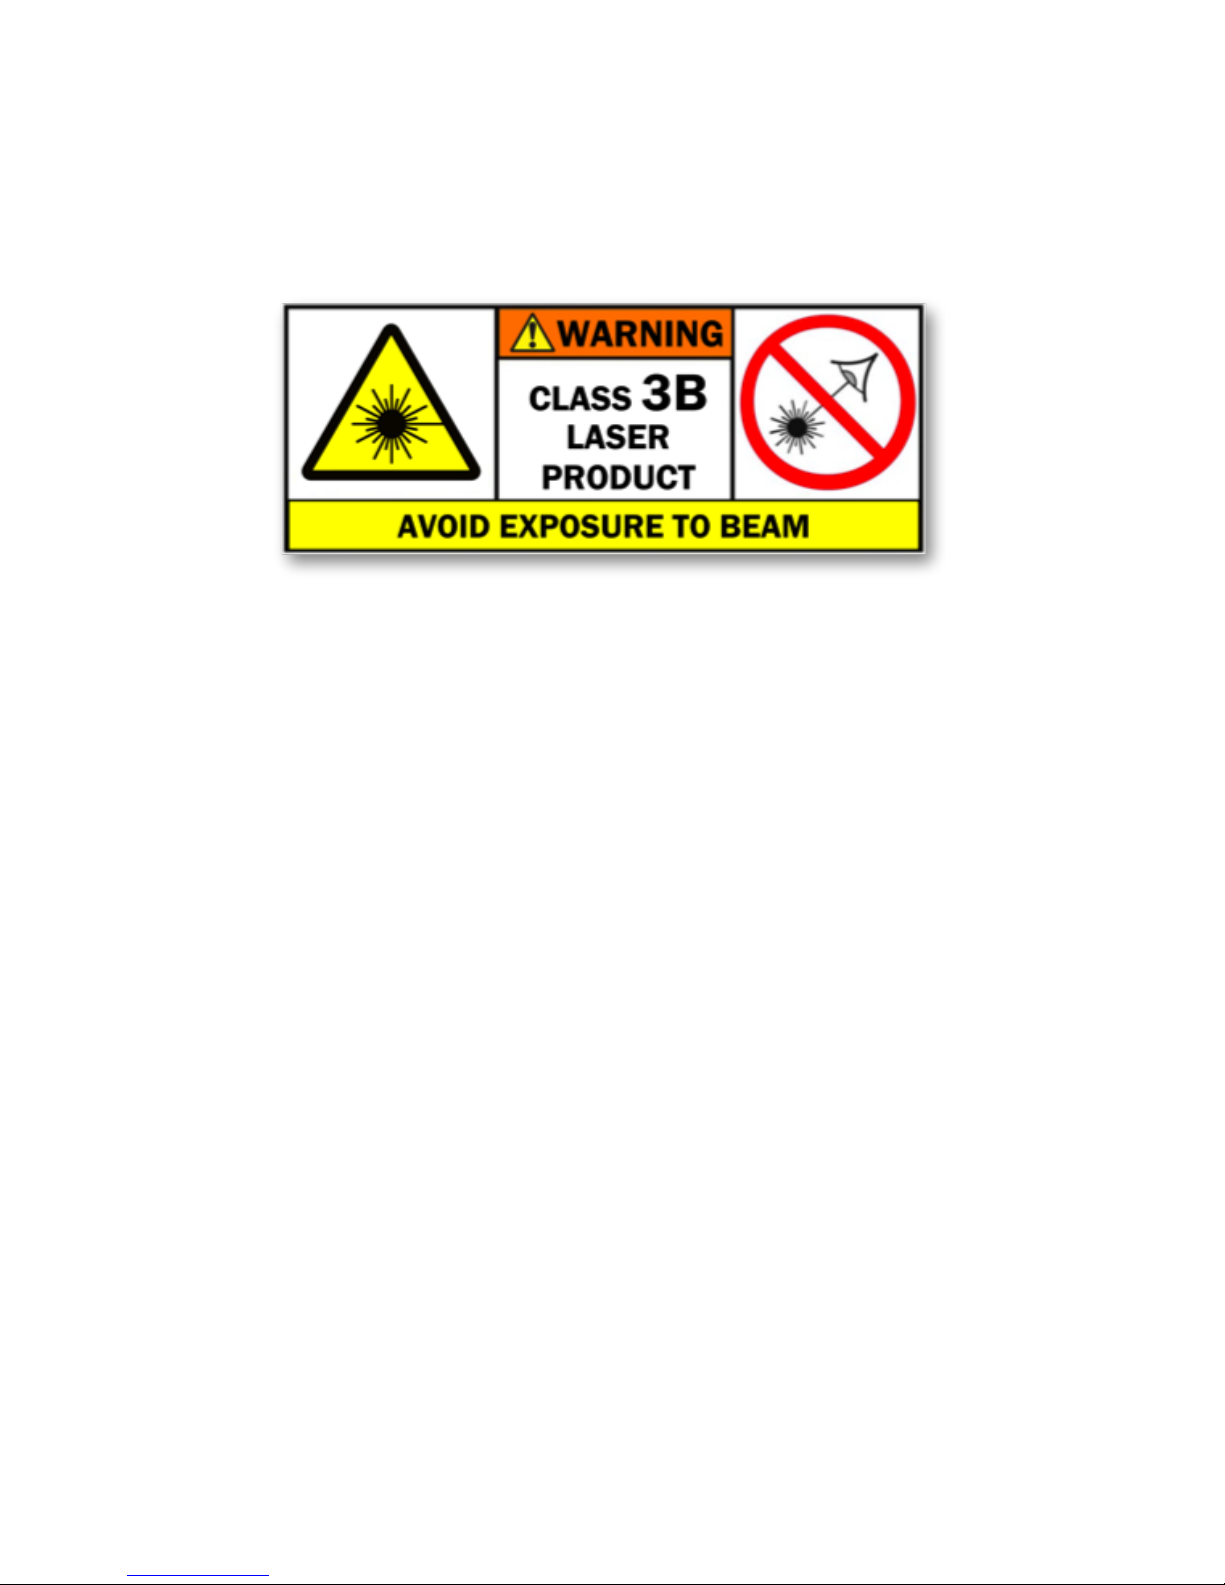
LASER WARNINGS AND SAFETY
Our Trance fixtures contain high power laser devices internally. Do not open the
laser housing, due to the potential exposure to unsafe levels of laser radiation. The
laser power levels, if the unit is opened, can cause instant blindness, skin burns and
fires.
STOP !!! READ ALL LASER SAFETY DATA OPERATION INSTRUCTIONS AND
LASER SAFETY
The light source emitted from this product can potentially cause eye injury if not set
up and used properly. The light source emitted from a laser is very different from any
other light sources with which you may be aware of. Laser light is thousands of times
more concentrated than any light from any other kind of light source. This
concentration of light can cause instant eye injuries, primarily by burning the retina
(the back of your eyeball containing cells that are sensitive to light). Even if you
cannot feel “heat” from a laser beam, it can still potentially injure or blind you or your
audience. Even very small amounts of laser beam light are potentially hazardous
even at long distances. Laser eye injuries can be sustained faster than you can
blink.
Page 5

Do not think that because this laser splits the laser beam into hun- dreds of beams
and that the laser beam is scanned out in high speed, that an individual laser beam
is safe for eye exposure. This laser uses dozens of milliwatts of laser power (Class
3B levels inter- nally) before it splits into multiple beams (Class 3R levels). Many of
the individual beams are potentially hazardous to the eyes.
Do not that because the laser light is moving, it is safe. This is not true. Nor, do the
laser beams always move. Since eye injuries can occur instantly, it is critical to
prevent even the smallest possibility of any direct eye exposure. In the laser safety
regulation, it is not legal to aim Class 3R lasers in areas which people can get
exposed. This is true even if it is aimed below people’s faces, such as on a dance
floor.
Do not operate the laser without first reading and understanding all safety and
technical data in this manual.
Always set up and install all laser effects so that all laser light is at least 3 meters
(9.8 feet) above the foor on which people can stand.
After setting up, and before public use, test laser to ensure proper function. Do not
use if any defect is detected. Do not use if laser emits only one or two laser beams
rather than dozens/hundreds, as this could indicate damage to the diffraction grating
optic, and could allow emission of higher laser levels above Class 3R.
Page 6

Do not point lasers at people or animals. Never look into the laser aperture or laser
beams.
Do not point lasers in areas in which people can potentially get exposed, such as
uncontrolled balconies, etc.
Do not point lasers at highly reflective surfaces, such as windows, mirrors and shiny
metal. Even laser reflections can be hazardous.
Never point a laser at aircraft, this is a federal offense.
Never point un-terminated laser beams into the sky.
Do not expose the output optic (aperture) to cleaning chemicals.
Do not use laser if the laser appears to be emitting only one or two beams.
Do not use the laser if the housing is damaged, the housing is open, or if the optics
appear damaged in any way.
Never open the laser housing. The high laser power levels inside of the protective
housing can start fires, burn skin and will cause instant eye injury.
Never leave this device running unattended.
The operation of a location/country of use.
Always use proper lighting safety cables when hanging lights and effects overhead.
Page 7

INSTALLATION
The unit should be mounted via its screw holes. Always ensure that the unit is firmly
fixed to avoid vibration and slipping while operating. Always ensure that the structure
to which you are attaching the unit is secure and able to support 10 times the unit’s
weight. Also, always use a safety cable that can hold 12 times the unit’s weight when
installing the fixture.
The equipment must be fixed in an appropriate place by professionals. At least 3m
from the ground above the public. Keep it out of the reach of unqualified people.
TECHNICAL SPECIFICATIONS
Multi effect box with Red and green lasers, derby, color wash and led flower.
- Wash LED: 9 x 4 watts RGBA
- Flower LED: 84 x 0,75 watts 24R, 18G, 18B, 24A
- Strobe LED: 12 x 0,5 watt White
- Red laser 100 mW
- Green laser 30 mW
- Laser class: 3B
- Protocol: DMX-512. 3, 5, 12, 19 and 32 channels
- Functions: Dimmer (0-100 %), strobe (0-20 Hz), auto, sound control, master/slave,
remote control
- Display: 4-digit
- Housing: Metal
- Fixation: 1 bracket
- Input and output: 3-pin DMX and IEC
- Cooling: Low-noise fan
- Use: Indoor
- Power consumption: 70 watts
- Dimensions: 32 x 35 x 29 cm (12.6 x 13.8 x 11.4")
- Weight: 2,6kg (5.7 lb)
- Remote control included
Page 8

SETTING UP THE DEVICE
Page 9

DMX MENU
With the menu button, select the DMX mode and press the enter key. Then use the
up and down buttons to choose the desired DMX channel (1 – 512) and press the
enter key to confirm.
The Trance 60 works on 11 or 23 channels. To select the channel mode, push on
the menu button and go to Chmd. Press enter. Use the up and down button to select
11 or 23 channels and press enter to confirm.
11 channels
Module
Channels
Function
Value
Wash
1
Wash
Macro
000- 255 See Macro table
2
Macro
speed
000-255 Speed Slow -> Fast
3
Strobe
000-008 Open
009-255 Stroboscope (Speed 0 - 100%)
Strobe
4
Strobe
Macro
000- 255 See Macro table
5
Macro
speed
000- 255 Speed Slow -> Fast
6
Strobe
000-008 Open
009-255 Stroboscope (Speed 0 - 100%)
LED
Beam
7
LED
Beam
Macro
000- 255 See Macro table
8
Macro
speed
000- 255 Speed Slow -> Fast
9
Strobe
000-008 Open
009-255 Stroboscope (Speed 0 - 100%)
10
Laser
Macro
000-007 Off
008 – 255 Macro
11
Macro
speed
000- 255 Speed Slow -> Fast
Page 10

23 Channels
Module
Channels
Function
Value
Wash
1
Dimmer
000-255 0%~ 100%
2
Strobe
000-008 Open
009-255 Stroboscope (Speed 0 - 100%)
3
Color Wash 1
000- 255 See colour table
4
Color Wash 2
000- 255 See colour table
5
Color Wash 3
000- 255 See colour table
6
Wash Macro
000- 255 See Macro table
7
Macro speed
000-255 Speed Slow -> Fast
Strobe
8
Dimmer
000-255 0%~ 100%
9
Strobe
000-008 Open
009-255 Stroboscope (Speed 0 - 100%)
10
Strobe Macro
000- 255 See Macro table
11
Macro speed
000- 255 Speed Slow -> Fast
LED
Beam
12
Dimmer
000-255 0%~ 100%
13
Strobe
000-008 Open
009-255 Stroboscope (Speed 0 - 100%)
14
Color Beam 1
000- 255 See colour table
15
Color Beam 2
000- 255 See colour table
16
Color Beam 3
000- 255 See colour table
17
LED Beam
Macro
000- 255 See Macro table
18
Macro speed
000- 255 Speed Slow -> Fast
Laser
19
Laser R
000- 007 off
008- 127 on
128- 255 onloff Switch
20
Laser G
000- 007 off
008- 127 on
128- 255 onloff Switch
21
Rotation
000-010 Stop
011-120 Movement forward fast -> slow
121-134 Stop
135-245 Movement forward Slow -> Fast
246-255 Stop
22
Laser Macro
000- 007 Off
008 – 255 Show
23
Macro speed
000- 255 Speed Slow -> Fast
Page 11

Wash Macro table
Color
000-007 Blackout
008-024 Red
025-041 Green
042-057 Blue
058-074 White
075-090 Red +Green
091-107 Red +Blue
108-123 Red +White
124-140 Green+Blue
141-156 Green+White
157-173 Blue+White
174-189 Red +Green +Blue
190-206 Red +Green +White
207-222 Red +Blue +White
223-239 Green +Blue +White
240-255 Red +Green +Blue + White
LED Beam table
Color
000-007 Blackout
008-024 Red
025-041 Green
042-057 Blue
058-074 Amber
075-090 Red +Green
091-107 Red +Blue
108-123 Red +Amber
124-140 Green+Blue
141-156 Green+Amber
157-173 Blue+Amber
174-189 Red +Green +Blue
190-206 Red +Green +Amber
207-222 Red +Blue +Amber
223-239 Green +Blue +Amber
240-255 Red +Green +Blue + Amber
Page 12

Macro table
Macro
000-007 Blackout
008-037 Show 1
038-067 Show 2
068-097 Show 3
098-127 Show 4
128-157 Show 5
158-187 Show 6
188-217 Show 7
218-247 Show 8
248-255 Random Show
MASTER/SLAVE MODE
With the menu button, select the master/slave mode (SLnd) and press the enter key
to confirm. In this mode, the “Slave” fixtures will automatically follow the master
present in the same daisy chain (See “Connections” section). At least one of the
Trance light in the chain need to be in “Master” mode. It works with all our Trance
range.
SOUND CONTROLLED MODE
With the menu button, select the Sound mode (SoUn) and press the enter key to
confirm. You can now use the up and down buttons to select 5 different shows. The
colour will change on the rhythm of the ambient music.
Use the up and down buttons to adjust the desired microphone sensibility (Se--) from
00 to 99.
AUTOMATIC MODE
With the menu button, select the Automatic mode (Auto) and press the enter key to
confirm. You can now use the up and down buttons to select 5 different shows.
Press Enter again, you can now choose the desired fixed speed on a scale from 1 to
9.
Page 13

LED MENU
This menu activates the automatic shutdown of the led display.
On “off” position, the led display will automatically shut down the display to make the
fixture as discreet as possible.
REVERSE DISPLAY MENU
This menu allows you to reverse the LED display. This is useful if you hag the unit
upside down for example.
TEST MENU
This menu is used to make a full test of your fixture. It will test every function one by
one to let you detect a failed component in the unit.
USER MENU
In case of an issue, this menu will give you the current firmware version of your
fixture.
Page 14

DMX512 CONNECTIONS
The DMX512 is widely used in intelligent lighting control, with a maximum of 512
channels.
Warning
To avoid signal transmission problems and interferences when using fixtures in
chain, use a Stagg N-series professional 3-pin DMX terminator (resistance: 120
ohms; pin2: DMX-; pin3:DMX+).
FIXTURE CLEANING
An cleaning must be carried out periodically to optimize the light output. The
cleaning frequency depends on the environment in which the fixture operates: A
damp, smoky or particularly dirty surrounding can cause greater accumulation of dirt
on the fixture’s optics. Clean the fixture with a soft cloth and normal glass cleaning
fluid. Always dry the parts carefully. Clean the external optics at least every 20 days.
Page 15

For more info and the latest product updates:
staggmusic.com
EMD Music S.A.
Boulevard Général Wahis 16A
1030 Brussels
Belgium
05/2018
 Loading...