

Page 1
DISTRIBUTOR/DEALER
EMD Music 09-2014-UK
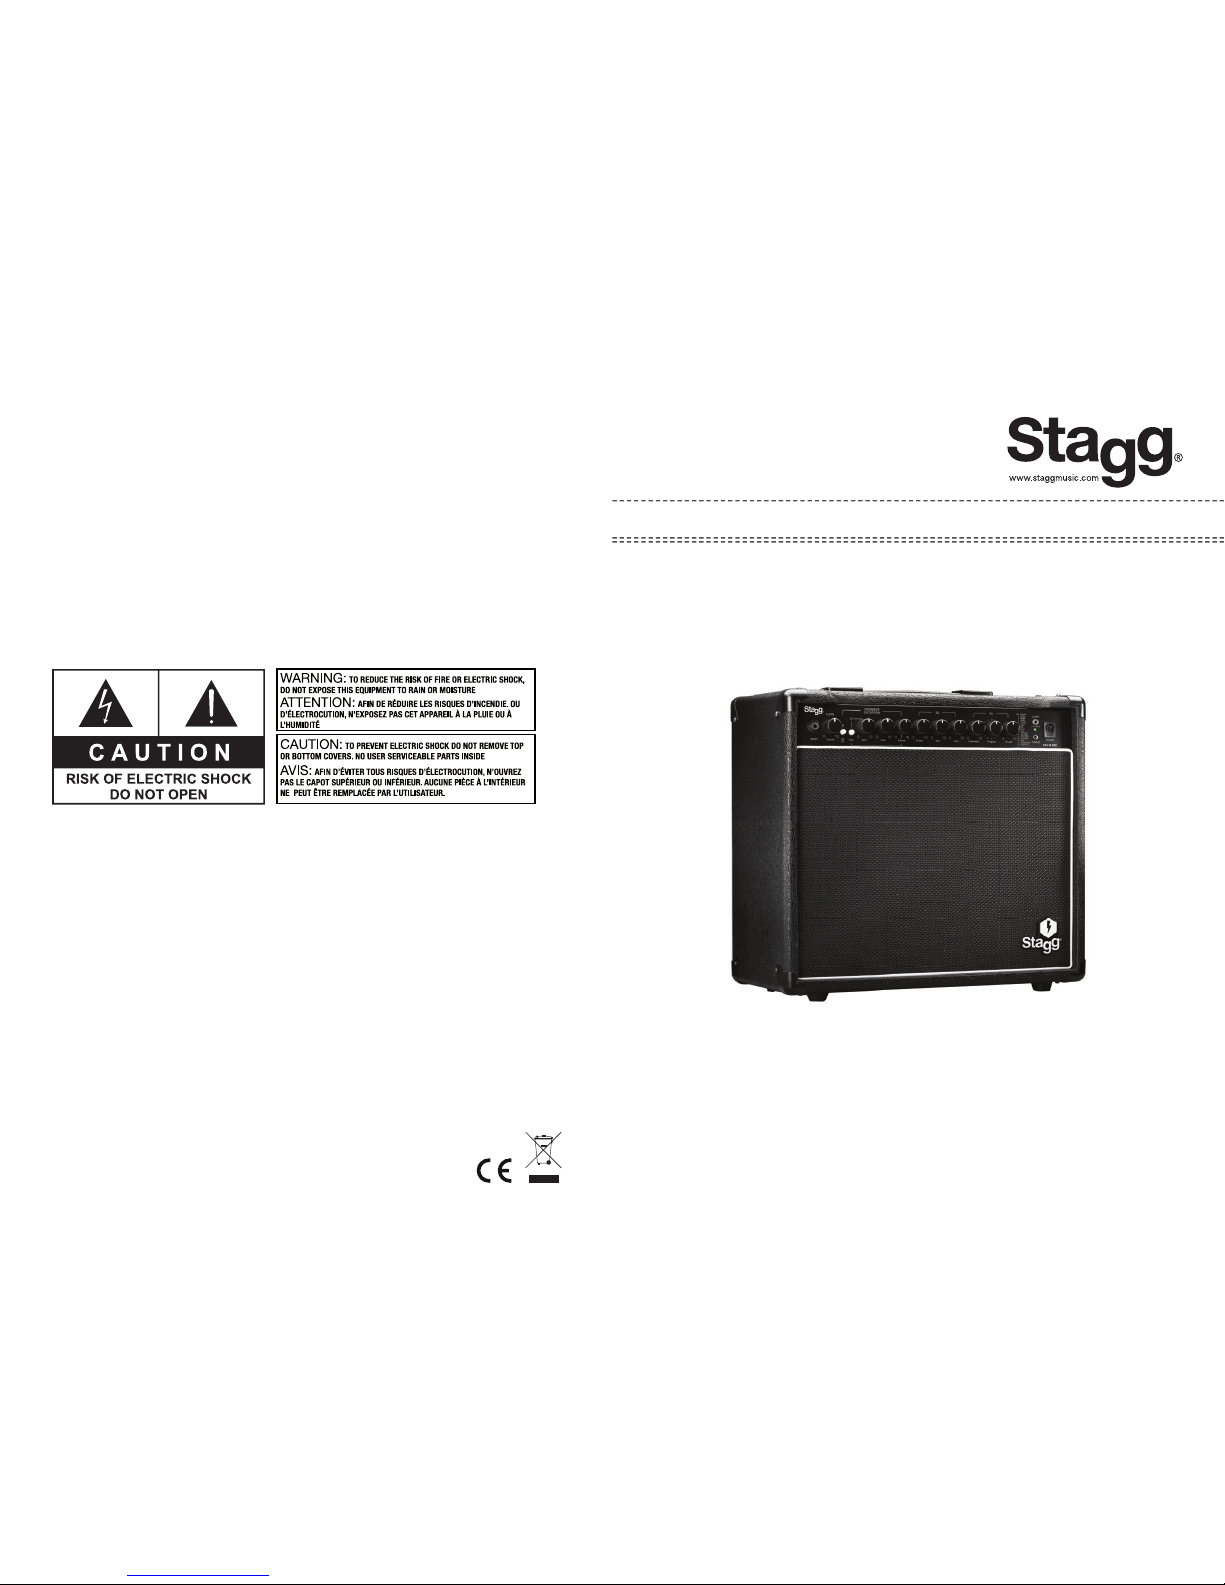
STA 30 DSP
INSTRUCTIONS FOR USE:
Plug the mains lead into a suitable power socket and connect your instrument to the input socket of the
ampli er with a suitable guitar lead (this lead is not supplied with the ampli er, but is normally supplied with
the electric guitar). Finally, press the Power Switch to the ON position, the power LED will glow and your
ampli er is ready for use.
IMPORTANT SAFETY INSTRUCTIONS:
READ AND KEEP THESE INSTRUCTIONS HEED ALL WARNING.
• If, after you have followed the instructions outlined above, your ampli er fails to function, please contact your
dealer. Under no circumstances should the ampli er be opened. Leave all servicing to quali ed personnel.
• Electrical appliances must never be used in conditions of high humidity or heat.
To prevent any risk of re or electric shock, never spill or splash liquids on the ampli er.
Should this happen, unplug the power cable from the mains outlet immediately.
• We would like to draw your intention to the instructions printed on the notice attached to the back of
the ampli er.
• Exposure to extremely high noise levels may cause permanent hearing damage (especially when
using headphones). Please use this ampli er responsibly for you and your neighbourhood.
MARKING & CONFORMITY:
1. The CE mark on this product means it conforms to the EMC Directive (89/69/EEC), CE marking Directive
(93/68/EEC) and Low Voltage Directive (72/23/EEC). .
2. The «Crossed-out Wheeled Bin» is to draw your attention to the WEEE (Waste Electric & Electronic
Equipment) Directive (2002/96/EC). It means this apparatus must be collected separately for recycling.
3.«RoHS compliant» means this device conforms to the Directive (2002/95EC) on the restriction of the use
of certain hazardous substances in electrical and electronic equipments, such as: Mercury, Lead, Cadmium,
Hexavalent Chromium, Polybrominated Buphenyl (PBB) and Polybrominated Diphenyl Esthers (PBDE).
User’s manual
Guitar Ampli er
Page 2
BACK PANEL:
WARNING: This amplier must be earthed. Please check that the supply voltage details given on the
rating label (located on the rear panel) are in accordance with your electricity supply.
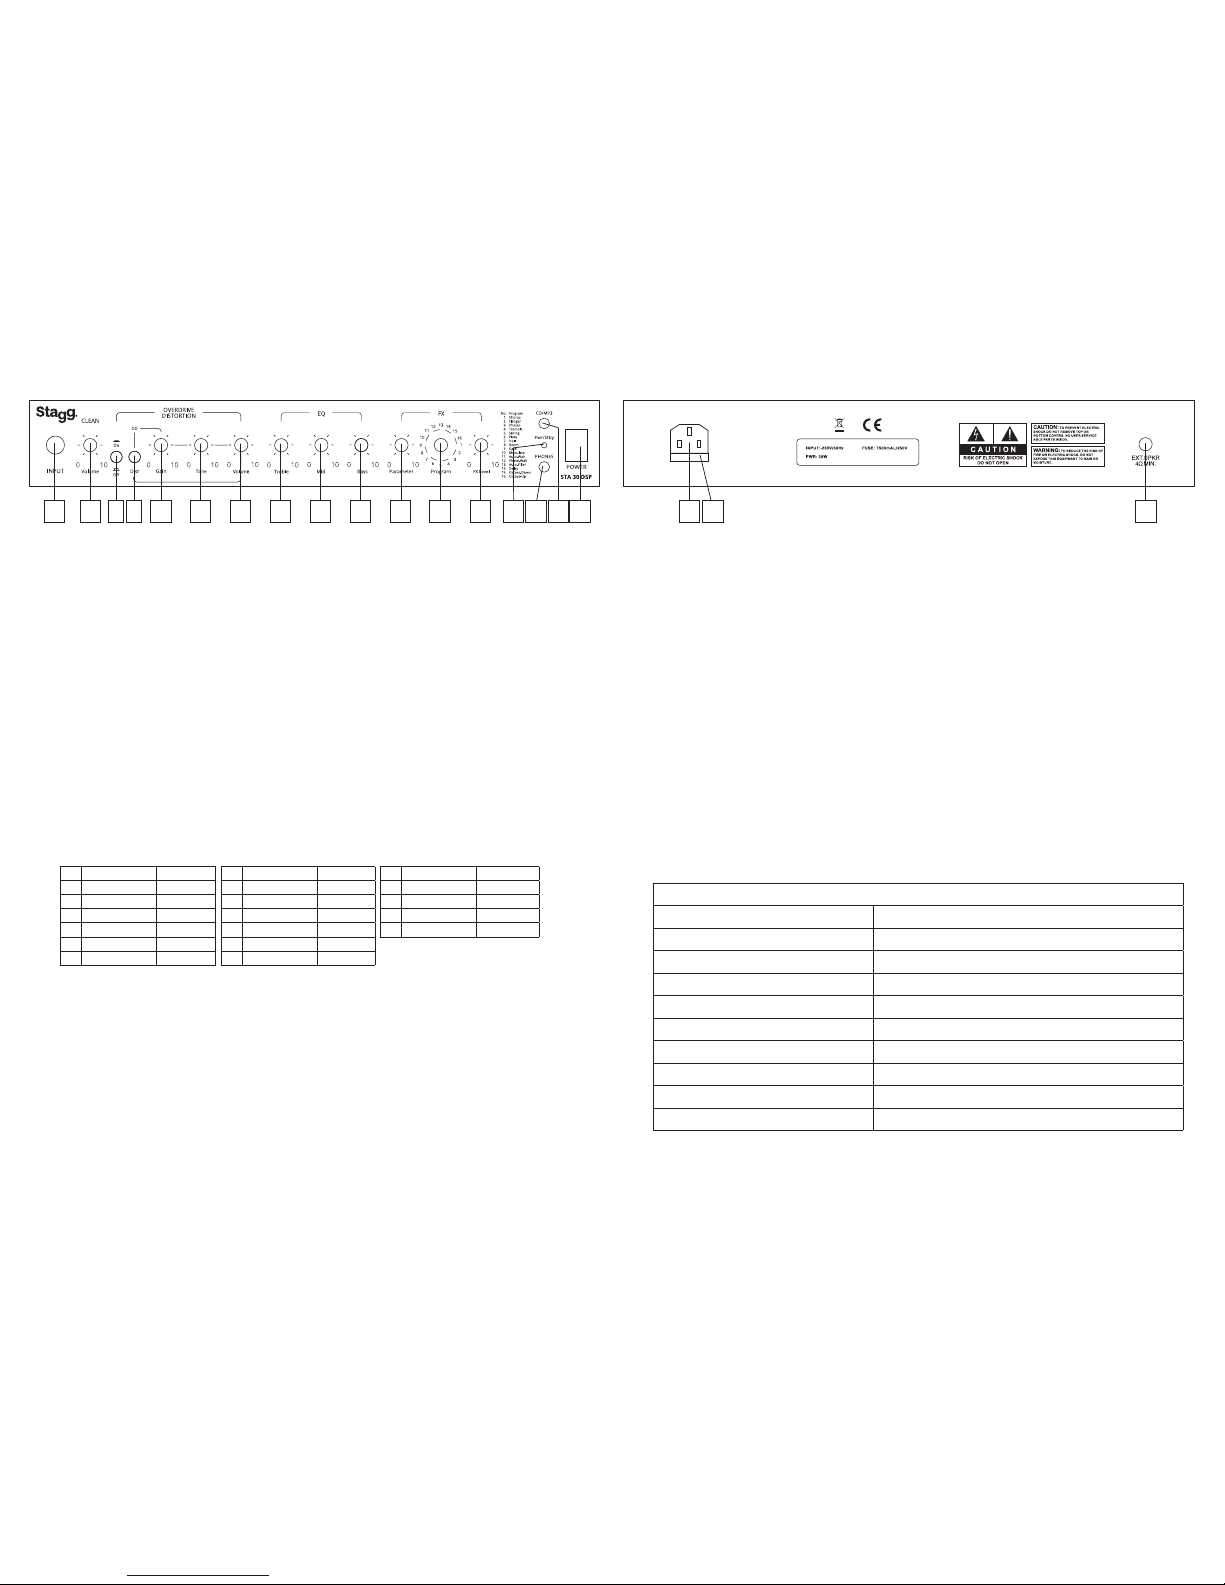
1 EXTERNAL SPEAKER OUTPUT : This is a 1/4” output jack with which you can connect an external
speaker cabinet, if desired. This output is adapted for an 4 Ohm impedance load. The external
speaker must therefore have a minimum impedance of 4 Ohms.
Under no circumstances should you connect a speaker cabinet with impedance under 4 Ohms, as
this can severely damage your amplier. A 8 Ohm cabinet will present no danger, though the full
power of the amplier will be slightly compromised. Always use a suitable speaker cable and NOT a
guitar cable when connecting external speakers.
2 MAINS INPUT: This is the input socket into which the mains power cable must be connected. This
amplier is supplied with a power cable with a moulded-on plug. If the socket outlets in the home are not
suitable for this plug, use an appropriate plug adapter that can handle the power required for the amplier.
3 POWER FUSE: In the event of the power fuse having to be replaced, rst unplug the power cable from the
mains outlet. Then remove the fuse cover and replace the power fuse with another fuse of the same type
and value. Never plug the power cable back into the mains outlet without the fuse cover. If the power fuse
blows up again when powering on the amplier, take the apparatus to a suitable service centre for repair,
please contact your local dealer.
TECHNICAL SPECIFICATIONS
Max. Rated Power / Loudspeaker 30 Watts RMS @ 8 Ohms / HP de 8”
Frequency Response 80 Hz to 15 kHz
Total Harmonic Distortion
0,8% (Clean Mode)
Signal to Noise Ratio - 55 dB @ max Rated Power
Input Impedance
220k Ohms
Power Consumption
30 Watts max
Maximum Input Level
45 mV
Maximum Gain
42 dB (@ 1kHz)
Dimensions (H x W x D)
38 x 41 x 21 cm / 14.8 x 16.3 x 8.3 in
Weight
8,9 kg / 11.6 bl
Features and Specications are subject to change without notice.
FRONT PANEL:
1. INPUT: Plug your guitar in here. We recommend that you always use a STAGG high-quality shielded
guitar cable to prevent any background noise interference or unwanted feedback..
2. VOLUME: This control determines the general output volume of the amplier.
3. ON / OFF DISTORTION / OVERDRIVE: This switch activates the amplier’s built-in distrotion/
overdrive function.
4. OD / Dist: This switch selects overdrive or distortion channel
5. GAIN: This control determines the intensity of the amplier’s overdrive channel
6. TONE: This knob controls the tone of the overdrive channel. Rotating the knob to shape your sound
to sharp to warmer sound.
7. VOLUME: This control determines the output volume of the amplier ’s Distortion/Overdrive channel.
Adding MASTER will make your guitar sound louder and more percussive.
8. EQ TREBLE: This control determines the level of high frequencies in the output signal. Adding
TREBLE will make your guitar sound brighter and sharper.
9. EQ MID: This control determines the level of middle frequencies in the output signal. Adding MID will
make your guitar sound rounder and fuller.
10. EQ BASS: This control determines the level of low frequencies in the output signal. Adding BASS will
make your guitar sound warmer and heavier.
11. PARAMETER: This control determines the intensity of the parameter for the effect selected
12. PROGRAMME: This selector enables the user to choose among 16 internal DSP effects.
13. FX LEVEL: This control determines the mix level of the amplier’s internal DSP effects in relation to
the dry signal when DSP is engaged.
14. PHONES: This is a 1/8” (Ø 3.5 mm) mini-jack output to connect headphones. When headphones are
connected, output is cut from the main speaker.
15. PWR / STBY: This amplier is equipped with an automatic stand-by, in order to reduce power
consumption. When LED is green, amplier is ready to start ; after 20 minutes, if there’s no signal
LED turns RED, which means amplier switched off. Amplier switches on automatically when you
play again.
16. INPUT CD /MP3: This is a line level 1/8” (Ø 3,5 mm) stereo mini jack into which an external signal
can be add (MP3/CD/TABS player)
17. POWER: This switch turns the amplier on or off.
N° Programme Parameter
1 Chorus Rate
2 Flanger Rate
3 Phaser Rate
4 Tremolo Rate
5 Spring Rev Time
6 Plate Rev Time
N° Programme Parameter
7 Hall Rev Time
8 Room Rev Time
9 Gate Rev Time
10 Modulate Rev Time
11 Auto-Wah Rate
12 Phase-Wah Rate
N° Programme Parameter
13 Auto-Filter Rate
14 Delay Delay time
15 Octave-Down Octave level
16 Octave-Up Octave level
1 2 5 6 7 8 9 10 12 14
13
11
3 4
15 16 17
1
2
3
 Loading...