

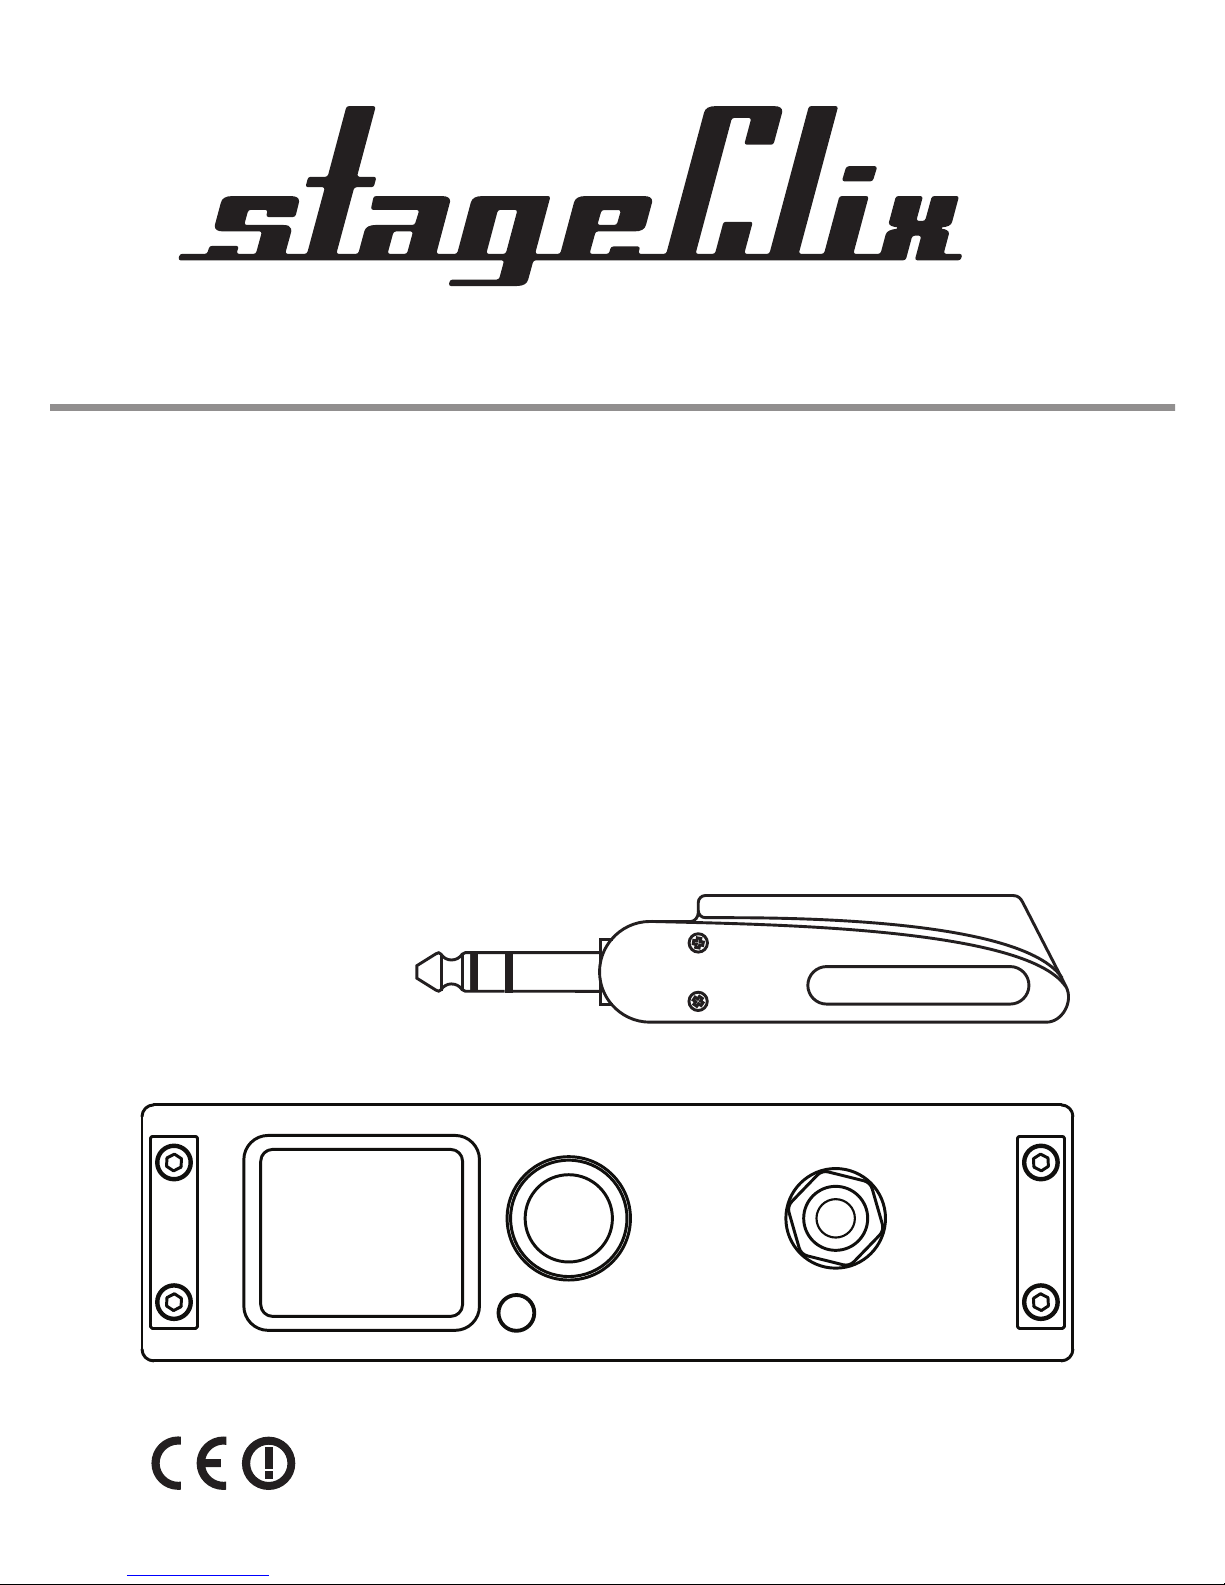
User manual
JACK 5.8
English
Version 4.0 06/2016

ii
A word of thanks
Thank you for choosing stageClix! This unit has been designed with the professional musician in mind.
All units are made with only the best-quality components and
are produced using RoHS-compliant materials. This means
they do not contain any harmful substances, like lead or
mercury. In stageClix, we have developed a highly effective
system that can be used for your favourite instruments or
headset/mics.
If you have any questions, please e-mail them to us at
support@stageclix.com
If you like your stageClix product, please like us on
Facebook and on Instagram.
Safety
Do not open; no user-serviceable parts inside
Warranty void when opened.
Do not use phantom power.
Unit is not waterproof; keep away from water and other liquids.
The maximum operating temperature of this unit is 550C.
Keep away from electric heaters and ames.
Clean using a damp cloth.
Do not use cleaning agents or solvents.

1. What’s in the box?
2. Using stageClix for the rst time
3. Controlling the receiver
4. Changing channels
5. Other settings
6. Controlling the transmitter
7. Signal quality
8. Technical details
9. Warranty
10. Conformities
1
2
3
5
6
7
8
9
10
11
Contents
iii
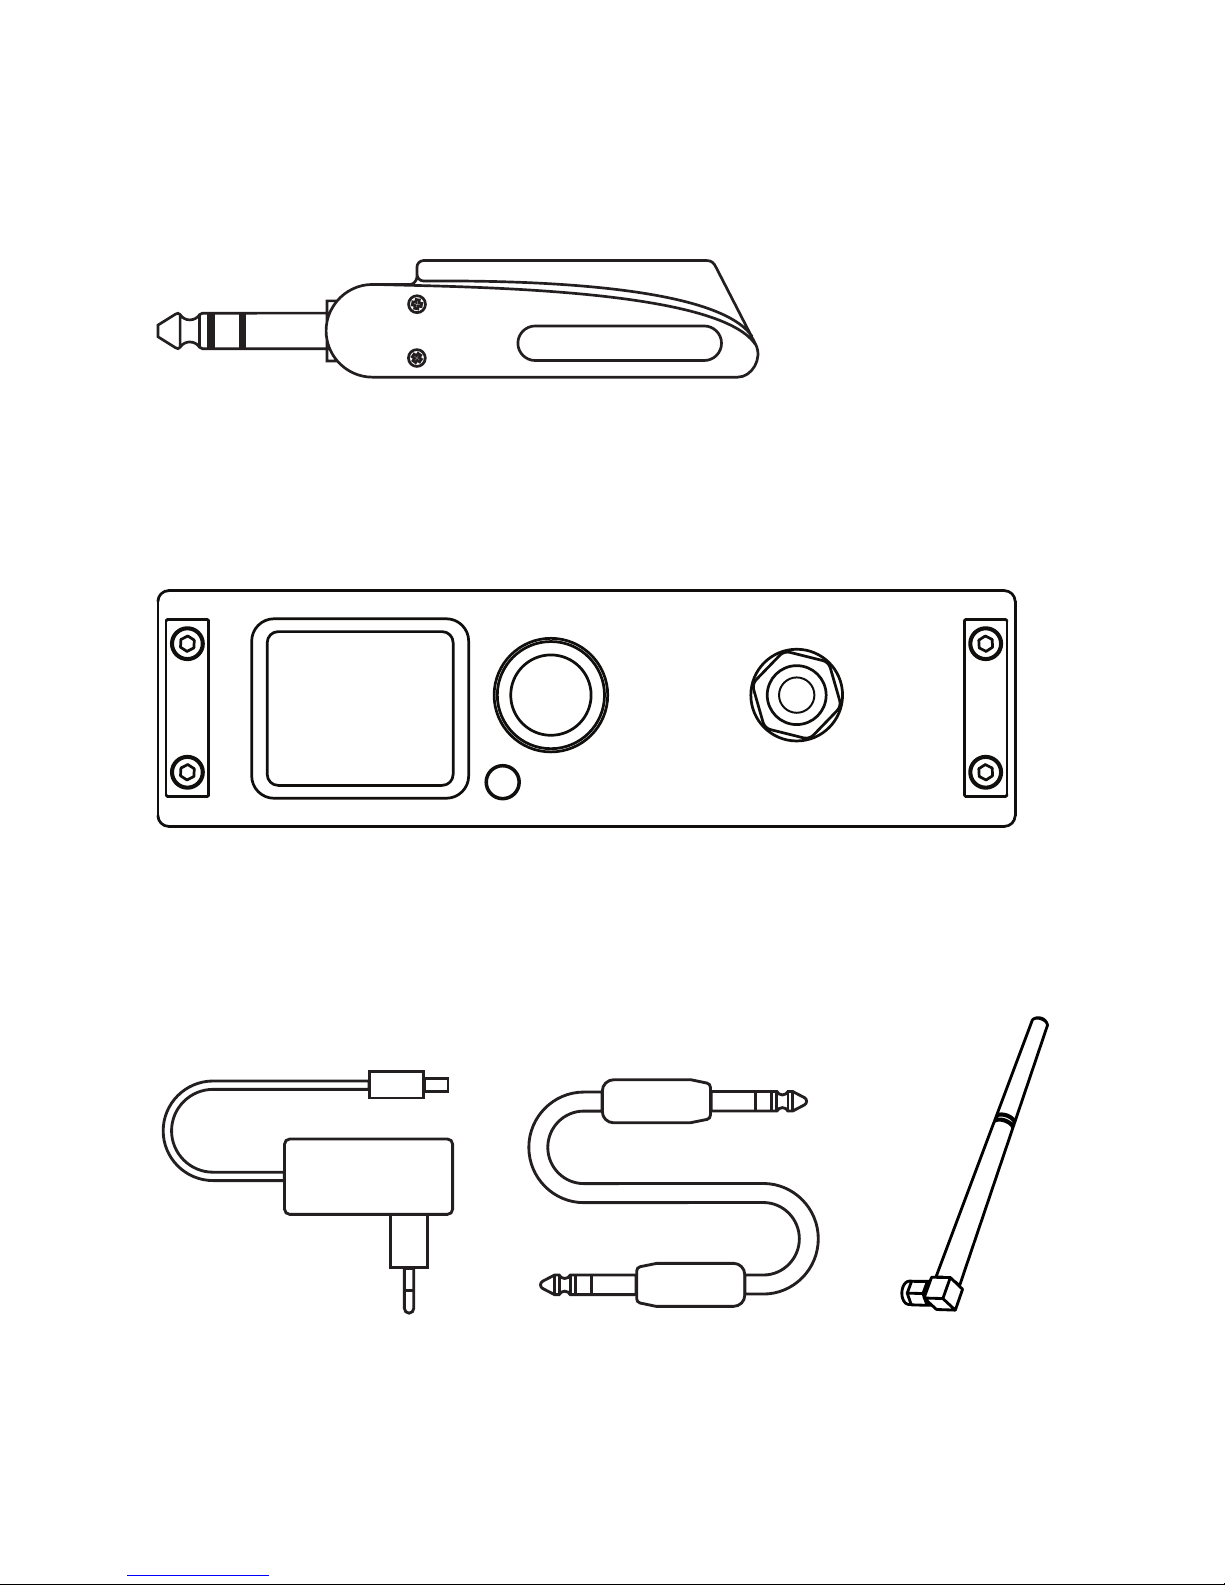
1. What’s in the box?
Transmitter
Power adapter Patch cable 5.8 Ghz antenna
Receiver
1
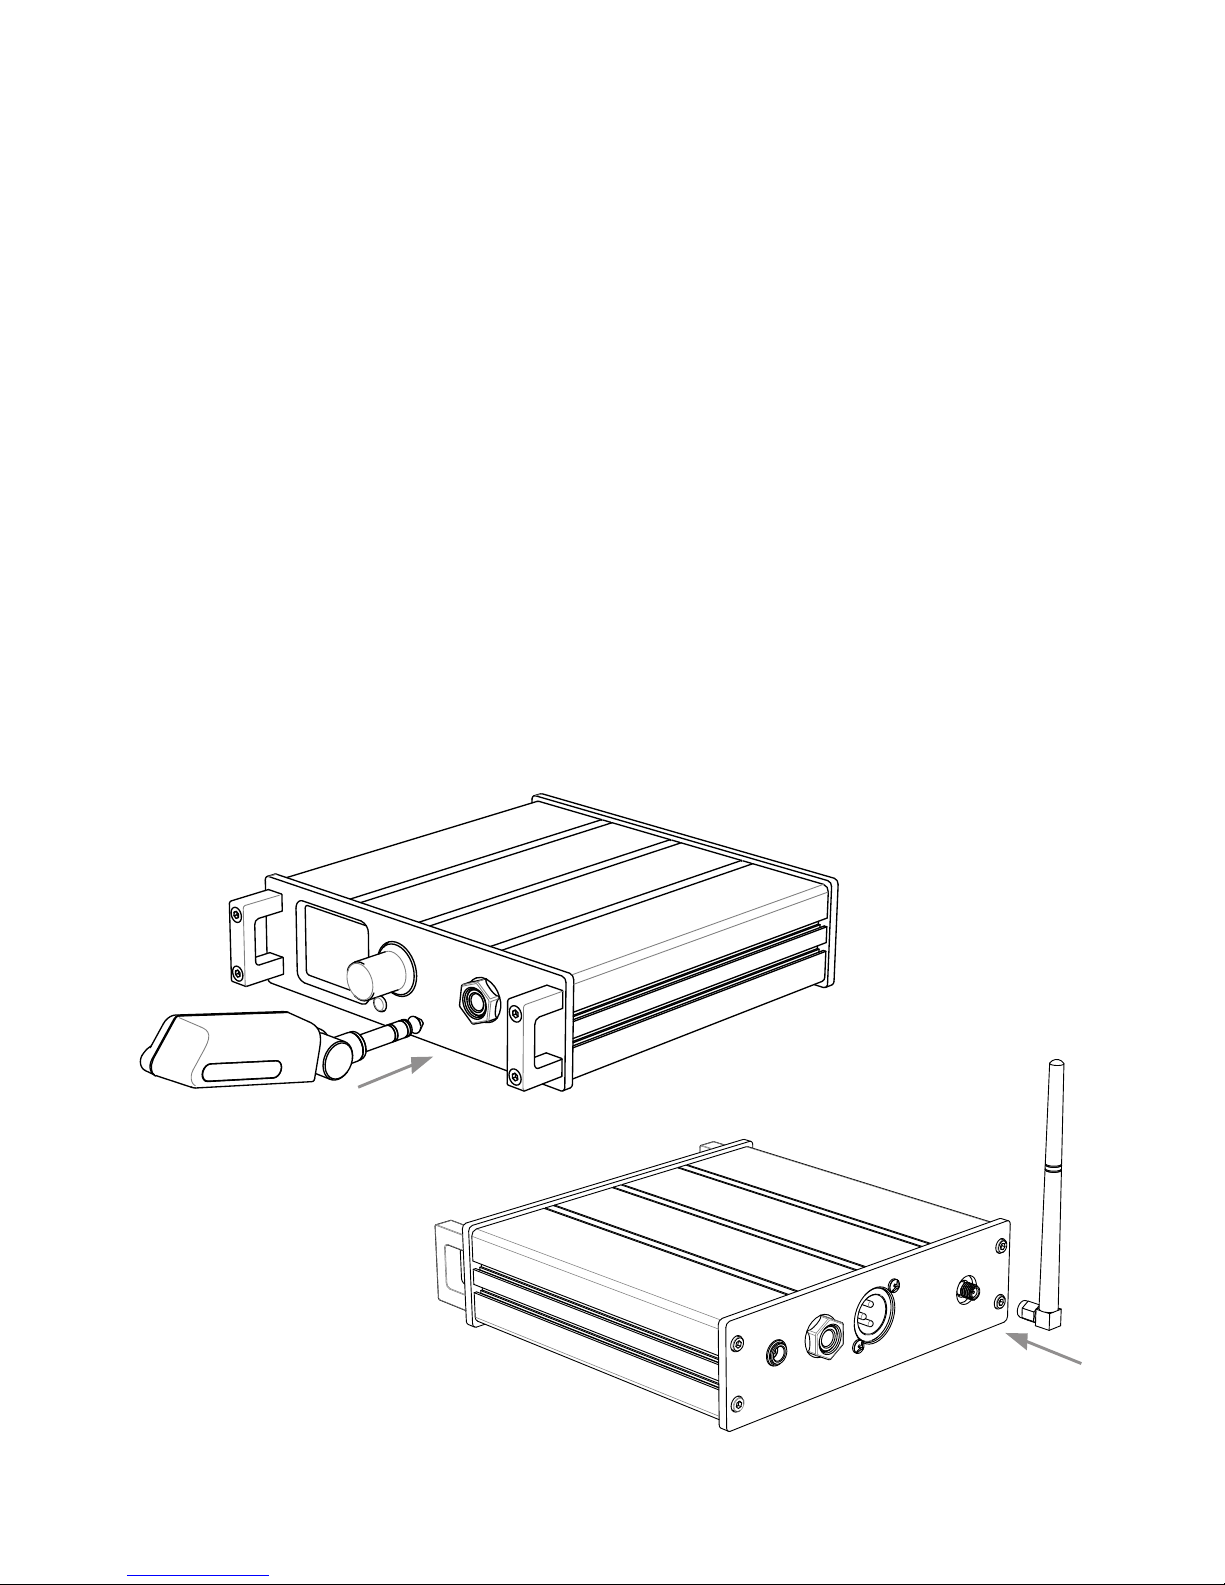
2. Using stageClix for the rst time
1. Attach the antenna to the back of the receiver by turning
the nut clockwise.
(Do not use tools, and do not over-tighten)
2. Plug the supplied mains adapter into a 110-230V power
supply, and the DC plug into the rear-panel DC socket. Only
use the stageClix power supply.
3. Use the supplied patch cable to connect the rear-panel
output jack to your amplier input or to the input of your
effects unit.
4. Plug the transmitter into the front socket marked ‘charge’
and leave the transmitter to charge for some time,
preferably more than one hour.
2

3
3. Controling the receiver
back/cancel button
control knob
Receiver controls
Display items
active channel
signal strength
go to settings
battery status
settings info
VU meter

You can change settings on the receiver by using the control
knob. Rotate to change, and push to conrm your action. You
can go back or cancel at any time by pressing the back/cancel
button.
To enter changes, start by pressing the control knob once.
This will highlight the channel number, and a short help text will
be displayed.
Rotate the button to choose between the highlighted settings
icon and the highlighted channel number.
Press the button again to change the highlighted item.
The highlighted item will automatically revert to the non-highlighted state after a few seconds. You can also press the back
button to achieve this.
highlighted channel highlighted settings
4

4. Channels
If you are going to be using more than one stageClix unit
simultaneously in the same venue, you will need to be able
to switch between channels. To do this, follow the procedure
below, which will also help you resolve any compatibility/
interference issues with other equipment:
Leave the transmitter plugged into the receiver to keep it
synchronized with the receiver while changing channels.
When the transmitter is not plugged in, you can automati-
cally synchronize it by plugging it into the receiver.
Press the control knob to activate channels.
Press the control knob again to change channels.
Rotate the control knob to choose another channel.
Press the control knob to conrm selection of this channel.
5

6
5. Other settings
In the settings menu, you can change the following:
Brightness - Adjust the brightness of the display during
normal operation. (When the receiver is used, the display
will switch to full brightness.)
Invert display - Choose between a white and a black
background.
Active RFI - Active RFI reduces interference with guitar
electronics or piezo pickups.
Press the control knob to activate channels; rotate
to select settings.
Press the control knob to enter the settings menu.
Rotate the control knob to choose between items.
Press the control knob to change a highlighted item.

7
The transmitter can be switched on and off using
the button.
When you unplug the transmitter from the receiver, it will
automatically switch off. To reactivate the transmitter,
press the button.
Plug the transmitter into the receiver to charge it and
synchronize the channel settings.
6. Controlling the transmitter
transmitter button

8
7. Signal quality
• If possible, install the receiver in an elevated posi-
tion, such as on top of an amplier.
• Avoid broadband interference sources like WiFi access points or WiFi-enabled laptops, and switching
power supplies.
• For maximum range, keep the antenna away from
other cables and ensure it is pointing upwards if
possible.
• Stone walls and reinforced ferro-concrete walls can
partially block the signal.
• This system uses a patented digital transmission
technique and unique triple-frequency diversity for a
reliable noise-free link.
• This set contains a transmitter which is legal to sell
in the EU. Some countries may restrict use.
• Refer to www.ero.dk for conformity information.

9
8. Technical details
Receiver
Transmitter
• Full aluminium enclosure
• Rackmount-ready
• Power supply: 9V 1A
• Receiving frequency: 5.8 GHz band (5.725 GHz - 5.850 GHz)
• Receiver sensitivity: -82dBm
• Bitstream audio DAC
• High-quality (industrial) lithium polymer battery: 950mAh
• Polycarbonate housing
• Transmitter frequency: 5.8 GHz band (5.725 GHz -ss 5.850 GHz)
RF output power: 25mW
• Input impedance: 4.7 megohm
• Input capacitance: <100pF
• ESD-protected
• No compander
• Bitstream audio ADC
• Frequency response: 10Hz-21KHz ±3dB @100mVpp

10
9. Warranty
The stageClix product you have purchased is covered by a
warranty for a term of 24 months, commencing on the date of
purchase. Please retain your sales receipt as proof of purchase.
We shall satisfy our warranty obligations by remedying any material or manufacturing faults free of charge at our discretion, either
by repair or by exchanging individual parts or the entire appliance.
This warranty does not cover the following:
• Minor faults or deviations in the quality of the product which
do not affect the product’s value or suitability for its intended
purpose.
• Faults resulting from improper use, e.g. operating errors,
mechanical damage, incorrect operating voltage. Proper use for
the purpose of this warranty is dened as use of the product in
compliance with the conditions stated in these instructions for
use.
• Faults arising from normal wear and tear.
The purchaser bears the cost and risk of return shipment to the
point of sale.
Warranty claims can be made in any country whose statutory
rights are not in conict with our warranty regulations. No other
warranty claims or claims over and above those stated in these
terms and conditions will be accepted.

11
10. Compliances
CE declaration of conformity
This unit has been tested in accordance with the R&TTE Directive:
• ETSI EN 300440-2 (Radio)
• EN 301 489 V1.4.1 (EMC)
• EN 60950 (Safety)
Manufacturer declarations
This unit is compliant with the Restriction of Hazardous Substances
(RoHS) Directive.
Handle and dispose of the transmitter and receiver with care.
• To replace the batteries, contact stageClix or an authorised stageClix dealer.
• Incompatible batteries or charging using any device other than
the stageClix receiver can cause serious injuries or damage to your
stageClix product.
• Never throw the transmitter or receiver on a re.
• Follow all local regulations when disposing of this product.
• Never place the transmitter or receiver on or in a heating device,
such as a microwave oven, stove, or radiator. The transmitter contains batteries that may explode when overheated.
• Never crush or puncture the transmitter or receiver. Avoid exposing the transmitter and receiver to high external pressure, which
can lead to an internal short circuit and overheating. • Protect the
product from damage.
• Avoid exposing the transmitter and receiver to very low or very
high temperatures (below 0°C/32°F or above 45°C/113°F). Extreme
temperatures can reduce the battery life of the transmitter.
• Never use a damaged transmitter or receiver.

Ensure maximum battery and charger life
• Avoid charging the transmitter for more than a week, as continu-
ous charging may shorten battery life.
• Over time, unused batteries will discharge. Do not allow the
batteries to fully discharge over time, since this can cause them
damage.
• Charge the transmitter before use.
• Disconnect the receiver from power sources when not in use.
• Use the transmitter only for its intended purpose.
Correct disposal of this product
(Waste Electrical & Electronic Equipment)
(Applicable in the European Union and other European countries
with separate collection systems)
If the product, accessories or literature bear this mark, it means
that the product should not be disposed of with other household
waste at the end of its working life. To prevent possible harm
to the environment or human health from uncontrolled waste
disposal, please separate these items from other types of waste
and recycle them responsibly to promote the sustainable reuse
of material resources. Household users should contact either
the retailer from whom they purchased this product, or their local
government ofce, for details on where and how they can take
these items for environmentally safe recycling.
Commercial users should contact their supplier and check the
terms and conditions of the purchase contract. This product and
its electronic accessories should not be mixed with other commercial waste for disposal.
12

www.stageclix.com
The Netherlands
stageClix is a trademark of QDES Works BV. QDES Works BV shall
in no event be liable for damages arising from use of this product.
 Loading...