

SSV Works BMC Installation And User Manual
MOUNTING INSTRUCTIONS
There are two mounting options for the BMC.
A) Surface Mount
B) Flush Mount
A) Surface Mount:
- Find a suitable mounting location for the BMC.
- Clean surface with alcohol or similar cleaner.
- Peel double stick tape & adhere to back of BMC then adhere it to mounting location
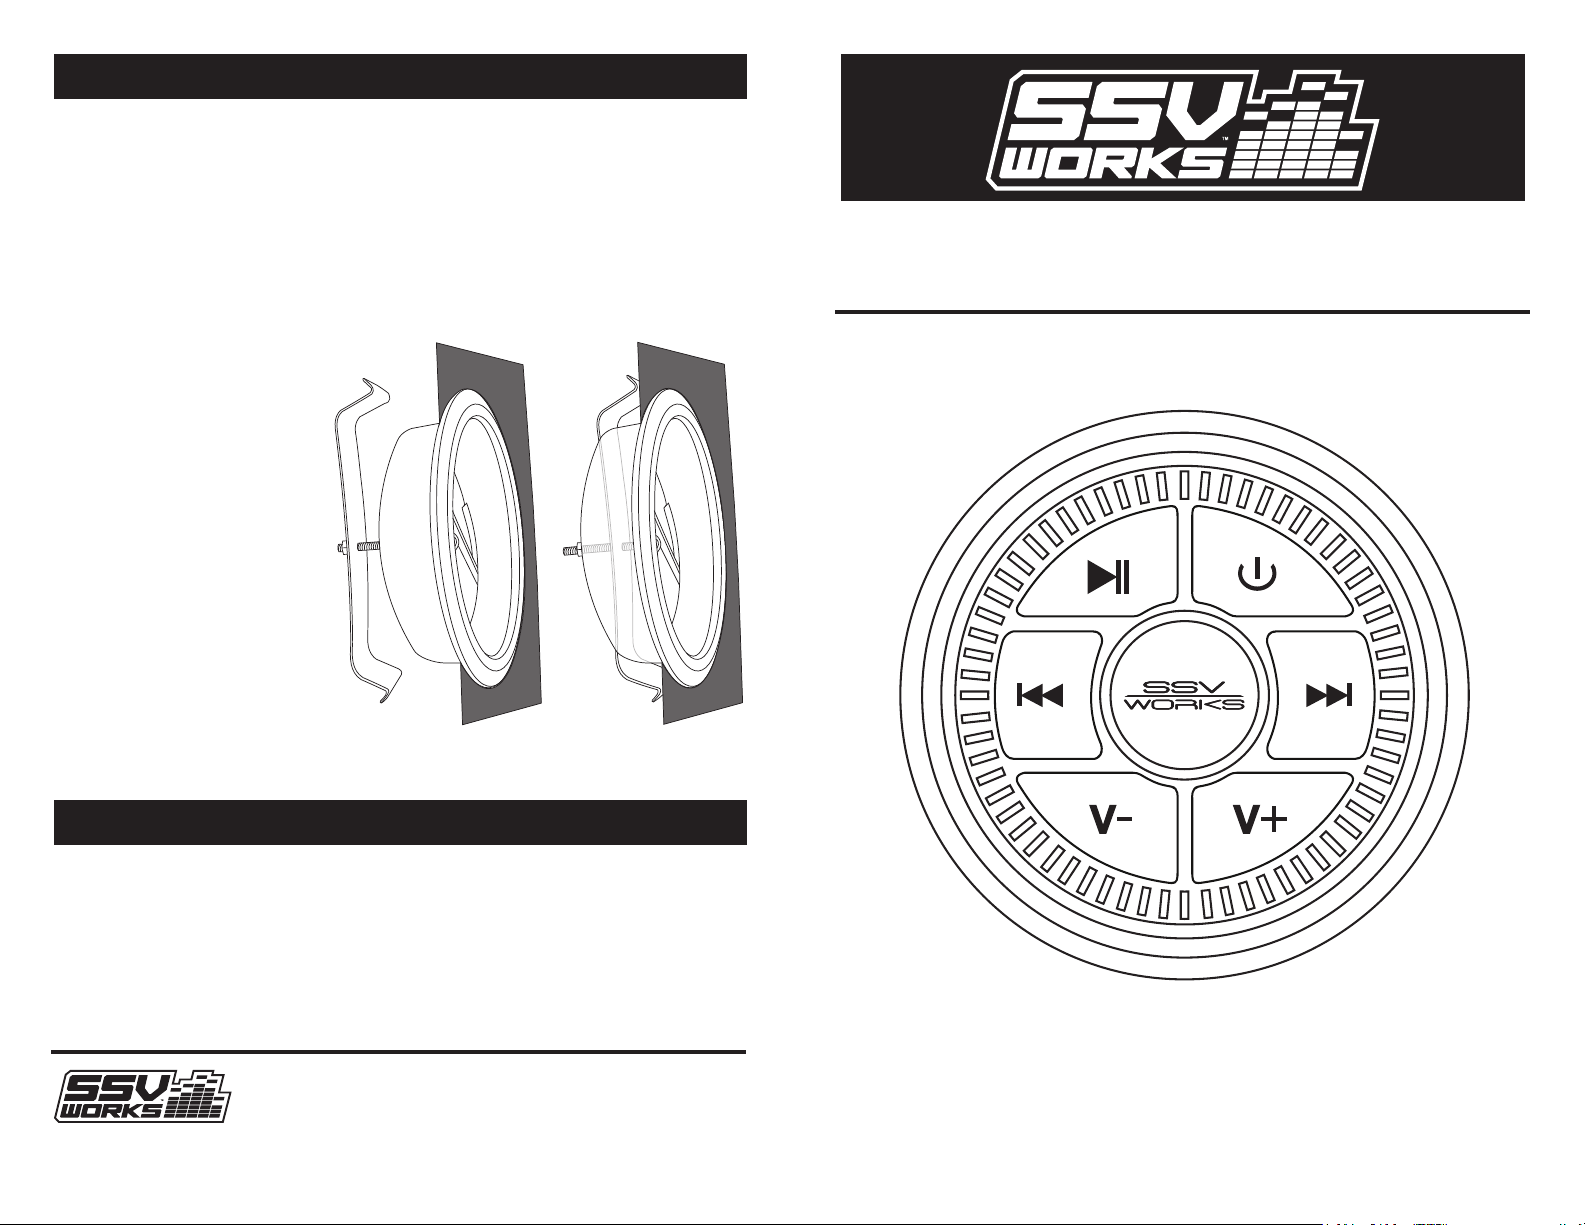
B) Flush Mount:
- Find a suitable mounting
location for the BMC.
- Ensure you have at least
1 inch of clearance on the
back side of your selected
mounting location.
- With a 3” hole saw, drill
a hole in your selected
location.
- Insert the mounting cup.
Attach retention clip with
allen screw.
- Run cable through the
mounting cup and snap
BMC in to the cup.
Installation and User Guide
WIRING INSTRUCTIONS
Red – 12volt accessory
Black – Ground
Blue – Amplier turn on
Corporate: SSV WORKS, 201 N. Rice Ave Unit A, Oxnard, CA 93030
Web: www.SSVworks.com | Phone: 818-991-1778 | Fax: 866-293-6751
The Bluetooth® word mark and logos are registered trademarks owned by Bluetooth SIG,Inc. and any use of such
marks by SSV Works is under license. © 2017 SSV Works, Oxnard, CA 93030 BMC Rev. D 4-10-17
Blue RCA – Right Audio signal to Amplier
Black RCA – Left Audio signal to Amplier
BMC
Bluetooth® Media Controller
SAFETY INFORMATION BUTTON LOCATIONS AND FUNCTIONS
Do not attempt to disassemble or repair the BMC yourself. Please call SSV Works for
technical assistance or repair information. Changes or modications to the BMC not
authorized by SSV Works will void the warranty.
SSV Works recommends disconnecting the negative battery terminal before
beginning any installation.
!
2
3
KIT INCLUDES
- Bluetooth Media Controller
- Mounting Cup
- Retention Clip
TOOLS NEEDED
- 3” Hole Saw (for ush mount intallation only)
- Wire Strippers
- Wire Crimpers
BLUETOOTH® PAIRING
1. Open the Bluetooth® setup program
on the mobile device and activate the
Bluetooth feature.
2. Turn on BMC using the power button
(Center LED will have 2 quick blinks
then pause)
3. Press the power button again and the
center LED will blink rapidly.
4. The device will show up as “SSVworks
BMC”. Select this device.
5. The center LED will go solid to indicate
pairing is complete.
- Machine Screw
- Allen Wrench
- Double Sided Stick Tape Pad
6. The SSV Works BMC was designed
to default to maximum volume when
turned on. This is so the paired device
can be used as the master volume
control.
If the BMC will be used as the master
volume control, the volume on the
paired device should be set to 90%,
then any volume adjustment can be
done on the BMC.
Note: A previously paired Bluetooth®
mobile device will automatically
connect to the BMC when unit is
turned on (if it is within range).
4
6
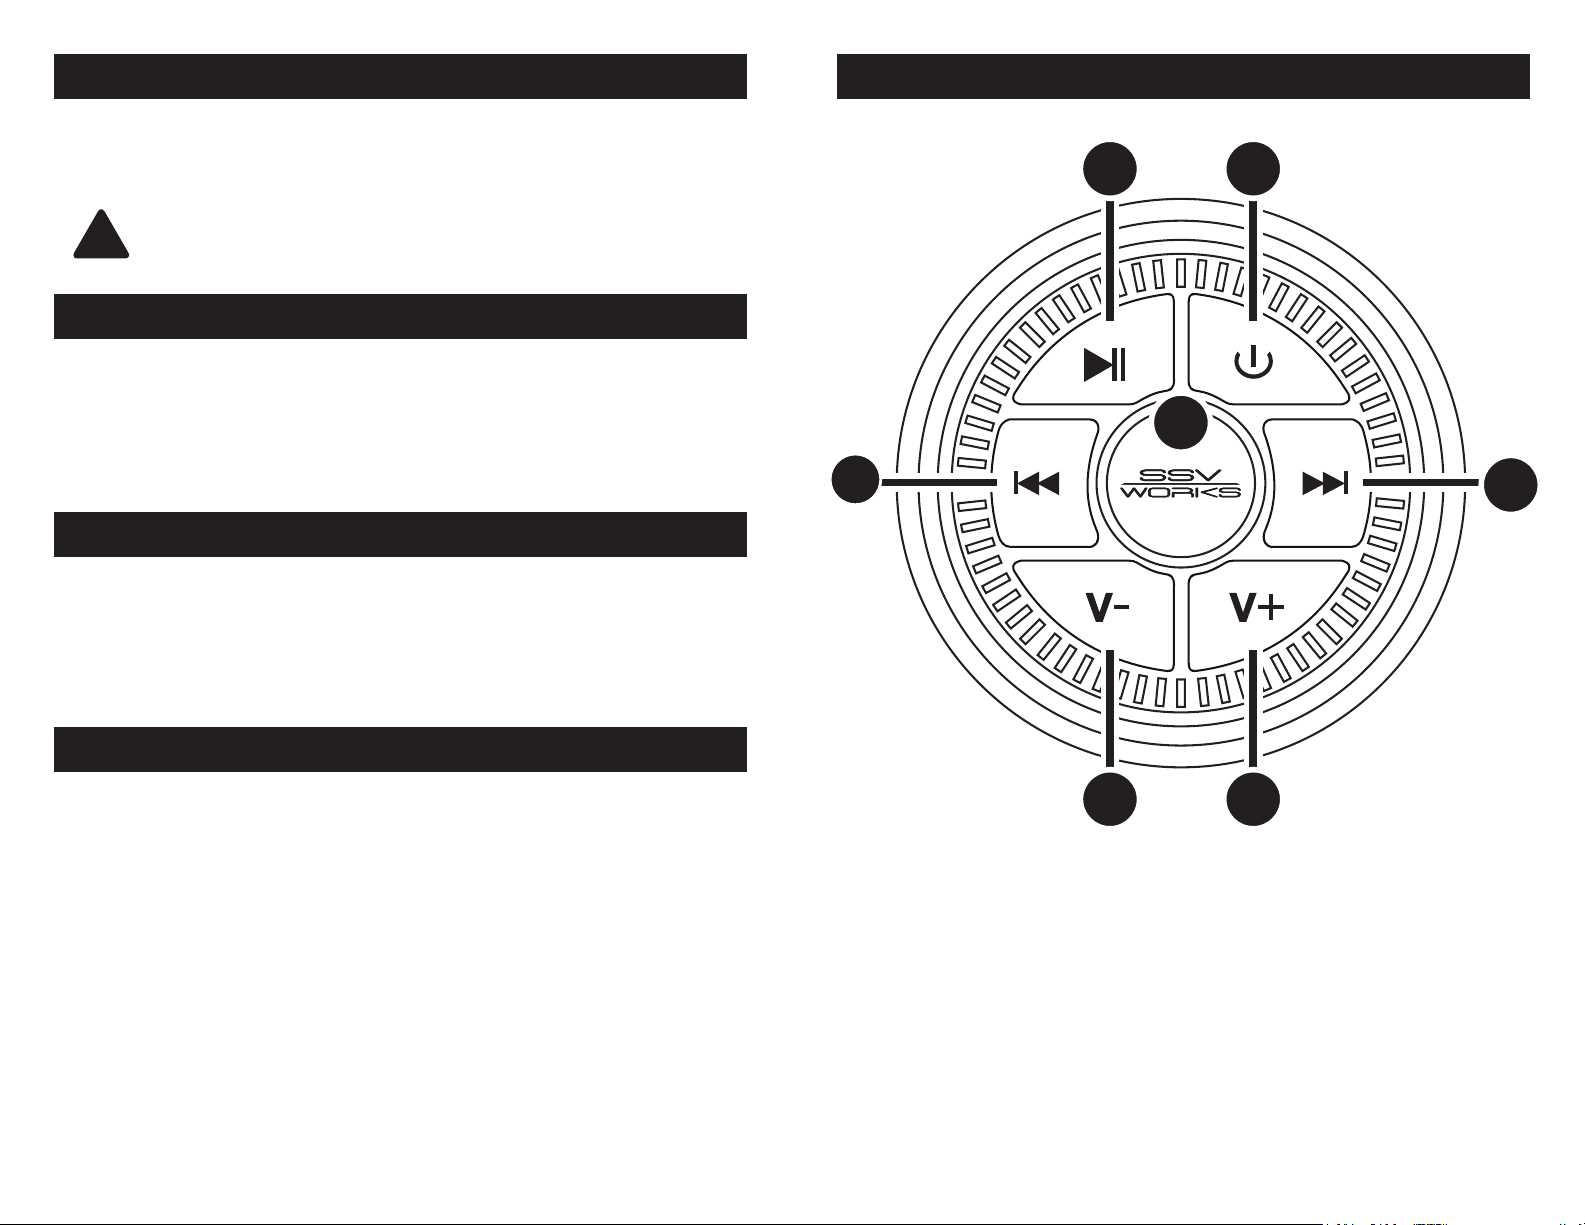
1. Center logo LED Indicator
- Fast Blinking – Discoverable Mode
- 2 Quick blinks – Looking for Paired
device
- Solid on – Device paired and ready
for use
2. Play/Pause Button
3. Power Button – Press and hold for 2
seconds to turn on.
1
5
7
4. Track Back Button
- Quick press to go to Previous track
5. Track Forward Button
- Quick press to go to Next track
6. Volume Down Button
7. Volume Up Button
 Loading...