

SSE AIRTRICITY, Airtricity ENVI User Manual

AN ENERGY
COMPANY
HELPING YOU
USE LESS
ENERGY
* For illustration purposes only
A QUICKSTART
GUIDE TO THE
SSE AIRTRICITY
SMART ENERGY
MONITOR
2 3
Before you get started
The Airtricity Smart Energy
Monitor does not require you to
carry out any electrical wiring.
However, the transmitter has to
be installed at the meter near
the electrical supply to
your property.
If you have any doubt about
how to install it safely do not
attempt to install it yourself,
but consult a qualified
electrician.
Similarly, if you notice anything
unusual about your electricity
supply, such as loose wires,
exposed cabling, burn marks or
holes in the insulating materials
or damage to your meter then
STOP immediately and consult
a qualified electrician.
Do not attempt to repair or
service any part of the Airtricity
Smart Energy Monitor. Contact
our Customer Service team if
you need assistance.
Do not immerse the product
in water, or any other liquids.
Do not expose the product to
heat, flame, steamy conditions
or extreme cold. Do not open
the equipment or touch any
of its electronic circuitry.
Do not hit, strike or drop the
equipment. If the display gets
broken take special care not to
touch the liquid crystals.
Do not use this product for
any purpose other than for
which it was intended.
Now you’re in control!
We’re delighted you’ve
made the decision to start
reducing your energy use
and your electricity bill by
signing up for an Airtricity
Smart Energy Monitor.
This guide will help you get
set up (it really only takes
a couple of minutes) and
give you a few tips on how
to use your new monitor.
Enjoy your savings!
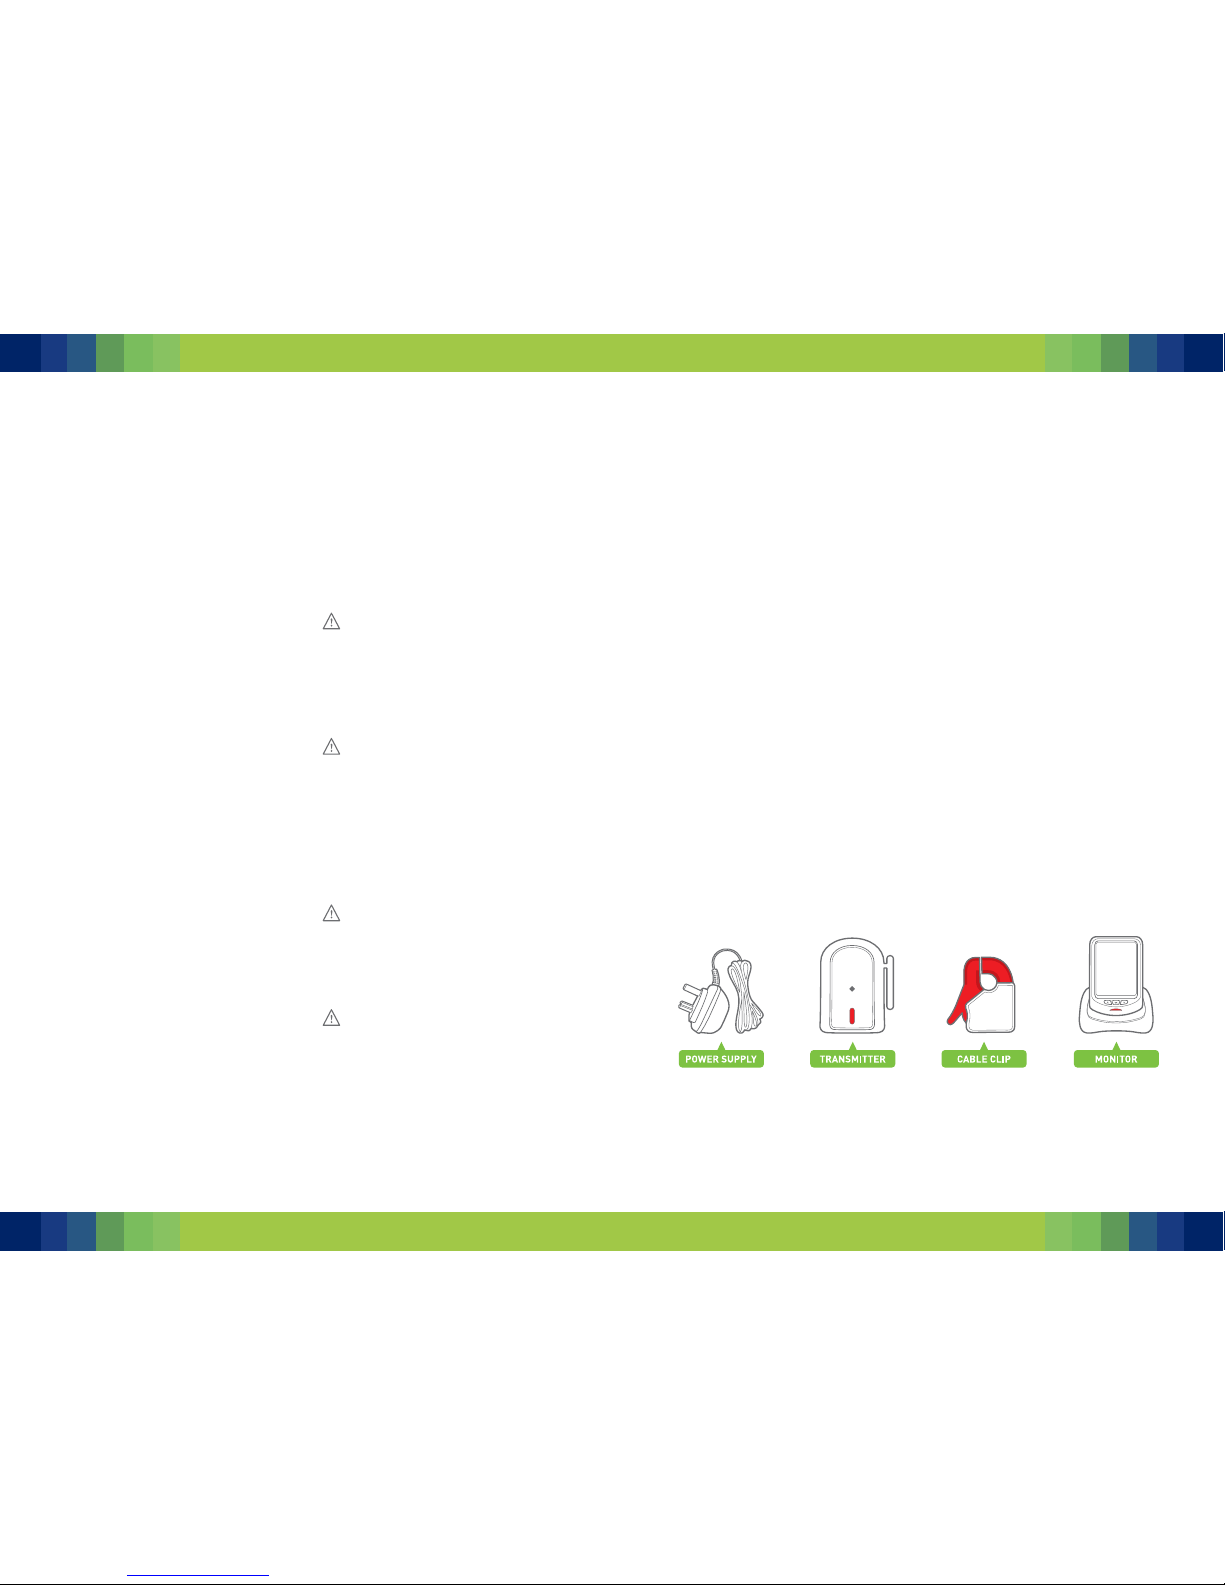
What’s inside?
4 5
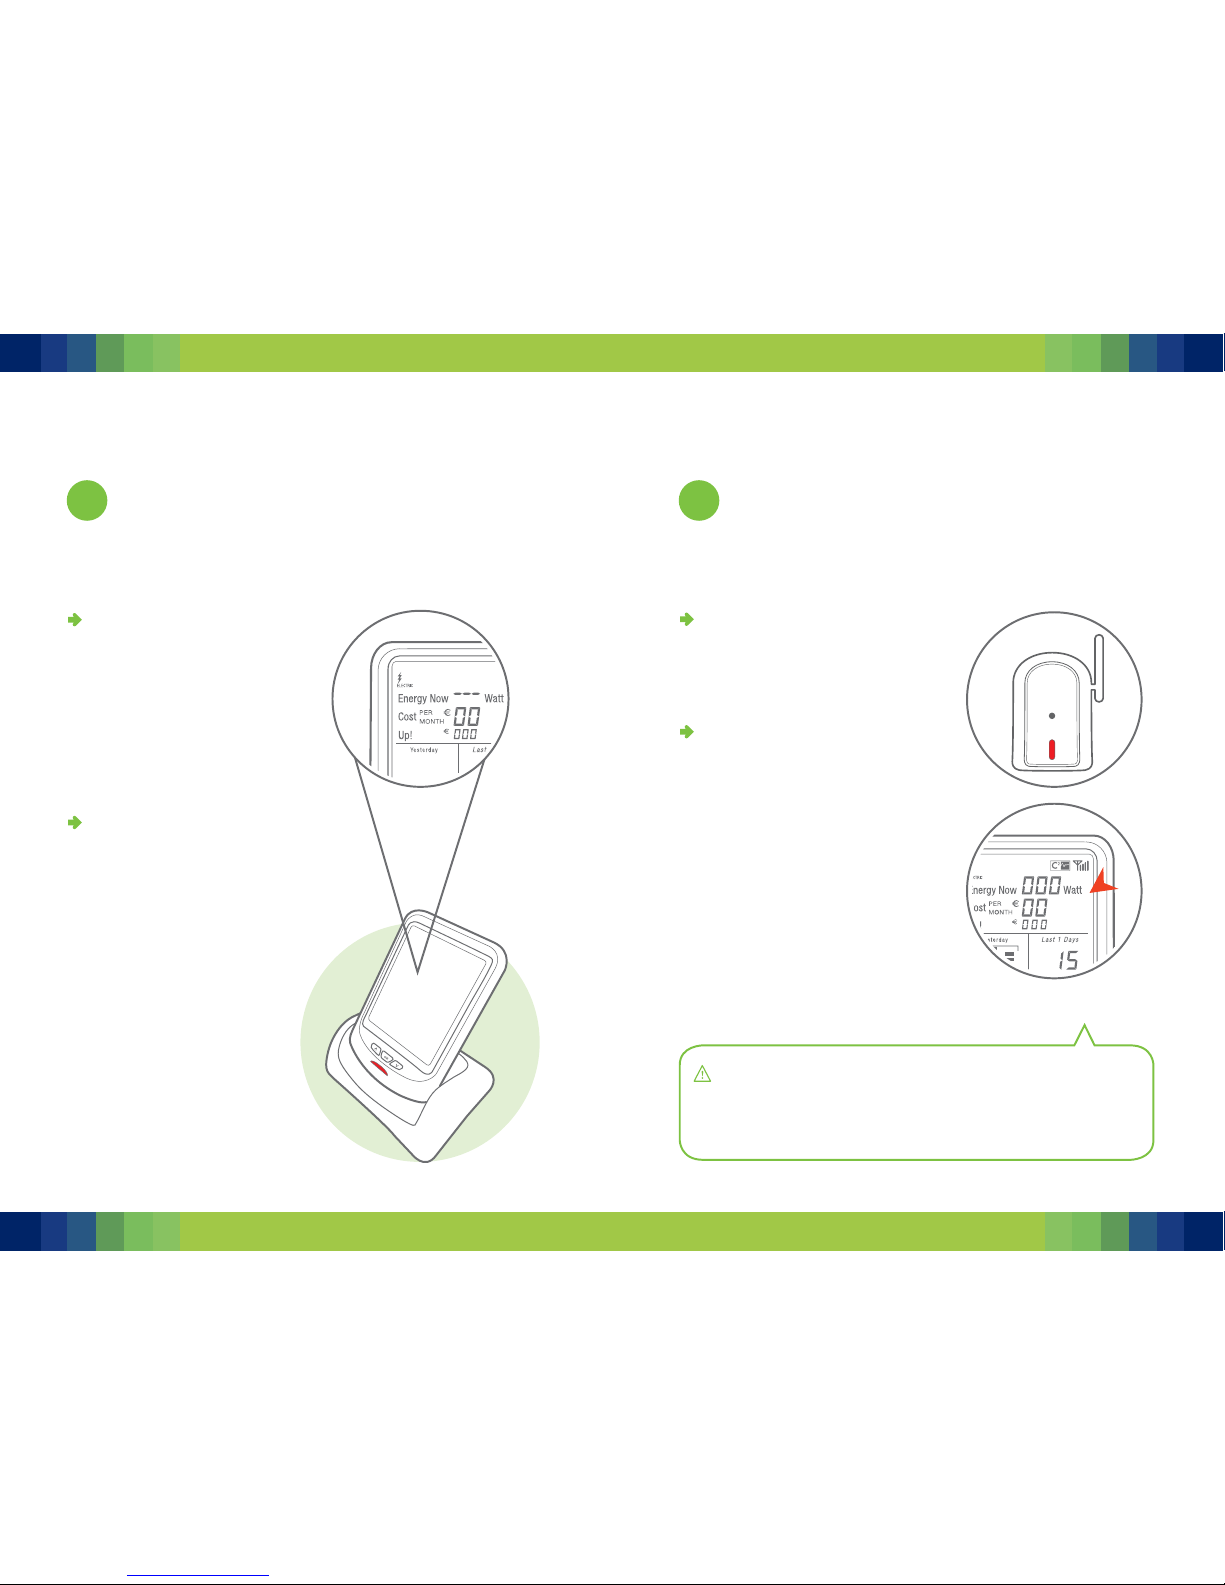
Plug in the monitor
Plug the monitor into
a convenient wall socket,
somewhere that you’ll see
everyday, such as your
kitchen or sitting room.
(It can work up to 30
meters away from your
meter box.)
The monitor will show
dashes (- - -), which means
the unit is turned on, but
not yet connected to your
transmitter.
1
2
Activate the transmitter
Remove the clear plastic
battery tab from the
underside of the black
transmitter.
Now look at the monitor,
which will show ‘0 Watt’.
At the top right of the
display you’ll see an
aerial icon, which means
it has been paired to the
transmitter and is
ready to use.
The transmitter works within a distance of 30 meters, so if you
have a nearby neighbour who also has a monitor, you need to pair
your monitor to the transmitter to ensure you don’t pick up their
signal. See Troubleshooting for instructions on pairing the devices.
6 7
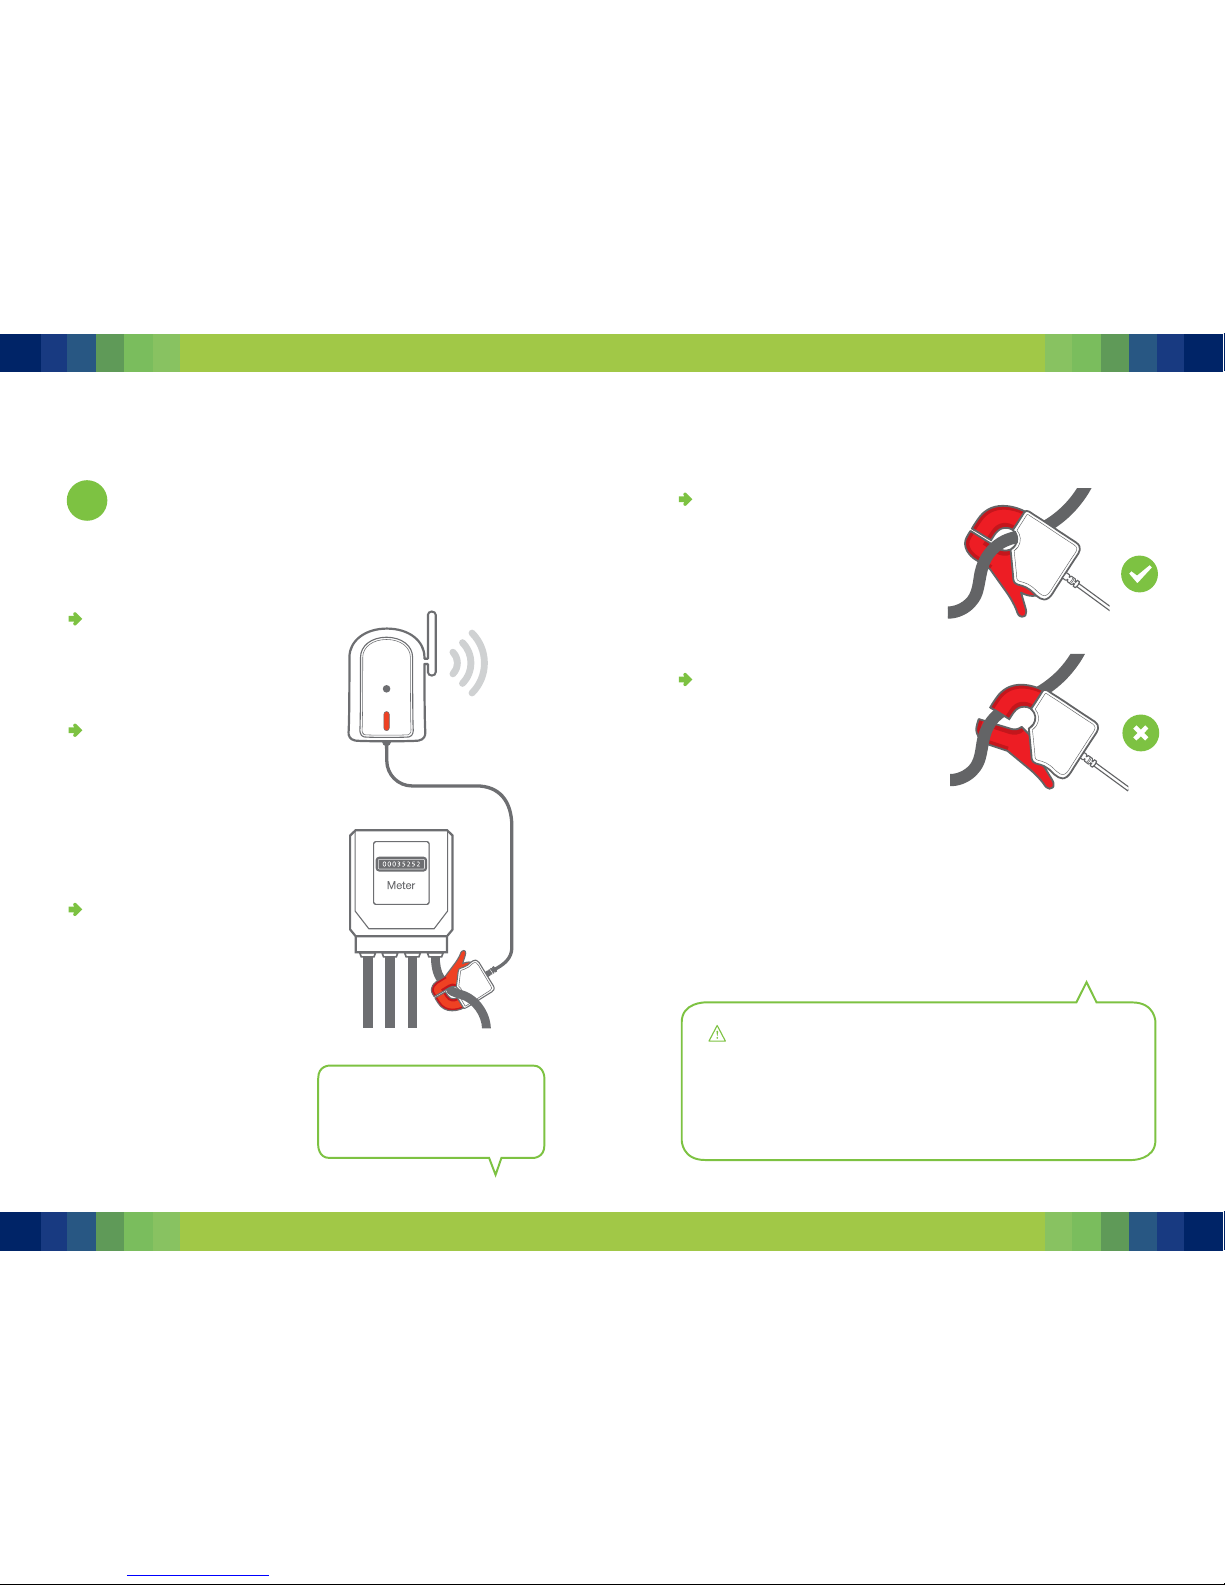
3
Connect the transmitter
to the meter
Plug the cable clip into
the middle socket on
the underside of the
transmitter.
Take the transmitter
with the cable clip to your
electricity meter box.
(Your meter box is often
found on an outside wall,
in the garage, utility
room or porch.)
Find the thick round
wires connected to your
meter. Identify the ‘live’
cable, which you may
be able to pick out
because it runs from
your electricity meter to
your fuse box. It is often
the fourth cable from the
left, or it may have a red
marker to identify it
from the other wires.
(Don’t worry, you can’t
damage anything by choosing
the wrong cable.)
Attach the clip around
your live cable, being
careful not to pull or bend
the cable too much. The
clip should fit effortlessly
around the cable and
shouldn’t pinch it.
Place the transmitter
in a dry place where it
won’t get knocked over or
damaged. It is supplied
with a velcro sticky pad on
the reverse so you
can stick it on the wall,
if necessary. For the best
signal make sure the
aerial on the transmitter
is in an upright position.
Before installing, check that your cables are in good
condition. Hazards to look out for are: deterioration (such as
loose wires), exposed copper wiring, burn marks or holes in the
cable insulation, excess heat or cracking noises, damage to the
meter. If you notice any of the hazards listed, consult a qualified
electrician or ESB Networks at 1850 372 757.
 Loading...