

Page 1
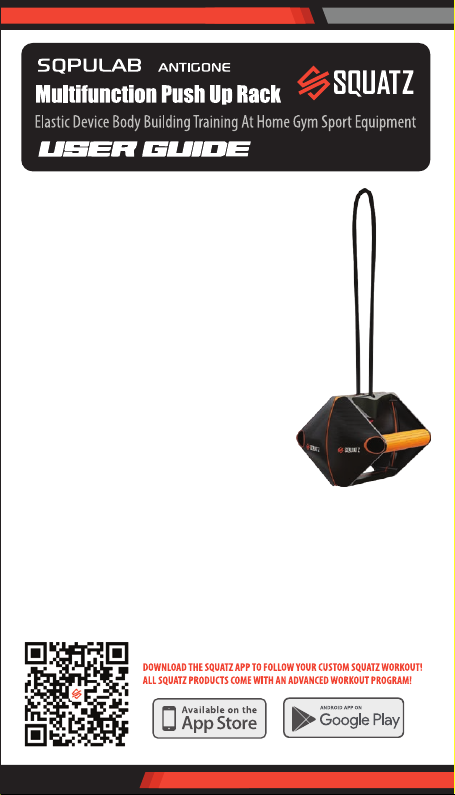
Features:
• Sturdy Built Handles
• Designed Comfortable to the Hands
• Lightweight and Portable
• Anti-Slip Handles
• Combined with Exercise Resistance Bands
• Brings Ultimate Convenience Workout
• Improves Strength, Power and Cardio
• Elastic Resistance Band Can Shape Arms, Legs and Hips
• Suitable for Muscle Training
What's in the Box:
• (2) Push-ups • (2) Elastic band (10lbs./20lbs.)
Technical Specs:
• Construction Material: Black shell: ABS, Orange Grip: TPR,
• Two elastic bands: Latex
• Weight Capacity: 440.9 Lbs.
• Weight: 2.20 lbs.
• Product Dimensions (L x W x H): 8.27" x 7.08" x 7.88" -inches
www.SQUATZ.com
Page 2
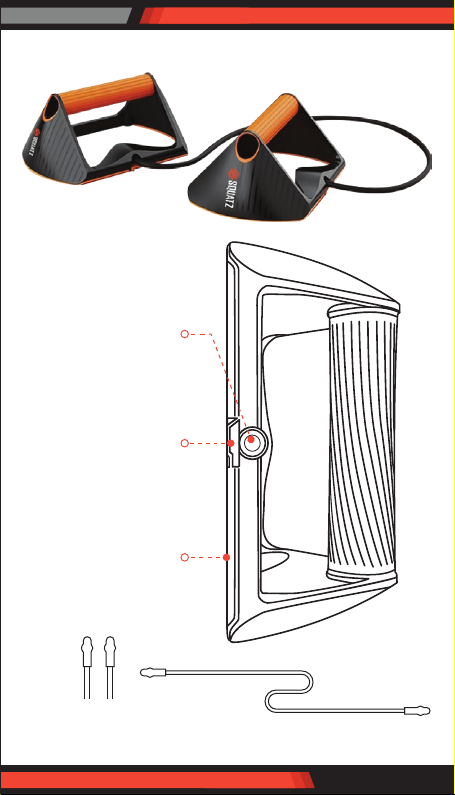
Product Description
Tension rope hole
Anti-skid buckle
Anti-skid silicone pad
* With 2 pull ropes:
10lb * 1, 20lb * 1
Tension rope
www.SQUATZ.com
Page 3

Instructions
Warming Up: Start with 5 to 10 minutes of stretching and light exercise.
A warm-up increases your body temperature, heart rate, and circulation in
preparation for exercise.
1. ShouIder Circumference: Take the shouIder as the center, draw a circle
around the arm, and feeI the activities of shoulder joints and shoulder
blades. Maintain natural breathing, which can expand the chest and
relax the shoulder joints.
2. Stretch the Neck: Stretch the neck from side to side. Close the neck to
the left and right shouIders, and stretch the sides of the neck and
shouIders as much as possible. Stretch the neck forward. Try to use your
chin cIose to your chest and stretch the muscles behind your neck.
3. Thoracic expansion exercise: Open your feet, shouIder wide, bend
your eIbow 90 degrees, and Iift your upper arm so that it is shouIder high;
Inside eIbow Swing outward. When swinging inward, make the eIbow
joint touch each other, and swing backward as far as possible when
swinging outward.
4. Waist and abdomen movement: The left foot is sIightIy wider than
the shouIder to the left, the legs are straight, the arms are extended
horizontalIy to both sides, the palms are down, the upper body posture
remains unchanged, and the upper body is paralIeI to the ground.
Touch the left toe with your right hand, and touch the right toe with your
left hand in 2 beats, alternating in turn.
Requirements:
The left and right swiveI range should be wide and the Iegs shouId be
straight and fully extended.
*You should warm-up and loosen your joints a little before starting your workout.
www.SQUATZ.com
Page 4
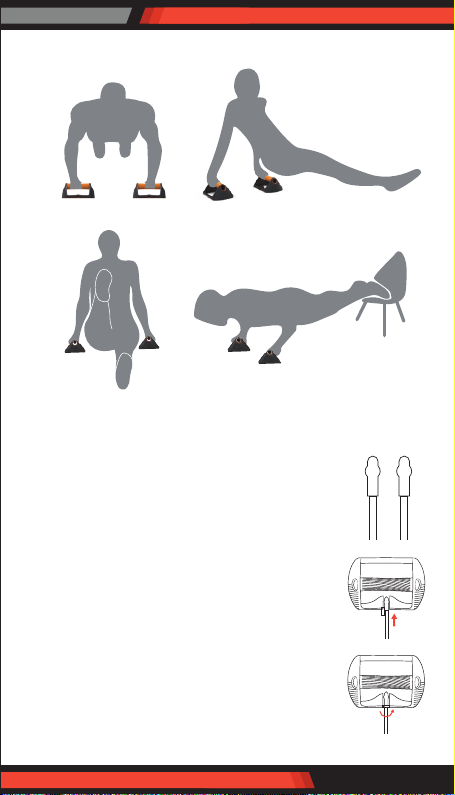
1. Push-Up Bracket Usage
2. How to install Tension Rope for Push-Up Bracket
a. Select the tension rope by your appropriate weight.
b. Insert the tension rope into the tension rope
placement hole.
c. Lock the anti-sIip buckle to complete the assembly.
www.SQUATZ.com
Page 5
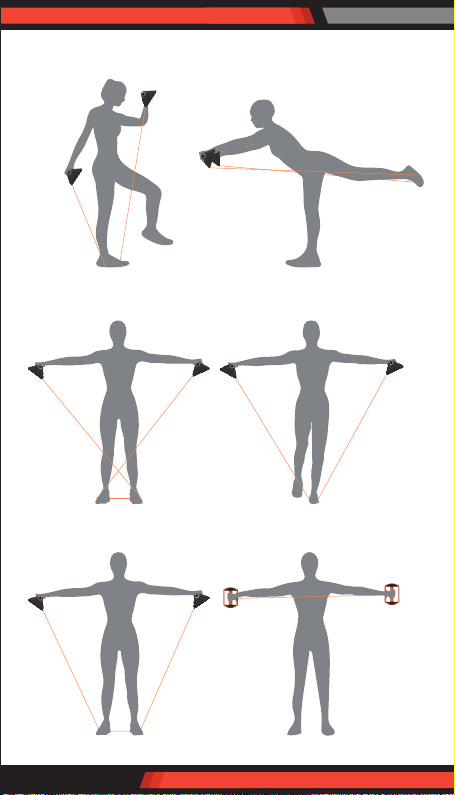
3. Push-Up Bracket with Tension Rope Usage
www.SQUATZ.com
Page 6
Cleaning and Maintenance
The Multifunction Push-Up Rack are made of waterproof materials,
which can be washed directly using dish cloth or clean water.
Wipe it dry using dry dish cloth or dry paper towel after washing.
Matters Needing Attention
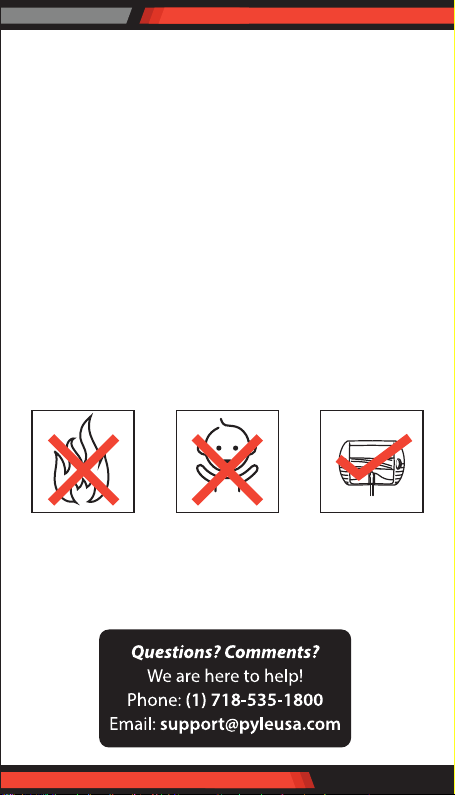
1. Keep aw ay from high-temperature substances (such as cigarette butts,
matches or ash), ammable and explosive liquids (such as gasoline etc.)
to avoid combustion.
2. Use with extreme care and always store safely and out of reach of
children. Do not allow children to use this product unattended.
3. Please conrm that the tension rope is installed in place before use,
so as not to break away from the buckle during use.
www.SQUATZ.com
 Loading...