

Page 1
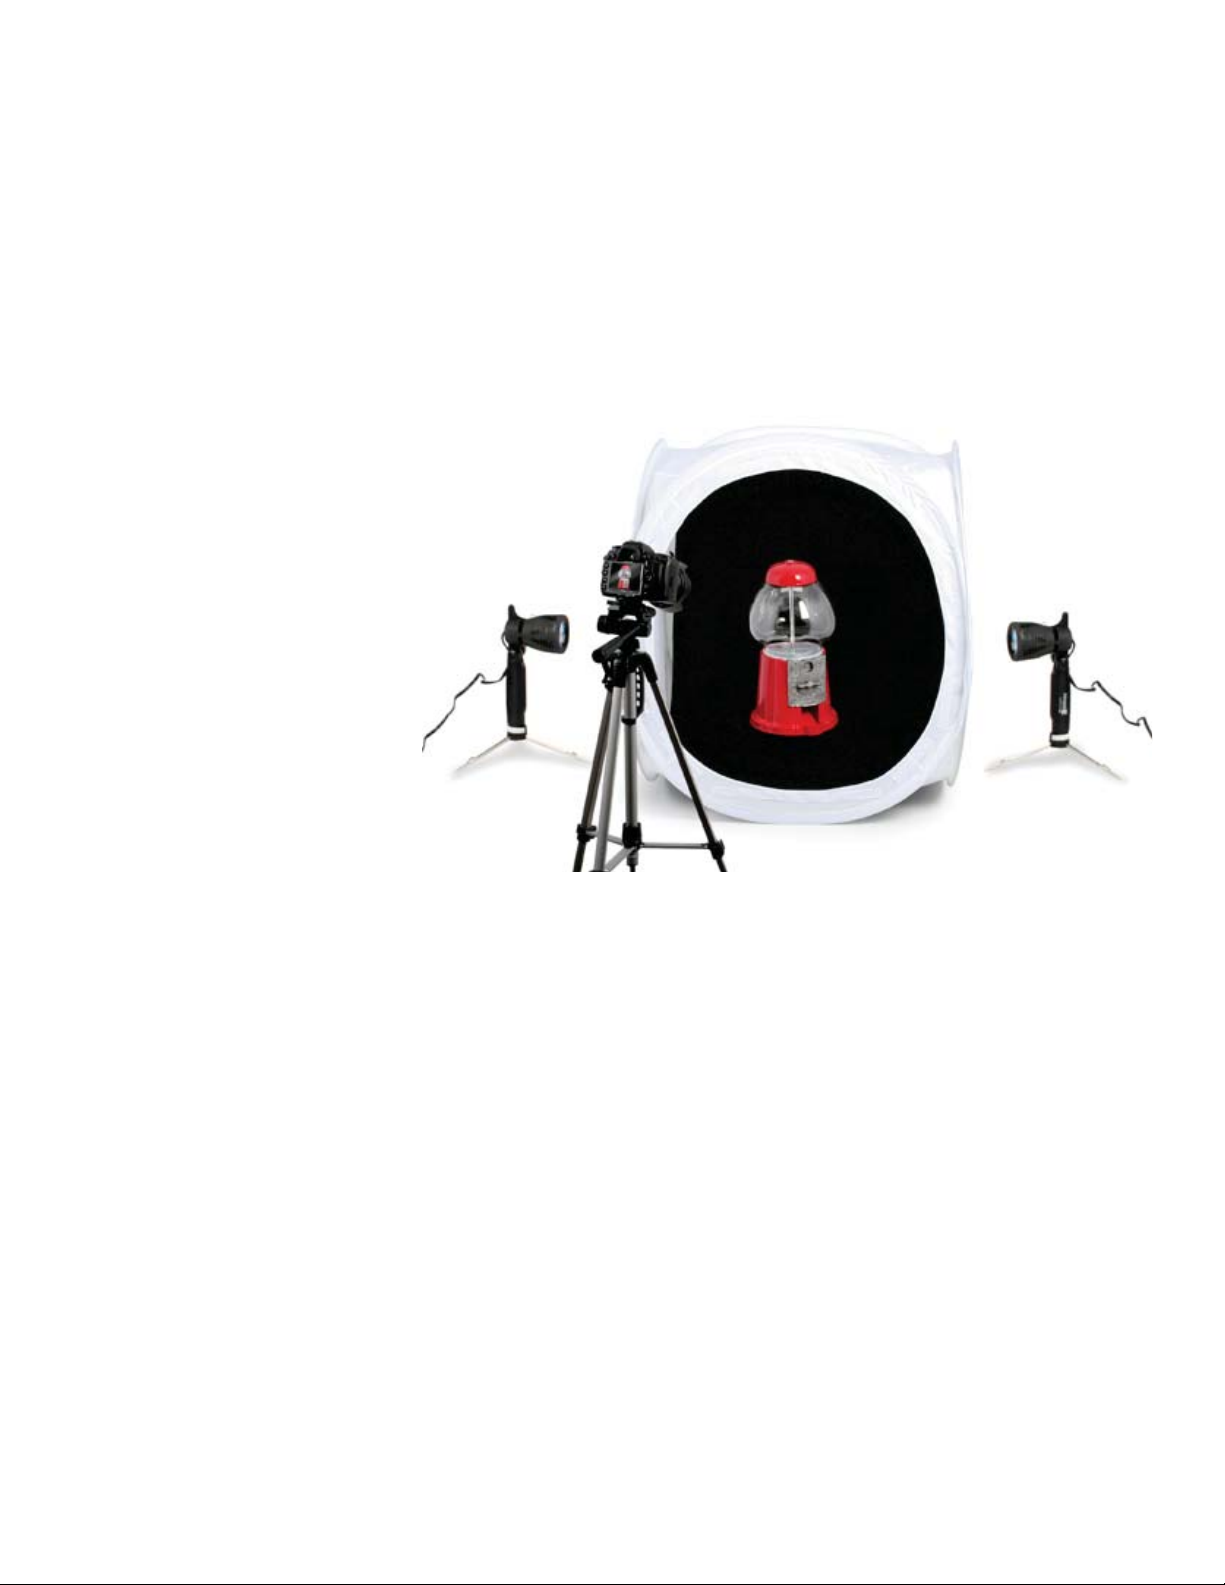
Tips For Using Light Cubes & Tents
Here are a few pointers that will help you to get the best photographs possible with your Square
Perfect and Shutter Starz Photo Tents.
General Tips for all Camera Types
1. Be sure to light your
subject by placing
light(s) on each side of
the tent, facing inward,
toward the object.
2. Align lights evenly with
the subject or with the
subject a bit forward of
the lights, not behind
(this will cause your
subject to be too dark)
and not too far in front of
it (this will cause your
subject to wash out and
be overexposed).
3. Choose a background
color or cloth that will
provide the optimal
contrast for your subject
but will not match or
blend too well with any predominant color on your object. For instance, choosing a white
background for an object with a significant amount of white may cause those areas to wash
out.
4. To achieve a better white balance and a warmer light effect, turn off any external room or
studio lighting and use the lights provided.
Do not use a flash.
5.
6. Avoid placing the lights too close to the tent sides...if you are experiencing hot spots or glare,
adjust the lights further away from the tent to compensate. If your subject seems too dark, be
sure that your lights are not pointing behind the subject, or move them closer to the tent sides
and test. You can also “bounce” light toward the front of the subject by using a white reflector
or card positioned at the bottom right or left of the tent opening out of camera range.
Adjusting White Balance
If you are experiencing yellowing or graying of your photo, you may need to adjust your white
balance settings.
Note:
you are not taking photos that often.
For best results, you should adjust white balance before each shoot, or more occasionally if
4
Copyright 2012 DTX International
Page 2
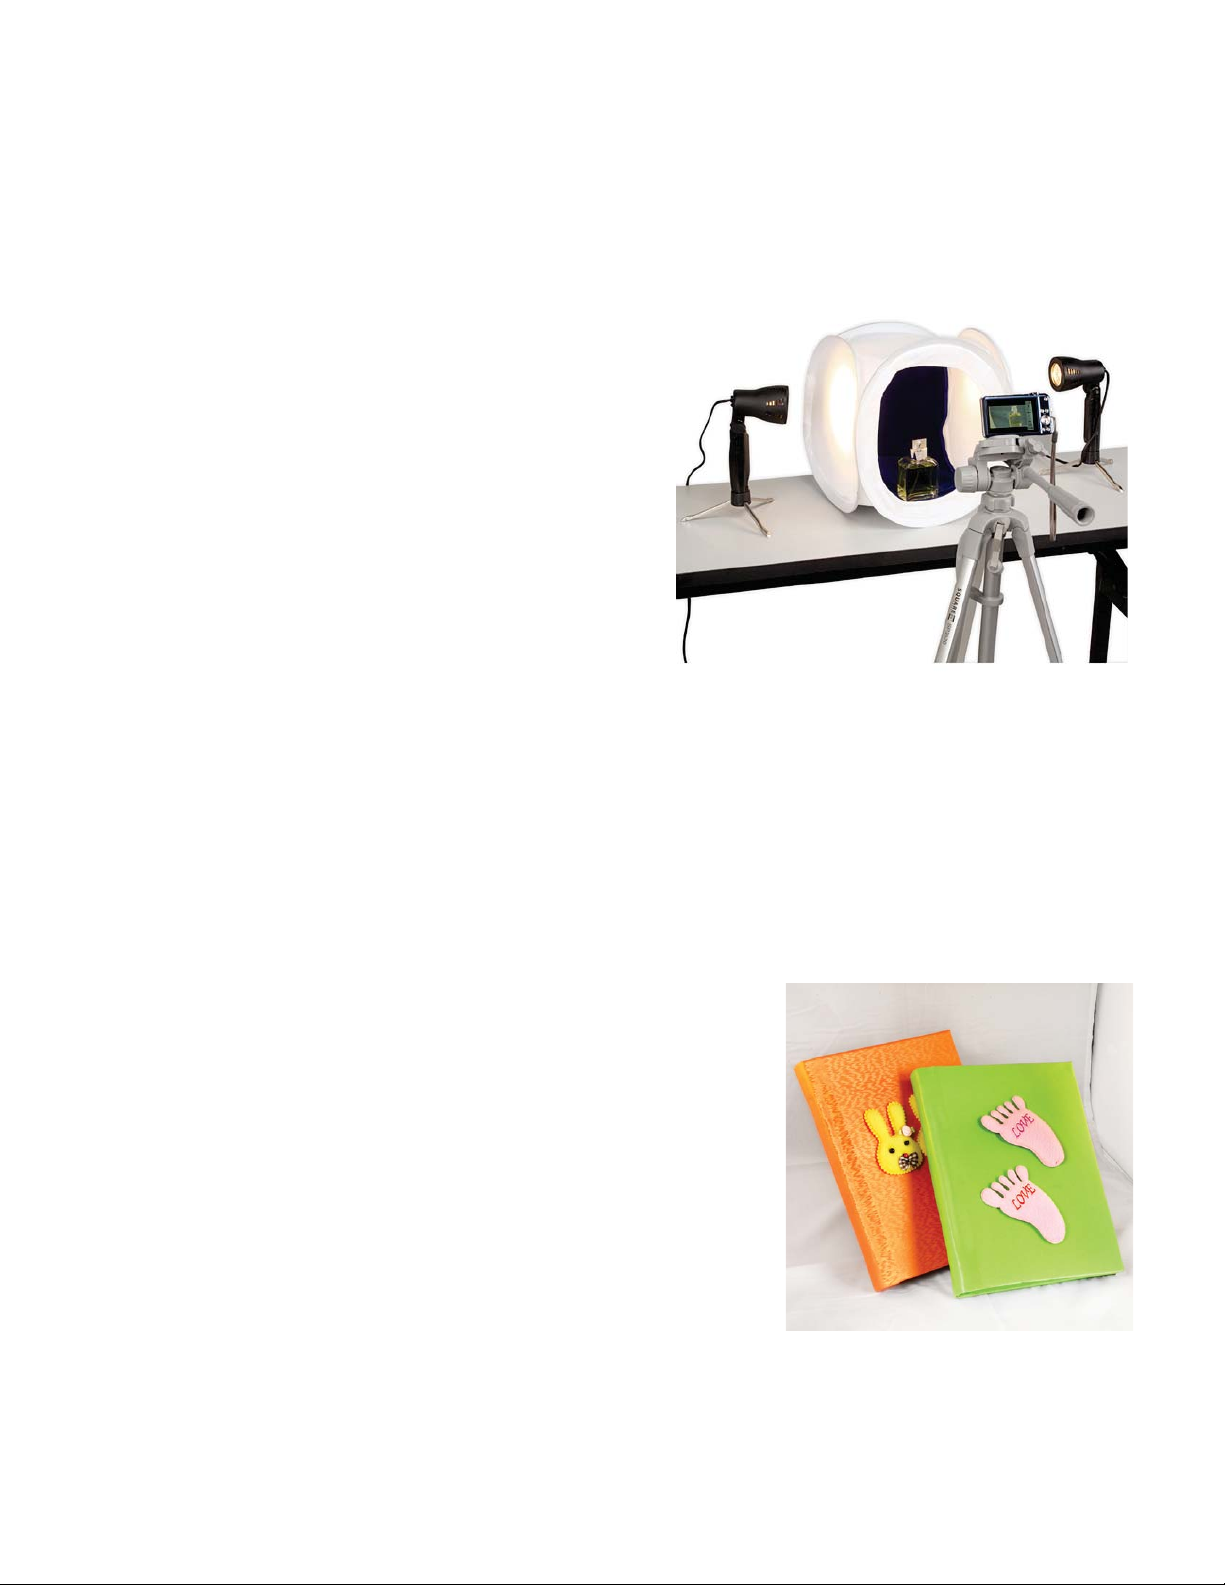
To do this:
1. Turn on the lights for your photo tent and place a piece of white poster board or a sheet of
white paper into the spot where your subject will sit (upright).
2. Next, take a photo of this board or sheet, making sure that the lens/frame is filled completely
with this white.
3. Consult your particular camera settings/menu to
find the custom white balance settings that will
apply, then select the photo you have just taken
as the new white sample/setting. We
recommend trying numerous settings with a test
object to determine which “solution” yields the
best results.
Tips for Point & Shoot Cameras
1. Place your camera on a tripod for better stability
and set your camera to a 2 second delay to
avoid movement/blur.
2. Most point and shoot cameras' white balance
can safely be set to the “Daylight” setting when
using full spectrum bulbs. NOTE: You may still
need to adjust the white balance as shown
above.
3. Choose Aperture Priority mode, f-stop set to
f/5.6-f/11.
Set ISO sensitivity to manual. Use the lowest possible setting (80-120).
4.
5. In general, place camera approximately 24” away from your subject. Use the zoom feature on
your camera to frame your photos.
6. If the above settings result in dark or underexposed pictures, adjust the F-Stop below 5.6
and/or increase the ISO sensitivity to a higher value.
Tips for D/SLR ( Cameras
single-lens reflex)
1. In general, place camera approximately 24” away from
your subject. Place your camera on a tripod for best
stability and set your camera to a 2 second delay to avoid
movement or use a remote trigger.
2. Set your white balance to approximately 3000-5400k
depending on your light bulbs, but you may still need to
adjust the white balance as shown above.
3. Save in large jpeg format for better manipulation and
adjustment later and use extra sharpness to improve
quality.
4. Focal length: 50mm
5. Use Manual Exposure mode, f-stop set to f/16, 1/60th of a
second.
6. Set Auto ISO to off and then set ISO 120.
Please Note:
These are general settings and tips...since cameras and settings vary greatly,
experiment with your equipment until you find the optimum settings for your subjects, camera and
environment. Happy shooting!
5
Copyright 2012 DTX International
 Loading...