

Page 1
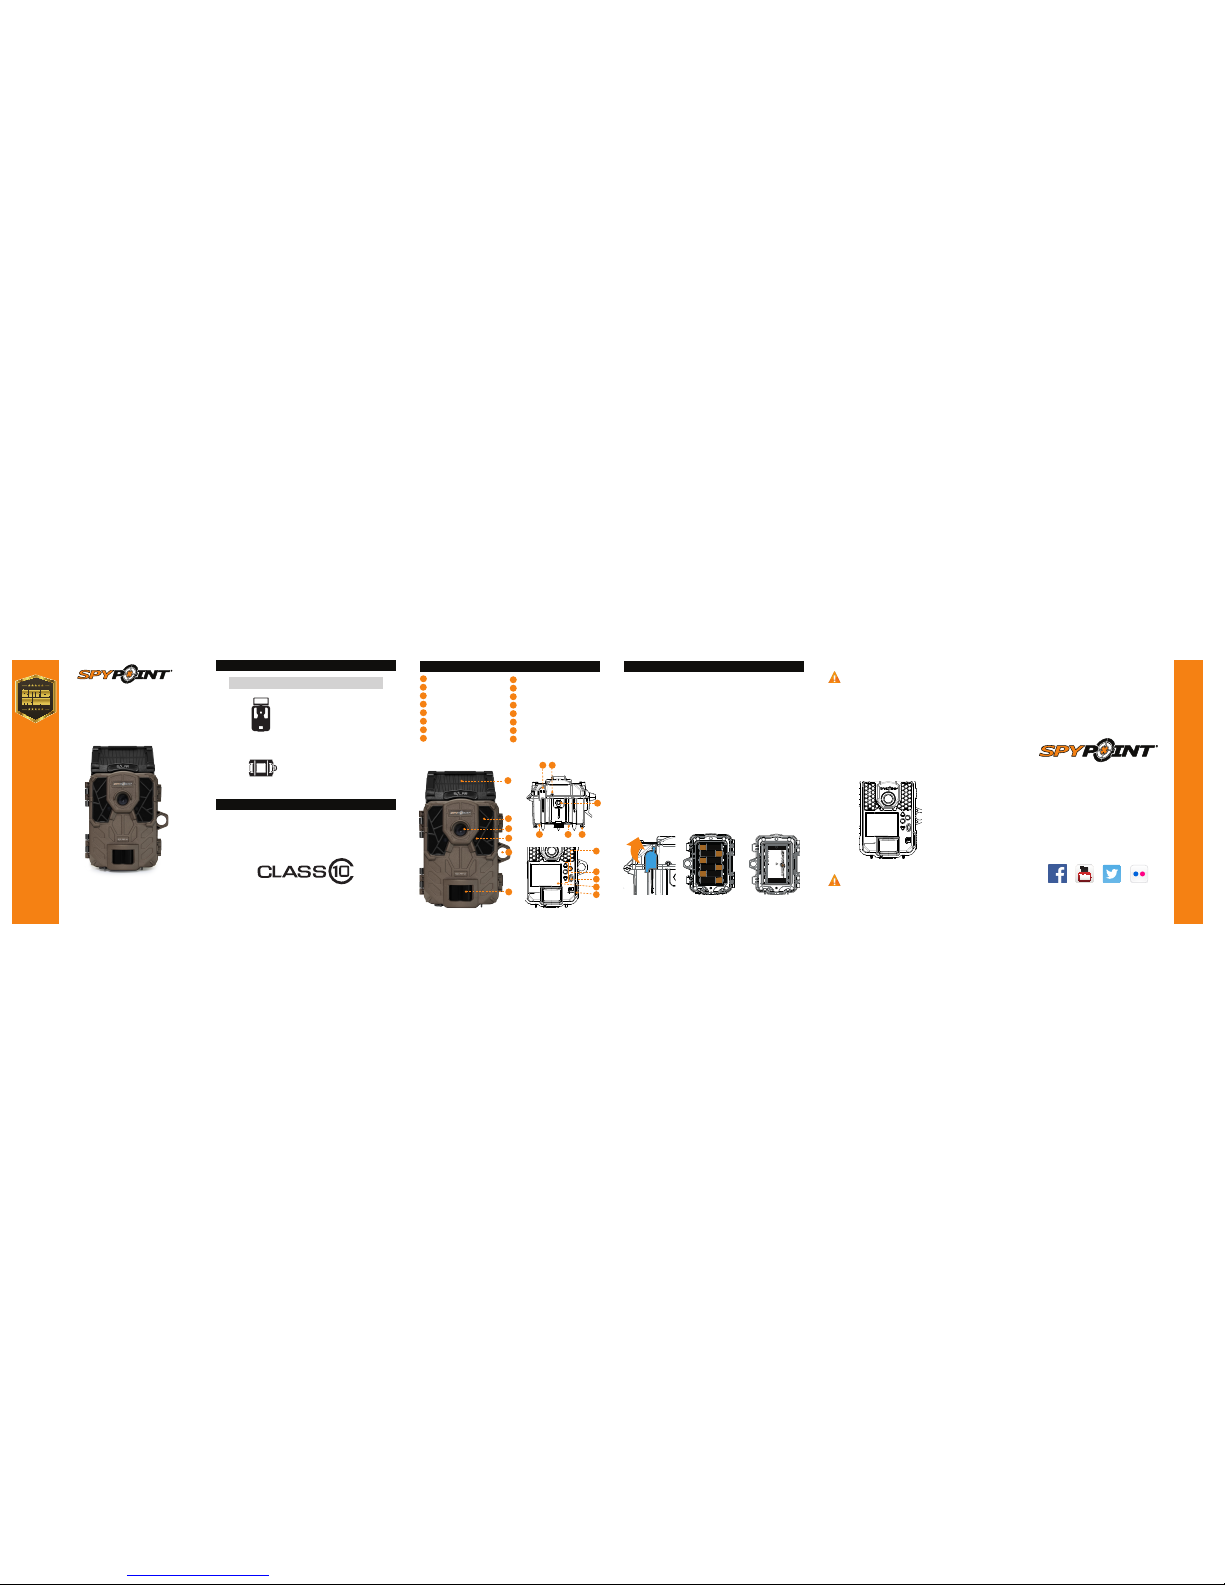
In the box
Recommendations
Components
Note: Memory card and batteries are sold separately.
To ensure maximum performance of the camera and prevent
battery leak, we recommend the use of new batteries. Make sure
to insert each battery with the correct polarity. (Negative or at
end agaist the metal spring plate) Do not mix battery type - use
ALL alkaline or ALL lithium. Do not mix old and new batteries.
Rechargeable AA batteries are not recommended as the lower
voltage they produce can cause operational issues.
4. INSERT THE MEMORY CARD
Before inserting or removing a memory card, always turn o the camera
to prevent loss or damage of the photos already recorded. Also make
sure that the switch on the side of the card is not in the LOCK position.
Insert an SD/SDHC memory card (up to 32 GB capacity) in the card
slot with the label side facing upward. The card is inserted correctly
when a click is heard.
We suggest to format your SD card if it's been in another electronic
device to make sure you will have the maximum capacity of your
memory card.
1. CHARGING THE INTERNAL BATTERY
First, look at the internal battery percentage in the DETECTION TEST
menu. If the percentage is low and the battery logo is not green, you
will need to charge the camera for 24-48 hours before use. While
charging, make sure the camera is turned o and the solar panel is
facing down so it does not interfere with the USB charging process.
Plug the cable from the 12V port at the bottom of the camera and
connect it to a USB port. (ex. USB power adaptor or a computer that
will stay awake while charging) Once plugged, the screen will turn on
and it will show the charging battery level for 10 seconds. Press the OK
button once more to see the battery level reappear.*
2. REMOVE THE CAMERA FROM THE MOUNTING BRACKET
• Push the tab to release the camera from the mounting bracket.
• Remove the camera.
3. OPTIONAL: ADD A SECONDARY POWER SOURCE
An optional power source can be added as a backup to the internal
battery for maximum protection.
Getting started
1 X Installation
strap
1X Quick
start guide
1 X Camera
1 X Mounting
bracket
RECHARGEABLE 7.4 VOLT LI-ION POLYMER BATTERY 2.0 Ah
RECYCLE OR DISPOSE OF PROPERLY
Li-ion
Made in China
|
Fabriqué en Chine v2.3
www.spypoint.com
P INTSPY INTPSPY
Models: LIT-09: Battery only
LIT-C-8: LIT-09 Battery & charger
WARNING: To reduce risk of fire or burns,
- Do not attempt to open, disassemble, or service the battery pack.
- Do not crush, puncture, short external contacts, or dispose
of in fire or water.
ATTENTION: Pour réduire les risques de feu ou de brûlures,
- Ne pas essayer d’ouvrir, désassembler, ou de réparer la pile.
- Ne pas frapper, percer, court-circuiter les contacts externes
de la pile ou mettre dans le feu ni l’eau.
6 alkaline or lithium
AA batteries
Lithium battery pack
LIT-09/LIT-C-8
DC 12V
12V power source
We recommend formatting Class 10 SD cards before using it in this unit.
A complete format of the card should be done.
PC: Make sure the «quick format» box is unchecked before proceeding.
MAC: Make sure to select MS-DOS (FAT) format.
Battery case
Slot for installation strap
Tripod mount
OK button
Navigation buttons
ON / OFF Switch
Viewing screen
SD card slot
Solar pannel
LEDs
Photo lens
Test light
Cable lock hole
Detection lens
12V Jack
BUSY LED
1
2
3
4
5
6
7
8
9
10
11
12
13
15
14
16
2
3
6
4
5
1
1 X USB-A
to barrel
connector
(44’’)
789
10
11
9
12
15
16
13
14
Join the community
Our goal is to design & manufacture
innovative, premium products for the
hunting industry and to cater to all hunters
passionate about the lifestyle that is
hunting. We strive on oering all customers
a positive, user friendly experience that will
have a lasting impression.
THANK YOU
for choosing
QUICK START GUIDE
SOLAR-W
• TRAIL CAMERAS
• HUNTING TABLET
• ACTION CAMERAS
& ACCESSORIES
v1.4
User manual, latest rmware
& FAQ available at:
www.support.spypoint.com
1-888-779-7646
* 2017 cameras
Page 2
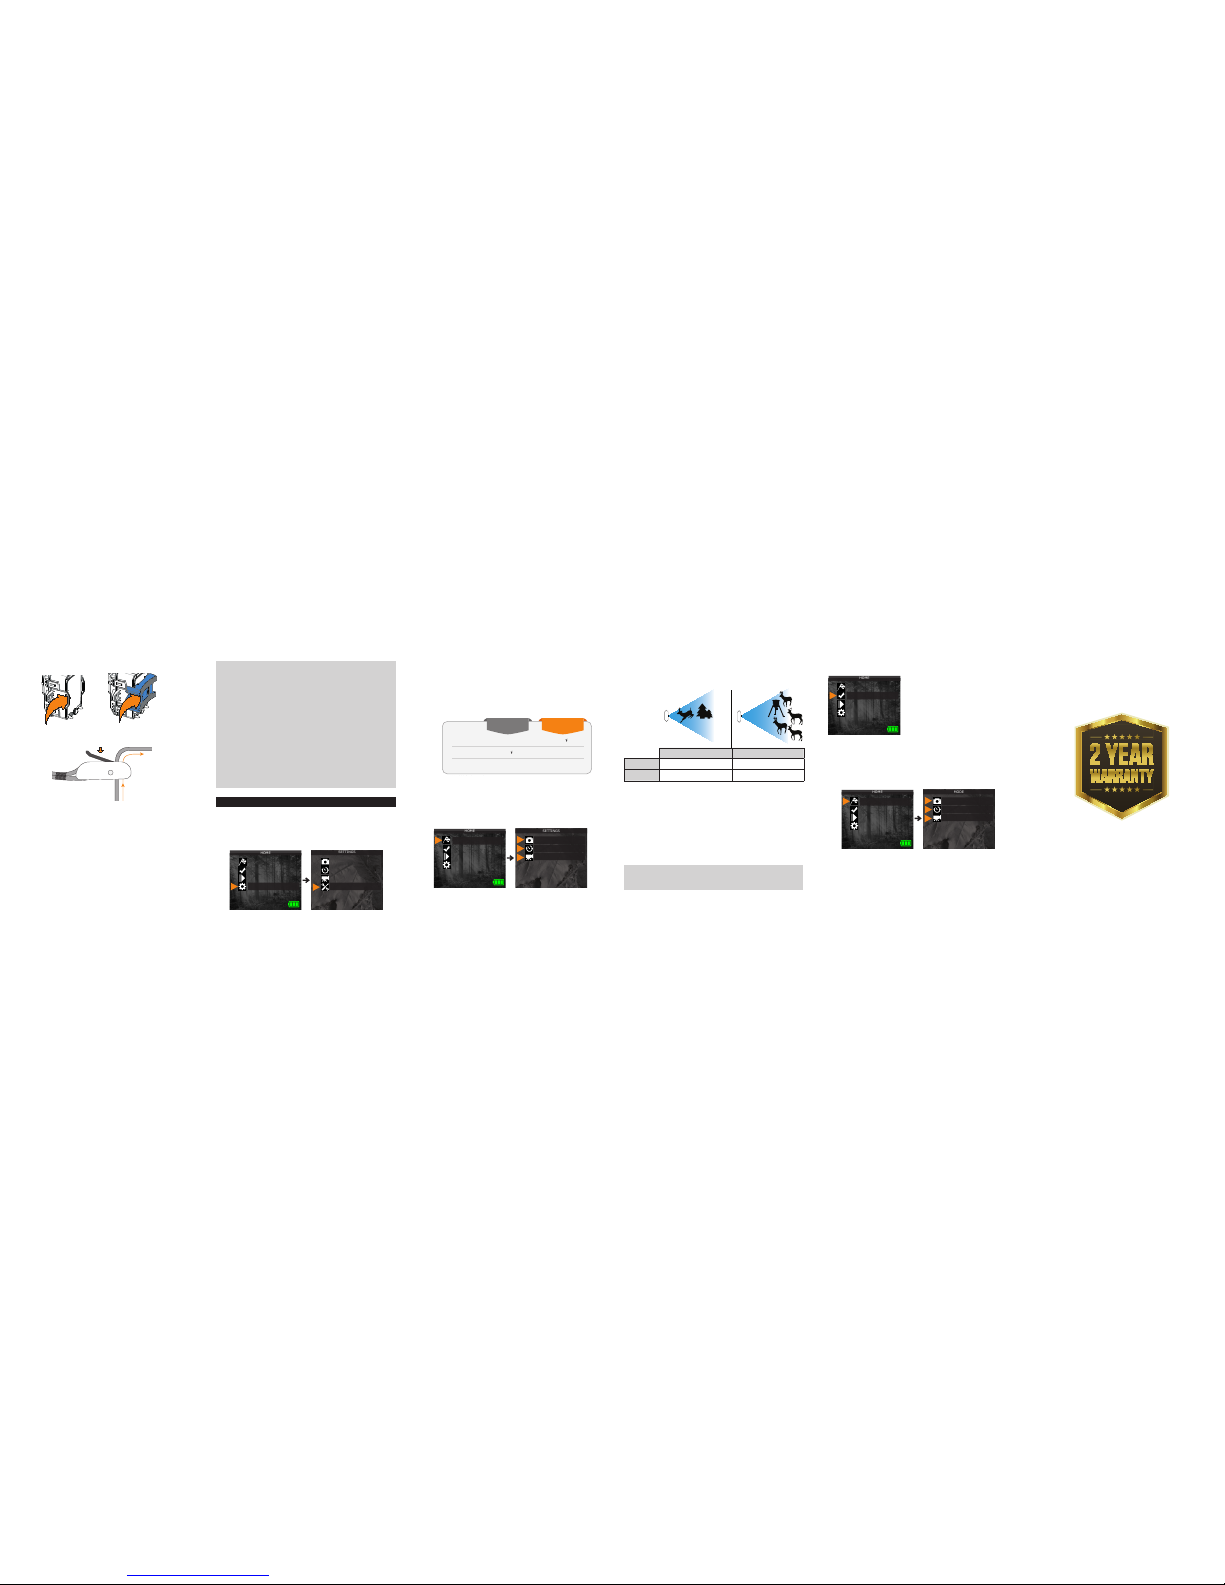
Multi-shot: Takes up to 6 consecutive shots at each detection,
with a 5 second delay between each photo.
Recommended settings in photo mode
Usage in trails Usage by a feeder
Delay Instant 5 min
Multi-shot 1 1-3
TIME LAPSE
Interval: This option allows the camera to take photos at regular
preset intervals without detection.
VIDEO
Delay: Allows the user to choose the time interval between each
detection before the camera can record the next video.
Video length: Allows the user to select the duration of the
recording.
Photo rst: When this option is enabled, a photo is taken
immediately before each video.
B. In the home menu, select SETTINGS and then GENERAL to
access to the General settings menu.
C. Set the Date (MM/DD/YY or DD/MM/YY).
D. Set the Time (Hour/Minute).
E. Set the Night mode (Best option for photos)
2. CONFIGURE THE SETTINGS OF THE 3 OPERATING
MODES
In the home menu, select SETTINGS and then, PHOTO, TIME
LAPSE or VIDEO to access to the respective operating mode
menu.
PHOTO
Delay: Allows the user to choose the time interval between each
detection before the camera can record the next photo.
Use the and buttons to navigate in the interface and to change
options. Use the OK button to conrm and the BACK button to return
to the previous menu.
1. CONFIGURE THE GENERAL SETTINGS
A. Turn on the camera (press and hold the ON/OFF button).
Settings
3. TEST THE DETECTION OF THE CAMERA
In DETECTION TEST mode, no photo or video is recorded. Pass in front
of the camera from left to right.
When the camera detects motion,
the test light blinks. If the system
does not detect the movement, increase the detection sensitivity using
the SENSITIVITY option in the GENERAL SETTINGS menu or realign the
system dierently. In TEST mode,
it is possible to take a photo by pressing the OK button. The photo is
saved and appears in the VIEW mode.
4. START THE CAMERA
Select the desired operating mode (photo, time lapse or video) in the
Mode menu by pressing OK.
When the mode is selected, the test light in front of the camera will
ash for 30 seconds to allow the user to leave the area without being
photographed or recorded.
4. INSTALL THE CAMERA WITH THE SUPPLIED STRAP
When installed with the mounting bracket, the camera can be removed
to access the battery case without aecting the installation.
Recommended installation height:
The camera should be installed at the same height as the animal’s
mid-body.
Ideal installation for quality pictures & videos:
The targeted animal should be 25 feet / 7.5m away from the camera
for a better eld of view.
To get brighter pictures at night , you should have elements in the
background to reect back the IR ash to the camera.
Note that the camera should not directly be facing the sun to avoid
back lighting and false detection.
or
30 s
CAMERA
CAMERA
CAMERA
PRO TIPS:
Solar panel & internal rechargeable battery
● You need at least 50% of the solar panel cleared for maximum
performance.
● Make sure that there are no objects obstructing the solar panel,
that it is not shaded by unwanted obstacles and/or foreign
material.
● If the power of the internal battery becomes insucient, the
camera will shut down. Once the battery has been charged
suciently by the solar panel, the camera will automatically turn
on leaving the settings untouched.
● An optional power source can be added as a backup to the
internal rechargeable battery for maximum protection.
NOTE: PERFORM STEPS 3 AND 4 DURING THE
FINAL INSTALLATION OF THE CAMERA.
(Conguration)
Photo
(Conguration)
Time lapse
(Conguration)
Vidéo
(Conguration)
Général
HOME
SETTINGS
Start Camera
Detection test
View
Settings
Photo
Time lapse
Video
General
(Conguration)
Photo
(Conguration)
Time lapse
(Conguration)
Vidéo
HOME
SETTINGS
Start Camera
Detection test
View
Settings
Photo
Time lapse
Video
General
HOME
Start Camera
Detection Test
View
Settings
(Conguration)
Photo
(Conguration)
Time lapse
(Conguration)
Vidéo
HOME
MODE
Start Camera
Detection test
View
Settings
Photo
Time lapse
Video
Sit back, relax &
know you’re covered
All 2017 SPYPOINT trail cameras
are now covered by the
“ Know you’re covered ”
2 year warranty.
illumination modes comparison* (Night modes)
optimal
MODE
IR-boost
MODE
Blur reduction
Battery life
Flash range
 Loading...