

Page 1
LINK-MICRO
QUICK START
GUIDE
v.1.1
Page 2
2
ENGLISH
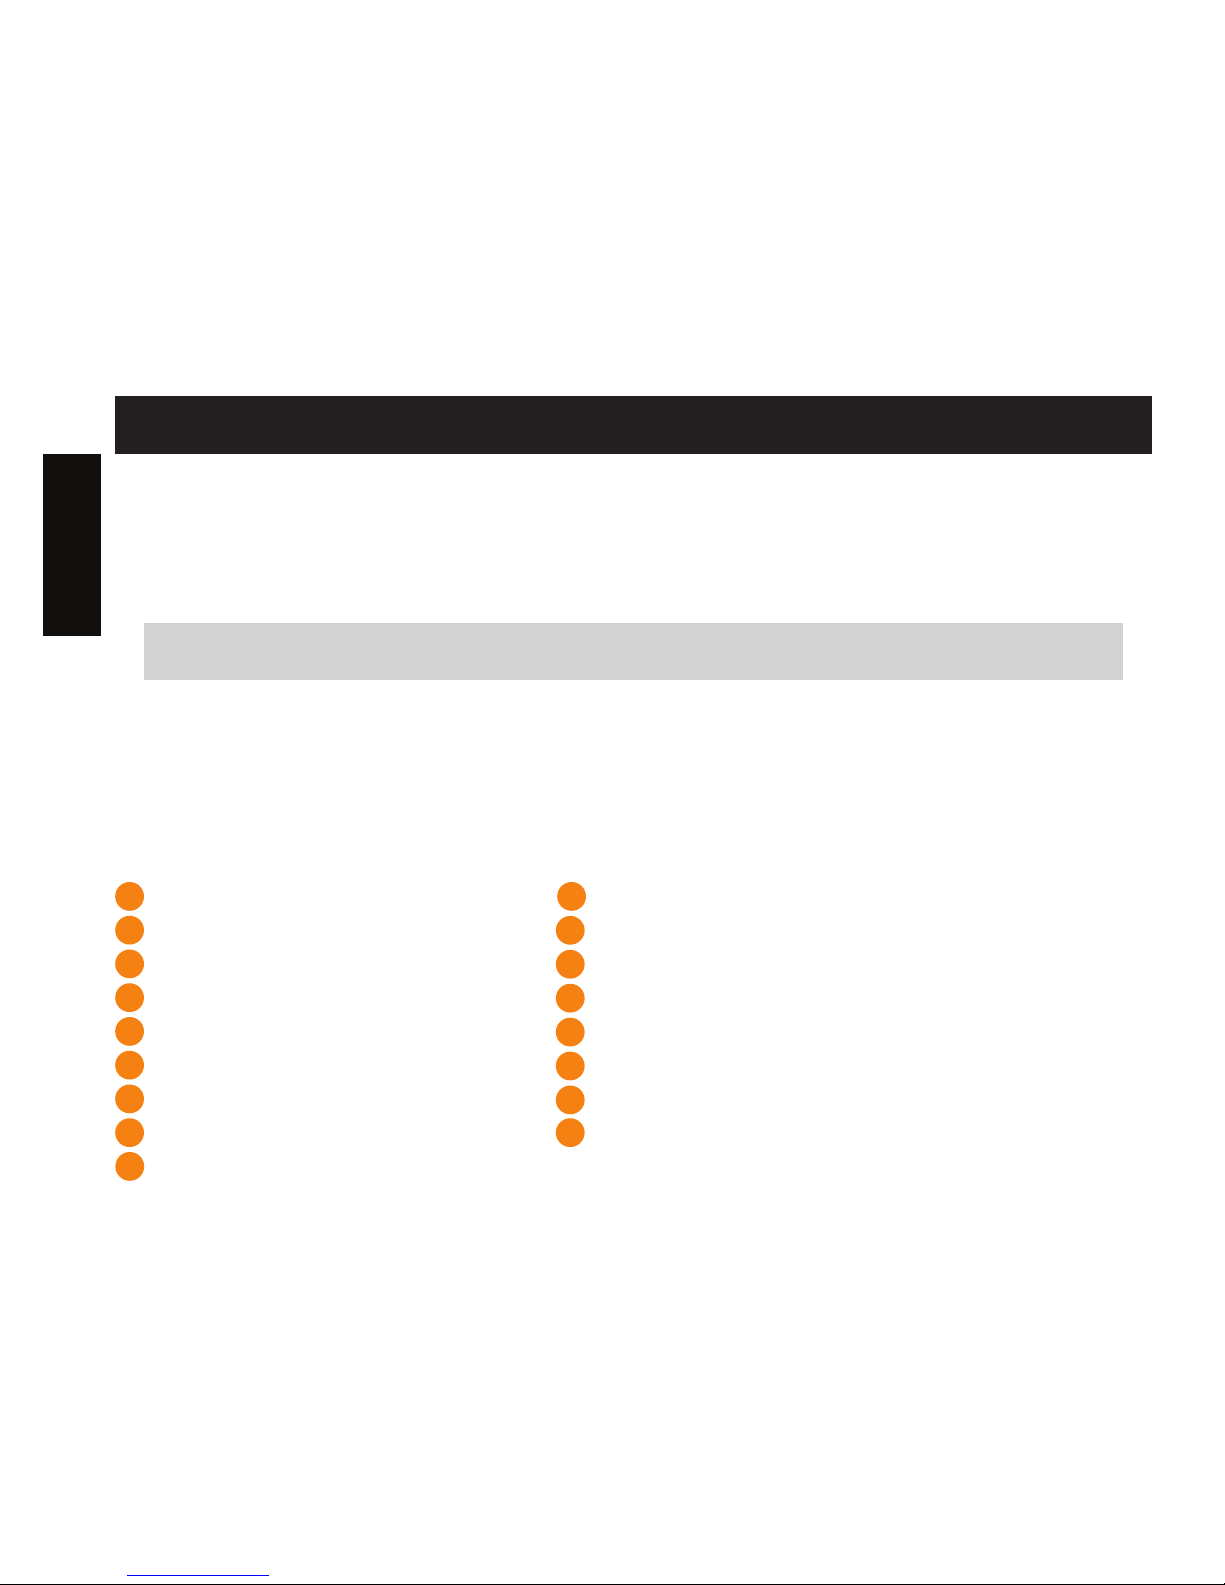
In the Box
1x Camera
1x Installation strap
1x Quick Start Guide
1x Micro SIM card already activated and inserted in the camera
Note: Memory card and batteries sold separately.
User manual, latest rmware & FAQ available at
support.spypoint.com
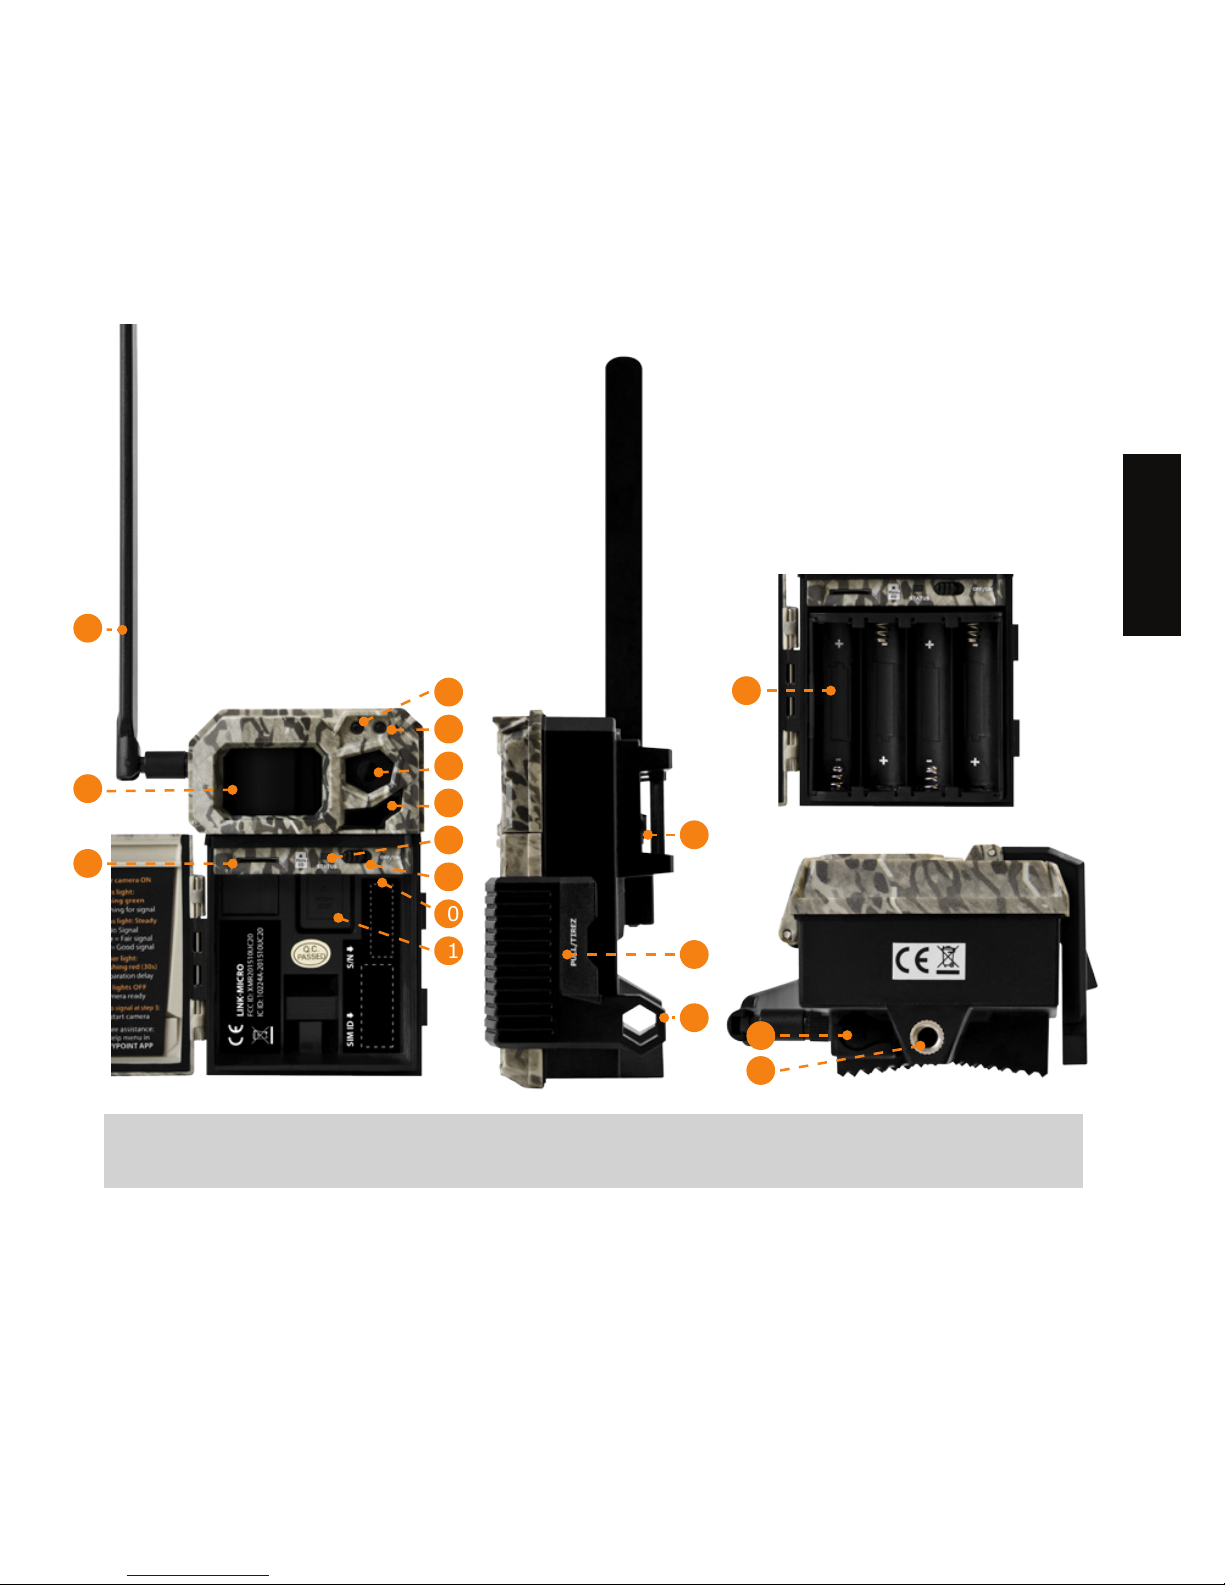
Antenna
Detection lens
Micro SD Card slot
Light sensor
Delay light
Photo lens
LED
“status” Light
ON/OFF button
Battery case outlet
MicroSIM Card slot
Battery housing
Slot for installation strap
Locking latch
Cable lock hole
12V Jack
Tripod stand
1
8
2
9
3
10
4
5
6
7
11
12
13
14
15
16
17
COMPONENTS
Page 3
3
ENGLISH
Steel security boxes may reduce the wireless functionalities of the product.
(#SB-300 sold separately)
3
11
10
9
13
12
16
17
1
5
6
7
8
2
4
15
14
Page 4
4
ENGLISH
PREPARATION
FINDING THE SIM ID
The SIM ID number is located inside the casing behind the battery
housing. You will need this number to complete the LINK-MICRO camera
registration to connect to the application.
CHOOSING A POWER SOURCE
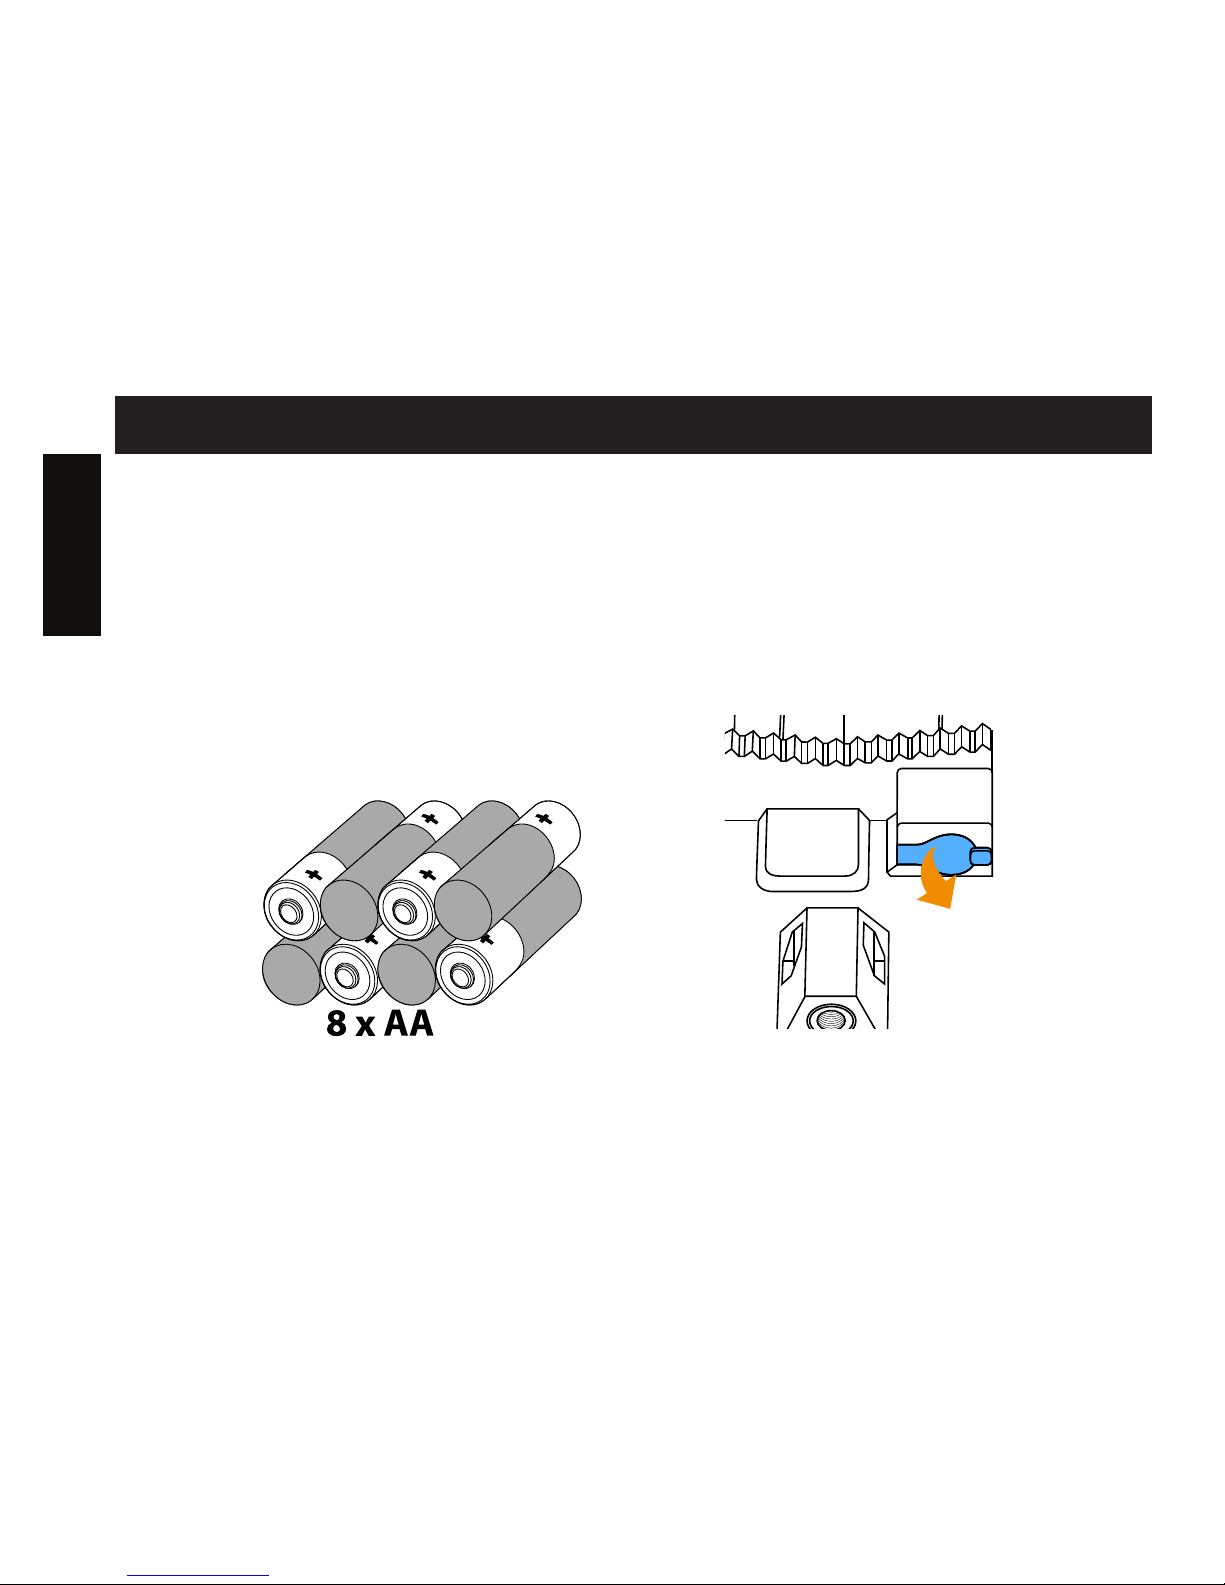
Be sure to insert the AA batteries according to the polarity indications (+) and (-).
Lithium or Alkaline batteries
DC
12V
12V power source
Page 5
5
ENGLISH
To ensure maximum performance of the camera and prevent battery
leakage, we recommend using new batteries. Use ONLY Lithium
batteries or ONLY Alkaline batteries. Rechargeable [AA] batteries are not
recommended as the lower voltage they produce can cause operational
issues.
To get the best possible results and maximum battery life, we
recommend the use of an external 12V source.
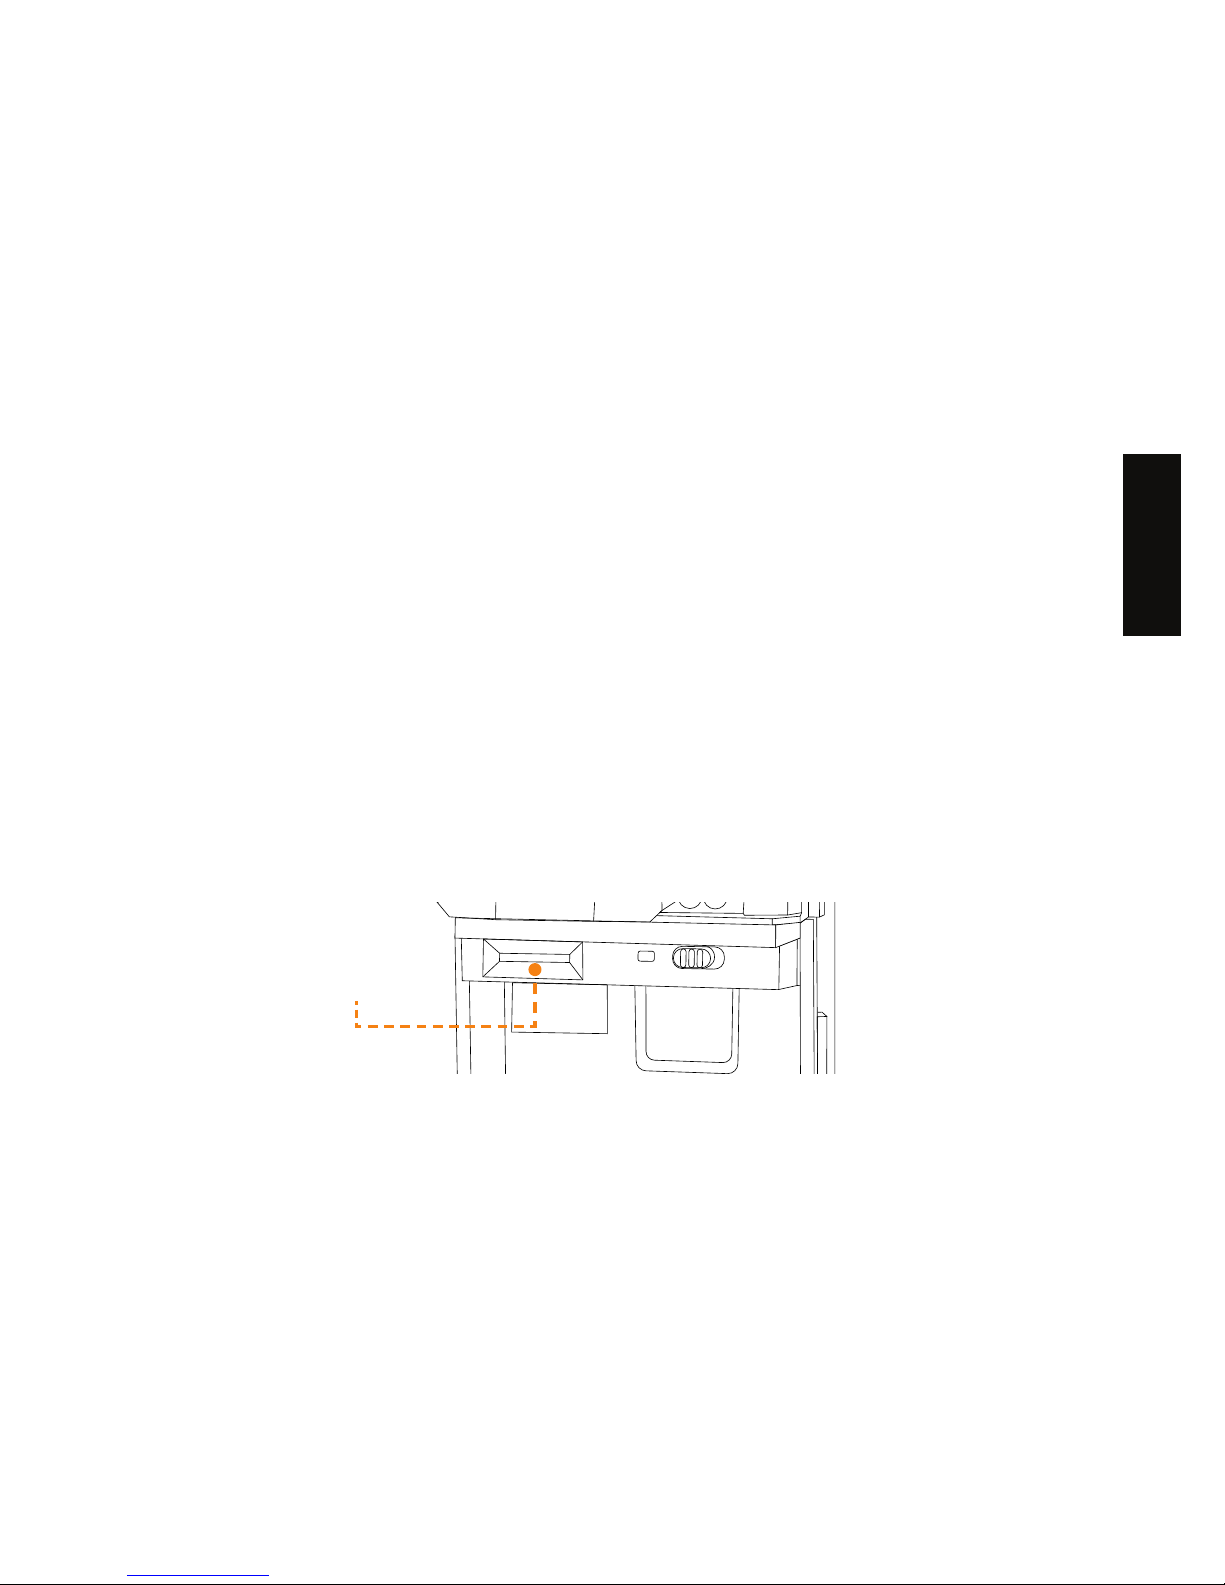
INSERTING A MEMORY CARD
Always ensure that the camera is turned off before inserting a memory
card. Insert a MICRO SD memory card (up to 32 GB capacity) into the
MICRO SD card slot with the label side facing upwards. The card is
inserted correctly when a click is heard.
We recommend formatting your MICRO SD card if it was previously in another
electronic device.
Page 6

6
ENGLISH
GETTING STARTED
INSTALLING THE FREE SPYPOINT APP
The SPYPOINT App allows you to connect and control your camera
remotely using a smartphone or tablet. Features include viewing your
camera status, viewing pictures, full remote camera control and more.
Note: If you don’t have a smartphone or tablet, please contact our
Customer Service to activate your camera.
Call us at our toll free number: 1-888-779-7646 or email us:
[email protected]
Installing the free App
1. Make sure you have a data plan with either your smartphone or
tablet, or a WIFI connection.
2. To install the App, you can either:
• Download it from Google Play™ (Google Play is a registered trademark of Google Inc)
• Download it from the App Store™ (App Store is a trademark of Apple Inc.)
3. Search for the App: SPYPOINT by SPYPOINT.
4. Install the App on your smartphone or tablet.
Page 7

7
ENGLISH
Run the App SPYPOINT
Start the App and it will guide you through a few questions. You will then
receive an email conrming the activation of your camera.
Just follow the prompts in the App.
APP CONFIGURATION
The SPYPOINT App allows you to congure all the camera settings. These
new settings will take effect the next time the camera transfers data to
update its status. The most important settings are:
Basic settings
MODE - PHOTO
Delay : Sets the time interval between each detection before
the camera takes the next photo.
Multi-photo : Takes up to 2 consecutive shots at each detection
with a 5 second delay between each photo
Transfer conguration
First transfer time: Allows the user to choose what time of the day
the camera will carry out its rst transfer.
Transfer frequency: Allows the user to choose the number of
transfers that the camera performs daily.
Page 8

8
ENGLISH
Advanced options conguration
Schedule: Allows the user to set the period of operation of the camera
for each day of the week. The scheduled start and stop times
delineate the hours when the camera is activated and can
record photos. For a 24 h activation, the start and
stop times shall be 00 h 00 or 12 h AM.
Page 9

9
ENGLISH
STARTING THE CAMERA
We recommend formatting your MICRO SD card if it was used in another electronic
device.
• Turn on the camera (ON button);
- Use the OFF/ON switch to turn on the camera;
• The green “status” light ashes – searching for a signal;
- The signal search can take a few minutes;
• Light “status”: One of the following 3 colors will light up continuously:
- Red: insufcient signal;
- Orange: acceptable signal;
- Green: optimal signal;
• When the top right light ashes red, 30 seconds remain before the
photo mode is turned on;
• The camera is ready for use when all the lights turn off;
• If the light is red during step 3, you should:
- Turn your camera off and then back on;
- Retry while pointing the antenna at different angles;
- Move the camera.
*Using an amplied antenna (#CA-01, not included) could improve
signal capture.
Page 10

10
ENGLISH
CAMERA INSTALLATION
Install the camera using the strap
Recommended installation height
The camera should be installed at the same height as the animal’s mid-
body.
Ideal installation for quality images
The targeted animal should be 7.5 m away from the camera for a better
eld of view.
To get brighter pictures at night, you should have elements in the
background to reect back the camera’s ash.
Please note that the camera should not be placed directly facing the sun
to avoid backlighting and false detection.
Important
Before the end of the free 30-day trial
Subscribe to a service plan in the App to benet from SPYPOINT
EXPERIENCE lease note that if you choose not to subscribe to a plan,
you will still be able to receive up to 100 photos per month with a
photo history of the last 7 days with our FREE monthly plan.
www.spypoint.com/plans
Page 11
11
ENGLISH
Thank You
for choosing
Sit back & relax as this camera is covered by the “Know you’re covered”
2-year warranty.
We strive to provide our customers with a positive experience and an
outstanding service.
User manual, latest rmware & FAQ available at
www.spypoint.com
Online support at SPYPOINT.COM
Join the community
 Loading...