

Spyder Auto PRO-YD-DR02 Series Installation Manual
*Please Note*
If you are unfamiliar with the installation pro-
cesses, professional installation is highly rec-
ommended.
INSTALLATION GUIDE:
PRO-YD-DR02-(ALL COLORS)
1) Open the hood. Remove the two 10mm bolts
securing the headlight.
3) Remove the single phillips head screw
securing the headlight weatherstrip to the body.
4) Unseat the headlight by gently pulling it forward.
2) Remove the hidden 10mm just below the turn
signal area.
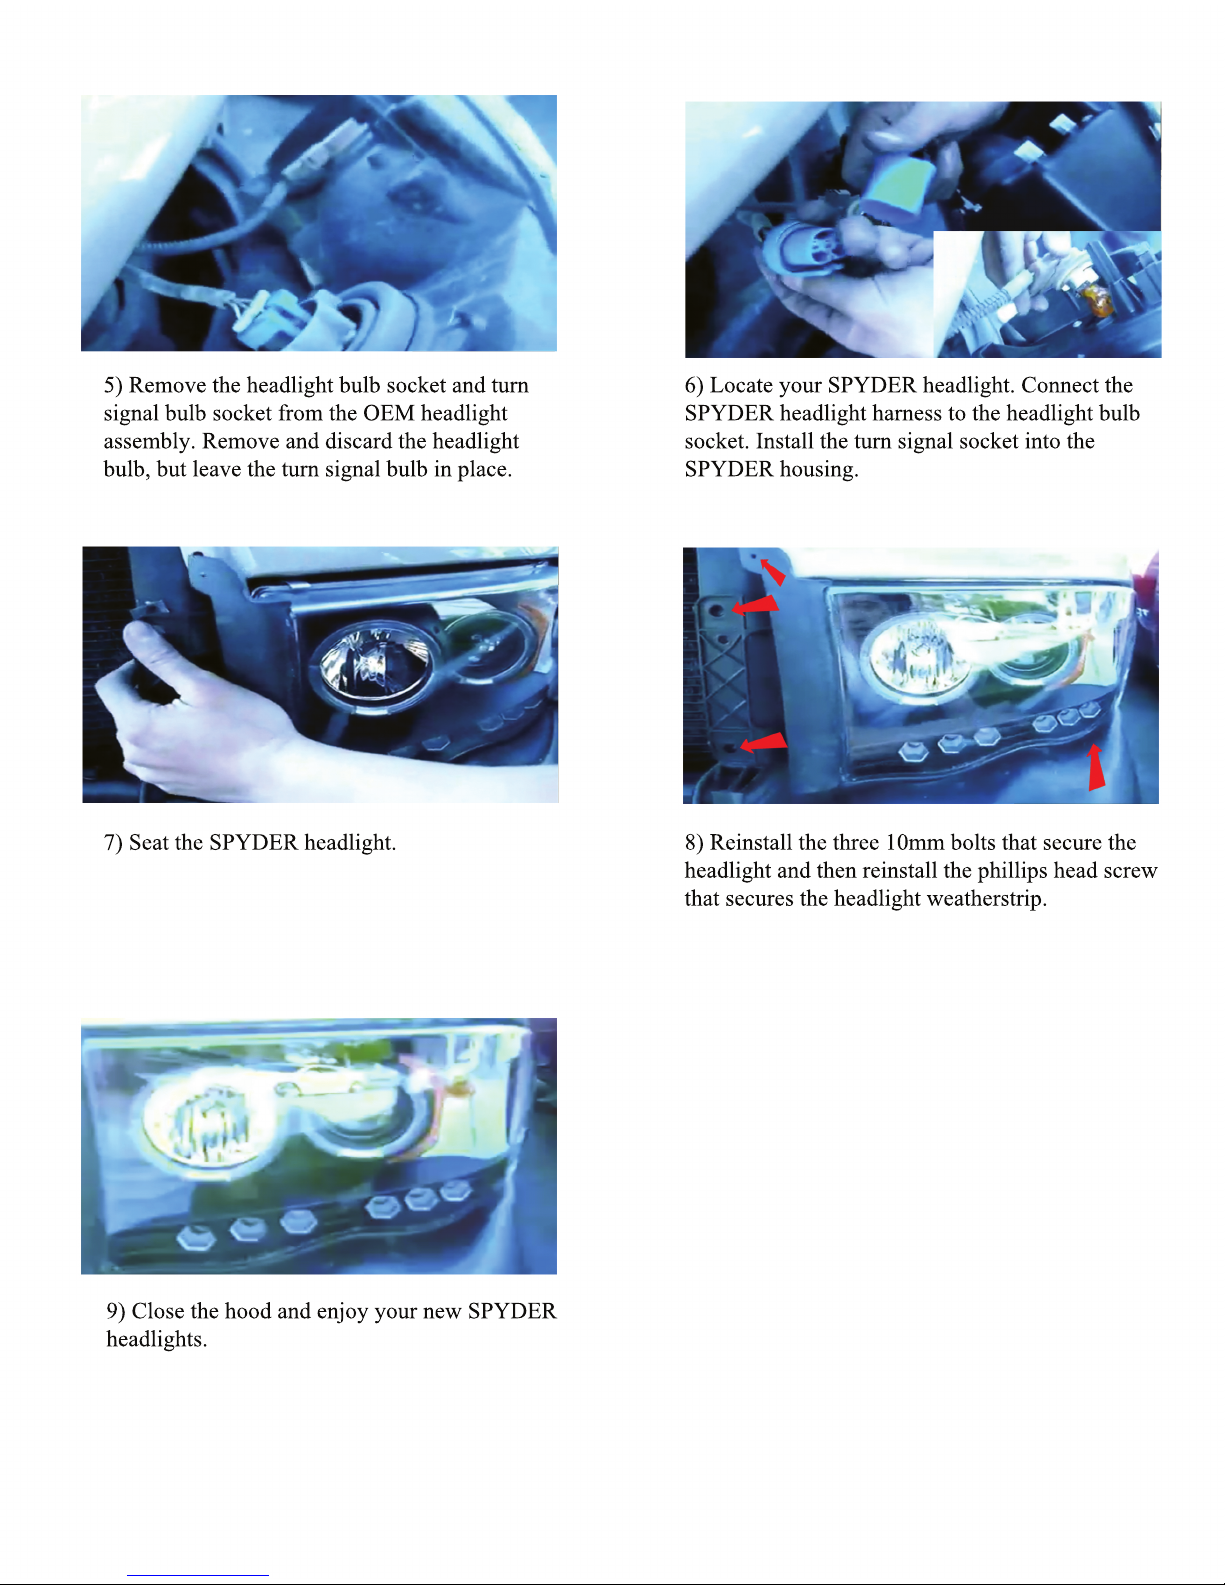
6) Locate your SPYDER headlight. Connect the
SPYDER headlight harness to the headlight bulb
socket. Install the turn signal socket into the
SPYDER housing.
7) Seat the SPYDER headlight.
9) Close the hood and enjoy your new SPYDER
headlights.
8) Reinstall the three 10mm bolts that secure the
headlight and then reinstall the phillips head screw
that secures the headlight weatherstrip.
5) Remove the headlight bulb socket and turn
signal bulb socket from the OEM headlight
assembly. Remove and discard the headlight
bulb, but leave the turn signal bulb in place.
 Loading...