

Page 1

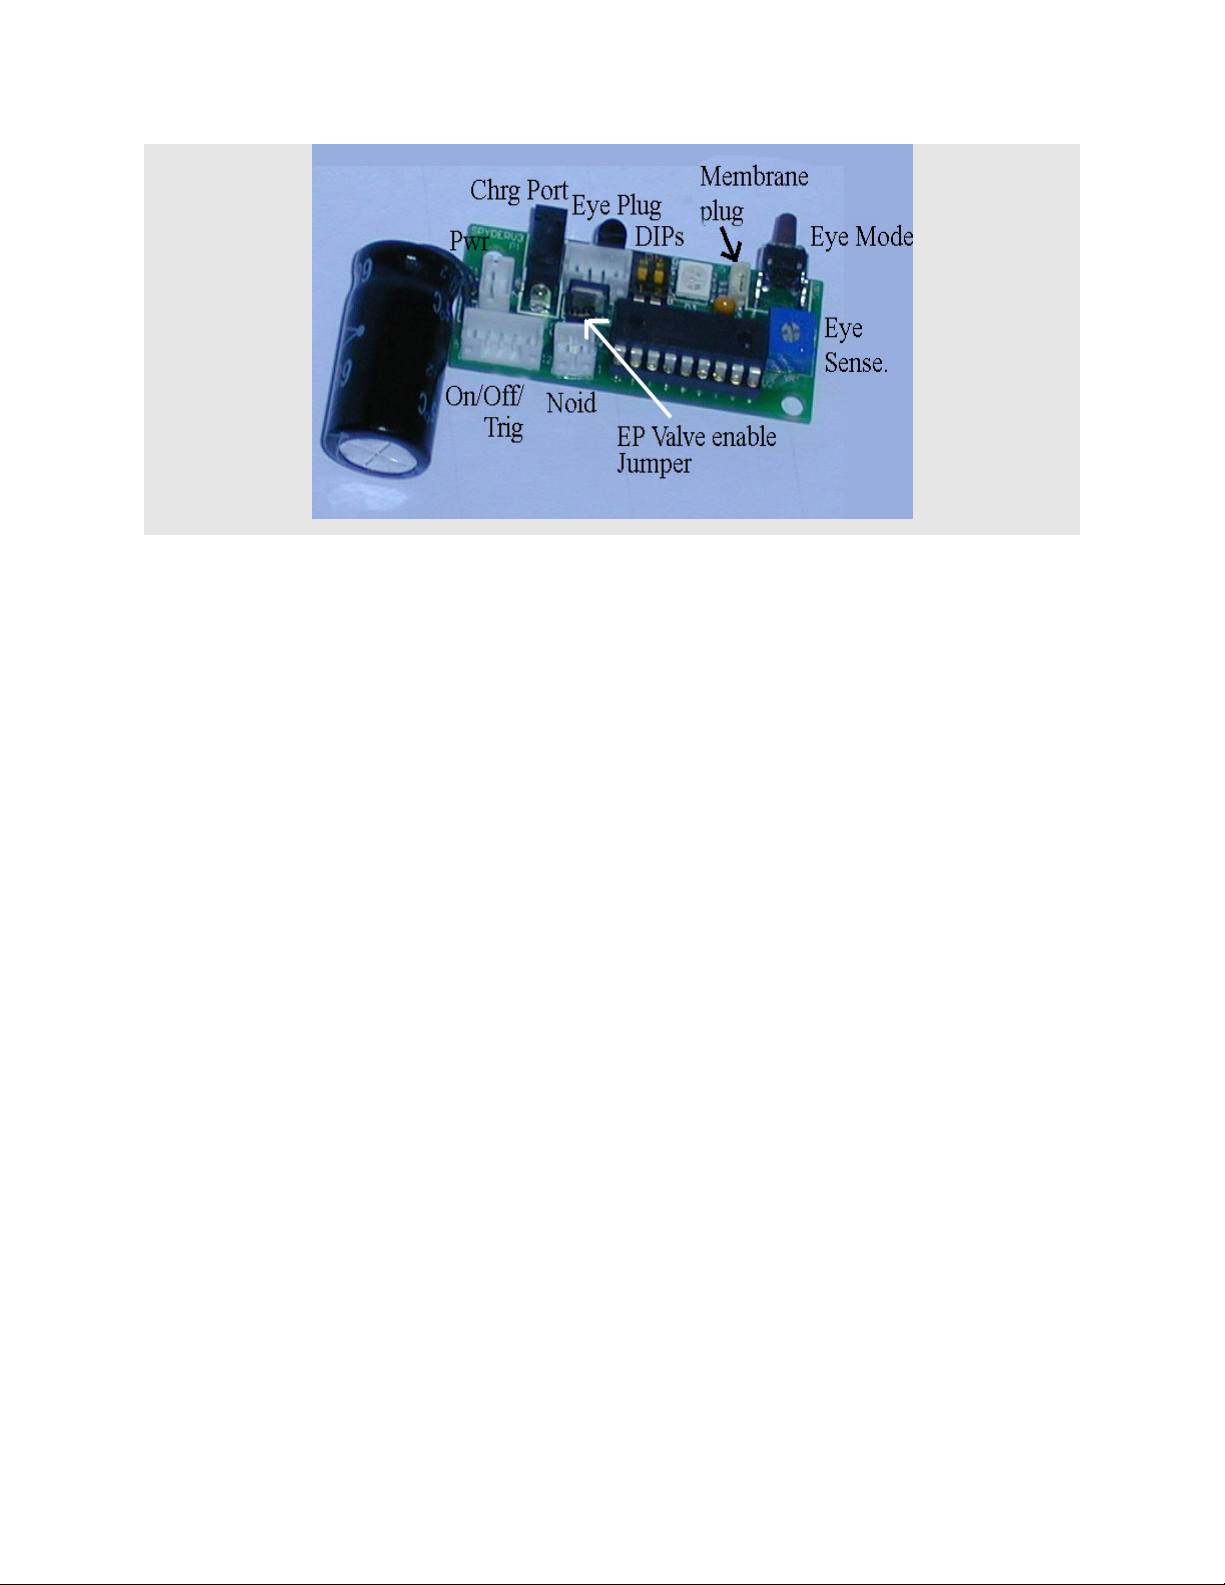
The Spyder VerC T-Board
Installation of the Spyder VerC T-Board
Remove the screws holding the handgrip cover on.
Unplug all the connectors located at the top of the control board.
Remove battery.
Unscrew the screws holding the control board in place.
Remove the original control board.
Insert The Spyder VerC T-Board
Replace the mounting screws to secure the T-Board.
If you are installing the Membrane pad, plug it into the T-Board using the membrane adapter.
Remove the backing from the pad and stick on the back of the grip.
Plug the connectors in to the board (Power connector LAST; Uou MUST use the battery plug that came with the VerC. Don't use the Stock
cable).
Note: For Electropnuematic valve markers (Primal) remove the EP valve jumper.
Replace the handgrip cover.
Functionality:
The Spyder T-Board function much like the stock board, however, the setting and LED functions are
different. To turn on the marker, slide the power switch to the ON position (or push the power button on
the membrane pad for appropriate markers). The marker is now ON and in fire mode. The color of the
LED will denote the mode that the marker is in (see below). If you have installed a Dye Membrane pad
you can put the marker in Safe mode by tapping the Power button on the membrane pad once. The LED
will flicker green quickly (safe Mode). To return to Fire state, tap the power button again. When the marker
is turned "on", the saved settings are used. To turn off the marker, slide te power switch to the Off position
(or press and hold the power botton on the membrane pad until the LED turns off). The Eye(Setup) button
is the lower button of the T-Board and is also the lower buttono on the membrane pad.
Note1: When you power up your marker for the first time after installing a new chip, the LED may cycles
through the colors very quickly. This loads the default settings, and will only happen on the first bootup of
your T-Board (if ever).
Note2: DIP switch 1 is a 15 bps lock. When ON, all modes except semi and RT will be capped at 15 bps.
Note3: DIP switch 2 is the Tournement lock. Turn ON for tournament settings. With the Tournement lock
on you will not be able to change settings or modes.
Shot Q’ing - If enabled, when the trigger is pulled and no ball is in the breech, the marker will wait up to
¼ sec for a ball to enter the breech and will AUTOMATICALLY fire. This feature prevents “lost” shots
because your fingers are faster than your hopper, and is still legal since it does not add shots.
Force Semi Mode - If the trigger is pulled and held long enough (Force Semi Time), the marker is
automatically set to semi mode and the eyes disabled. This is to guarantee the marker will function,
regardless of the eye or mode.
Note: This feature is disabled on any mode that requires you to hold the trigger. (NXL, Nitro, Auto)
LBI - Your board supports LBI, the LED will flicker WHITE quickly every 3 sec to indicate your battery is
low.
To disable/enable the eyes - push the eye button until the LED turns RED (disabled, ROF
capped), BLUE (disabled, ROF uncapped) or GREEN (enabled). When the eyes are disabled, the marker
is capped at 12bps, regardless of MROF setting.
Changing Modes of Fire
1. Hold down trigger and turn marker ON at the same time. The LED will cycle through its colors very
quickly, let go of the trigger after the LEDs cycle. You are now in the Modes Menu.
Page 2
2. Simply press the trigger to cycle through the modes. The color of the LED indicated which mode you
are in...
-Red - NPPL Semi
-Green - Reactive Trigger
-Blue - 3 Round Burst
-White - Full Auto
-Red - CFOA (capped semi)
-Purple - Nitro
-Yell ow - PSP Ramping
-Te al - NXL Auto
3. Once you have selected the mode you want, tap the Eye mode button, the LEDs will cycle again to
indicate that your setting has been saved.
4. The marker has returned to Live Mode with your desired mode of fire.
Adjusting Setting
With your Spyder VerC T-Board, you have full control over how your marker shoots. Below are the
instructions for changing your settings. This may sound confusing at first, please read the sample below
the chart.
1. Press and HOLD the EYE button.
2. While holding the EYE button, Turn marker on.
3. Continue to hold the EYE button, the LED will flash red once, pause, then flash once again. At this time
you can let go of the EYE button and you are now in Setup1 (Reference Chart Below). IF you continue to
hold the EYE button after the first LED blink, and the second LED blink, it will then blink twice together. If
you let go, this will bypass Setup1 and bring you straight to Setup 2. If you hold the EYE button until the
LED blinks 3 times together and release the EYE button, this will restore the default settings.
4. Once you are in your desired Setup Menu, the LED color will indicate which setting you are currently in.
Pull the trigger X amount of times to set your setting. The first pull of the trigger sets the value at its
minimum, each pull after that increments the value based on the chart below.
5. Tap the EYE button to move on to the next setting. You can also ignore a setting and bypass to the next
setting by not pulling the trigger, and just tap the EYE button till the LED indicates the setting you desire.
6. When finished with your settings, you can tap the POWER button (membrane pad)to enter Live mode,
from any setting or Setup Menu. If you cycle through all the settings, the marker will automatically exit the
menu, and enter live mode.
7. The LEDs will cycle quickly to indicate your settings were saved.
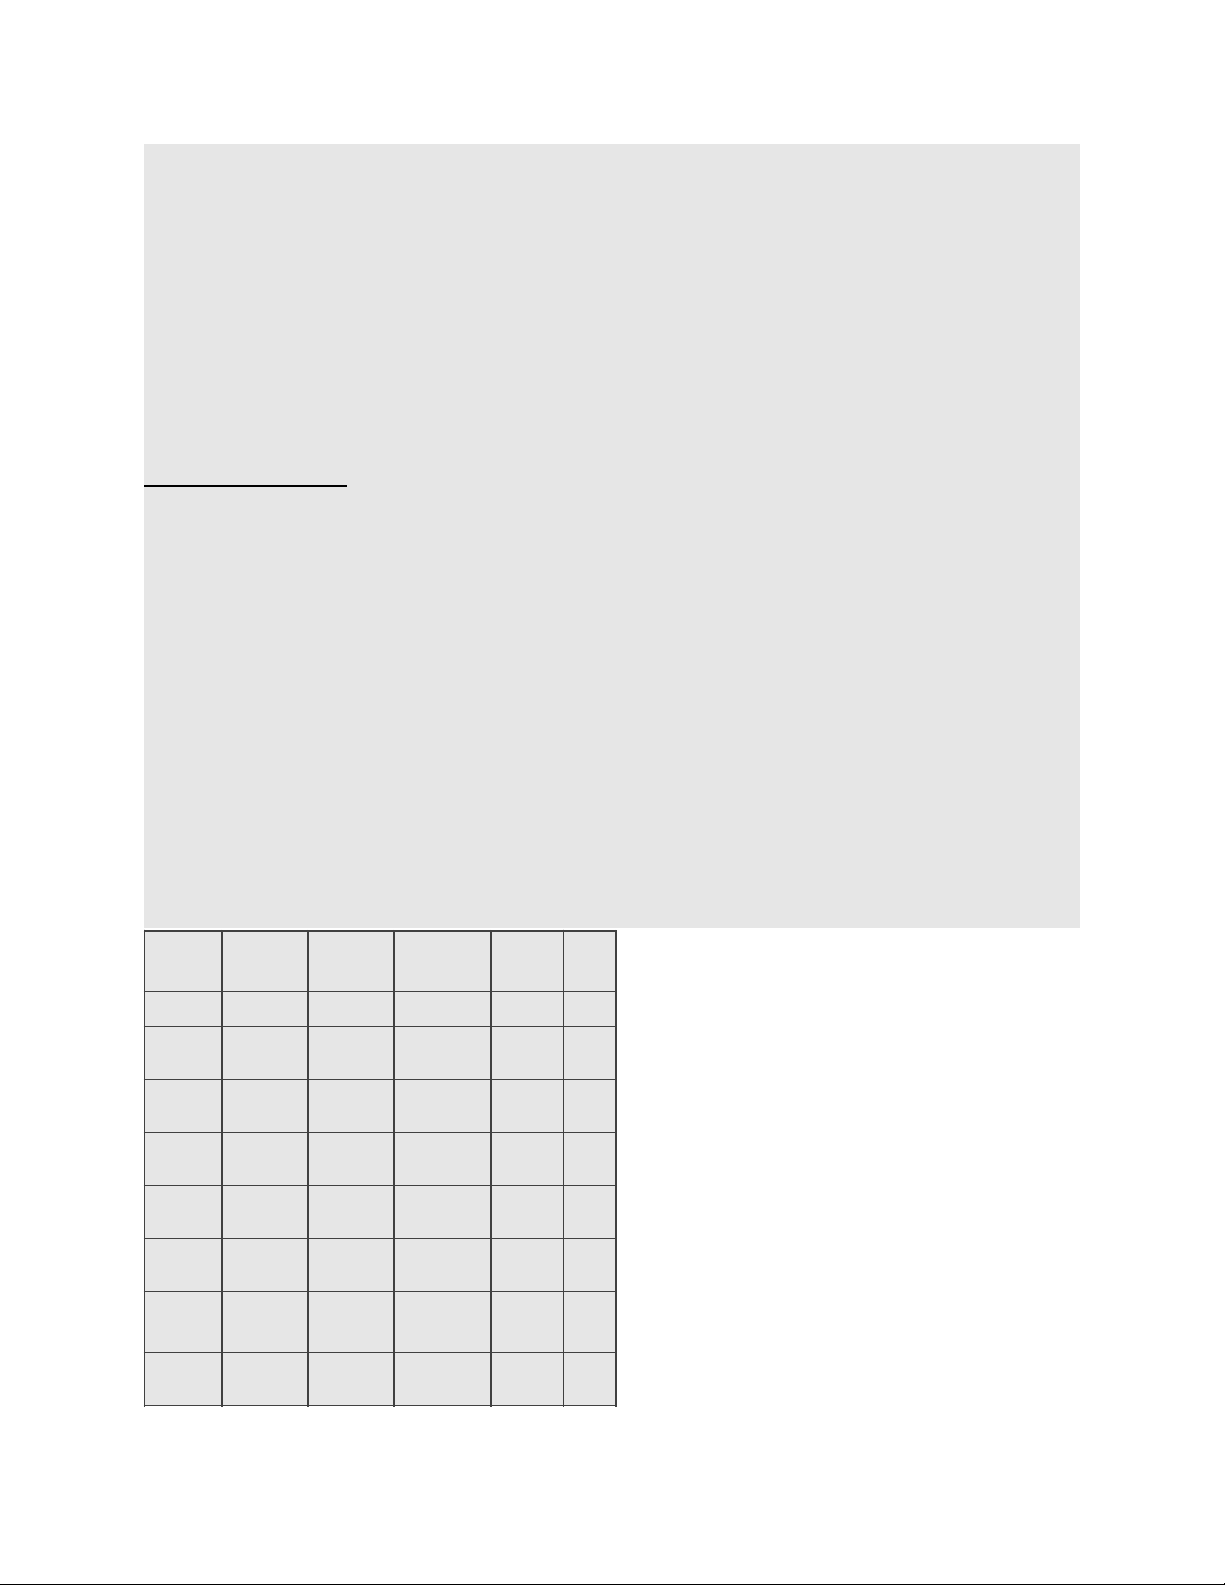
Setup
1
Default
Min
Max
Incrmn
ts
Colo
r
ROF159291 bps
Red
Dwell
8ms2256
.5ms
Gree
n
Deboun
ce
5ms0256
1ms
Blue
Eye
Delay
15ms1256
1ms
PurpleForce
Semi
2 sec
0.5
none
.5 sec
Whit
e
Eye
Type
Breakbea
m
Breakbea
m
Bouncebea
m
toggle
RED
Setup
2
Shot
Q’ing
ONONOFF
toggle
Te al
Page 3
Setup1
ROF - Firing speed of the marker - Min. 9bps -
Dwell - Time Solenoid is on - Min. 0ms - Increments 1ms
Debounce - Debounce of trigger - Min. 2ms - Increments 1ms
Eye Delay - Delay after eyes check to ensure ball is completely in chamber.
Force Semi - Time needed to force marker into semi mode - Min. Disabled - Increments 0.5 sec.
Eye Type - Type of eyes installed, Break or Bouncebeam. If no eyes installed, set to Breakbeam.
Setup2
Shot Q’ing - If the trigger is pulled and no ball is in the breach, the marker will wait for up to ¼ sec for a
ball to enter the breach and then will AUTOMATICALLY fire.
After Nitro - The LED will blink Purple followed by the color of the switched mode. Pull the trigger to cycle
the modes.
Trigger Speed - Minumum Trigger pull speed to activate ramping. I.E. 5bps
Trig pulls to ramp - number of trigger pulls needed to start ramping.
Setup3 - restores default factory settings
Eye Alignment Tool
When in the Eye Alignment Tool, the LED will light up when the eye is properly aligned. If the eye is
blocked or misaligned, the LED will NOT light. this tool is used to verify that your eyes are clean and
functioning.
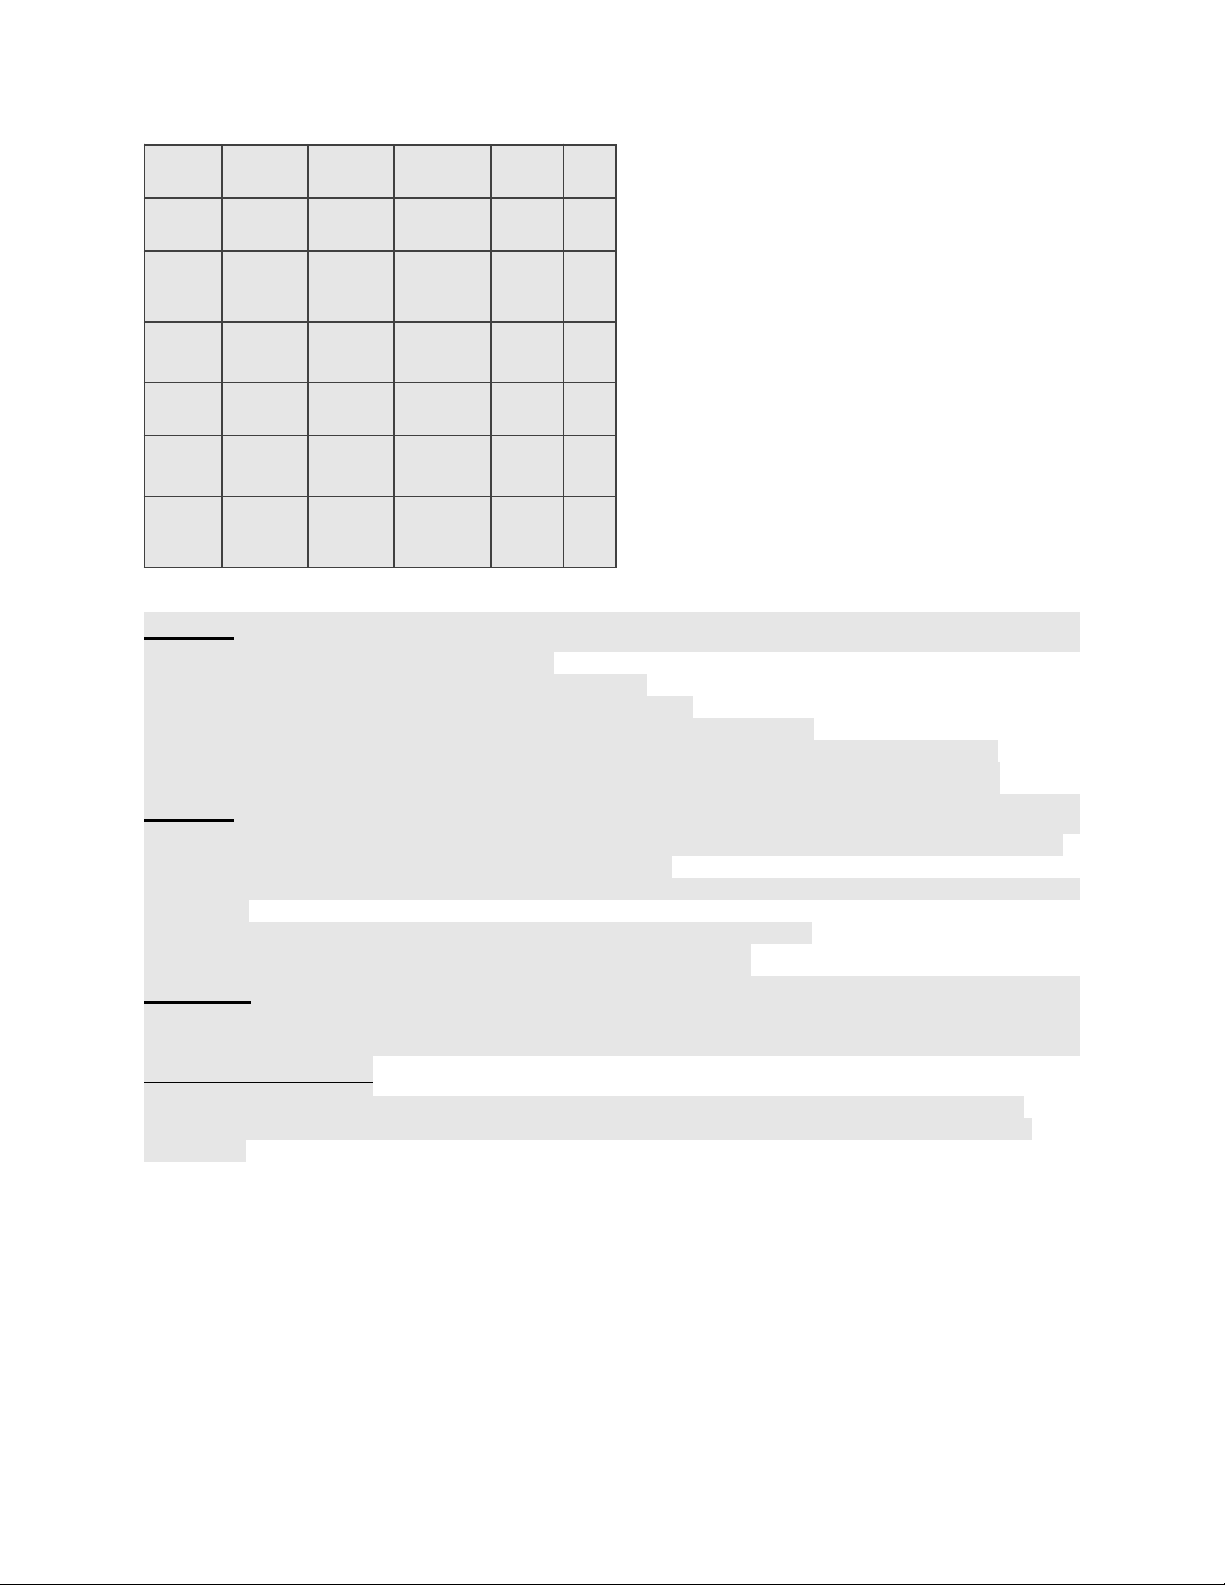
After
Nitro
Semi
n/a
n/a
cycle
Purp
le
Trigger
speed
5bps
5bps
None
1bps
Red
Trig
pulls to
ramp
4 pulls
2 pulls
256
1 pull
Blue
Setup
3
Restore
Default
n/a
n/a
n/a
n/a
n/a
Setup
4
Eye
Alignme
nt
n/a
n/a
n/a
n/a
Red
Page 4
 Loading...