

Spyclops SPY-DVR4960 User Manual

1
SPY-DVR4960 / SPY-DVR8960 / SPY-DVR16960
Instructions
1.0
INTRODUCTION
1.1 Main menu
2.0 SYSTEM TOOLS
2.1 User Management
2.2 HDD management
2.3 System maintenance
2.4 Factory setting
3.0 SYSTEM SETUP
3.1 General Setup
3.2 Screen Setup
3.3 Encode Setup
3.4 Record Setup
3.5 Video detection
3.6 Network Setup
3.6.1 PPPOE Setup
3.6.2 DDNS Setup
3.6.3 E-mail Setup
3.7 PTZ Setup
3.8 Sensor Setup
4.0 VIDEO INFORMATION
4.1 Video Playback
4.2 Video Backup
5.0 SYSTEM
5.1 System info
5.2 System logout
6.0 TECHNICAL INFORMATION
6.1 Technical Parameters
6.2 4-channel DVR Front Panel
6.3 8-channel DVR Front Panel
6.4 16-channel DVR Front Panel
6.5 4-channel DVR Rear Panel
6.6 8-channel DVR Rear Panel
6.7 16-channel DVR Rear Panel
2
Congratulations on purchasing the SpyClops H.264 DVR Security System
System Specifications:
• Multi-camera digital video recorder which includes motion detection, key buzzer alarm, e-mail, area
masking and alarm sensor support
• The DVR uses state of the art H.264 video compression technology to maximize your recording time and
optimize your video quality. H.264 compression saves hard drive space and supports faster data
transfer.
• Data stored in the DVR can easily and quickly be backed up via a USB drive
• Up to 16 camera capacity so upgrading your system in the future will be easy and trouble free
• Apple and Android supported app so you can view your video feed from anywhere remotely
• An embedded Linux operating system provides you with stability and excellent network capabilities
• Upgraded DVR Hard Drive specifically designed for CCTV use
• 2 USB ports in back and 1 additional port on front panel
• Built in fan for optimum cooling
• Ideal for residential and commercial installations
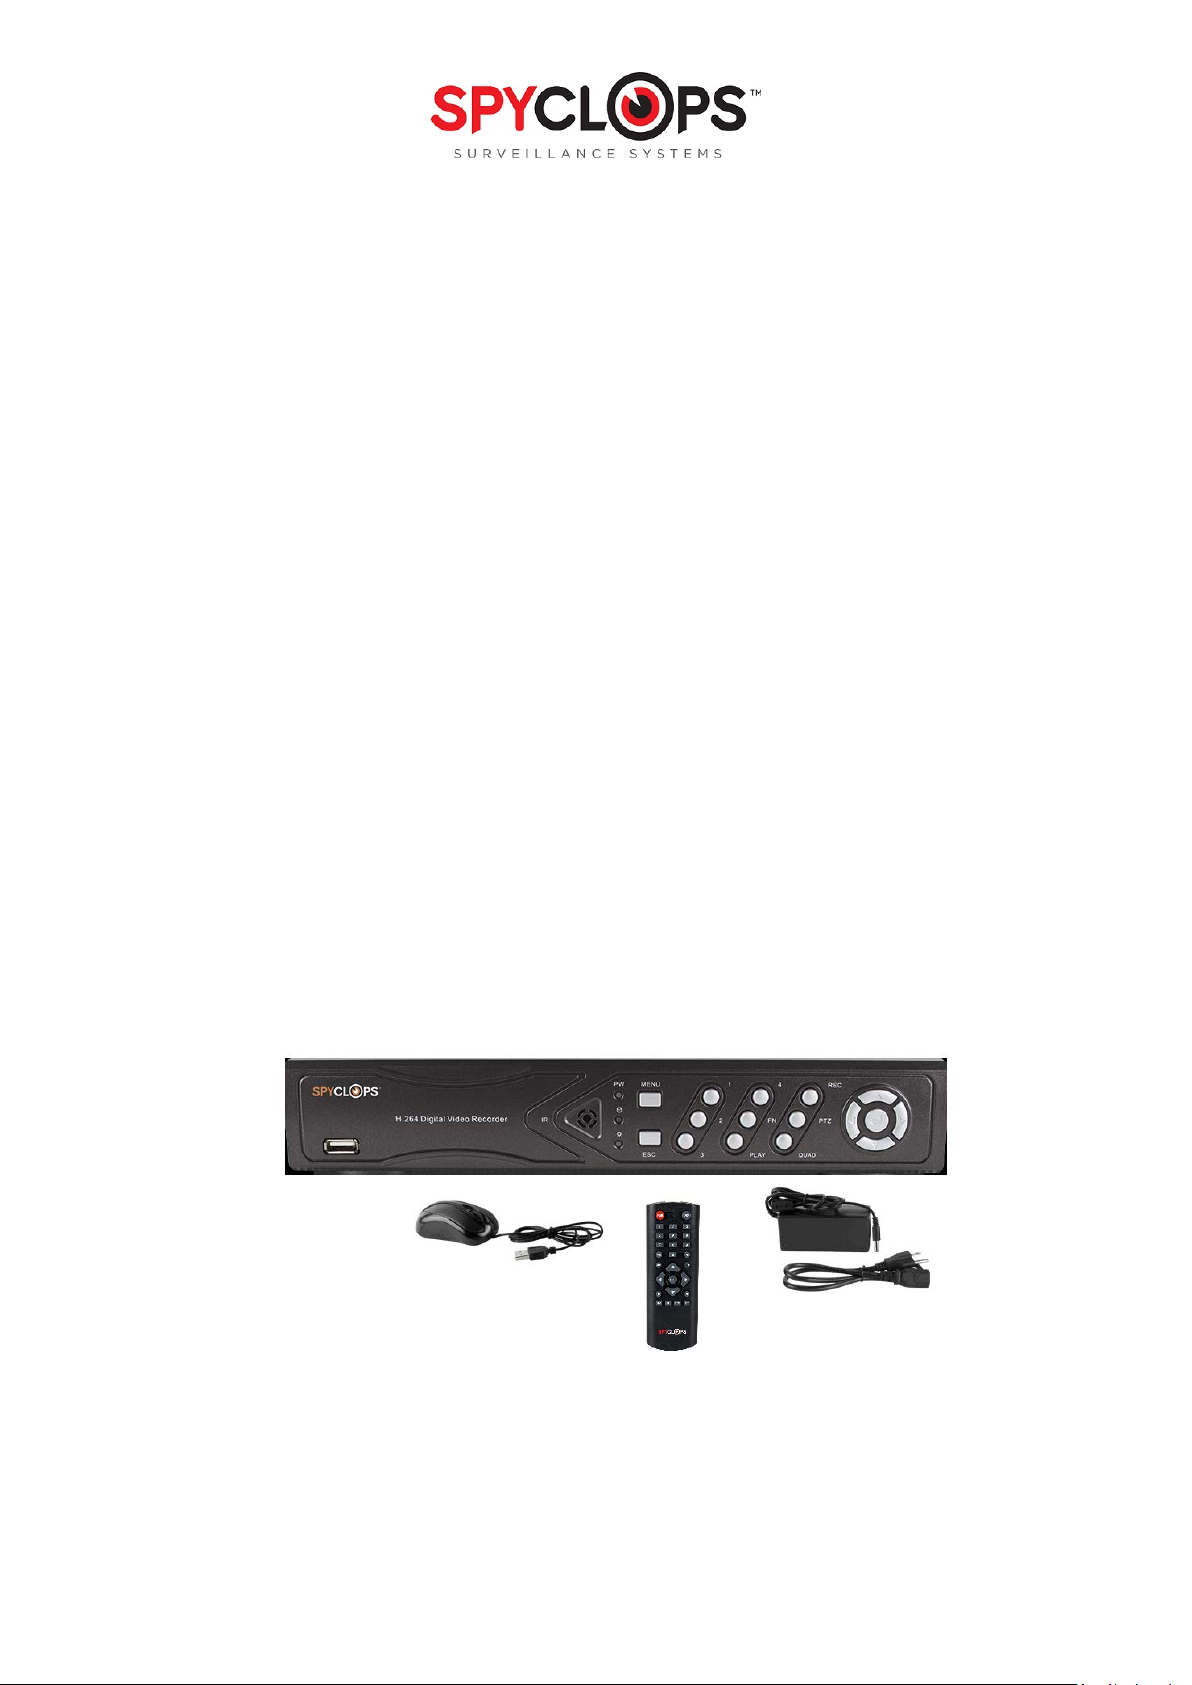
Your System Includes:
• 4, 8 or 16 channel H.264 networkable DVR
• Pre-installed upgraded DVR Hard Drive
• Power adapter
• USB mouse
• DVR remote
3
*Note: Remove the equipment from its packaging and place it on a clean, flat surface. Inspect each item. If
any visible damage is present, contact your supplier please verify your order is complete
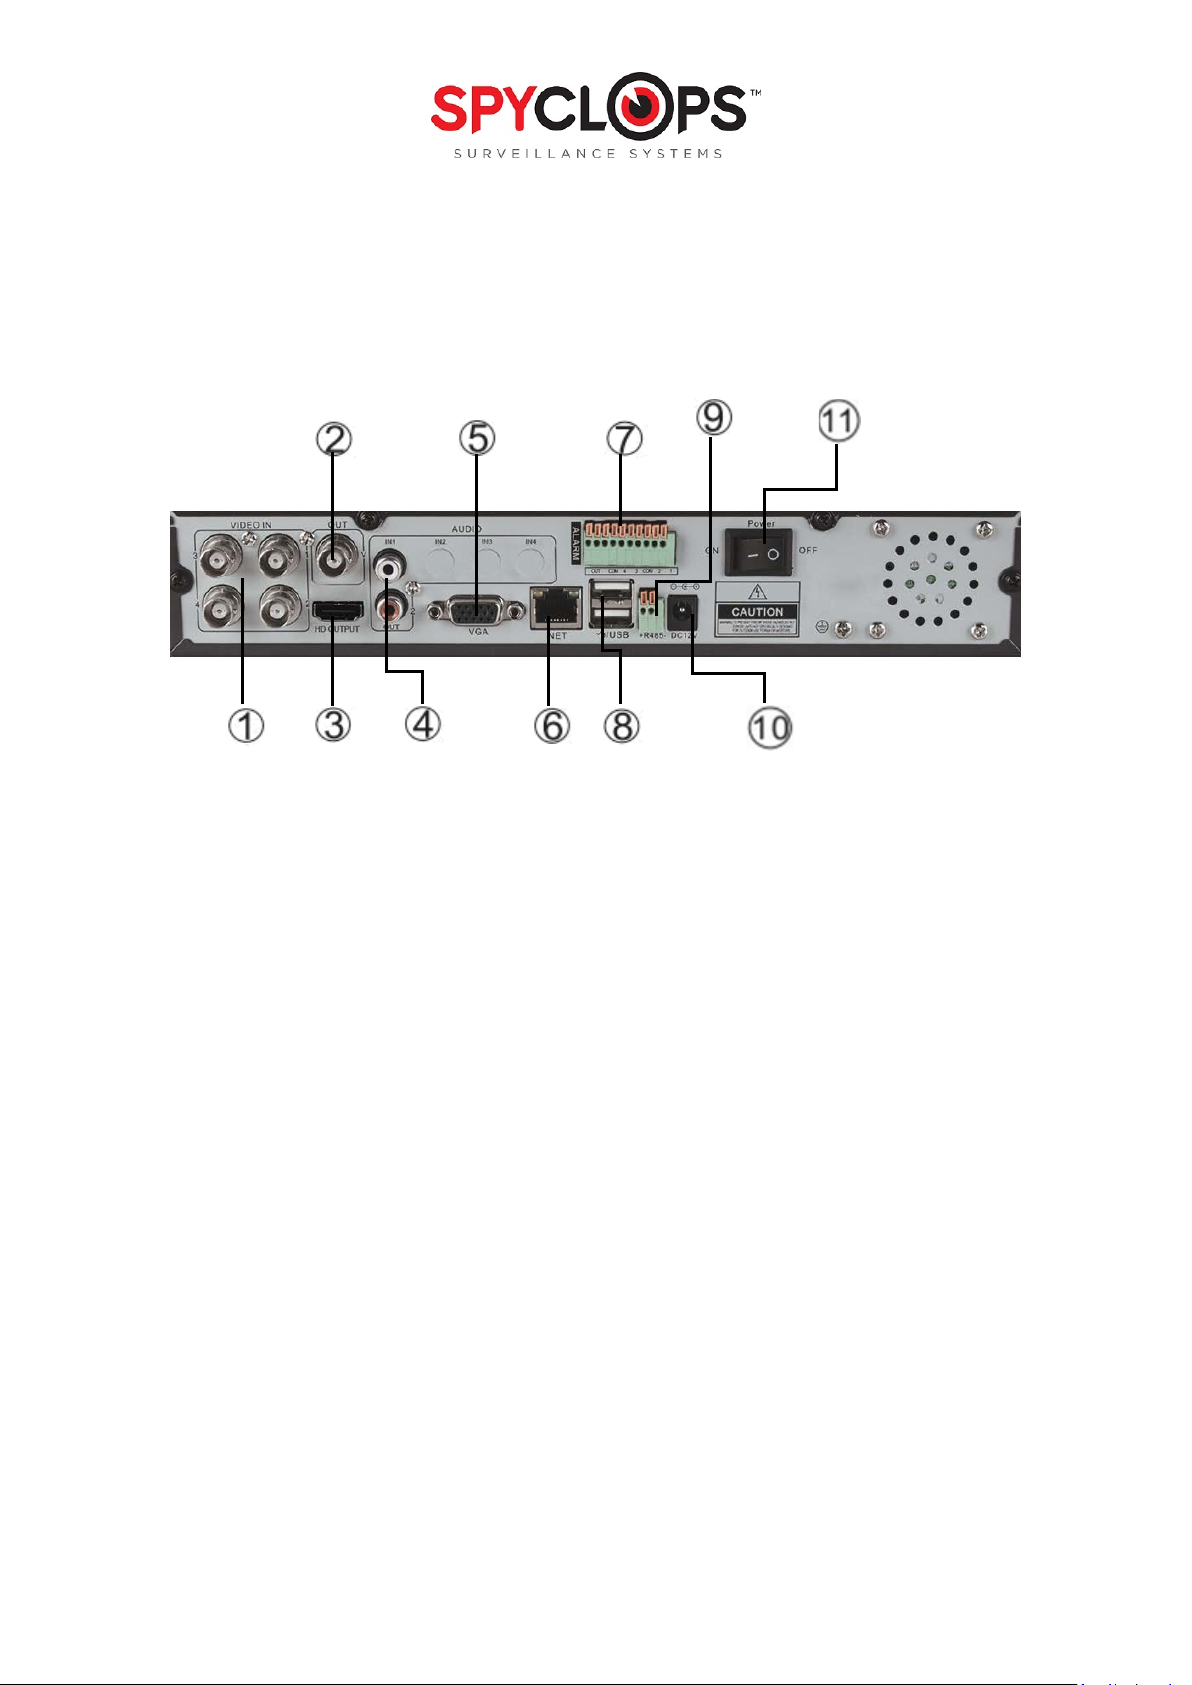
MAKING THE CONNECTIONS:
1. BNC video in from cameras
2. Video out to TV (BNC to RCA cable)
3. HDMI output
4. RCA audio IN and OUT
5. VGA output to monitor
6. RJ45 ethernet port
7. Sensor Alarm input/output
8. Mouse/USB backup
9. RS485 port for PTZ camera control
10. DC 12V adapter port
11. ON/OFF power switch
4
1.0
INTRODUCTION
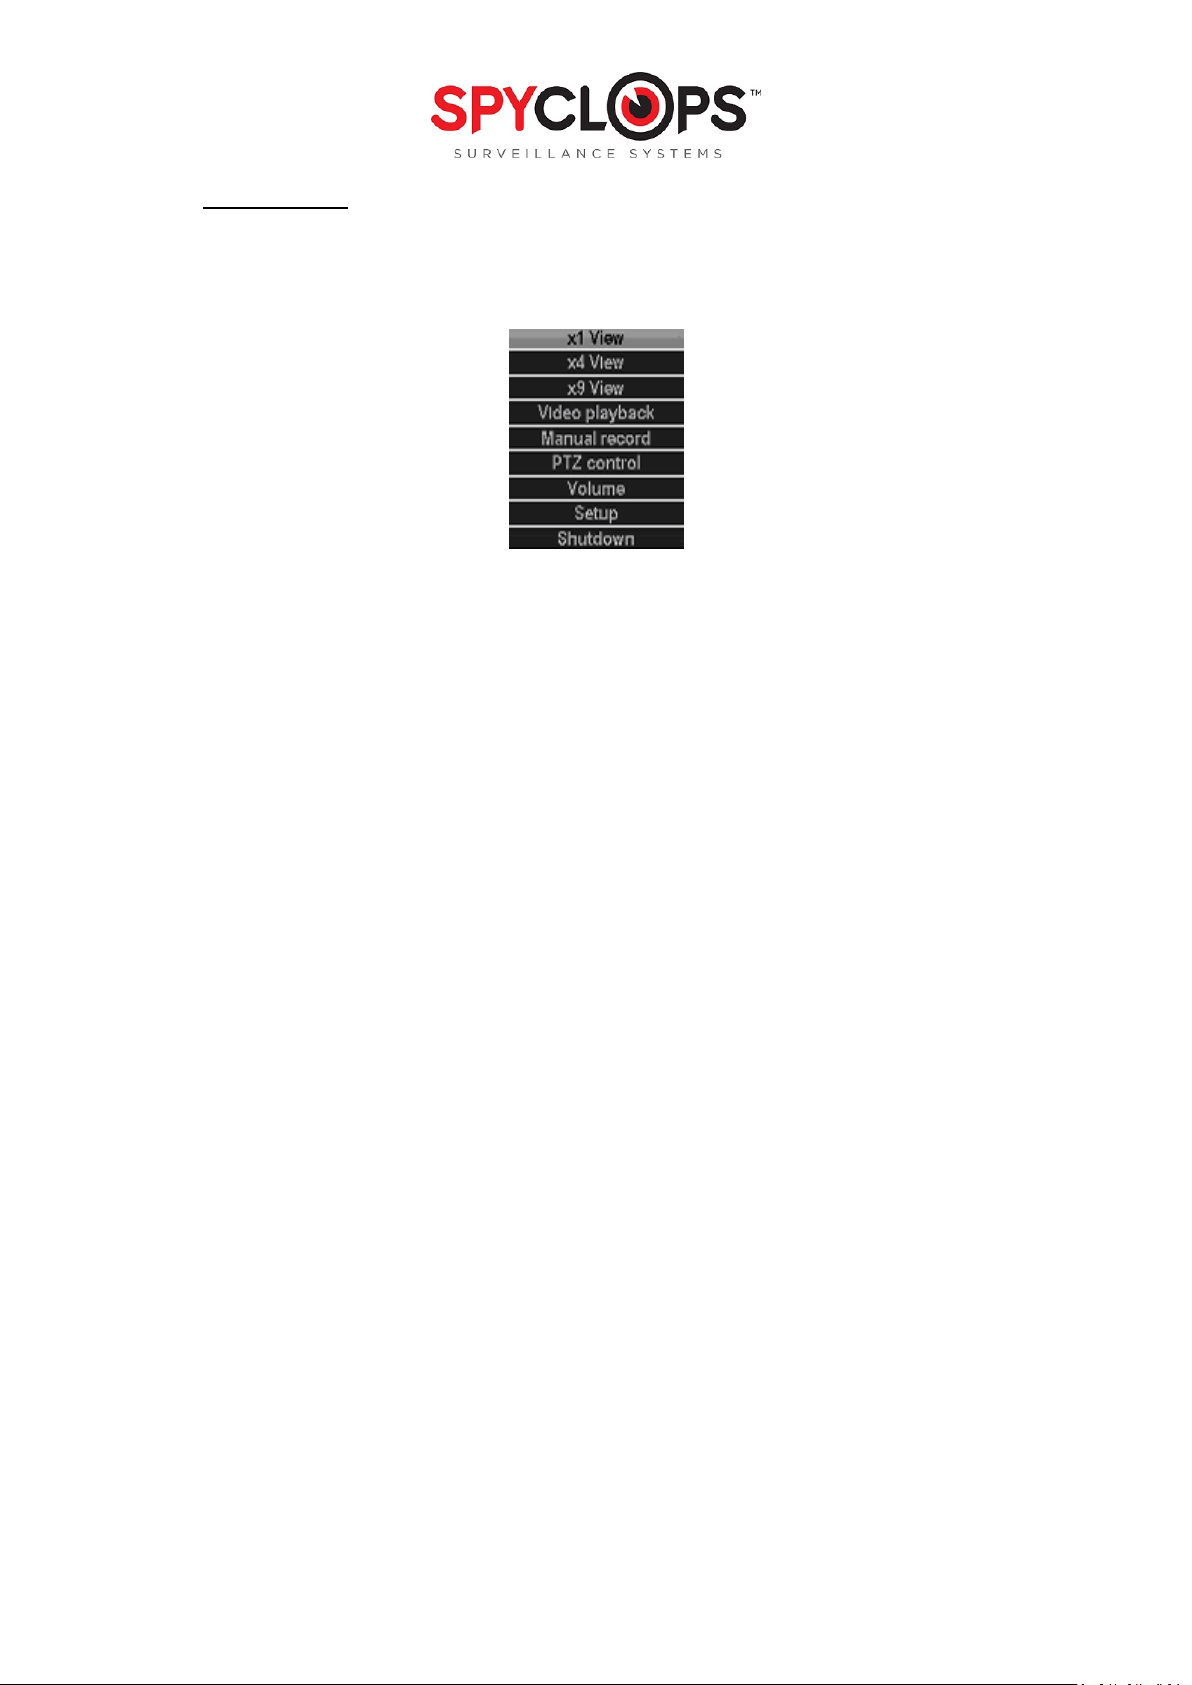
1.1 Main Menu Introduction
Right click the mouse and you will find the main menu (it can also be accessed by pressing the
“MENU” key). The main menu consists of the following components:
• X1 view Click to view which channel you want to view
• X4 view Click to view 4 channels
• X9 view Click to view 9 channels
• X16 Click to view 16 channels
• Video playback Shortcut to the “video playback” option
• Manual record Set manual recording for one or all channels by choosing the “All on” option. To
turn off click the “All off” option for all or one channel
• PTZ control Shortcut to PTZ. Use this option to set the “Presets” for PTZ cameras
• Volume If you are recording audio along with video you can adjust the recording volume here
and choose “AV stream” for the “Encode mode”
*Note: If you are recording audio as well as video, you need to go to the “Encode setup” option
• Setup Goes to the “setup” menus
• Shutdown Shortcut to “Logout”, “Reboot” or “shutdown” the system
5
2.0 SYSTEM TOOLS
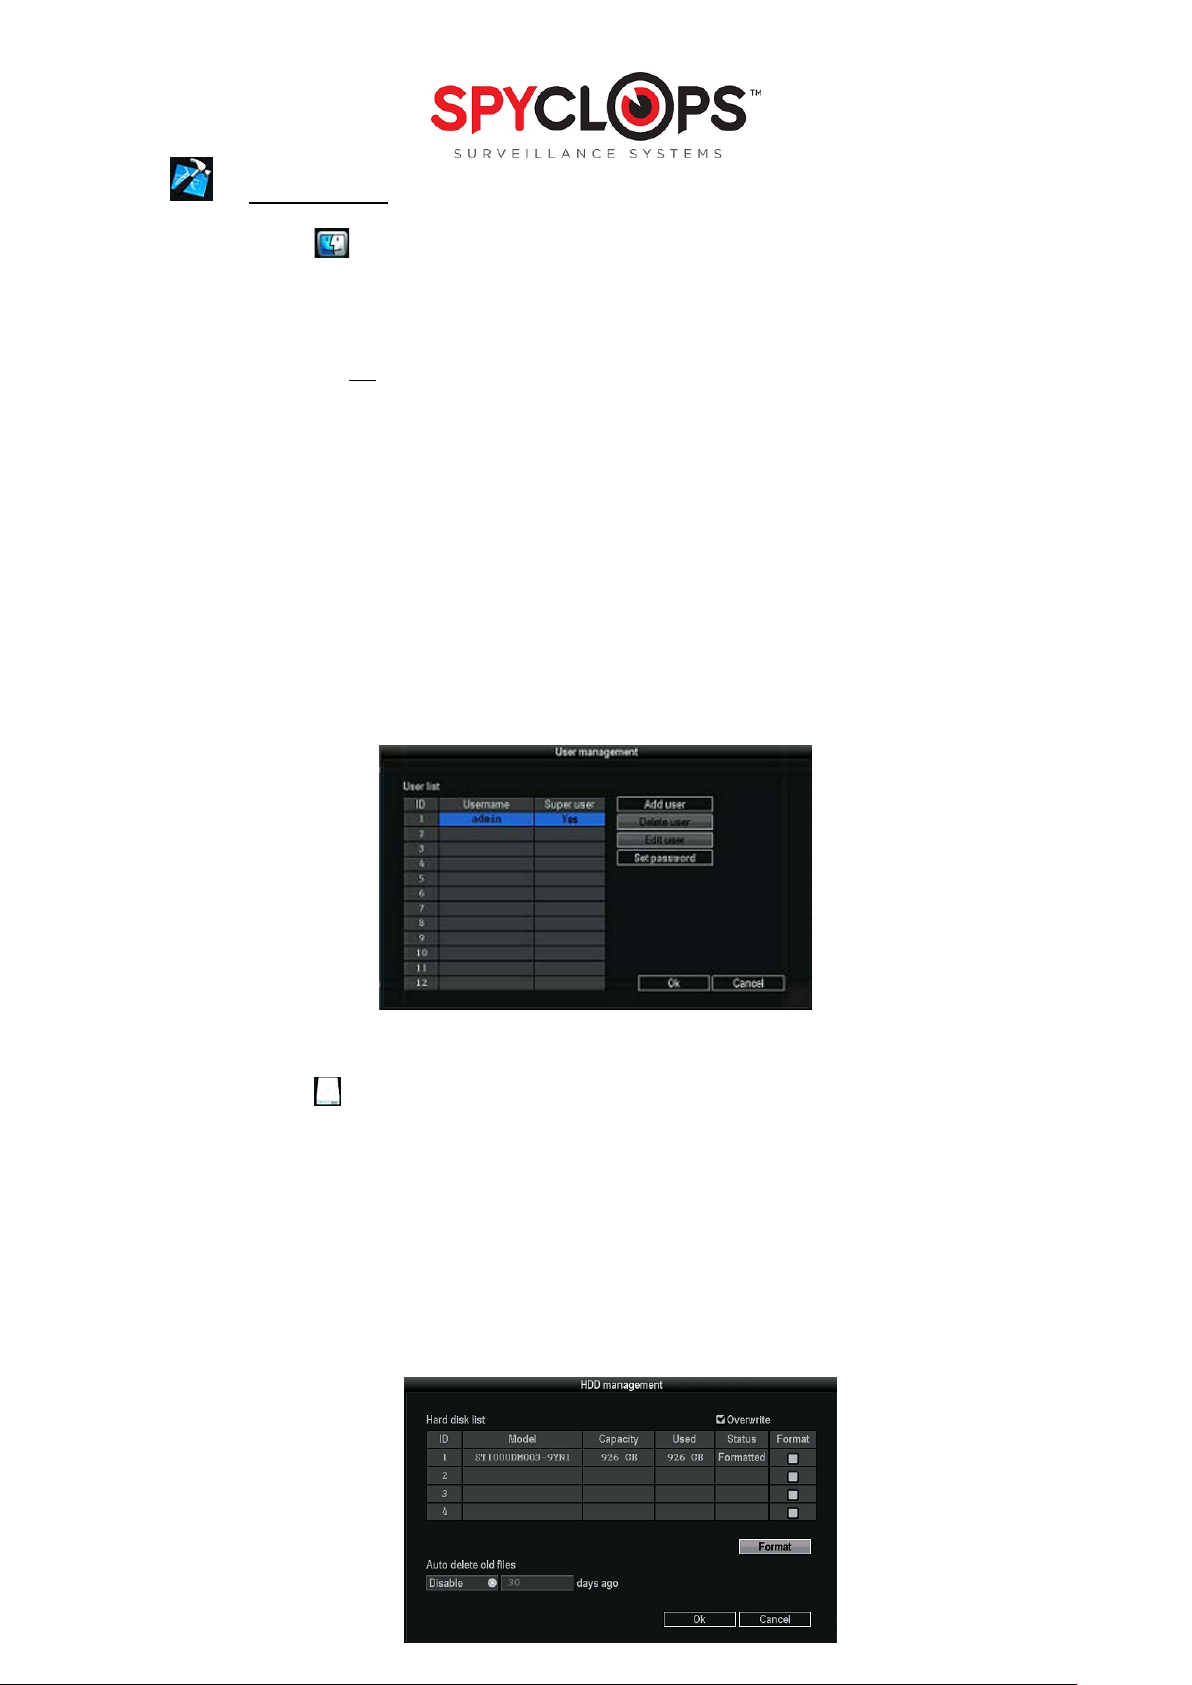
2.1 User Management
• The default admin user has no password set up, to set up a password you need to highlight
admin, then select “set password”. Skip the “old password” field (since it defaulted blank)
and add a “new password”.
*Note: This will need to be done in order to view the DVR remotely
• You may add a new “user”, but remember that if you want the new user to have access to
setup, system tools AND remote you need to check the “super user” box, otherwise you can
select what this user can see/do in the checkboxes displayed under “username” and
“password”. Hit “OK” and save changes
• If you add a new “user” and forget to assign permissions, simply select the user and choose
“Edit user” to the right. You can then either pick ‘super user”, assign each permission
separately or select permissions by group of “ all”, “setup”, “system tools” or “remote”
• This is also where you can delete users. Simply highlight the user you no longer want and hit
“delete user”, don’t forget to click “yes” and “ok”
*Note: if you forget your password, you can reset it by pushing the up arrow on front of the DVR 10
times to reset the unit back to the default user
*Note: Click “OK” to save any changes then right click twice to save your configurations after every
change you make
2.2 Format the Hard Drive (HDD)
• DVR comes formatted
• To delete the hard drive data, right click with your mouse and select “Setup” then left click to
select “System Tools” then select “HDD management”. Check “√” the Overwrite box and the
format box of the HDD you want to format then click the “Format” checkbox “√” click
“Format”, click “Yes” to start.
• Auto delete old files Choose custom to set up auto delete at the number of days that you
require. *Note: This is helpful in saving Hard Disk space.
6
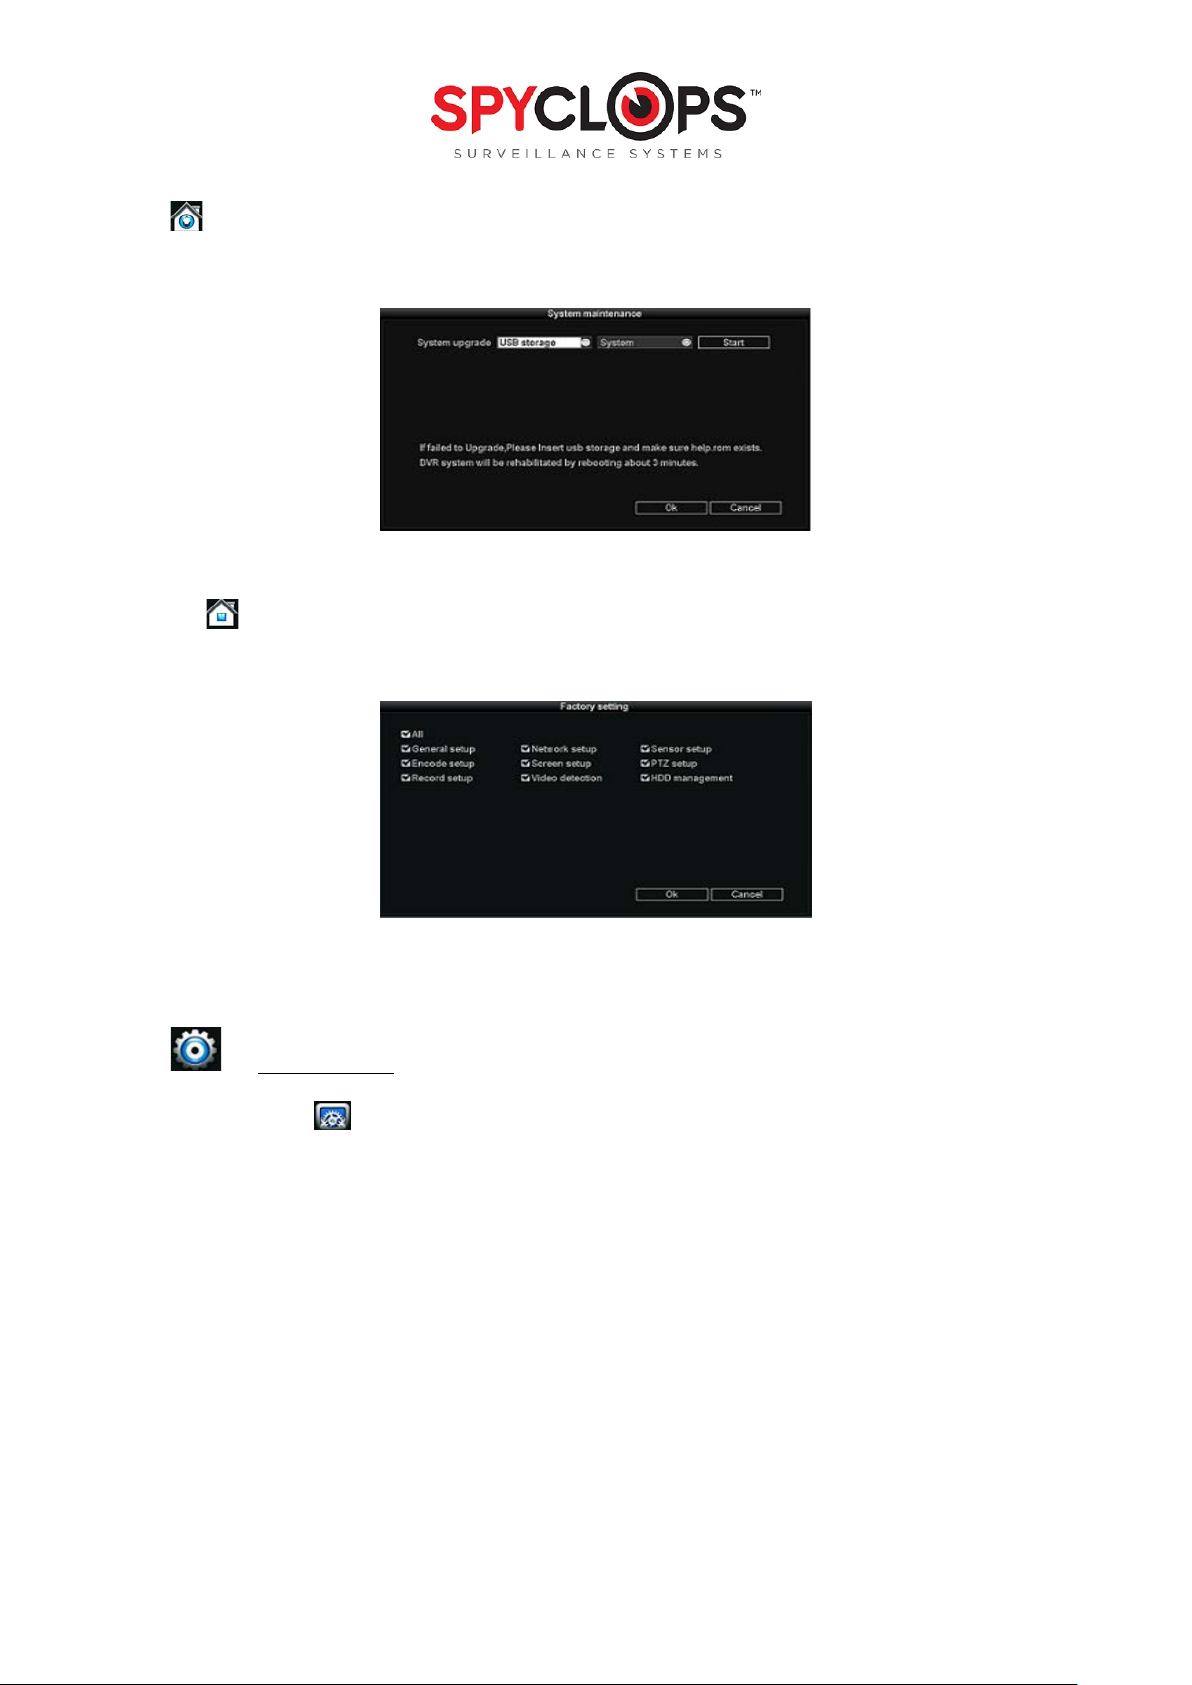
2.3 System maintenance
• Perform a System update, Logo update or Resource update from USB storage and click start
2.4 Factory setting
• Factory reset “all” or each setup choice you choose
3.0 SYSTEM SETUP
3.1 General Set-up
• Date time: This option is used to set up the date and time. If the wrong information is left
populated, the DVR will not record properly
*Note: click “Apply” to save date and time changes
• Date format: [year, month, day], [month, day, year], [day, month, year]
• Auto Logout: When enabled, the DVR will automatically logoff the present user if there is 10
minutes without operation. They will need to login again to operate the device
• Key buzzer: “Enable” will activate a beep when the DVR buttons are pushed. “Disable” will
prevent beeps from sounding when the buttons are pushed
• Language: You can select one of six different languages
 Loading...