

SPT WA-1220M, WA-1220H, WA-1220E Instruction Manual
WA-1220H, WA-1220E
TAB[
It isimportantthatyouread
these ins'_uctionsbefore using
yournewpurchaseand we
_TOng[yrecommend that you
keepthem in a safe pfa_efor
future reference.
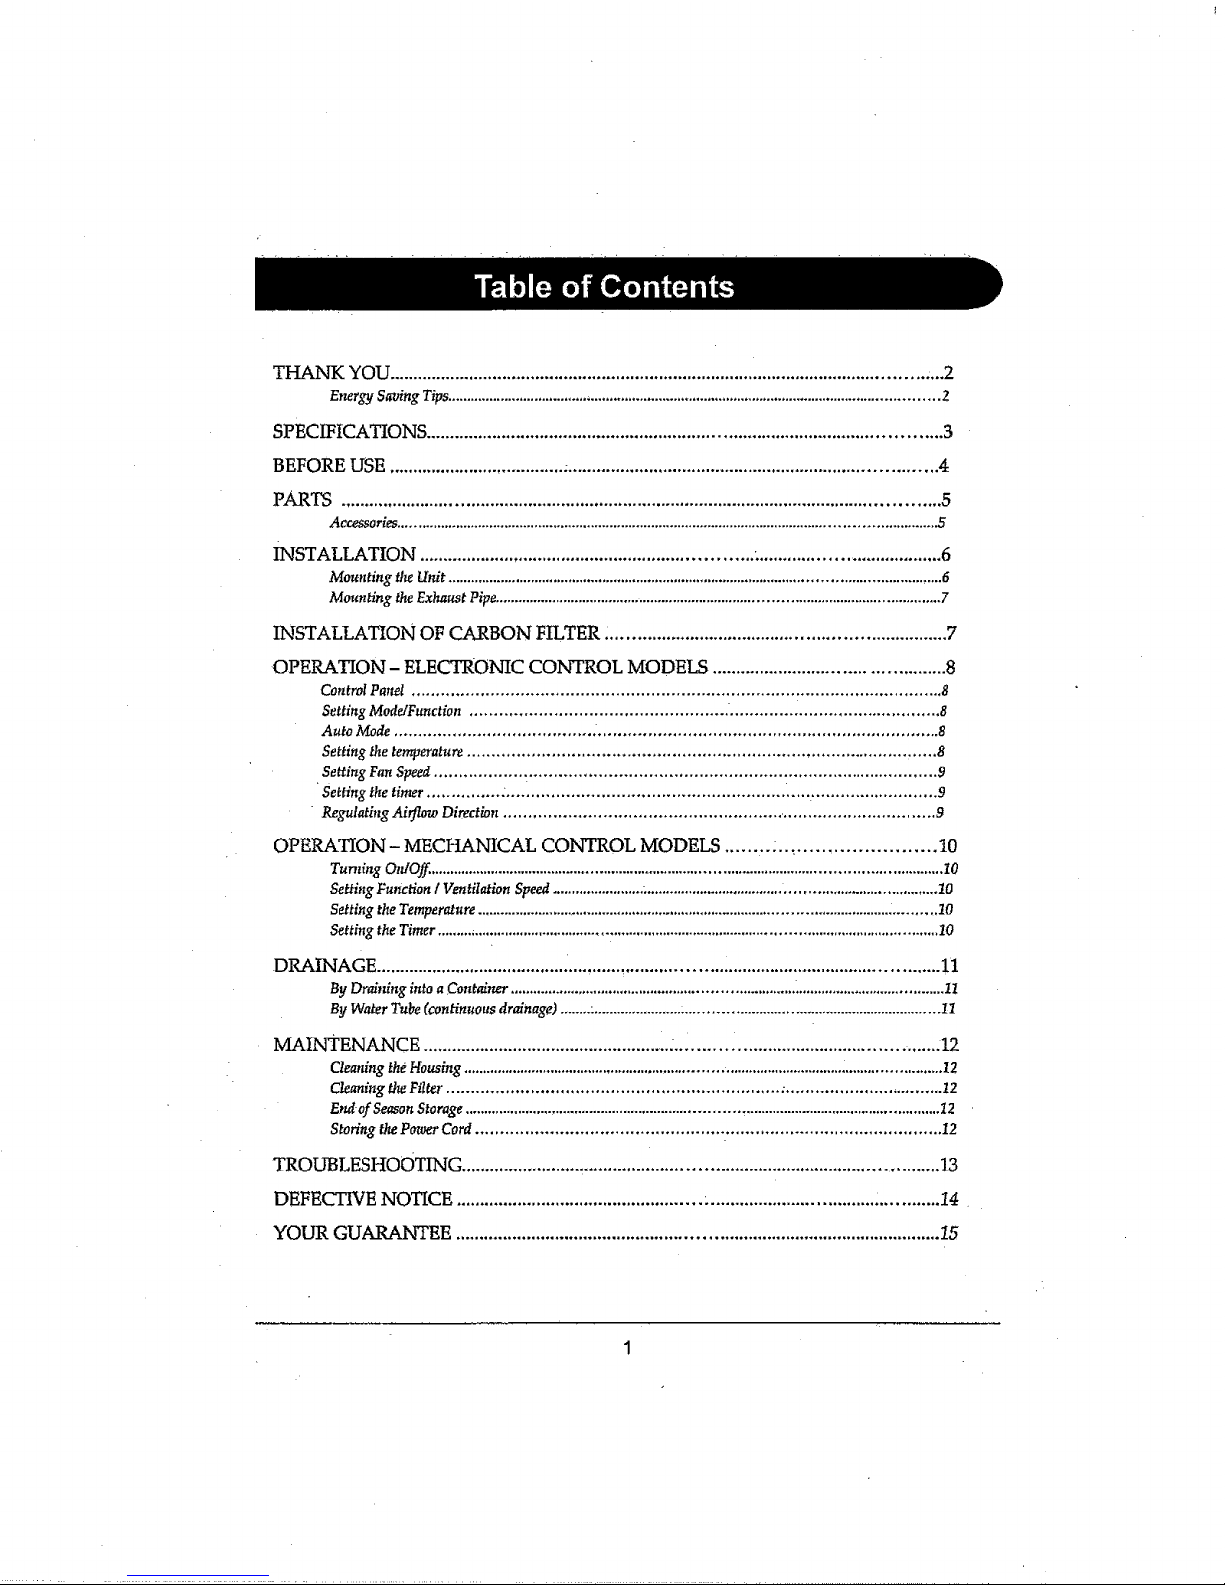
THANK YOU.................................................................................................................... 2
Energy Saving Tips................................................................................................................................ 2
SPECIFICATIONS.......................................................................................................... 3
BEFORE USE ..................................... ;............................................................................ 4
PARTS ............................................................................................................................ 5
Acc_orie_ ............................................................................................................................................ 5
INSTALLATION .................................................................... :...................................... 6
Mounting the Unit ................................................................................................................................ 6
Mounting the Exhaust Pipe................................................................................................................... 7
INSTALLATION OF CARBON FILTER ..................................................................... 7
OPERATION- ELECTRONIC CONTROL MODELS ............................................... 8
Control Panel ........................................................................................................... 8
Setting ModelFunction .................................................... ........................................... 8
Auto Mode ........................................ ...................................................................... 8
Setting the temperature ............................................................................................... 8
•Setting Fan Speed...................................................................................................... 9
Setting the timer ............... ......................................................... ,.............................. 9
RegulatingAifflow Direction ........................................................ ............................... 9
OPERATION- MECHANICAL CONTROL MODELS ........ : .......................... 10
Tun_ing OtdOff. ................................................................................................................................. I0
Setting Function 1 Ventilation Speed ................................................................................................... 10
Setting the Temperature ........................................................................................................... _.......... 10
Setting the Timer ................................................................................................................................. 10
DRAINAGE ........................................ ............_................................................................ 11
By Draining into aContainer ......................................................................... ....................................... I1
By Water Tube (continuous drainage) ........:....................... :................................................................ 11
MAINTENANCE ................................................................ i......................................... 12
Cleaning the Housing ........................................................................................................................... 12
Cleaning the Filter ................................................................... ;................................. 12
End of SeasonStorage .......................................................................................................................... I2
Storing the Power Cord .............................................................................................. 12
TROUBLESHOOTING ................................................................................................... 13
DEFECTIVE NOTICE ................................................... ................................................ 14
YOUR GUA._RANTEE ..................................................................................................... 15

Thank you for choosing the portable air conditioner from SPTusA, a leading brand in indoor
air tTeatment. We would like you to enjoy the many benefits this unit offers, so please take the
time to read this manuaI carefully and take hill advantage of the many advanced features that
your SPTusA Air Conditioner offers you.
SPTusA has specialized in complete h_door environment control, manufacturing world-class
air conditioners, dehumidifiers and air purifiers with innovative technology.
In designing these advanced products, we have listened carefully to our customers and
have passed their views on to our research and development laboratories.
We wish you many years of enjoyable use.
After reading this manual, please keep it in a safe place for future reference.
Energy Saving Tips
• Please use the unit in the recommended room size. (Refer to SPECIFICATIONS ).
• Do not locate the air conditioner where furniture or other objects can obstruct the
airflow.
• Keep blinds/curtains closed during the sunniest part of the day.
• Close the fireplace damper and floor or wal! grills so that coot air does not escape
through the chimney or ductwork.
• Keep the filters clean.
set the unit to maximum cooling and high speed fan inifiall_ then adjust the unit to a
comfortable setting.
NOTE: It is recommended to turn on the air conditioner when the room temperature is
around 75°F. Do not wait until the room is excessively hot.
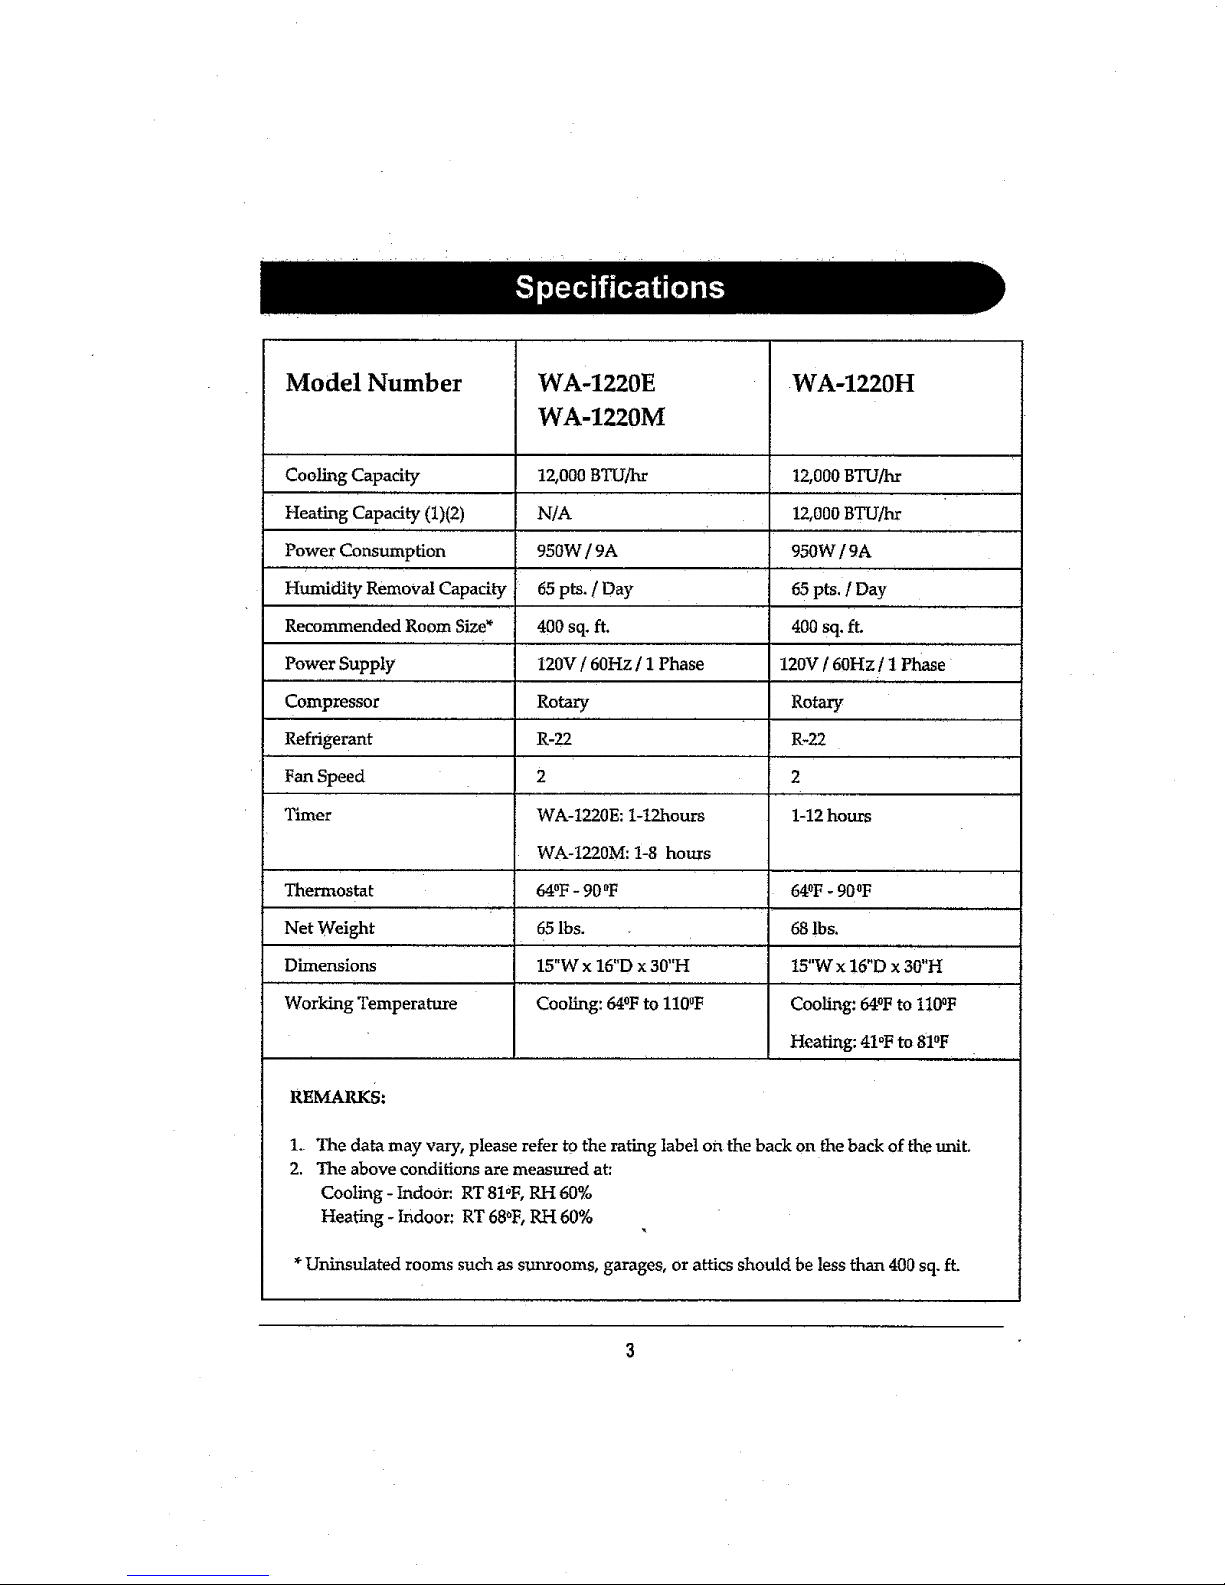
Model Number
Power Consumption
Humidity Removal Capacity
Recommended Room Size*
Power Supply
Compressor
Fan Speed
Timer
Thermostat
Net Weight
Dimensions
Working Temperature
WA-1220E
WA-1220M
12,000 gTUihr
N/A
950W / 9A
65 pts. [ Day
400 sq, ft.
120V / 60Hz / 1 Phase
Rotary
R-22 R-22
2 2
WA-I220E: 1-12hours 1-12 hours
WA-1220M: 1-8 hours
64OF- 900F
65 lbs.
15"W x 16"D x 30"H
Cooling: 64°F to 110QF
.WA-1220H
12,000 BTUihr
12,000 BTU/hr
950W / 9A
65 pts. / Day
400 sq. ft.
...........i" "' ' ''"
120V 160Hz / 1 Phase
Rotary
64OF- 900F
68 lbs.
15"W x 16"D x 30"H
Cooling: 64°F to lt0°F
Heating: 41oF to 810F
REMARKS:
1. The data may vary, please refer to the rating label on the back on the back of the unit.
2. The above conditions are measured at:
Cooling - Indoor: RT 81°F, RH 60%
Heating - Indoor: RT 68_F, RH 60%
*Uninsulated rooms such as sunrooms, garages, or attics should be less than 400 sq. ft.
Important!
• Transport the unit in artupright position only, or leave it in an upright position for
at least 2 hours before first use.
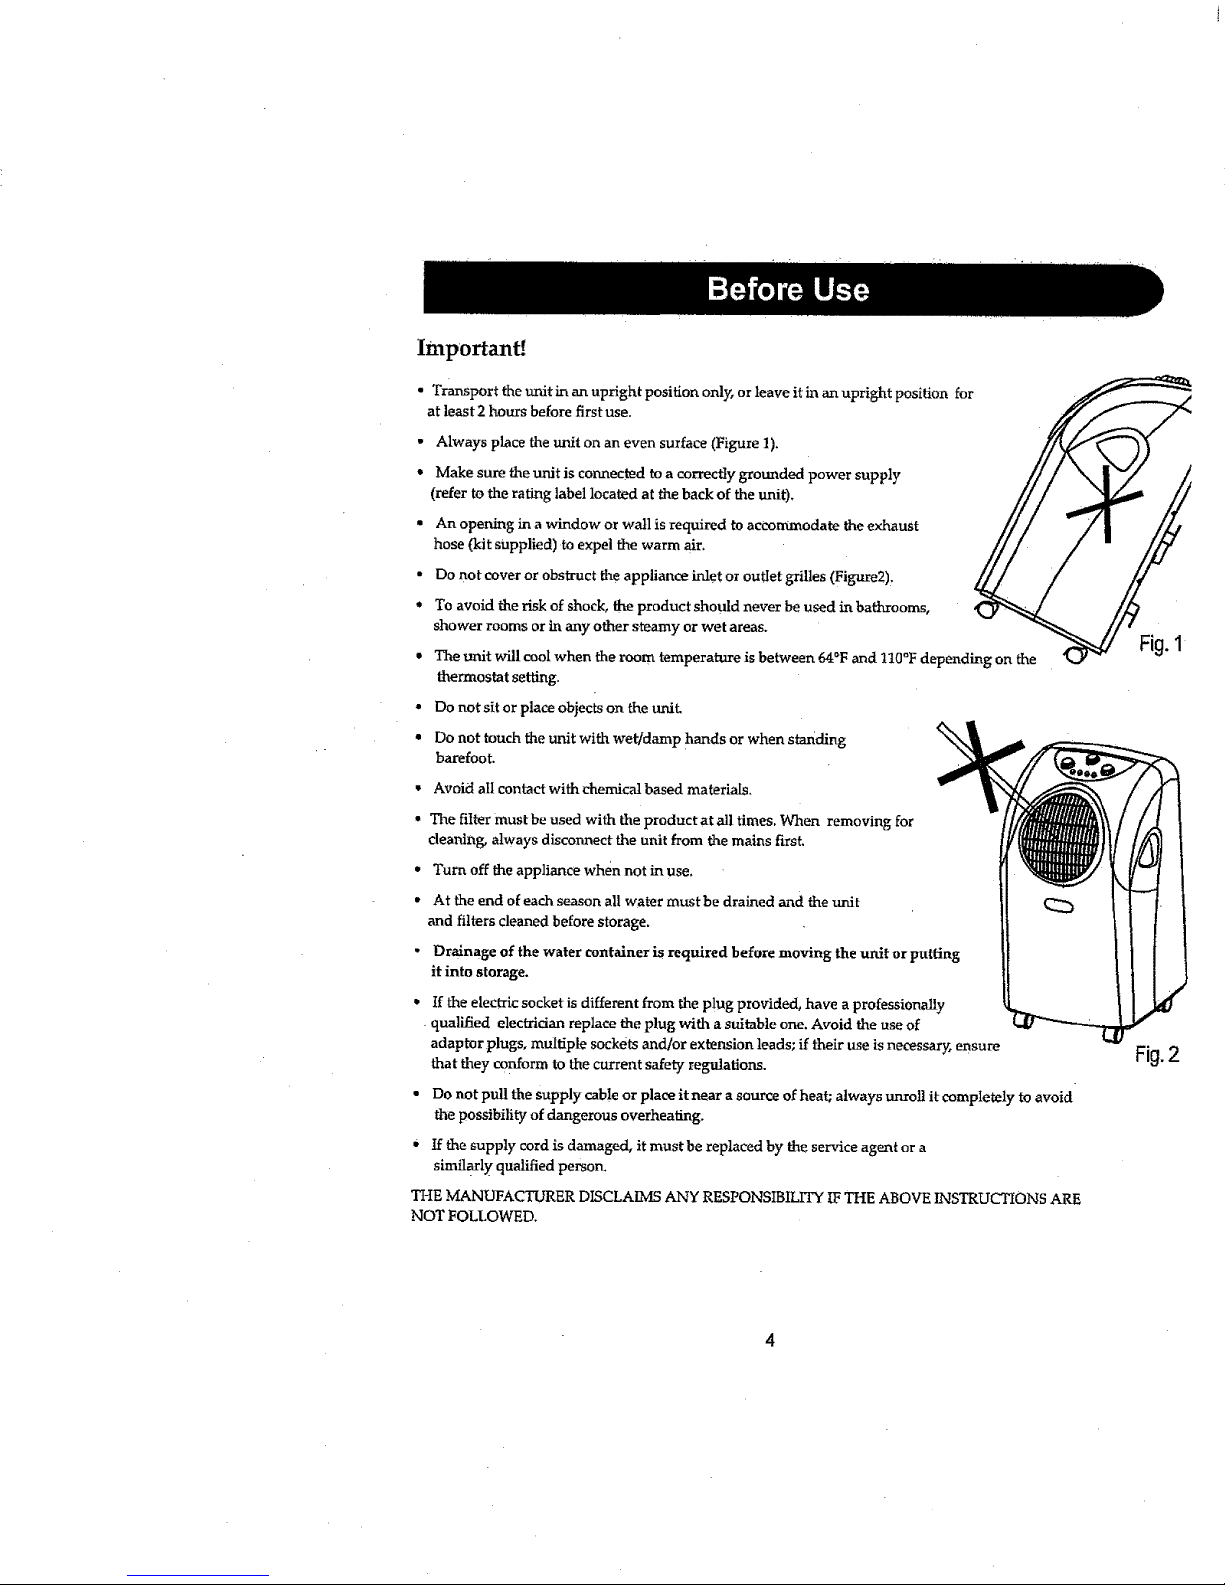
• Always place the unit on an even surface (Figure 1).
* Make sure the unit is connected to a correctly grounded power supply /_
(refer to the rating label located at the back of the unit).
i
g _ unit will cool when the room temperature is between 64°F and 110°F depending on the
thermostat setting.
An opening in a window or wall is required to accommodate the exhaust
hose (kit supplied) to expel the warm air,
Do not cover or obstruct the appliance inlet or outIet grilles (Figure2):
To avoid the risk of shock, the product should never be used in bathrooms,
shower rooms or in any other steamy or wet areas.
Do not sit or place objects on the unit
Do not touch the unit with wet/damp hands or when standing
barefoot.
• Avoid all contact with chemical based materials,
• The filter must be used with the product at all times. When removing for
cleaning, always disconnect the unit from the mains first,
• Turn off the appliance when not in use.
• At the end of each season all water must be drained and the unit
and filters cleaned before storage.
• Drainage of the water container is required before moving the unit or putting
it into storage.
• If the electric socket is different from the plug provided, have a professionally
•qualified electrician replace the plug with a suitable one. Avoid the use of
adaptor plugs, multiple sockets and/or extension leads; if their use is necessar_ ensure
that they conform to the current safety regulations.
• Do not pull the supply cable or place it near a source of heat; always unroll it completely to avoid
the possibility of dangerous overheating.
0 If the supply cord is damaged, it must be replaced by the service agent or a
similarly qualified person.
THE MANUFACTURER DISCLAIMS ANY RESPONSIBILITY IF THE ABOVE INSTRUCTIONS ARE
NOT FOLLOWED.
Fig. 2
 Loading...