

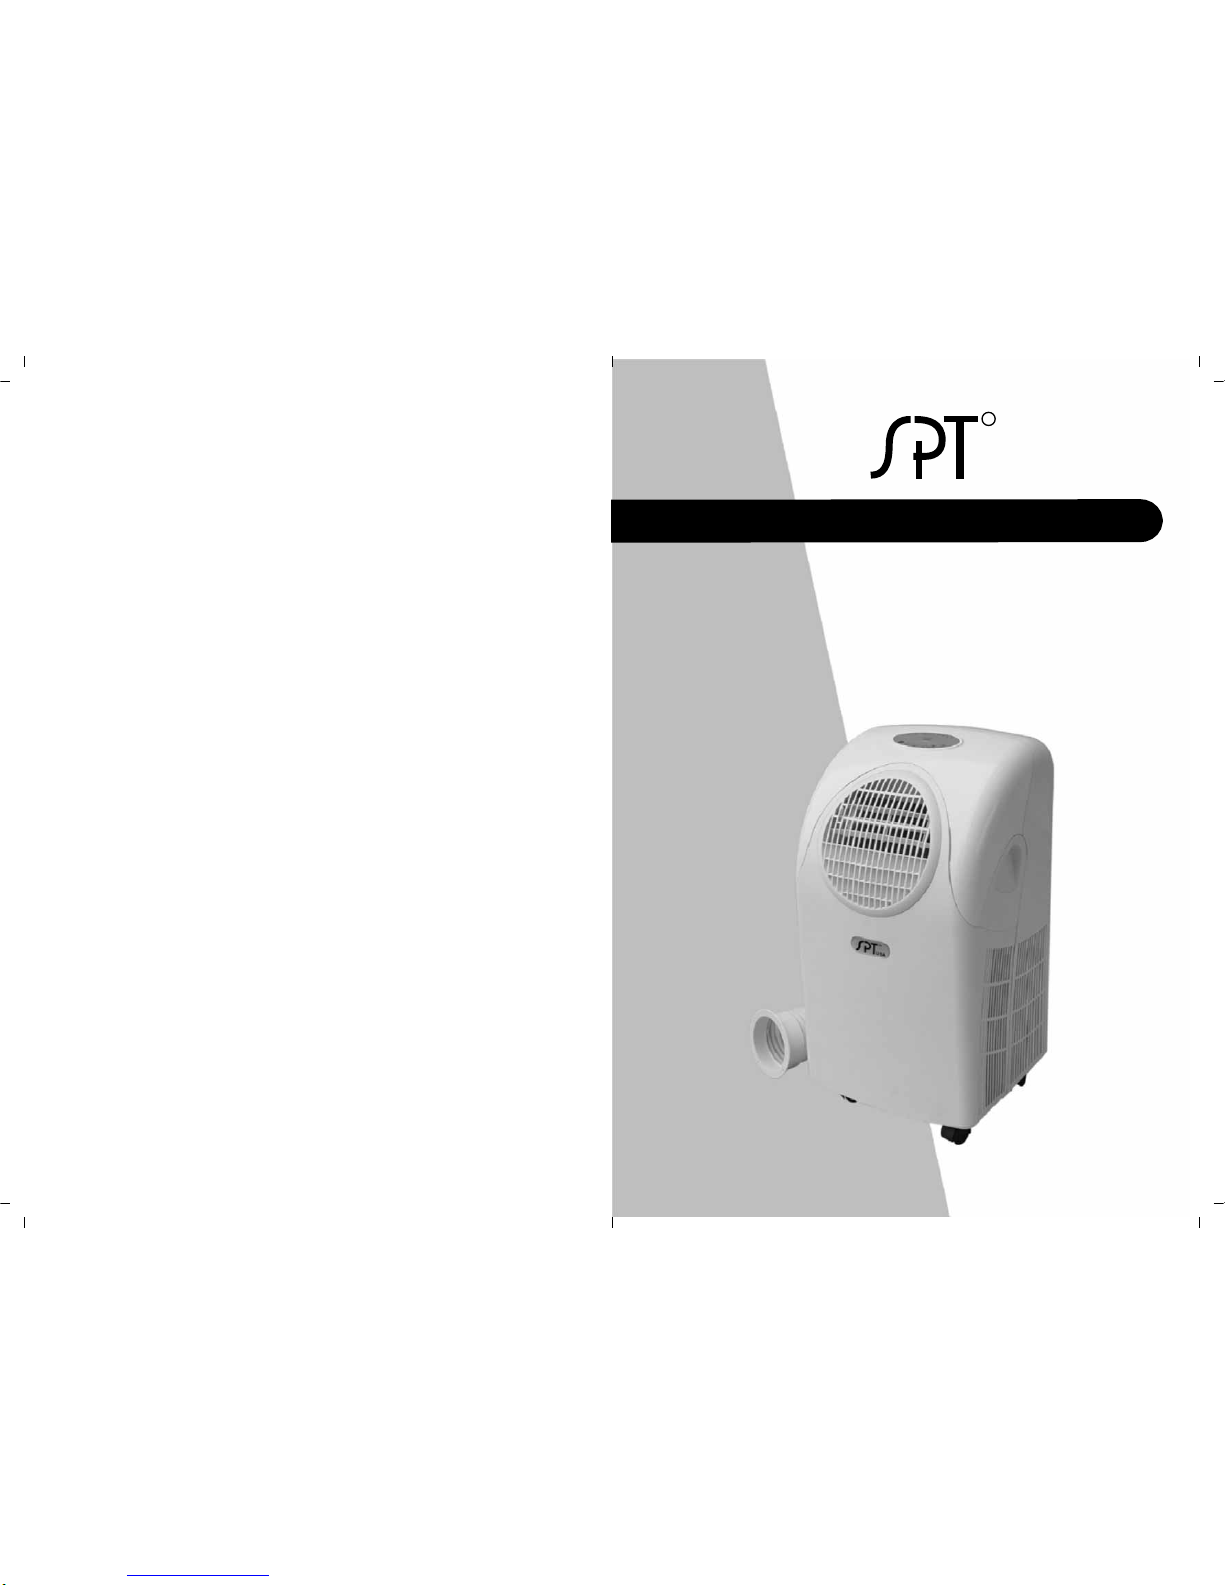
SPT WA-1220M, WA-1220H, WA-1220E, WA-7500M Instruction Manual
It is important that you read
these instructions before usin
g
your new purchase and we
strongly recommend that you
keep them in a safe place for
future reference.
Instruction Manual
For modelWA-1220M WA-1220H, WA-1220E ,WA-7500M
P O R T A B L E
Air Conditioner
05-05-144 WA-7500M
R

T
roubleshootin
g
T
able of Contents
The unit doesn’t run or • Is the machine plugged in?
only runs in fan mode • Is the mains power supply on?
• Is the room temperature in the working range?
• Is the unit in auto mode (electronic model)? Set
to cool or heat and set to proper temperature.
The unit seems to do little • Is there direct sunshine? (Please close the curtains
or blinds)
• Are too many windows or doors open?
• Are there too many people in the room?
• Is there something in the room producing lots of heat?
The unit seems to do nothing • Is the dust filter dirty?
• Is the air intake or outlet blocked up?
• Is the temperature within the selected temperature +/- 5˚F?
• Is the water tank full? Drain the water.
The room is not cold enough • The room being cooled should have proper insulation.
If the unit is used in UN-INSULATED rooms such as
Sunrooms, Garages, or Attics, ideal cooling might not
be attained.
Too noisy • Is the machine positioned unevenly so as to
create vibration?
• Is the floor underneath the machine uneven?
The compressor doesn’t run • The overheat protection feature on the compressor might
be on. If this occurs, wait for the temperature of the unit to
drop.
• Is the water container full? Does it need
draining?
REPLACEMENT FILTERS:
To purchase Replacement Filters for this unit, contact SPT
USA at
1-800-330-0388 and request model number WA-7500F / WA-1220F.
13
1
THANK YOU.......................................................................................................….…......2
Energy Saving Tips. .................................................................................................................…..………2
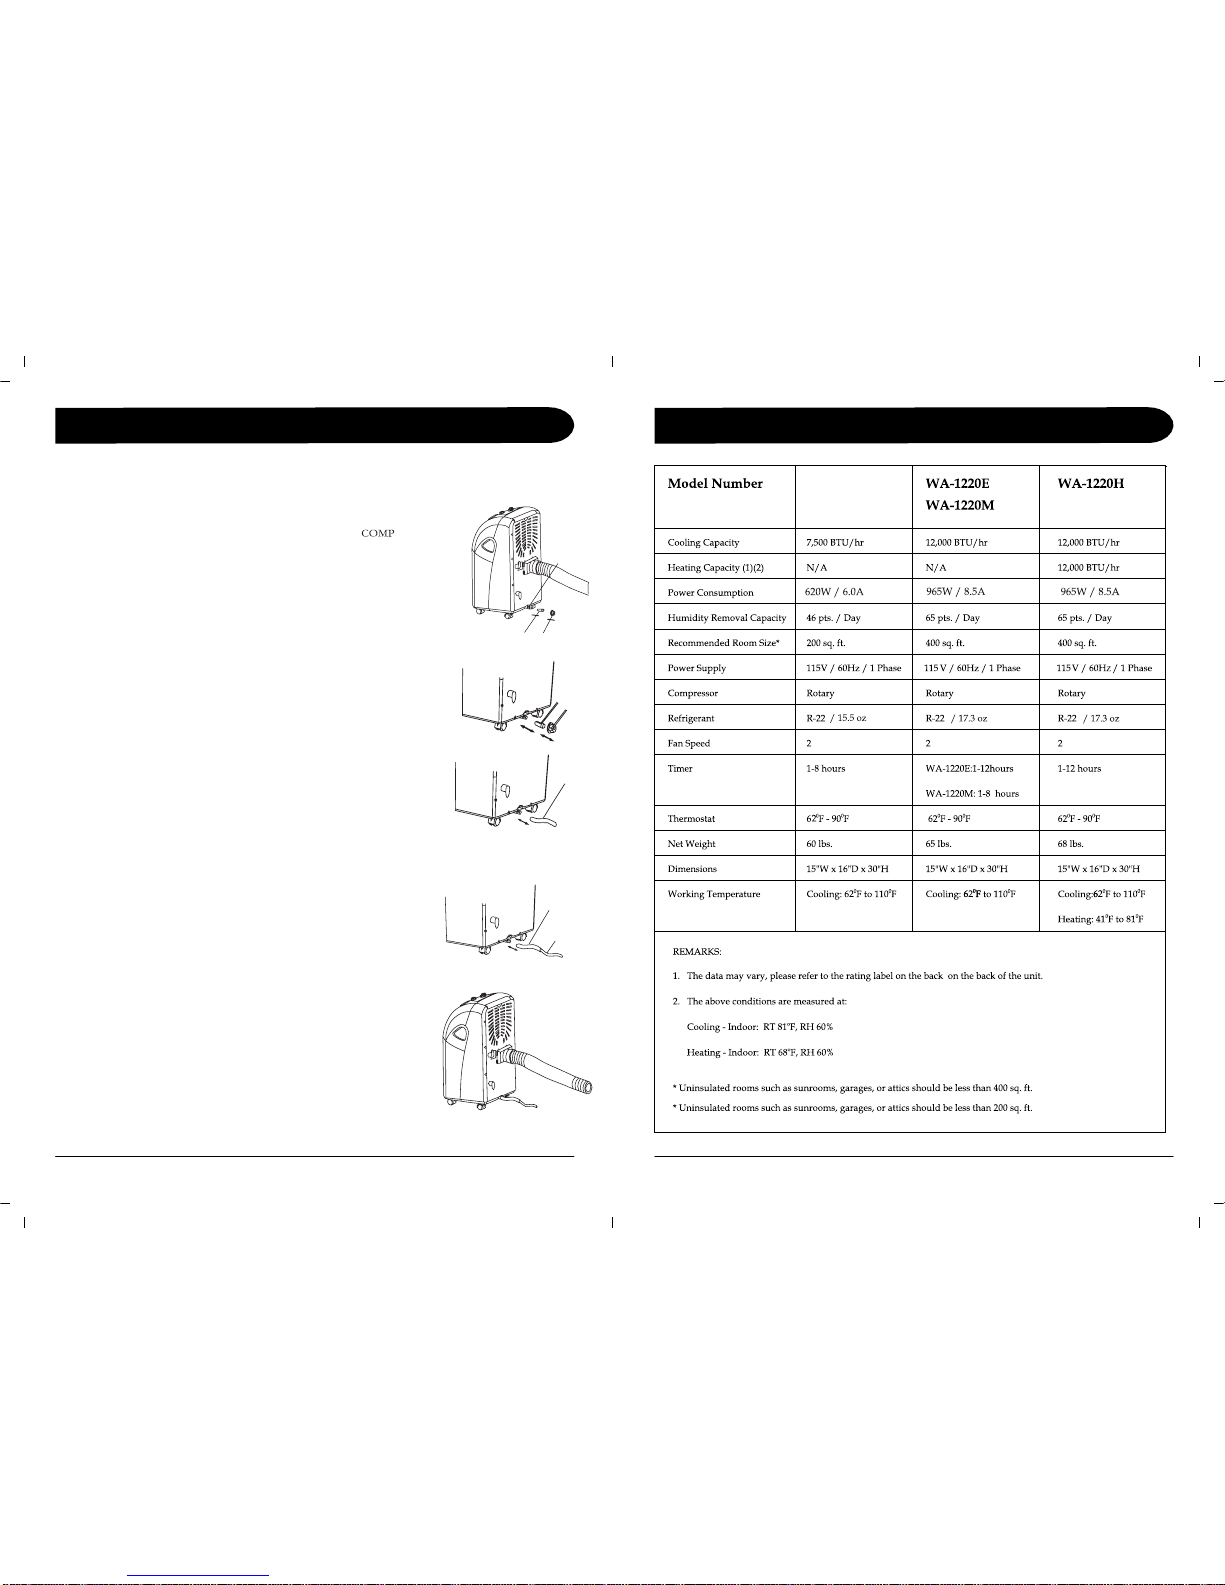
SPECIFICATIONS............................................................…..............................………....3
BEFORE USE ....................................................................................................……...…..4
PARTS .......................….....................................................................................………....5
Accessories.. .….................................................................
..........................................…………...............5
INSTALLATION ........................................................………................……...................6
Mounting the Unit . .............................................................................................………......…................6
Mounting the Exha
ust Pipe ..................................................................………......................….............7
INSTALLATION OF CARBON FILTER ...….................................…....….…................7
OPERATION – ELECTRONIC CONTROL MODELS .........................….... ..…..........8
Control Panel …………………………………………
…………
……………………………………..8
Setting Mode/Function …… …………………………………………
…………
…………….………….8
Auto Mode ……………………… ……………………………………………………
…………………..8
Setting the temperature ……………………………………………………………………..……………8
Setting Fan Speed ………… …………………………………………
…………
…………..….…………9
Setting the timer ………………………………………………………………………… …….…………9
Regulating Airflow Direction ………………………………………………………… …………………9
OPERATION – MECHANICAL CONTROL MODELS ..……………………………10
Turning On/Off ..........................................…..........................…….......................……….…
..…............10
Setting Function / Ventilation Speed . ...........................................................………...............…........... .10
Setting the Temperature .. ............................................
.......................
.......
..……….......................….….10
Setting the Timer ...... ....................................….........................................………...................... ..….......10
DRAINAGE...............................................................……...................... .............…….......11
By Draining into a Container . ................................................………...........................................….. ......11
By Water Tube (continuous drainage) . ..................................
.………............….................................….11
MAINTENANCE .......................................................…..…….........................….….......12
Cleaning the Housing . ..........................................................……….......................................……... .......12
Cleaning the Filter ………………………………………………………………………………
...……..12
End of Season Storage . ..........................................................………….....................................….... .......12
Storing the Power Cord ………………………………………………………………………………….12
TROUBLESHOOTING..............................................……................................……........13
DEFECTIVE NOTICE ...............................................……....................…..........
...….......14
YOUR GUARANTEE ................................................……...............................................
15
NEVER TRY TO REPAIR OR DISMANTLE THE UNIT YOURSELF
05-05-144 WA-7500M
................
................
................
................
................
……
…
………
………
………
………
…………
…………
…………
…………
…………
…………
…………
…………
…………
…………
…………
DrainageS
p
ecifications
During the process of cooling or heating, some water will be extracted from the air
into the unit. Most of this water is used to cool the unit and make it run more
efficiently. This is a feature not found in most Portable Air Conditioners. If the unit is
operated in VERY HUMID air, water will collect in the container inside
the unit. If the
water container is full, the co
mpressor and fan will stop. Th
e indicator will
blink to inform you to empty the internal container. To make the cooling function
work again, please empty the water by one of the following methods:
By the Draining into a Container
(
Use a Shallow Container or Dish)
1. Turn off the unit.
2. Position a flat container or dish under the drain hole. Do not allow the w
ater to drip
continuously into the container, as it might easily overflow.
3. Remove the drain knob & rubber plug from the drain hole. The condensed
water will drain out automatically.
4. When the container is almost full, replace the rubber plug into the drain hole to
stop the water. Empty the container.
5. Repeat steps 2, 3 & 4 until all the condensed w
ater is emptied.
6. Once all the condensed water has been removed, replace the r
ubber
plug into
the drain hole firmly. The Full Water indicator should be off now.
7. Replace the drain knob.
8. Do not allow the water to drip continuously into the tray as it may
easily overflow.
By Water Tube (Continuous Drainage)
1. Remove the drain knob and rubber plug and keep them for future use.
2. Use T eflon tape to cover threading on spout, making a flat surface for the hose. This
will prevent leakage.
3. Connect a suitable water tu be (of 3/4" internal diameter - supplied) to th
e water
hole. The condensed water will drain out automatically.
4. If you want to extend the water tube you can connect it with another tube
(outside diameter 3/4").
Special Caution for Heating Function!
While using the heating function, please note:
1
. Install the exhaust pipe securely in order to exhaust the cool air to the outsid
e
(please see page 6)
2
. You can use the continuous drainage option as described above.
3
. The warmer the outside air the more heat will be pumped into the room.
Working range for heat pump function is 41˚F to 81˚F. When used in room
temperatures outside this range the unit may not function properly.
4
. While using the heating function during low temperatures, sometimes the
heating will stop for a while in order to melt the internal frost. When this
occurs, just wait for heating to resume. This is normal for compressor
operated devices.
11
3
Water Hole
Drain Knob
Rubber Pulg
Rubber Pulg
Drain Knob
Drain Pipe
Original Water Tube
Extended Water Tube
(OD:3/4")
WA-7500M
05-05-144 WA-7500M
(12,000 BTU Model)
(7,500 BTU Model)
 Loading...