

Page 1
Instruction Manual
Automatic Dispensing Hot
Water Pot with
Multi-temperature Function
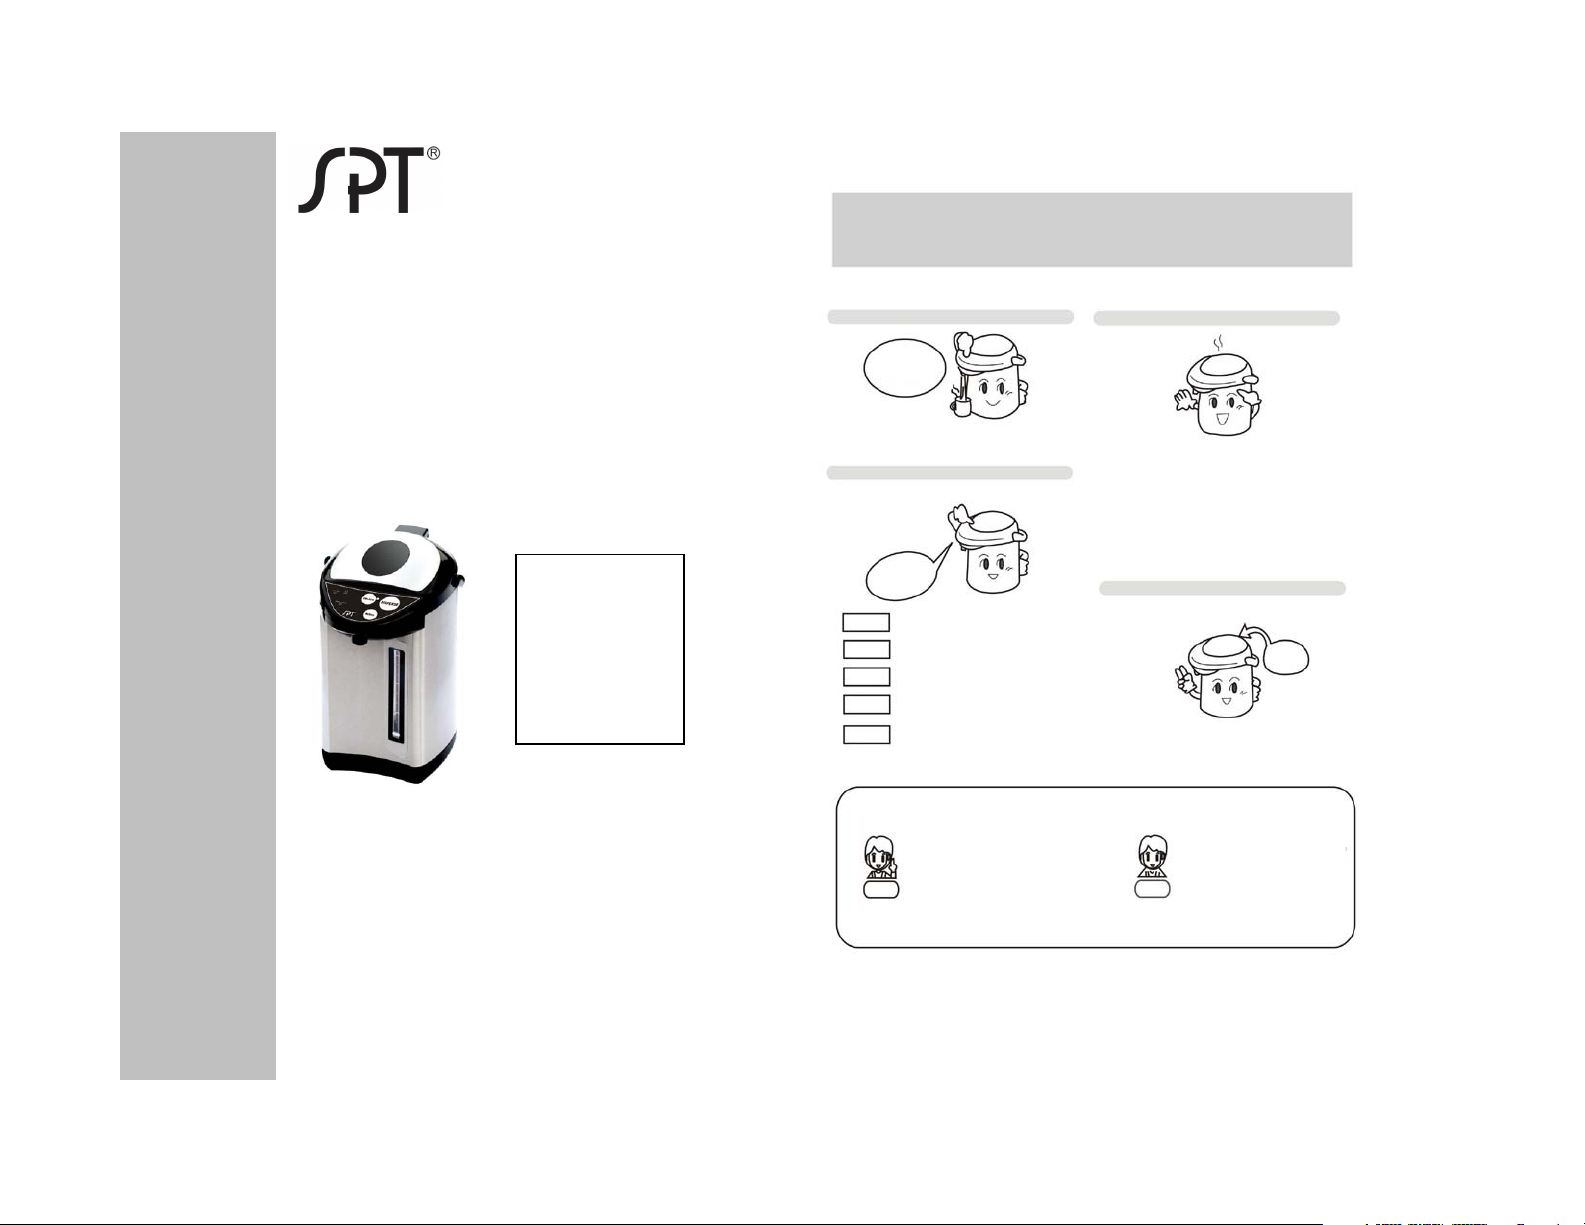
FEATURES
Automatic Dispensing Reboil Function
One-Touch
Dispense
5 Temperature Settings
Image
Of
SP-5016
SP-3618: 3.6L
(Stainless Steel)
Thank you for purchasing Sunpentown Hot
Water Pot. Please read this manual
thoroughly and keep for future reference.
SP-5016: 5.0L
Multi-temp
selections
208°F For tea, coffee, instant noodle.
194°F Keep warm around 194°F.
176°F Keep warm around 176°F.
140°F For infant formula.
COOL Water temp will continuously
decrease till cool
* Based on full pot of water. Ambient temperature of 68°F.
Picture explanation
Note on usage and
maintenance.
Note Alarm
Cleaning Function
Explains sound
emitted by the unit
during usage.
1
Citric
acid
Page 2
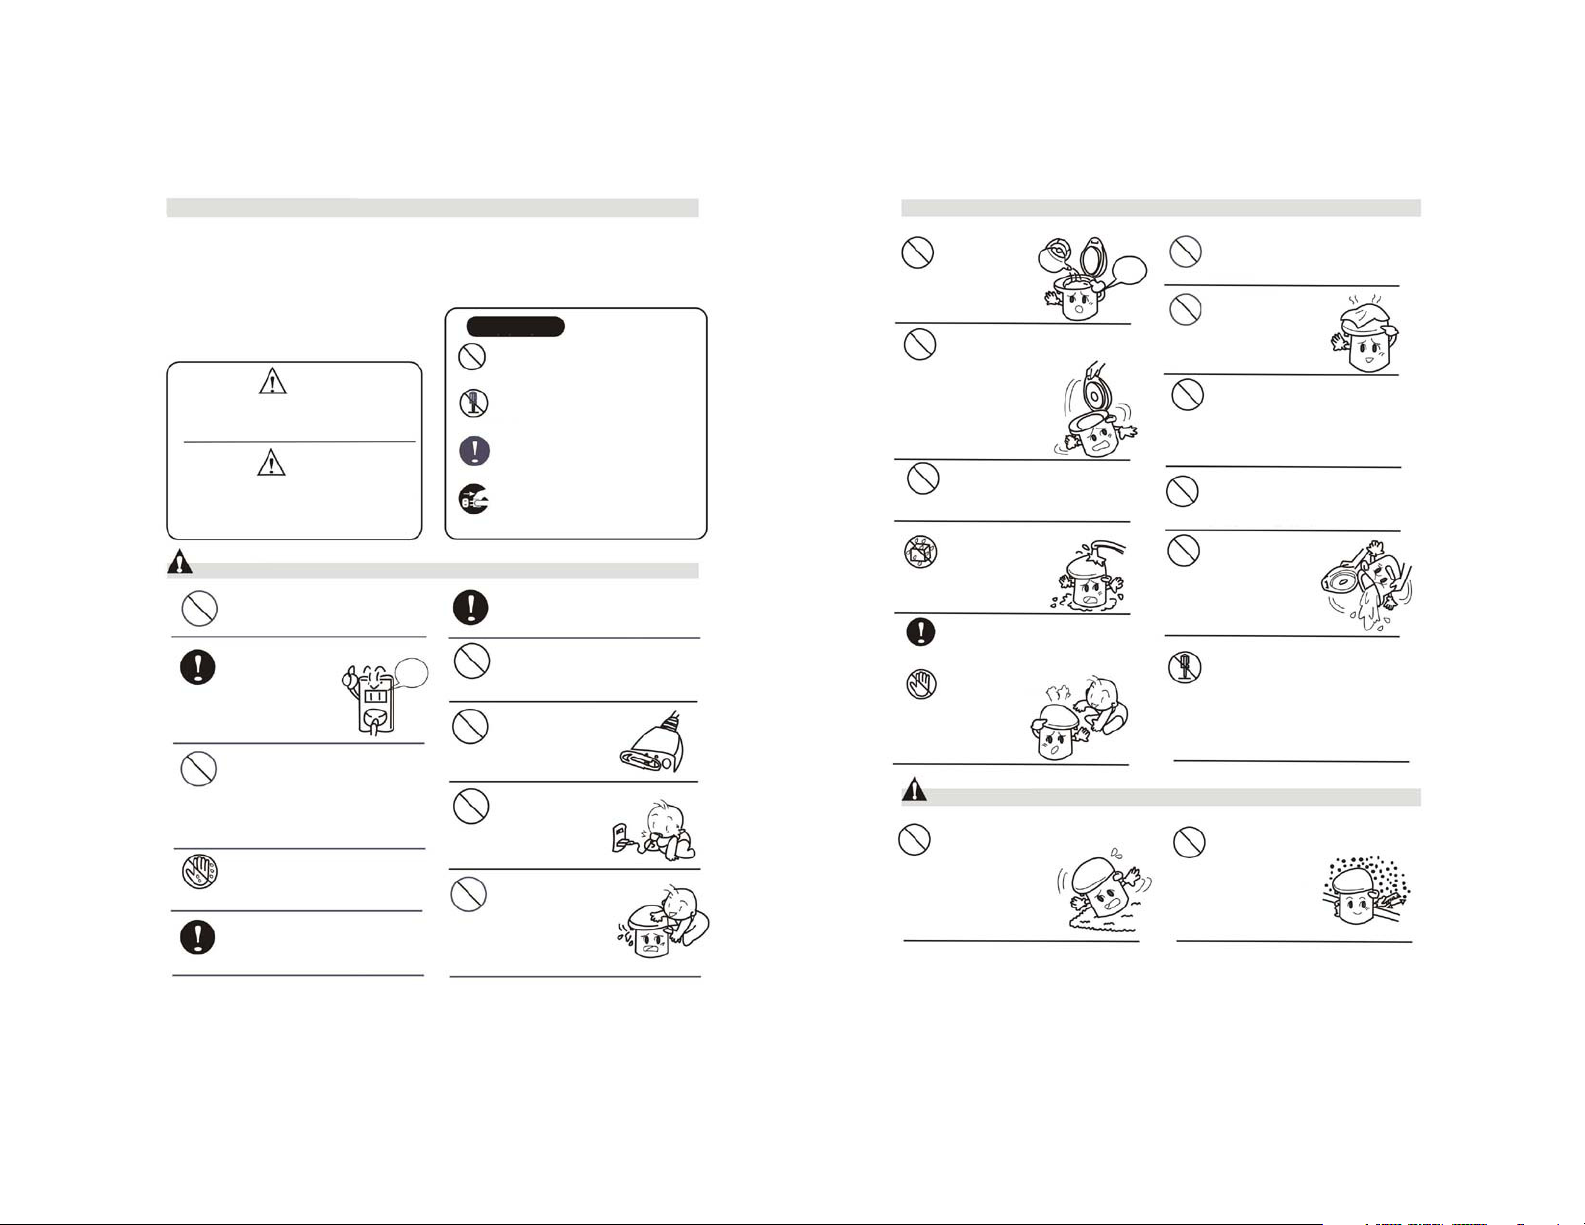
Important Safeguards
Warning. To prevent possible electric shock and injury:
READ ALL INSTRUCTIONS BEFORE USE
When using an electrical
appliance, basic precautions
should always be followed,
including the following.
SYMBOLS
Attention
Warning
May cause injury.
Notice
May cause malfunction.
Do not disassemble
Warning
Unplug power
Warning. To prevent possible electric shock and injury:
Plug into 120V outlet only.
Plug into
dedicated 10
Amp socket.
Do not let cord hang
over edge of table or
counter, or touch
hot surfaces.
Do not plug/unplug power
cord with damp or wet
hands.
Household use only!
Do not use outdoors.
10A
Make sure plug is firmly
plugged into power socket.
Do not operate unit with a
damaged cord or plug.
Make sure the power
cord is free of
foreign objects.
Do not allow children
to play with
power socket.
Keep appliance away
from the reach of
children.
Do not fill
water above
the FULL
indicator.
Do not tilt or
move the unit
with the lid
open.
Do not use appliance for
other than intended use.
Do not wash unit under
running water to
prevent wetting
the control panel.
Ensure the lid is securely
closed before operation.
Do not touch the
steam outlet.
Be extra
cautious of
children.
Notice.
Place unit on flat,
level and heat
resistant
surface
Open lid with caution, do
not use force.
Do not cover the
steam outlet.
This appliance is intended
to boil water only. Do not
place tea, coffee, milk, etc.
inside.
Do not use as a cooler. Do
not place ice in the unit.
When emptying
water, do not hold
by the lid, as
the lid may
come loose.
Do not disassemble unit.
Contact Sunpentown for
all repairs.
Tel: 909-468-5288 or
service@sunpentown.com
Place unit at least
1 feet away
from wall,
cabinet or
furniture.
32
Page 3
Notice
Do not use other than
the supplied power
cord. Plug in
dedicated
socket.
Unplug from power
source when not in use.
To disconnect, grip and
pull plug from
the wall outlet,
do not pull by
the cord.
During operation, do not
touch hot surfaces.
Do not place unit in a damp
and humid area. Do not
place where unit may
come in
contact with
water.
To prolong the life of your hot water pot:
Do not use
extension cords
or plug unit with
other appliances.
Do not place unit on a nonheat resistant surface.
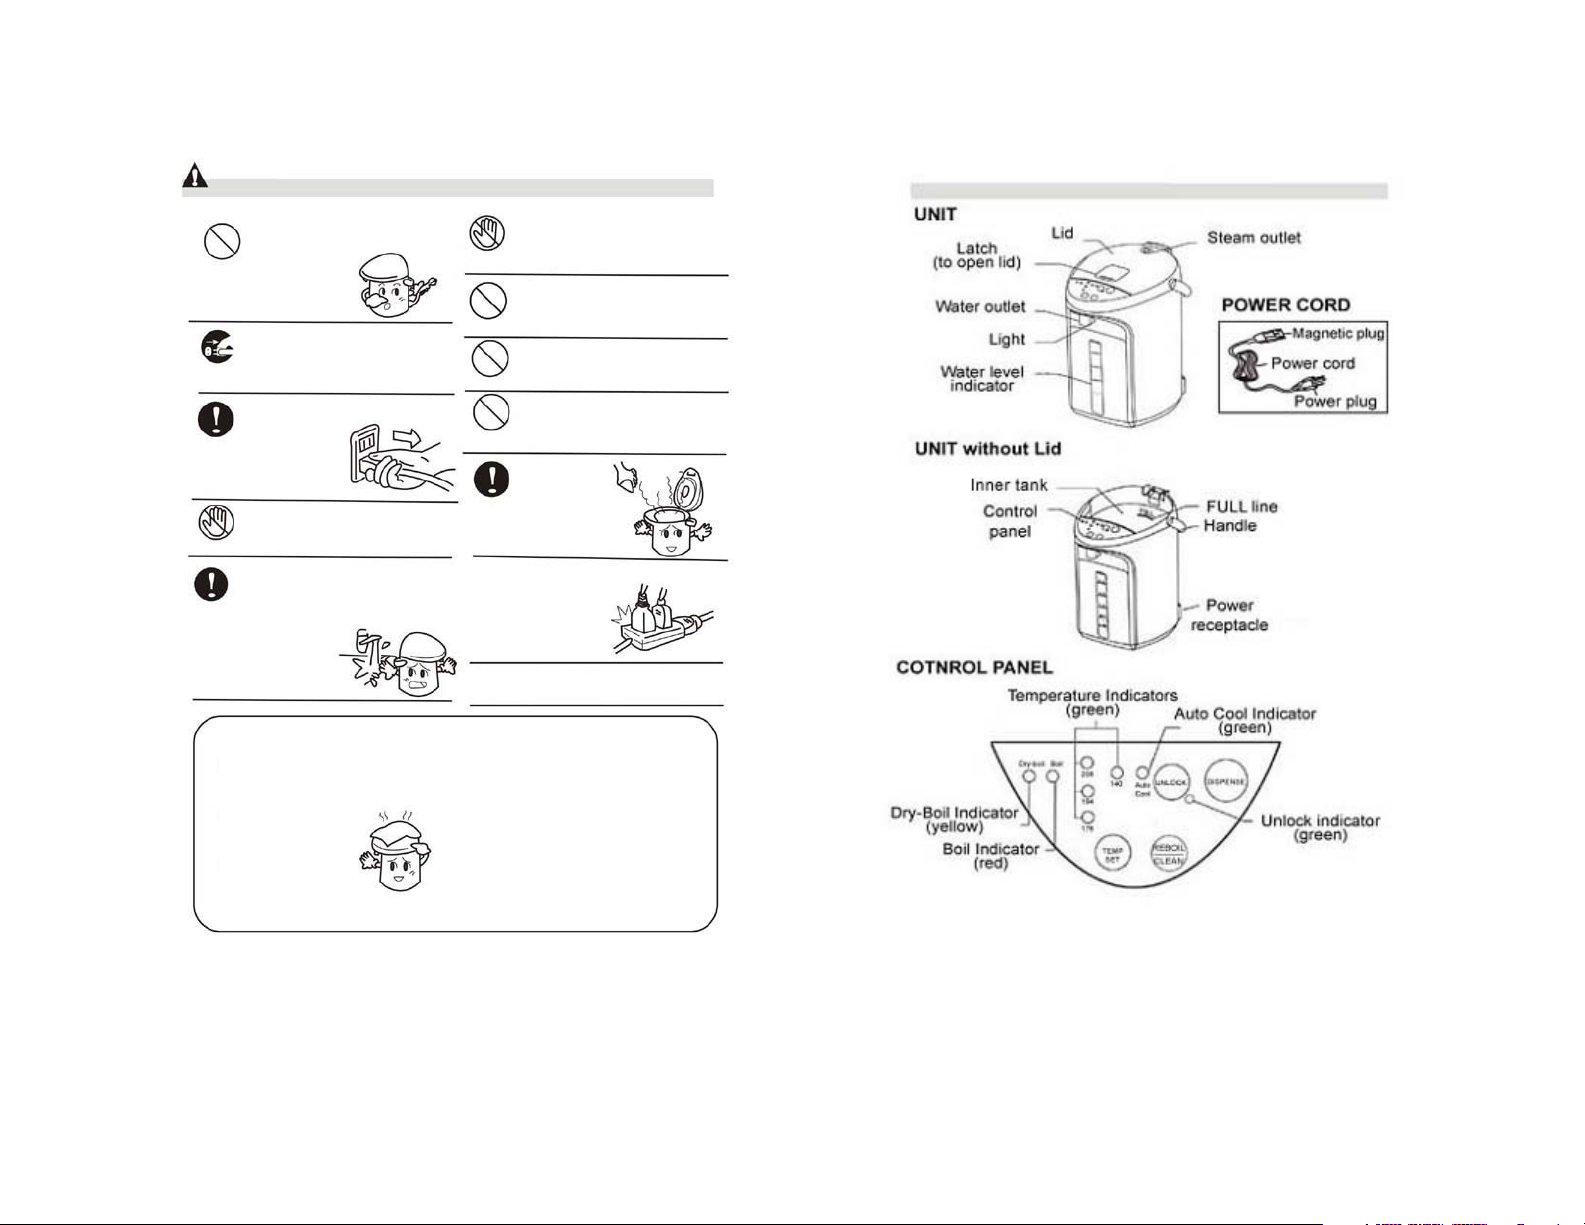
Parts Identification
Be cautious of hot steam
when opening the lid.
Do not add water during
the boiling process.
Never turn the unit upside
down.
Be cautious when moving
the unit. Always unplug
from power source.
Unplug power
cord and wait
for unit to cool
down before
cleaning.
• Locate unit away from direct
sunlight.
• Do not cover the
steam outlet.
• Do not place unit next to
open flame or sources of
heat. (Stove, heater, etc.)
• Never operate the unit
without water inside.
• Never turn the unit upsidedown.
54
Page 4

Operating Instructions Adding Water
Opening and closing the lid
To open: press down with thumb
and pull latch upwards.
To close: press lid down firmly.
Make sure lid is securely
closed or water will not reach
set temperature and boil
continuously. Make sure you
hear a “click” when closing.
Connecting Power
Removing and attaching the lid
To remove: press down on the Release
button, pull latch and open lid to 45°.
To attach: press down on the
Release button and place lid in
the groove.
To conform the lid is correctly
attached, press any of the buttons
on the control panel – you should
hear a “beep”.
1. Open lid and add water.
NOTE: Do not add water
above the FULL mark.
• Add water when water
level falls below the
“low” indicator.
• Do not attempt to Reboil
when water level is below
the “low” indicator.
• Do not add water directly
under a faucet, to prevent
wetting the control panel.
• Be cautious the control
panel does not get wet.
• Clean unit frequently
when using tap water.
• Make sure the “click”
sound is heard when
closing the lid.
2. Close lid firmly.
3. Connect power.
4. Press TEMP SET button.
• Once TEMP SET
button is pressed, unit
will begin to boil
water. During the
boiling cycle, it is
normal to hear sound
of water boiling.
Dry-Boil Alarm
If there is no water or if
water is too low, you will
hear 12 beeps and the Dryboil indicator will blink.
76
Page 5

Temperature Setting
5 temperature settings: 208°F,
194 °F, 176 °F, 140 °F, and Cool.
To set/change temperature
• Press the TEMP SET button until
the indicator light for the desired
temperature flashes.
• Once water boils, unit will
maintain water at set temperature.
Indicator light will stay lit.
• Cool Setting: unit will boil water
then stop heating. Pressing the Reboil button will reboil water.
• If temp setting is changed from
lower to higher setting, unit will
begin to re-boil.
• If temp setting is changed from
higher to lower, unit will stop
heating and allow water temp to
drop to new setting.
Default temp setting is
208°F. If power is
disconnected, unit
returns to default
setting after power is
reconnected.
Boil to Keep Warm
Panel indications from boiling to keep warm at set temp.
(Below is example of temperature setting at 194°F.)
Re-Boil
To reboil water, press the REBOIL button. Unit will beep and
Boil indicator will lit.
•If water temp is 203°F or higher, unit will boil for 3 minutes.
•If water temp is below 203°F, unit will bring water back to
boiling point.
Dispensing Water
1. Press UNLOCK
button.
2. Place cup under
water outlet and
press DISPENSE
button.
3. Press UNLOCK
button again to
lock dispense.
Boiling Process
• Boil indicator light is lit.
• Set temp indicator light blinks.
Water Boiled
• Unit beeps 9 times.
• Boil indicator light goes off.
• Set temp indicator light blinks.
Keep Warm
• Set temp indicator stops blinking.
Note: After water boils, set temp
indicator will continue to blink
until water temperature drops down
to set temp. Indicator light then
stops blinking and stays lit.
• Do not open lid during the
boiling process or
immediately after. Hot water or
vapors may cause scalding.
• Do not touch the steam outlet.
Unit beeps. Unlock
indicator light comes
on.
• Water cannot be dispensed when unit is locked and when
power is disconnected.
• If water is not dispensing smoothing, the interior may be dirty.
Clean unit according to directions on page 12.
• If UNLOCK button is not pressed after dispensing water, unit
will automatically lock dispense after 15 seconds.
• Do not rotate or move the unit while dispensing.
When DISPENSE
button is pressed,
light will come on.
Unit beeps. Light
and unlock indicator
light goes off.
98
Page 6

Adding Water Dry Boil
• Add water when water level
falls within the red section on
the Water Level Indicator.
• Unit will automatically begin
to boil after adding water. If
not, press the Reboil button.
If there is no water or
if water level is low,
Dry boil indicator
will flash and unit
will beep 12 times.
Standby Mode
Unit will automatically enter Standby mode if no buttons are pressed
for 48 hours:
• 208°F Indicator light will flash at a slower rate.
• Press any button to exit unit from Standby Mode.
(If water temp had fallen below set temp, unit will begin to boil.)
If unit is in Dry-boil for over a period of time – it will cause
the inner tank to change color (due to temperature). This
color change cannot be reversed.
Cleaning and Maintenance
Storage
1. Unplug from power source. 3. Dump out water.
All indicator light will go
out when power is
disconnected.
2. Remove lid. 4. Re-install lid.
• To prevent possible scalding, wait for unit to cool down before
removing lid and emptying water.
• If water is not used for couple days, the taste may change.
Dump out old water and add fresh water.
• For your safety, remove lid before emptying water.
• Empty water through the rear corners, as illustrated above.
Minerals in tap water may cause white residues to attach to the
inner tank or sometimes change the tank’s color reddish or black..
Clean the interior frequently to avoid this problem.
• Unplug unit from power source.
• Do not wash under running water, as it may wet the control
panel or power receptacle and cause unit to malfunction.
• Do not immerse unit in water or any other liquid.
• Do not spray water onto the control panel.
• Do not use bleach, alcohol or other chemicals.
• Do not scrub with metal pads or sharp objects.
• Wash filter frequently to prevent blockage.
• After cleaning filter, ensure it’s securely re-attached.
Add water
immediately.
Press Reboil button
to begin boiling.
1110
Page 7

Cleaning with Citric Acid. Replacing Worn Parts
Lid and Body
• Wipe clean with damp cloth.
Power Cord
• Wipe clean with dry, soft cloth.
Filter (located on bottom of inner tank)
• Remove and clean with soft brush
and lukewarm water.
• If extremely dirty, use Citric Acid.
• Ensure filter is properly re-installed
before operation.
When cleaning with Citric Acid, all normal functions cannot be
operated.
1. Make sure filter is
installed.
2. Add approx. 1 oz
of Citric Acid.
3. Add water to the
FULL line.
4. Close lid.
5. Connect power.
Repeat above process if excessively dirty.
6. Press and hold
REBOIL button for 3
seconds.
During cleaning process,
the 3 temp indicators
light in turn.
Be extra cautious
of steam and vapor
during cleaning process.
Storage
When planning not to use for a
period of time, clean unit and
allow unit to dry completely.
Place unit back in original box
or cover with clean cloth and
store in a cool, dry place.
7. When done, the 3
temp lights stay on
continuously.
8. Press DISPENSE
button to remove
as much water as
possible.
9. Disconnect power.
10. Wait for unit to
cool, remove lid
and dump out
water.
11. Wash the interior
with clean sponge
and rinse clean.
The rubber gasket on the lid will wear over time and will need to be
replaced periodically. Contact Sunpentown (www.spt-usa.com / 909-
468-5288) to purchase replacement gaskets or for instruction to send
in for repair.
Instructions on replacing the gasket:
1. Remove lid.
2. Loosen the 3 screws and remove inner lid. Do not lose the screws.
3. Remove old rubber gasket.
4. Insert new gasket according to image below.
5. Replace inner lid and tighten the screws.
Rubber
gasket
INNER LID
OUTER LID
Power cord: should the power cord become damaged, it must be
replaced by Sunpentown. Do not substitute with other power cords.
Screw
1312
Page 8

Troubleshooting
REMEDYCAUSEPROBLEM
No power
Cannot switch to
boil / reboil
dispensed or not
dispensing
smoothly
Water flowing out
from unit
White residues in
water.
Boiling sound is
excessively loud.
Specifications
Loose power
connection
low.
No power Water cannot be
Unit just finished
boiling and air
bubbles are trapped
inside.
Water added above
FULL line.
Mineral deposits (not
a defect of the unit).
Interior is dirty and
filter blocked.
120V / 60HzInput power
Heating (boiling) 750W / Keep warm 80WPower consumption
Check connection at
the unit and socket.
Add water.Water level is too
Check power
connection
Open lid to release
air. Close lid.
Clean. Interior is dirty.
Do not add water
above FULL.
Clean with Citric
Acid.
Clean with Citric
Acid.
SP-5016SP-3618MODEL
5.0 liters3.6 litersCapacity
Your Guarantee
If this product is found to be faulty as a result of faulty materials or
workmanship within one year from date of purchase, it will be repaired free
of charge.
This guarantee is subject to the following terms:
• Sunpentown must be notified of the fault.
• Proof of purchase must be presented to Sunpentown’s nominated representative.
• The warranty will be void if the product if modified, misused or repaired by an
unauthorized person.
• The warranty after repair will not be extended beyond the original one-year period.
• All replacement parts will be new or reconditioned.
• Parts, which are replaced, become the property of Sunpentown.
• The warranty applies for the use of the product in the USA only.
What is NOT COVERED:
• Warranty does not include freight charges.
• Incidental or consequential damage caused by possible defects with this product.
• Damage to product caused by improper power supply voltage, accident, fire, floods
or acts of nature.
• Failure of product resulting from unauthorized modifications to the product.
• Improper installation or failure to perform the necessary maintenance.
This GUARANTEE is in addition to your Statutory Rights
SUNPENTOWN INTERNATIONAL INC.
21415 Baker Parkway, City of Industry, CA 91789-5236
Tel: 909-468-5288 · Fax: 909-468-5279
service@sunpentown.com
www.sunpentown.com
4.9 ftCord length
Unit may not function properly if used in high elevation or in very cold or hot
conditions. In such conditions, unit may keep boiling or not reach boiling point.
1514
 Loading...