

Page 1
INSTRUCTION MANUAL
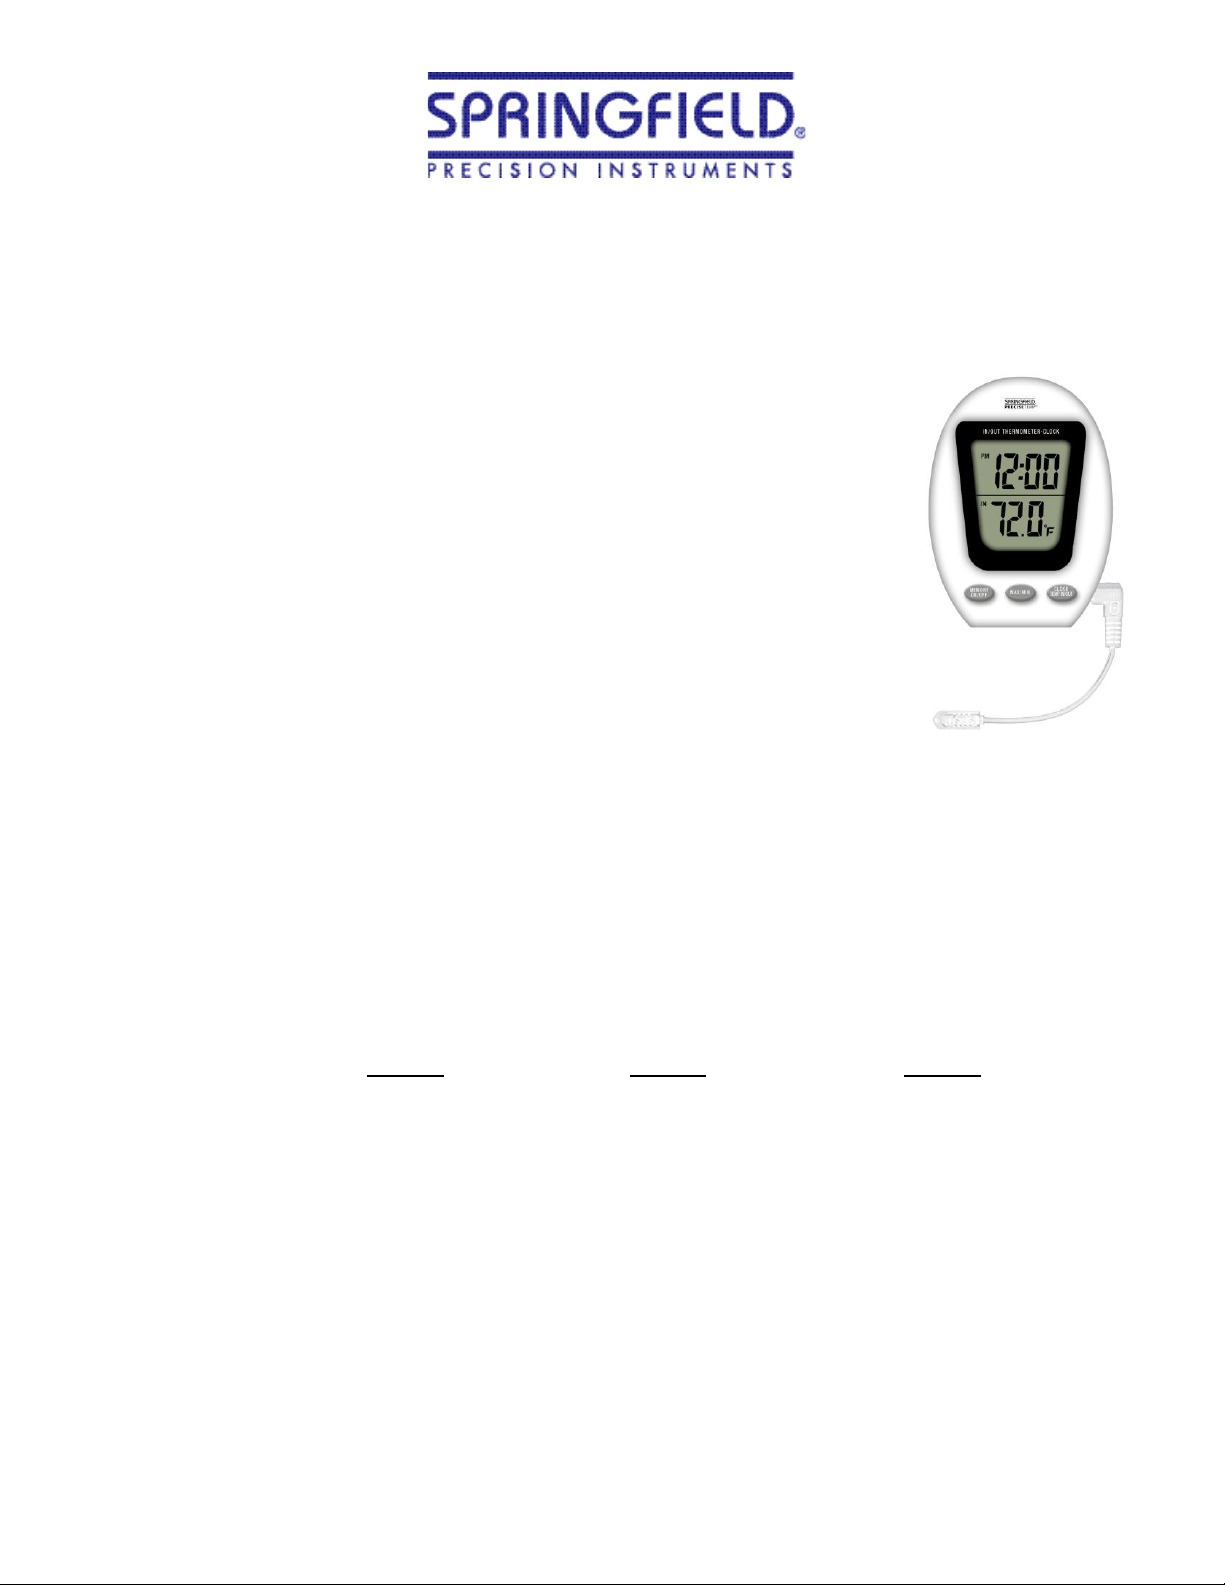
DUAL VIEW INDOOR/OUTDOOR THERMOMETER
MODEL #90173-1
FEATURES
1.5”H x 1.5”W LCD window with 2 readouts
12 hour clock
Displays temperature in °F or °C
Indoor temperature range of 14˚F to 122˚F (-10˚C to 50˚C)
Outdoor temperature range of -58˚F to 158˚F (-50˚C to 70˚C)
Temperature tolerance +/-2°F (+/-1.1°C)
Min./Max. temperature memory recall function
Detachable, weatherproof sensor probe with 10 ft. long cable
Tabletop or wall-mountable
Requires one AAA alkaline battery (included)
BATTERY INSTALLATION
1. The battery door is located in the back of the unit. To open remove the screw and open the door.
2. Insert (2) LR44 batteries according to the polarity markings located on the inside of the battery
compartment.
3. Place the battery door back on and insert screw to secure door.
LCD READOUTS
This unit scrolls through three different modes which are activated by pressing the “CLOCK, TEMP
IN/OUT” button.
Mode 1 Mode 2 Mode 3
Upper Display Indoor temperature Clock Clock
------------------- ------------------------- -------------------- -----------------Lower Display Outdoor temperature Indoor Temperature Outdoor Temperature
NOTE: Probe must be plugged into the jack or LL.L will appear where the outdoor temperature is to be
displayed.
OPERATION
Setting the Clock:
Select the modes with clock display. The buttons to set the clock are located on the back of the unit.
Press the “HR” button to set the hour and the “MIN” button to set the minutes.
Page 2
WIRE ATTACHMENT
SCREW
SENSOR
PROBE
OUTDOOR
INDOOR
WALL
Indoor/Outdoor Temperature Selection:
Both the indoor and outdoor temperature can be displayed in Celsius or Fahrenheit. The switch to select
between these settings is located in the back of the unit. Slide the switch to ˚C to display in Celsius and
˚F to display in Fahrenheit.
Note: If the temperature exceeds or falls below the measurable ranges, the LCD screen will display the
following letters: HH.H for temperatures above range and LL.L for temperatures below range. The
outdoor temperature display will also read LL.L if the detachable probe is not plugged into the jack.
Memory Function with Max./Min. Feature:
Press the “MEMORY ON/OFF” button to turn the memory function on (“MEM” will appear on the left
side of the display). The unit will begin to record the maximum and minimum indoor and outdoor
temperatures.
Press the MAX/MIN button once to display the maximum indoor and outdoor temperature readings.
When the maximum temperature readings are being displayed, MAX will appear in the lower-left
portion of the LCD window.
Press the MAX/MIN button a second time to display the minimum indoor and outdoor temperature
readings. When the minimum temperature readings are being displayed, MIN will appear in the lowerleft portion of the LCD window.
To return to the current temperature readings, press the MAX/MIN button again.
To clear the memory and exit the memory mode, press the “MEMORY ON/OFF” button again.
PRODUCT INSTALLATION
Choose a suitable place for the product and outdoor sensor. Place the unit near a window, but away
from direct sunlight or other sources of heat or air conditioning to ensure accurate air temperature
readings. The weather center can either stand upright or hang on a wall utilizing the nail/screw slot in
the back of the unit.
To Wall Mount Unit:
1. Drive a screw into the wall at the desired location until the
2. Position the slot at back of unit over the top of the screw
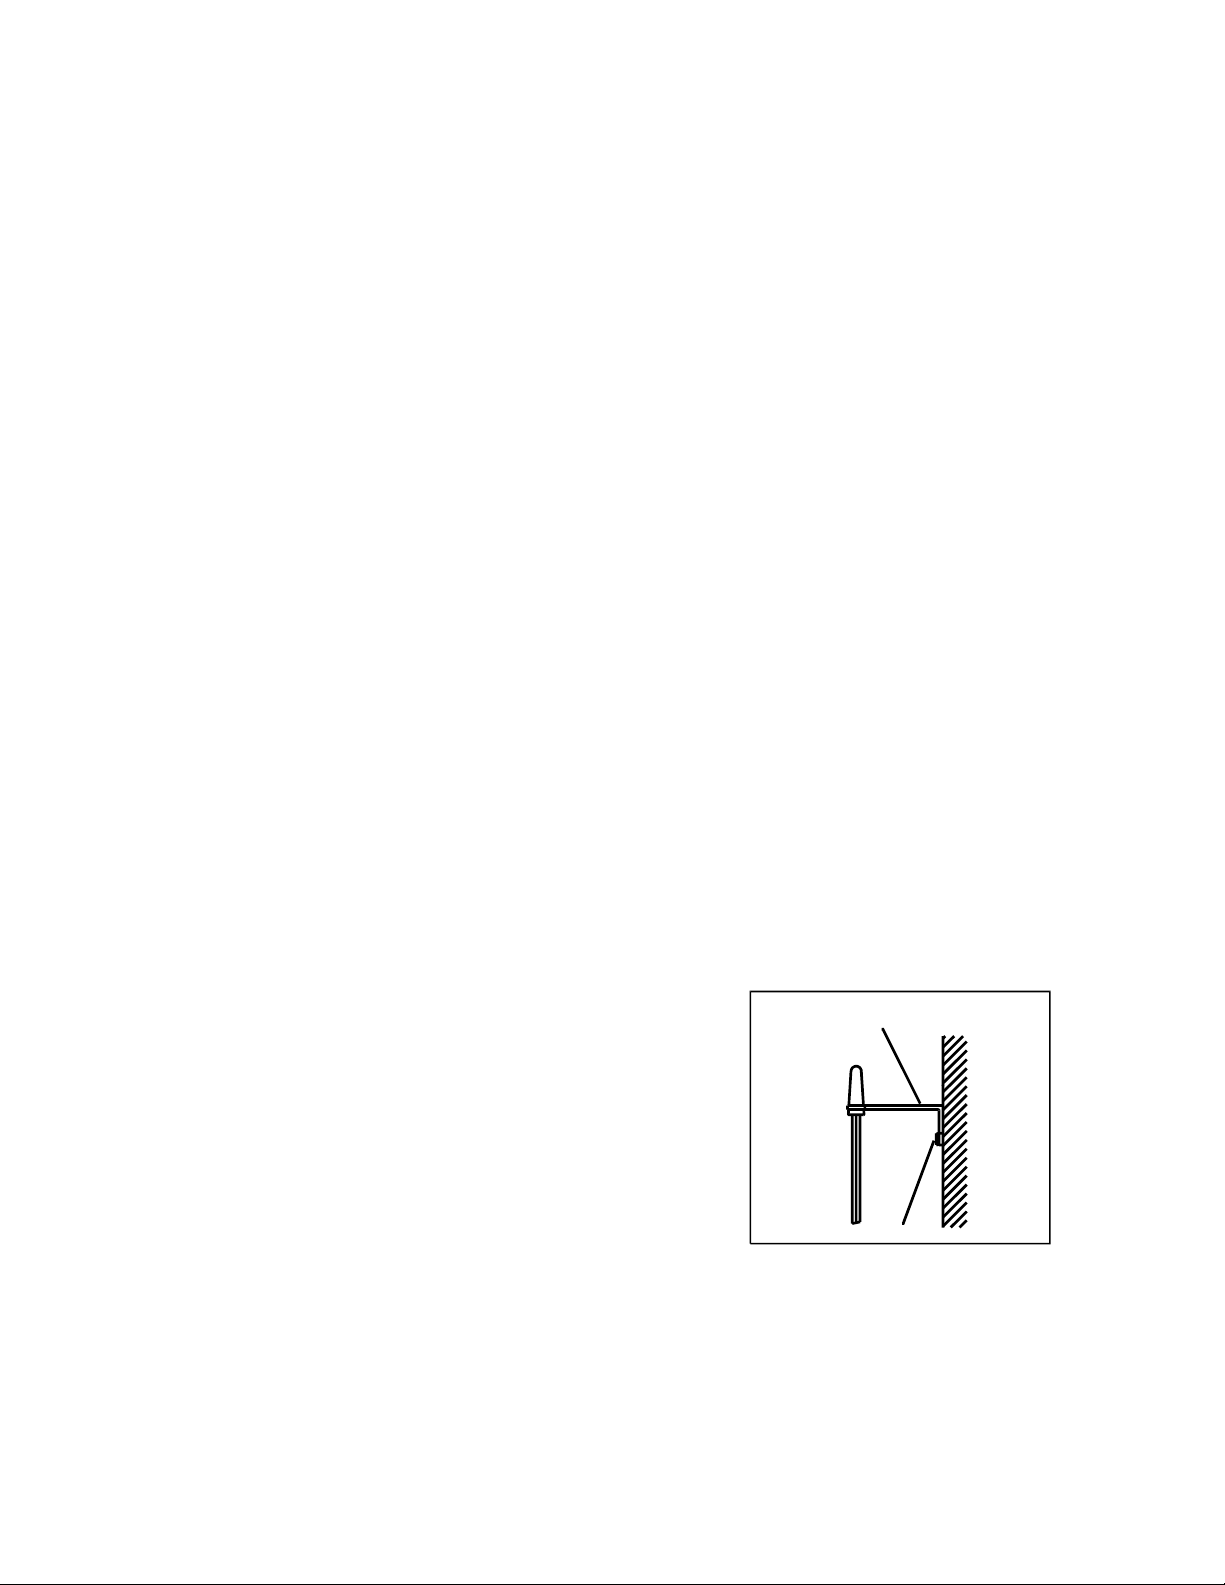
For accurate outdoor air temperature readings in summertime or
wintertime, the sensor should be placed approximately one inch
away from the house wall or windowpane using the metal wire
hanger enclosed.
To Mount External Sensor to Outside Wall:
1. Drive a screw into the wall at the desired location.
2. Route the external probe cable through a window.
3. Position the external probe into wire attachment.
For accurate outdoor air temperature readings in summertime or wintertime, the sensor should be placed
approximately one inch away from the house wall or windowpane using the metal wire hanger enclosed.
head extends 1/8” from the wall.
head and then slide down until the thermometer is locked
into place.
Page 3

NOTE: please recycle or dispose of batteries per local regulations.
WARNING: Batteries may pose a choking hazard. Do not let children handle batteries.
PRECAUTION: Do not dispose of batteries in fire. Batteries may explode or leak. Remove the battery
if the thermometer will not be used for a long period of time.
ONE (1) YEAR LIMITED WARRANTY
This product is warranted against defects in materials or workmanship (excluding batteries) for one (1) year from
date of original purchase for the original purchaser. It does not cover damages or wear resulting from accident,
misuse, abuse, commercial use, or unauthorized adjustment and/or repair. Should this product require service (or
replacement at our option) while under warranty, do not return to retailer. Please pack the item carefully and
return it prepaid, along with store receipt showing date of purchase and a note explaining reason for return to:
Taylor Precision Products, Inc. / Springfield Precision
2220 Entrada Del Sol, Suite A
Las Cruces, New Mexico 88001
1-866-843-3905
www.springfieldprecision.com
There are no express warranties except as listed above. This warranty gives you specific legal rights, and you may
have other rights which vary from state to state.
For additional product information, or warranty information outside the USA, please contact us through
www.taylorusa.com or www.springfieldprecision.com.
© 2013 Taylor Precision Products, Inc. and its affiliated companies, all rights reserved. Springfield® is a
registered trademark of Taylor Precision Products, Inc and its affiliated companies, all rights reserved.
Made to our exact specifications in China.
CP90173-1 7.13
 Loading...