

Sportcraft Silver Line Assembly Instructions Manual
DO NOT RETURN TO STORE
NO DEVOLVER A LA TIENDA
SPORTCRAFT: (800) 526=0244
Assembly, Instructions and Rules Instrucciones de ensamblaje y reglas
313 Waterloo Valley Road / Budd Lake, NJ 07828 / www.sportcraft.com / (800) 526-0244 / Fax: (973) 347-1541
1-1-34-832
I English I
I Espafiol ]
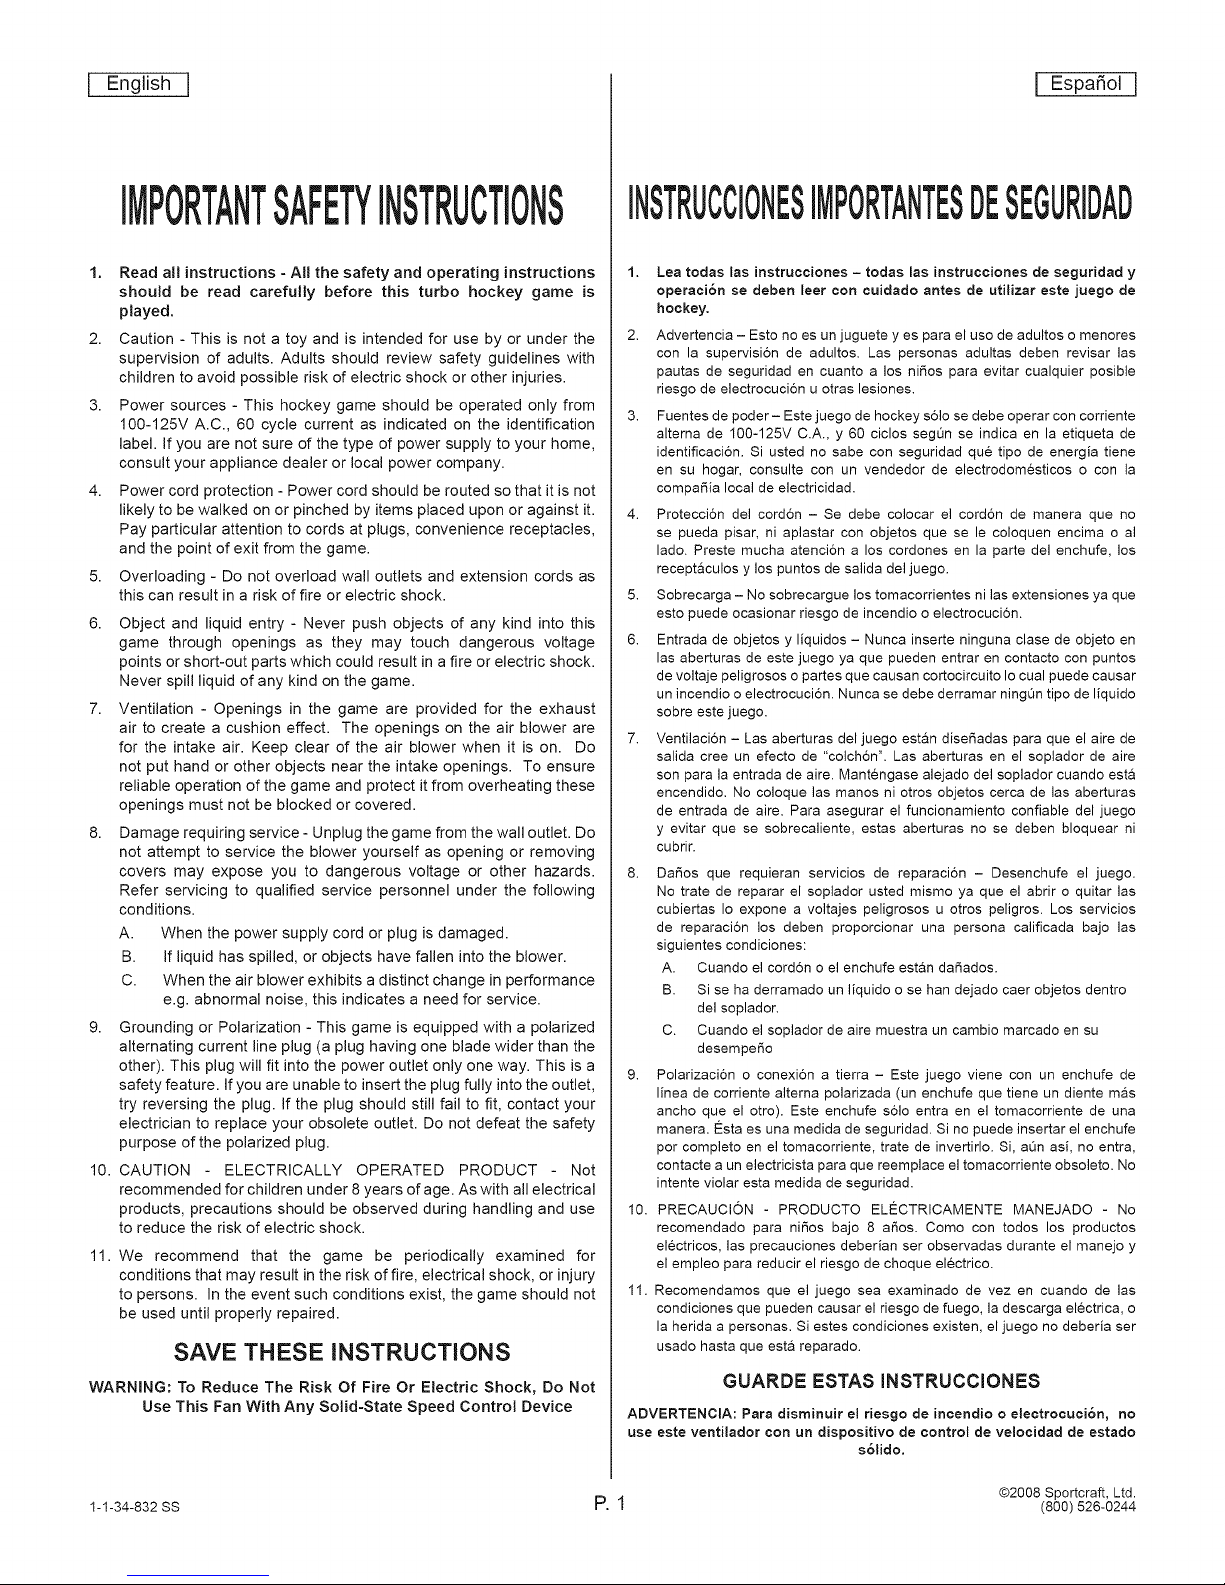
IMPORTANTSAFETYINSTRUCTIONS
1, Read all instructions - All the safety and operating instructions
should be read carefully before this turbo hockey game is
played.
2. Caution - This is not a toy and is intended for use by or under the
supervision of adults. Adults should review safety guidelines with
children to avoid possible risk of electric shock or other injuries.
3. Power sources - This hockey game should be operated only from
100-125V A.C., 60 cycle current as indicated on the identification
label. If you are not sure of the type of power supply to your home,
consult your appliance dealer or local power company.
4. Power cord protection - Power cord should be routed so that it is not
likely to be walked on or pinched by items placed upon or against it.
Pay particular attention to cords at plugs, convenience receptacles,
and the point of exit from the game.
5.
Overloading - Do not overload wall outlets and extension cords as
this can result in a risk of fire or electric shock.
6.
Object and liquid entry - Never push objects of any kind into this
game through openings as they may touch dangerous voltage
points or short-out parts which could result in a fire or electric shock.
Never spill liquid of any kind on the game.
7. Ventilation - Openings in the game are provided for the exhaust
air to create a cushion effect. The openings on the air blower are
for the intake air. Keep clear of the air blower when it is on. Do
not put hand or other objects near the intake openings. To ensure
reliable operation of the game and protect it from overheating these
openings must not be blocked or covered.
8. Damage requiring service - Unplug the game from the wall outlet. Do
not attempt to service the blower yourself as opening or removing
covers may expose you to dangerous voltage or other hazards.
Refer servicing to qualified service personnel under the following
conditions.
A. When the power supply cord or plug is damaged.
B. If liquid has spilled, or objects have fallen into the blower.
INSTRUCCIONES)RTANTESDESEGURIDAD
1. Lea todas las instrucciones - todas las instrucciones de seguridad y
operaci6n se deben leer con ouidado antes de utilizar este juego de
hockey,
2. Advertencia - Esto no es un juguete yes para el uso de adultos o menores
con la supervisi6n de adultos. Las personas adultas deben revisar las
pautas de seguridad en cuanto a los niEos para evitar cualquier posible
riesgo de electrocuci6n u otras lesiones.
3. Fuentes de poder- Este juego de hockey s61o se debe operar con corriente
alterna de I00-125V C.A., y 60 ciclos segt_n se indica en la etiqueta de
identificaci6n. Si usted no sabe con seguridad que tipo de energia tiene
en su hogar, consulte con un vendedor de electrodomesticos o con la
compa_ia local de electricidad.
4. Proteccion del cordon - Se debe colocar el cordon de manera que no
se pueda pisar, ni aplastar con objetos que se le coloquen encima o al
lado. Preste mucha atencion a los cordones en la parte del enchufe, los
recept&cules y los puntos de salida del juege.
5. Sobrecarga - No sobrecargue los tomacorrientes ni las extensiones ya que
esto puede ocasionar riesgo de incendio o electrocuci6n.
6. Entrada de objetos y liquidos - Nunca inserte ninguna clase de objeto en
las aberturas de este juego ya que pueden entrar en contacto con puntos
de voltaje peligrosos o partes que causan cortocircuito Io cual puede causar
un incendio o electrocuci6n. Nunca se debe derramar ning_n tipo de liquido
sobre este juege.
7. Ventilaci6n - Las aberturas del juego est&n disefiadas para que el aire de
salida cree un efecto de "colch6n". Las aberturas en el soplador de aire
son para la entrada de aire. Mantengase alejado del soplador cuando est&
encendido. No coloque las manos ni otros objetos cerca de las aberturas
de entrada de aire. Para asegurar el funcionamiento confiable del juego
y evitar que se sobrecaliente, estas aberturas no se deben bloquear ni
cubrir.
8. Dar_os que requieran servicios de reparaci6n - Desenchufe el juego.
No trate de reparar el soplador usted mismo ya que el abrir o quitar las
cubiertas Io expone a voltajes peligrosos u otros peligros. Los servicios
de reparaci6n los deben proporcionar una persona calificada bajo las
siguientes condiciones:
C. When the air blower exhibits a distinct change in performance
e.g. abnormal noise, this indicates a need for service.
9. Grounding or Polarization - This game is equipped with a polarized
alternating current line plug (a plug having one blade wider than the
other). This plug will fit into the power outlet only one way. This is a
safety feature. If you are unable to insert the plug fully into the outlet,
try reversing the plug. if the plug should still fail to fit, contact your
electrician to replace your obsolete outlet. Do not defeat the safety
purpose of the polarized plug.
10. CAUTION - ELECTRICALLY OPERATED PRODUCT - Not
recommended for children under 8 years of age. As with all electrical
products, precautions should be observed during handling and use
to reduce the risk of electric shock.
11. We recommend that the game be periodically examined for
conditions that may result in the risk of fire, electrical shock, or injury
to persons. In the event such conditions exist, the game should not
be used until properly repaired.
SAVE THESE INSTRUCTIONS
9. Polarizaci6n o conexi6n a tierra - Este juege viene con un enchufe de
linea de corriente alterna polarizada (un enchufe que tiene un diente m&s
ancho que el otro). Este enchufe s61o entra en el tomacorriente de una
manera. #sta es una medida de seguridad. Si no puede insertar el enchufe
por completo en el tomacorriente, trate de invertirlo. Si, alan asi, no entra,
contacte a un electricista para que reemplace el tomacorriente obsoleto. No
intente violar esta medida de seguridad.
10. PRECAUCION - PRODUCTO EL#CTRICAMENTE MANEJADO - No
recomendado para nifios bajo 8 argos. Como con todos los productos
electricos, las precauciones deberian ser ebservadas durante el manejo y
el empleo para reducir el riesgo de choque electrico.
11. Recomendamos que el juego sea examinado de vez en cuando de las
condiciones que pueden causar el riesgo de fuego, la descarga electrica, o
la herida a personas. Si estes condiciones existen, el juege no debeHa ser
usado hasta que est& reparado.
WARNING: To Reduce The Risk Of Fire Or Electric Shock, Do Not
Use This Fan With Any Solid-State Speed Control Device
ADVERTENCIA: Para disminuir el riesgo de incendio o electrocuci6n, no
use este ventilador con un dispositivo de control de velocidad de estado
A. Cuando el cord6n o el enchufe est&n dafiados.
B. Si se ha derramado un liquido o se han dejado caer objetos dentro
del soplador.
C. Cuando el soplador de aire muestra un cambio marcado en su
desempeEo
GUARDE ESTA8 INSTRUCCIONE8
s61ido.
1-1-34-832 SS P. 1 @2008 Sportcraft, Ltd.
(800) 526-0244

English I
I EspaSol ]
Conqratulations! We hope you will have many
hours of enjoyable use with your new Sportcraft
Turbo Hockey!
PLEASE KEEP YOURINSTRUCTIONS!
* Your Model number is necessary should you
need to contact us.
* Please read through this instruction book to
familiarize yourself with all the parts and assembly
steps.
* Refer to the Parts Identifier and verify that all parts
have been included.
* For questions that may arise or for missing parts,
DO NOT RETURN THE GAME TO THE STORE.
jFelicitaciones! iNosotros esperamos que este nuevo
juego de Turbo Hockey Sportcraft le proporcione
muchas horas de diversibn!
iPOR FAVOR GUARDE ESTAS INSTRUCCIONES!
• Su nQmero de modelo es necesario en caso de que
deba comunicarse con nosotros.
• Por favor leer este manual de instrucciones para
familiarizarse con todas las piezas y los pasos a seguir en
el montaje.
• Consultar la lista Identificaci6n de las Piezas y asegQrese
de que todas las piezas hayan sido incluidas.
• Para preguntas o para piezas que no se hayan incluidos,
NO DEVUELVA EL JUEGO A LA TIENDA DONDE LO
COMPRO.
CONTACT INFORMATION:
Hours: Mon.-Fri., 9:00am to 5:00pm EST
Replacement Parts: order online at: www.sportcraft.
corn or call: (866) 206-4321
Technical Support: (800) 526-0244
WARNING!
This is not a child's toy. Adult supervision is required for
children playing this game. Please read instructions carefully.
Proper use of this set can avoid damage or injury.
BEFORE ASSEMBLY:
• Did you receive 1 box?
• Did you inspect your playfield/main table frame before
assembly? It is not replaceable and must be returned to the
original place of purchase if damaged.
INFORMACION DE CONTACTO:
Horas: lunes a viernes, 9:00am a 5:00pm EST
Piezas de reeambio: ordenar a la pagina de internet:
www.sportcraft.com o Ilame: (866) 2064321
Soporte t_cnico: (800) 526-0244
_ iADVERTENCIA!
Esto no es un juguete de ni_os. La supervision adulta es
requerida para jugar este juego por los niSos. Por favor leer las
instrucciones con cuidado. El empleo apropiado de este juego
puede evitar el daSo o la herida.
_ ANTES DE ASAMBLEAR:
• &Recibi6 usted l==J._caja?
• &lnspeccion6 usted su campo de juego/marco de mesa antes
de la asamblea? N..._oes reemplazable y debe ser devuelto al
lugar original de compra.
TOOLS REQUIRED FOR ASSEMBLY:
• Phillips and Slotted Head Screwdrivers / or Power Driver (not
included)
• Allen Wrench (included)
1009 - R @2008Sportcraft, Ltd.
1-1-34-832SS P.2 (800)526-0244
_] HERRAMIENTAS NECESARIAS PARA MONTAR:
• Destornilladores Phillips y de cabeza ranurada / o destomillador
electrico (no incluido)
• Llaves inglesa y hexagonal (incluidas)
I English I
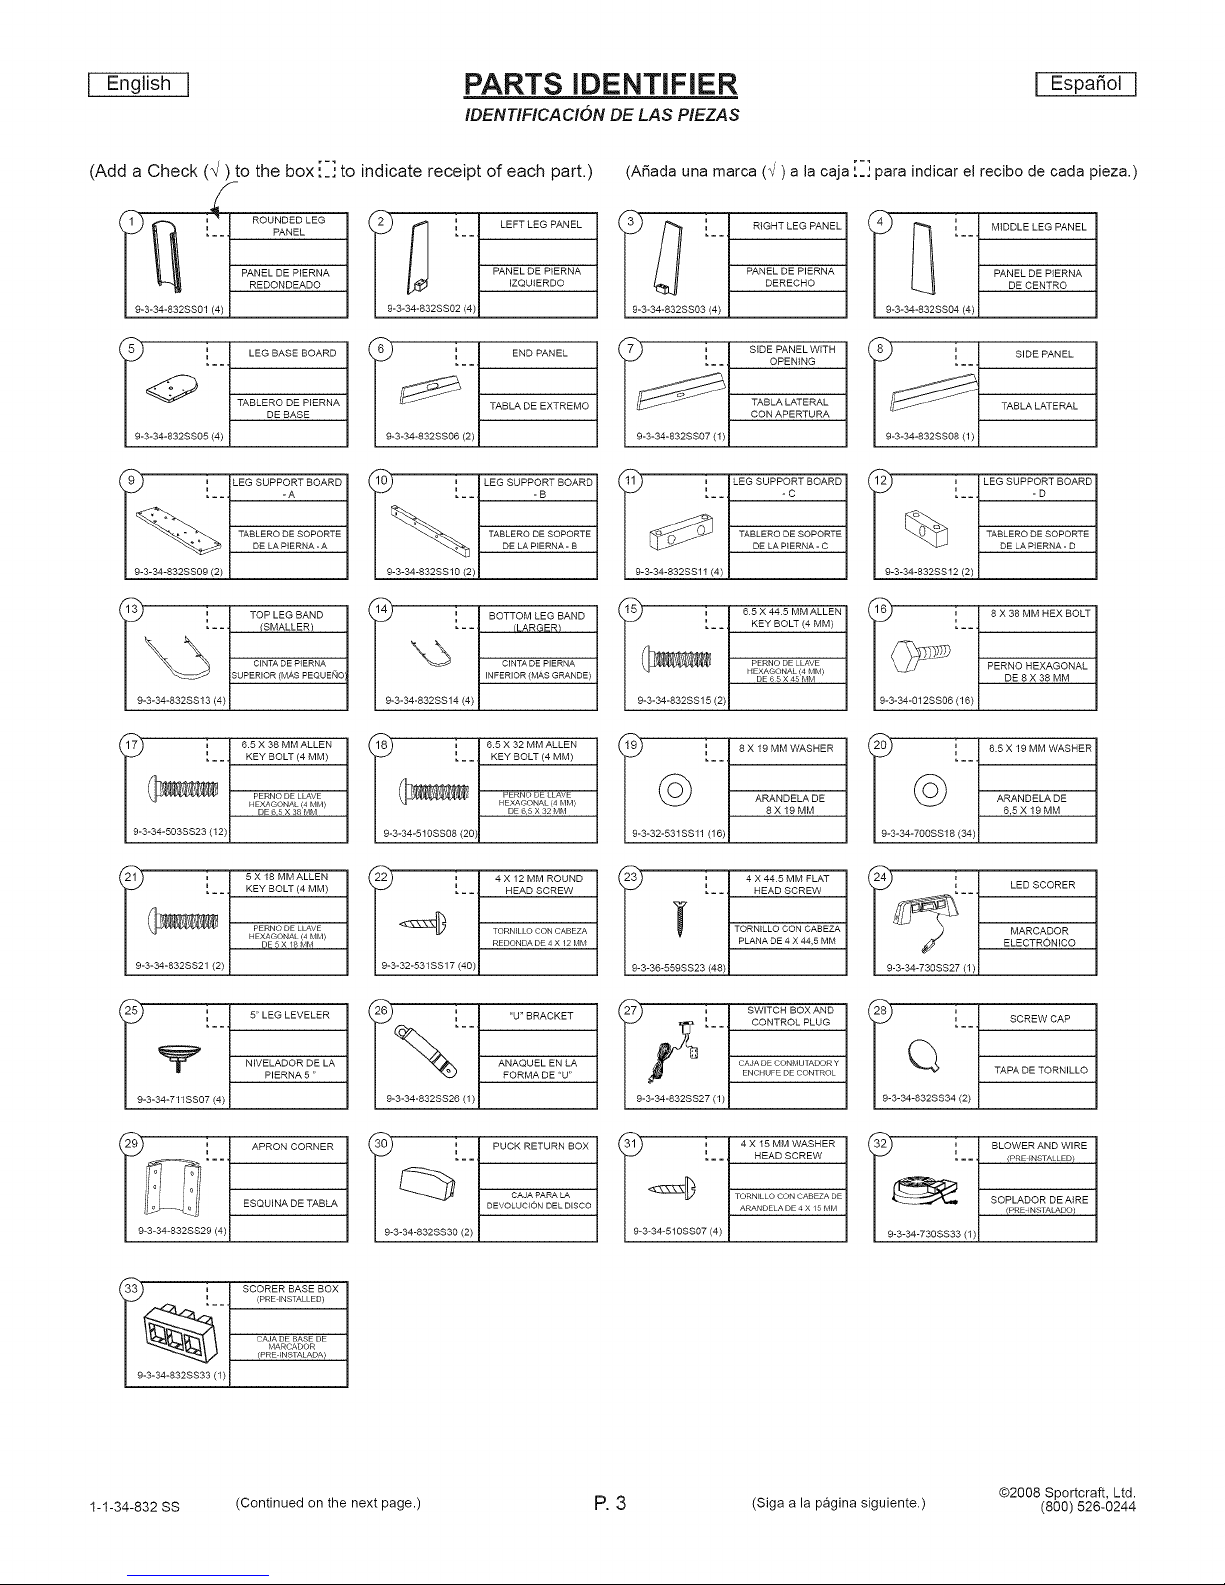
PARTS iDENTiFiER
IDENTIFICAClON DE LAS PIEZAS
I Espa_ol ]
(Add a Check (_/) to the box [:] to indicate receipt of each part.)
PANEL
P_
ROUNDED LEG
REDONDEADO
TABLERO DE PIERNA
DE BASE
I 9-3-34-832SS05 (4) ]
[__ -_
' [ LEG SUPPOART BOARD
/ _/ DE LA PIERNA-A
9-3-34-832SS09 (2) J
I [ - - (SMALLER)
? ' t TOP LEG BAND
/ 5 / _A
| _' /........ _MA...... _o:
J 9-3-34-832SS13 (4)]
-3-34-832SS0
[ 9-3-34-832SS10 (2)]
l [__j BOTT LO_[_RpN D
x3 I .............
3-34-832SS14 (4)
PANEL DE PIERNA
IZQUtERDO
TABLA DE ENTREMO
TABLERQ DE SOPORTE
DE LA PIERNA - B
INFERIOR (MAS GRANDE)
(A_ada una marca (_/) a la caja [[.] para indicar el recibo de cada pieza.)
PANEL DE PIERNA
1
"_ OPENING
TABLA LATERAL
if i SIDE PANEL WITH
-3-34-832SS07 (1)
11) ' I LEG SUPPORT BOARD
[ 9-344-632sslt(4)I
l_--1 6 5 X44 5 MMALLEN
[ 9-3-34-832SSl 5 (2)J
CON APERTURA
[__ -c
KEY BOLT (4 MM)
PERNODE LLAVE
HEXAGONAL (4MM)
DE65X45MM
3-34-832SS0
3-34-832SS08 (1)
1l- [--' 1 LEG SUPPORT_.._DBOARD
3-34-832SS12 (2)
11_ , | 8 X 38 MM HEX BOLT
-34-612SS06 (16)
DE CENTRO
:1
, SIDE PANEL
TABLA LATERAL
TABLERO _-S©PORTE
DE LA PIERNA- D
PERNO HEXAGONAL
DE8X38MM
1
KEY BOLT (4 MM)
PERNO DE LLAVE
HEXAGONAL (4 MM}
DE65 X 38MM
)
KEY BOLT (4 MM)
PERNO DE LLAVE
HEXAGONAL (4 MM}
!_ 1 5 X 18 MMALLEN
3-
3 2SS29 (4)
(i_i 1 SCORER BASE BOX
9-3-34-632SS33 1
DE5X18MM
NIVELADOR DE LA
PIERNA 5 "
(PREINSTALLED)
CAJA DE BASE DE
MARCADOR
(PREINSTALADA}
[ 9-3-34-510SS08 (20)I
- - HEAD SCREW
[ g-3-32-531SS17 (40)J
i "U" BRACKET
9-3-34-832SS2B (1)
[ 9-3-34-832SS30 (2) J
KEY BOLT (4 MM)
PERNODE LLAVE
HEXAGONAL (4MM}
DE 6.5 X32 MM
TORNFLLOCONCABEZA
REDONDA DE4 X 12 MM
Afifi'euE_
FORMA DE 'U"
CAJA PARA LA
1
DEVOLUClON DEL DISCO
ARANDELA DE
8X19MM
[ g-3-32-531SSll (16)J
- - HEAD SCREW
TORNILLO CON CABEZA
PLANA DE 4 X 44.5 MM
[ 9-3-36-559SS23 (48)J
- - CONTROL PLUG
i_ [ 1 SWITCH BOXAND
[ 9-3-34-832SS27 (1)J
i
[ 9-3-34-510SS07 (4) J
CAJADECONMUTADORY
ENCHUFEDECONTROL
= = -- SCREW
_R_E
ARANDELA DE4 X/5 MM
ARANDELA DE
6.5 X 19 MM
J 9-3-34-700SS18 (34)|
MARCADOR
ELECTRONICO
9-3-34-736SS27 1
1QI__ I SCREWCAP
! 9-3-34-832SS34 (2) J
i_ t BLOWERAND WIRE
I 9-3-34-730SS33 (1)|
TAPA DE TORNILLO
== (PRE FNSTALLED/
SOPLADOR DE AIRE
(PRE INSTALADO)
1-1-34-832 SS
(Continued on the next page.)
P.3
(Siga a la pagina siguiente.)
@2008 Sportcraft, Ltd.
(800) 526-0244
I English I I Espa_°l ]
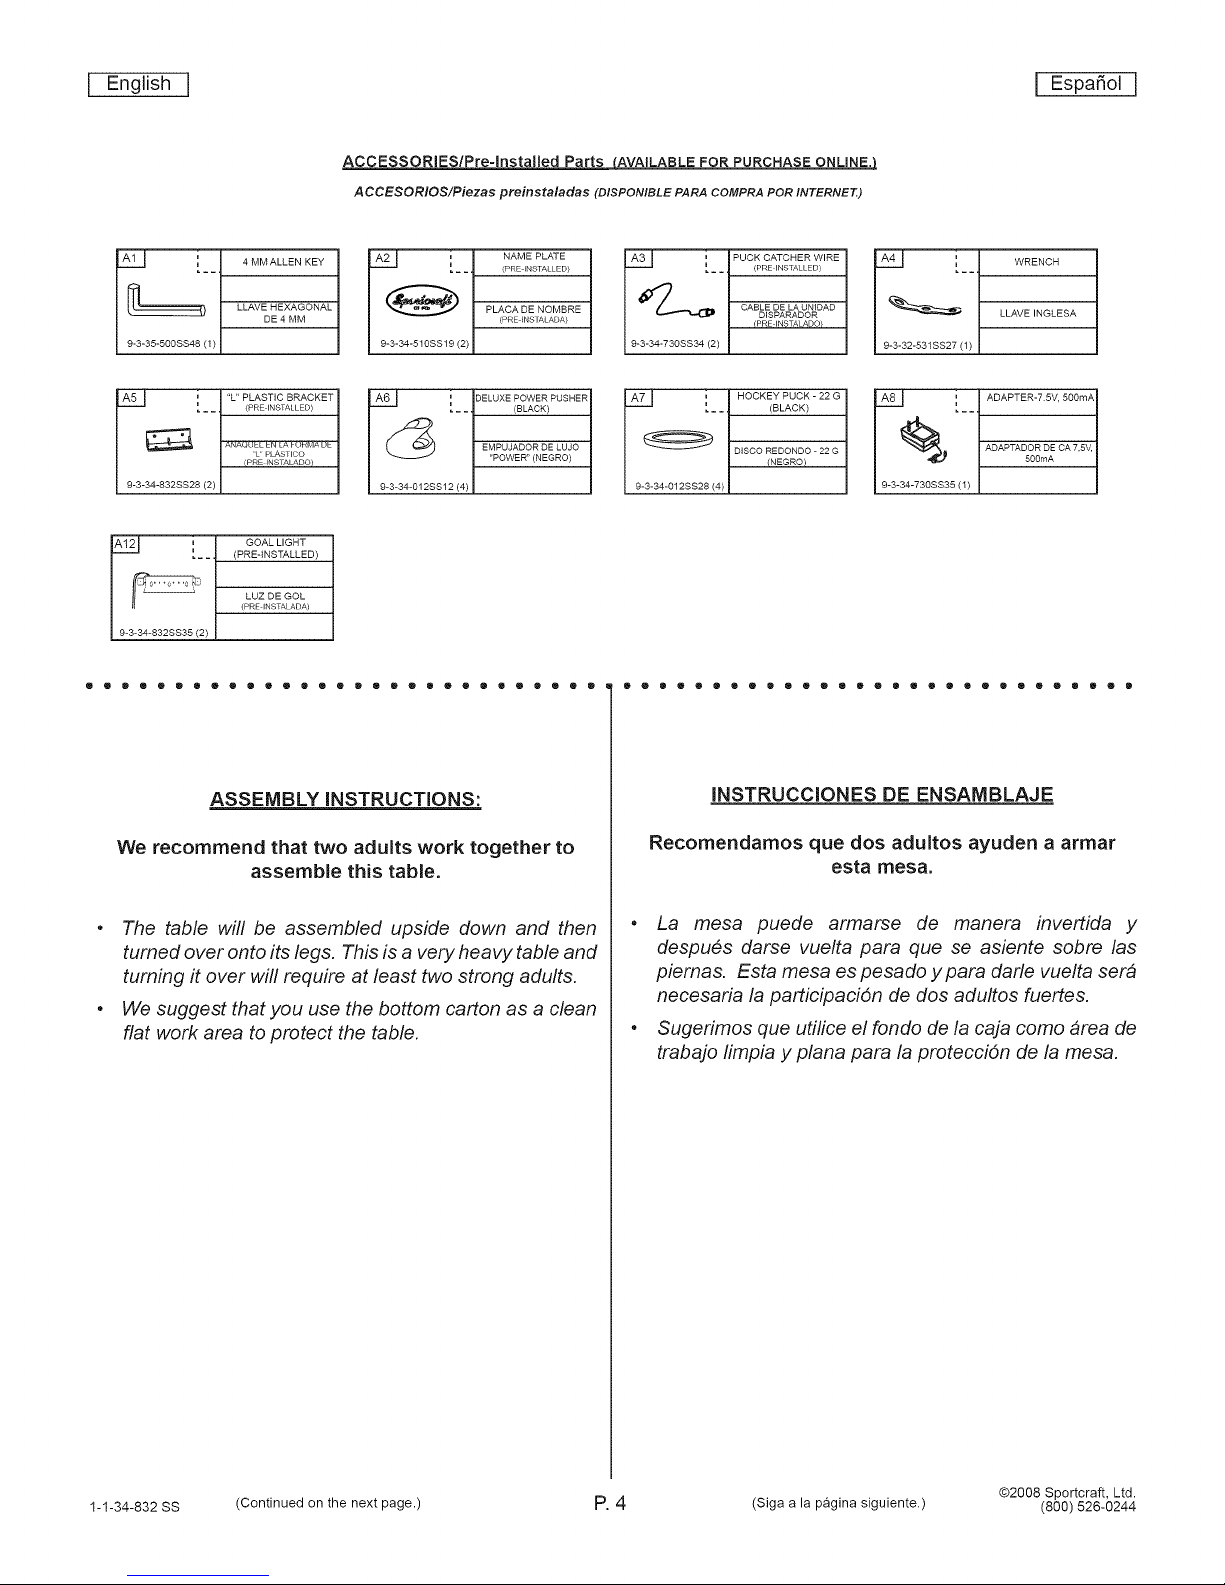
ACCESSORIES/Pre-lnstalled Parts {AVAILABLE FOR PURCHASE ONLINE,}
ACCESORIOS/Piezas preinstaladas (DISPONIBLE PARACOMPRA PORINTERNEE)
Al_ i 4 MM ALLEN KEY
LLAVE HEXAGONAL
DE4MM
9-3-35-500SS48 (1)
A51 i "L"PLASTICBRACKET
9-3-34-832SS28 (2)
9-3-34-832SS35 (2)
.... (PREINSTALLED)
ANAUL]EL LN LA _ UMIL]A UL
'L' PEASTICO
(PRE INSTALADO)
i GOAL LIGHT
. _ _ (PREqNSTALLED)
LUZ DE GOL
(PRE INSTALADA)
ASSEMBLY INSTRUCTIONS:
A21 i NAME PLATE
9-3-34-510SS19 (2) 9-3-34-730SS34 (2)
A6_ i DELUXE POWER PUSHER A7_ i HOCKEY PUCK - 22 G
9-3-34-012SS12 (4) 9-3-34-012SS28 (4)
._- (PRE_NSTALLED)
PLACA DE NOMBRE
(PREFNSTALADA)
. _ _ (BLACK) . _ _ (BLACK)
EMPUJADOR DE LUJO
"POWER" (NEGRO)
A3_ i PUCK CATCHER WIRE
[_- (PREINSTALLED)
CABLE DE LA UNIDAD
DISPARADOR
/PREINSTALADO)
DISCO REDONDO - 22 G
(NEGRO)
INSTRUCCIONES DE ENSAMBLAJE
A4_ i WRENCH
LLAVEINGLESA
9-3-32-531 SS27 (1)
A8_ i ADAPTER-7 5V, 5OOmA
ADAPTADOR DE CA 7.5V,
5O0mA
9-3-34-730SS35 (1)
We recommend that two adults work together to
assemble this table.
• The table will be assembled upside down and then
turned over onto its legs. This is a very heavy table and
turning it over will require at least two strong adults.
• We suggest that you use the bottom carton as a clean
flat work area to protect the table.
Recomendamos que dos adultos ayuden a armar
esta mesa.
• La mesa puede armarse de manera invertida y
despu6s darse vuelta para que se asiente sobre las
piemas. Esta mesa es pesado y para darle vuelta ser#
necesaria la participaciOn de dos adultos fuertes.
• Sugerimos que utilice el rondo de la caja como #rea de
trabajo limpia y plana para la protecciOn de la mesa.
1-1-34-832 SS (Continued on the next page.) P. 4 (Siga a la pagina siguiente.) @2008 Sportcraft, Ltd.
(800) 526-0244

] English]
[ Espa5ol ]
FIG. 1: LEG ASSEMBLY
Connect one Left Panel (#2) and one Right Panel (#3) to one Middle
Leg Panel (#4) using three Screws (#23) per Leg Panel. See Fig.l.
Slide one Rounded Leg Panel (#1) into the grooves of the leg panel
assembly and attach using two Screws (#22). See Fig. 1
Attach one Leg Base Board (#5) to the leg panel assembly using four
Screws (#23) and insert a Leg Leveler (#25). See Fig.lA.
Turn the leg over and attach one Top Leg Band - Smaller (#13) and
one Bottom Leg Band -larger (#14)onto the Leg. See Fig.lB.
Repeat the above steps for the other three legs.
FiG. 1 : ASAMBLEA DE PiERNA
Fijar un panel izquierdo (no. 2) y un derecho (no. 3) al panel de pierna de
centro (no. 4) con tres tornillos por tablero. Ver la figura 1.
Deslizar un panel de pierna redondeado (no. 1) en las ranuras de la
pierna montada y fijarlo con dos ternillos (no. 22). Ver la figura 1A.
Fijar un tablero de pierna de base (no. 5) a la pierna montada con cuatro
tornillos (no. 23) e atornillar un nivelador de pierna en la pierna (no. 25)
Ver la figura 1A.
Dar vuelta a la pierna y fijar una cinta de pierna superior mas pequeSo
(no. 13) y una cinta de pierna inferior m&s grande (no. 14) sobre la
pierna. Ver la figura lB.
Repetir estos pasos para las otras piernas.
1-1-34-832 SS (Continued on the next page.) P. 5 (Siga a la pagina siguiente.) @2008 Sportcraft, Ltd.
=(4)
=(4)
=(8)
=(40)
=(4)
\
(800) 526-0244
 Loading...