

Page 1
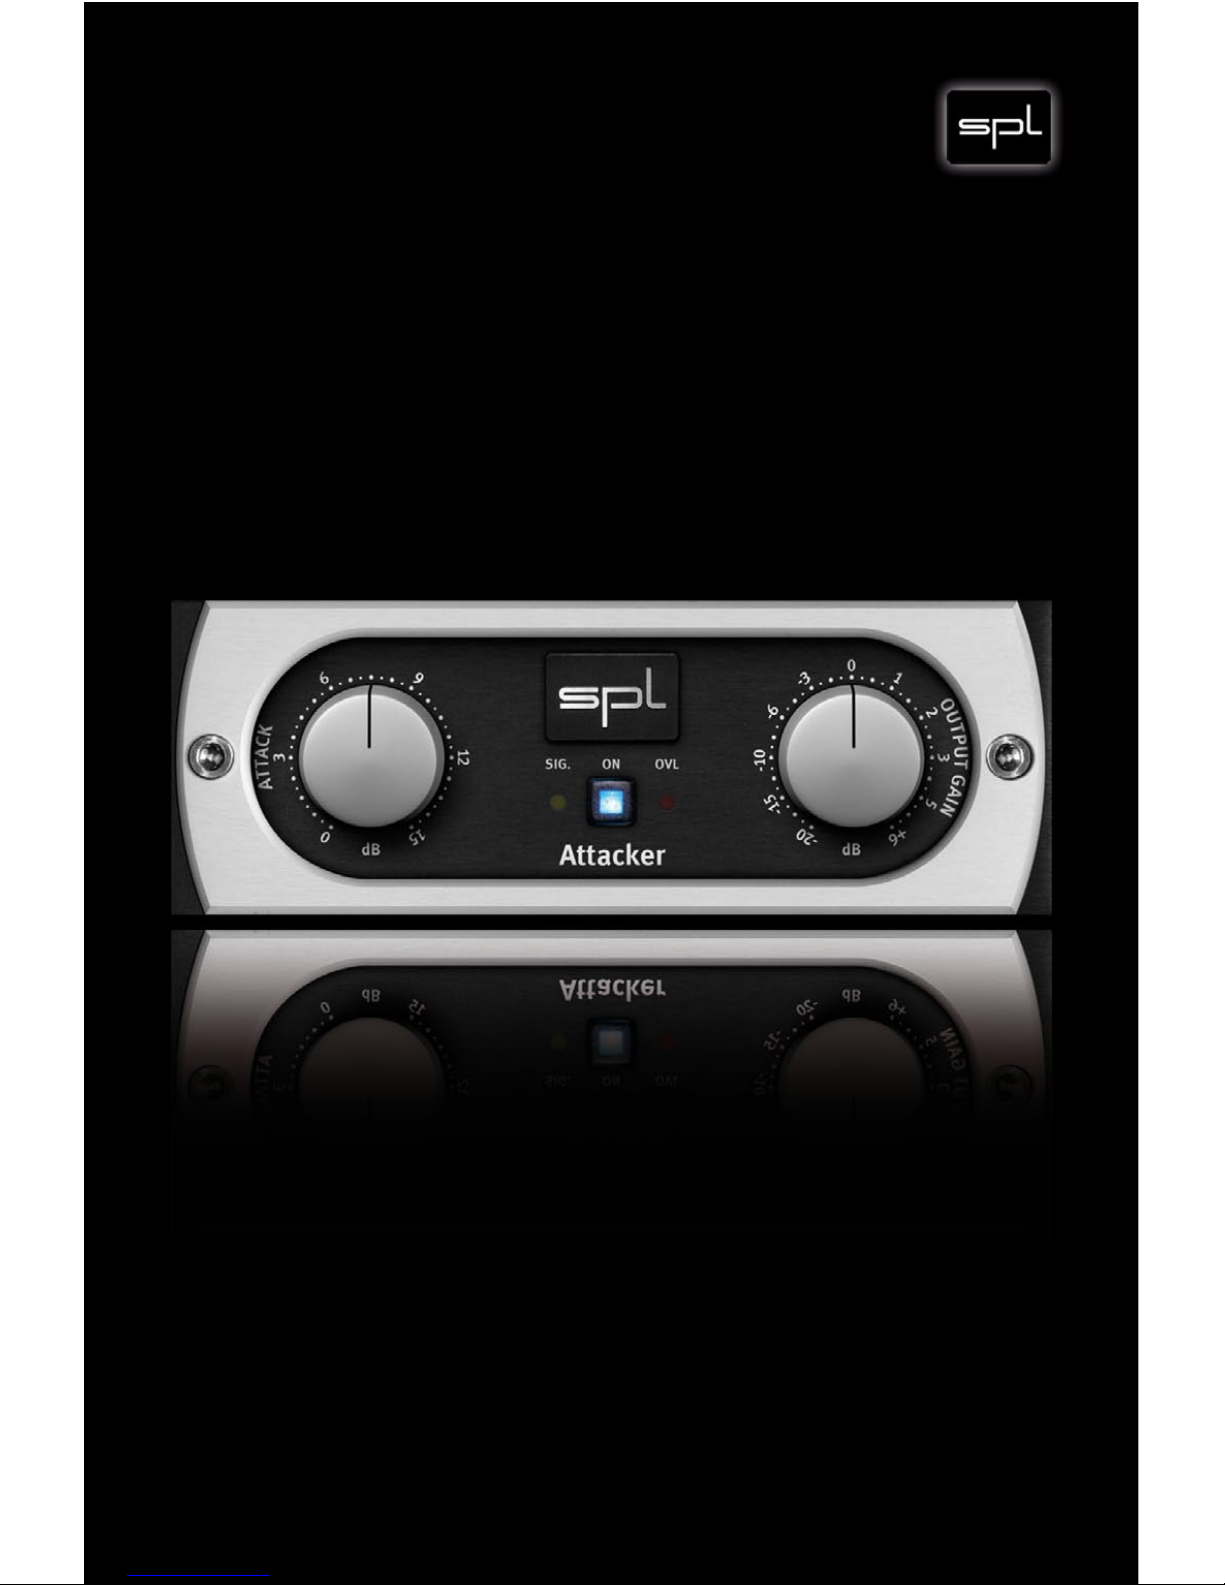
Analog Code ® MicroPlug
Manual
Attacker
Page 2

2
Attacker Analog Code® MicroPlug
Manual
Attacker
Analog Code® MicroPlug
Model Number 2980
Manual Version 2.0 –12/2011
This user‘s guide contains a description of the product. It in no
way represents a guarantee of particular characteristics or results
of use. The information in this document has been carefully compiled and verified and, unless otherwise stated or agreed upon,
correctly describes the product at the time of packaging with this
document.
Sound Performance Lab (SPL) continuously strives to improve its
products and reserves the right to modify the product described in
this manual at any time without prior notice. This document is the
property of SPL and may not be copied or reproduced in any way, in
part or fully, without authorization by SPL electronics GmbH.
SPL electronics GmbH
Sohlweg 80, 41372 Niederkruechten, Germany
Phone: +49 (0)2163 983 40
Fax: +49 (0)2163 983 420
E-Mail: [email protected]
Website: spl.info
© 2011 SPL electronics GmbH. All rights reserved.
The SPL logo, Analog
Code®, Vitalizer® and Atmos® are registered trademarks of SPL electronics
GmbH.
All other logos and brand names are registered trademarks of their
respective owners.
Page 3

3
Attacker Analog Code
®
MicroPlug
Content
Installation 4
Plugin Alliance Activation 4
System Requirements and Compatibility 4
MAC and Windows Installation 4
Introduction 5
The Analog Code
®
5
Attacker & Transient Designer 6
Working with the Attacker ... 6
Control Elements 7
Mouse Wheel Control 7
ON 7
ATTACK 7
OUTPUT GAIN 8
SIG. LED 8
OVL LED 8
Applications 9
Drums & Percussions 9
Guitars 9
Keyboards & Sampler 10
Post Production 10
Mastering 10
Your Notes 11
Page 4

4
Attacker Analog Code® MicroPlug
Plugin Alliance Activation
Your Analog Code plug-in must be activated in your Plugin Alliance
account. You can set it up and log into your account anytime at
http://www.plugin-alliance.com
For details about the activation process, read the Plugin Alliance
Activation Manual. The PDF file is stored in the same folder of your
computer like this product manual file.
Alternatively, the following web page provides the same information: http://www.plugin-alliance.com/activation
System Requirements and Compatibility
For details about system requirements and supported platforms or
formats visit http://www.plugin-alliance.com/compatibility
MAC and Windows Installation
1. Check for the latest plug-in software version before installation:
http://software.spl.info/download
2. Execute the installer file and follow the instructions.
Installation
Page 5

Attacker Analog Code® MicroPlug
5
Introduction
The Analog Code
®
While SPL hardware products have been fascinating audio professionals from home studio owners to mastering engineers in
the world’s most renowned facilities for years, the need for this
technology in the form of plug-ins has also been an ever-growing
demand. With the Analog Code® plug-ins we have finally accomplished our much desired goal: to transfer to the digital domain the
high quality we have striven to achieve with our analog processors
throughout several decades.
The first time we ever heard a software that fulfilled our expectations, one of our hardware developers said to the programmers:
“you have cracked the Analog Code” — thus was coined the name
of our digital products.
The Analog Code MicroPlug Series is derived from our Analog Code
plug-ins, offering single functions or controls of plug-ins such
as the Transient Designer. While the Transient Designer offers
ATTACK and SUSTAIN controls, the Attacker MicroPlug focuses on
amplifying the attack event.
Page 6

6
Attacker Analog Code® MicroPlug
Attacker & Transient Designer
The Attacker MicroPlug employs the same processing technique
like the original Transient Designer. SPL’s Differential Envelope
Technology revolutionized dynamic processing with a level-independent method.
This radically different approach allows to forego the setting of a
threshold. Other parameters are set automatically and in a musical
manner as they follow the characteristics of the input signal. After
all, only one control allows to reshape the attack characteristics of
a sound.
Working with the Attacker ...
... is disarmingly simple: All attack events can be amplified – regardless of their signal level. However, the possibilities for studio
and live applications are seemingly endless.
Usually equalizers are used to separate instruments in a mix.
Thereby, the tonal aspect of the signal is considered but not
the temporal aspect. The Attacker now opens this new dimension in signal processing. By amplifying the attack curves of a
sound event, the mix can be made to sound more transparent.
Instruments can be mixed at lower levels while still maintaining
their positions in the mix—but occupying less space.
The Attacker also offers an output control gain control that allows
to compensate for level changes after processing the signal. This
ensures a simple and safe adjustment of levels and helps avoiding
internal clipping.
Introduction
Page 7
Attacker Analog Code® MicroPlug
7
Control Elements
Mouse Wheel Control
All SPL Analog Code plug-ins, including the MicroPlug Series, support mouse wheel control for rotary controls and faders. Place the
mouse cursor over a rotary control and move the wheel or scroll
ball of your mouse to adjust the control. Hold the CTRL (Windows)
or APPLE/COMMAND key while moving the wheel or scroll ball for
fine adjustments with higher control resolution.
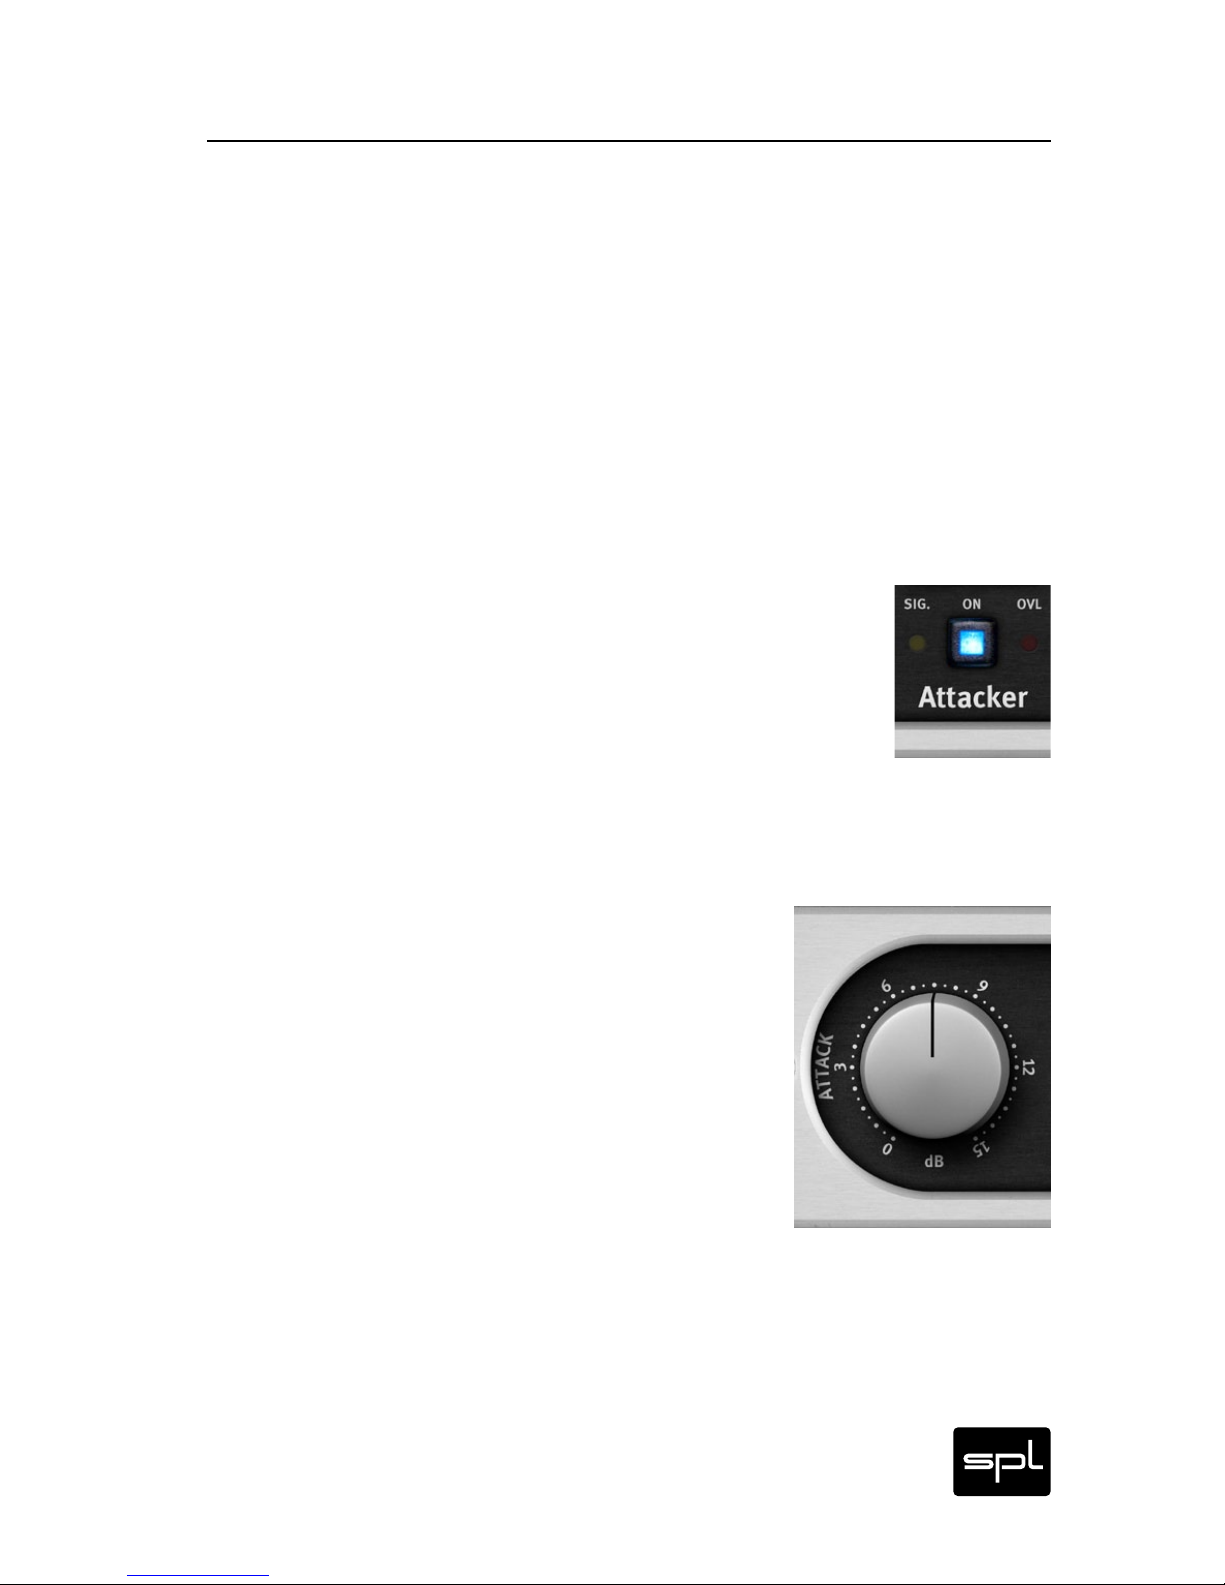
ON
With the ON button you can turn the Attacker on or off. The ON
button illuminates after activation.
ATTACK
With the ATTACK control you can amplify the attack(s)
of a signal by up to 15 dB. You can operate the control by ear actually ... for an extensive description
and explanation of the possible applications of the
ATTACK control please refer to “Applications” on page
9 cont.
Page 8
8
Attacker Analog Code® MicroPlug
Control Elements
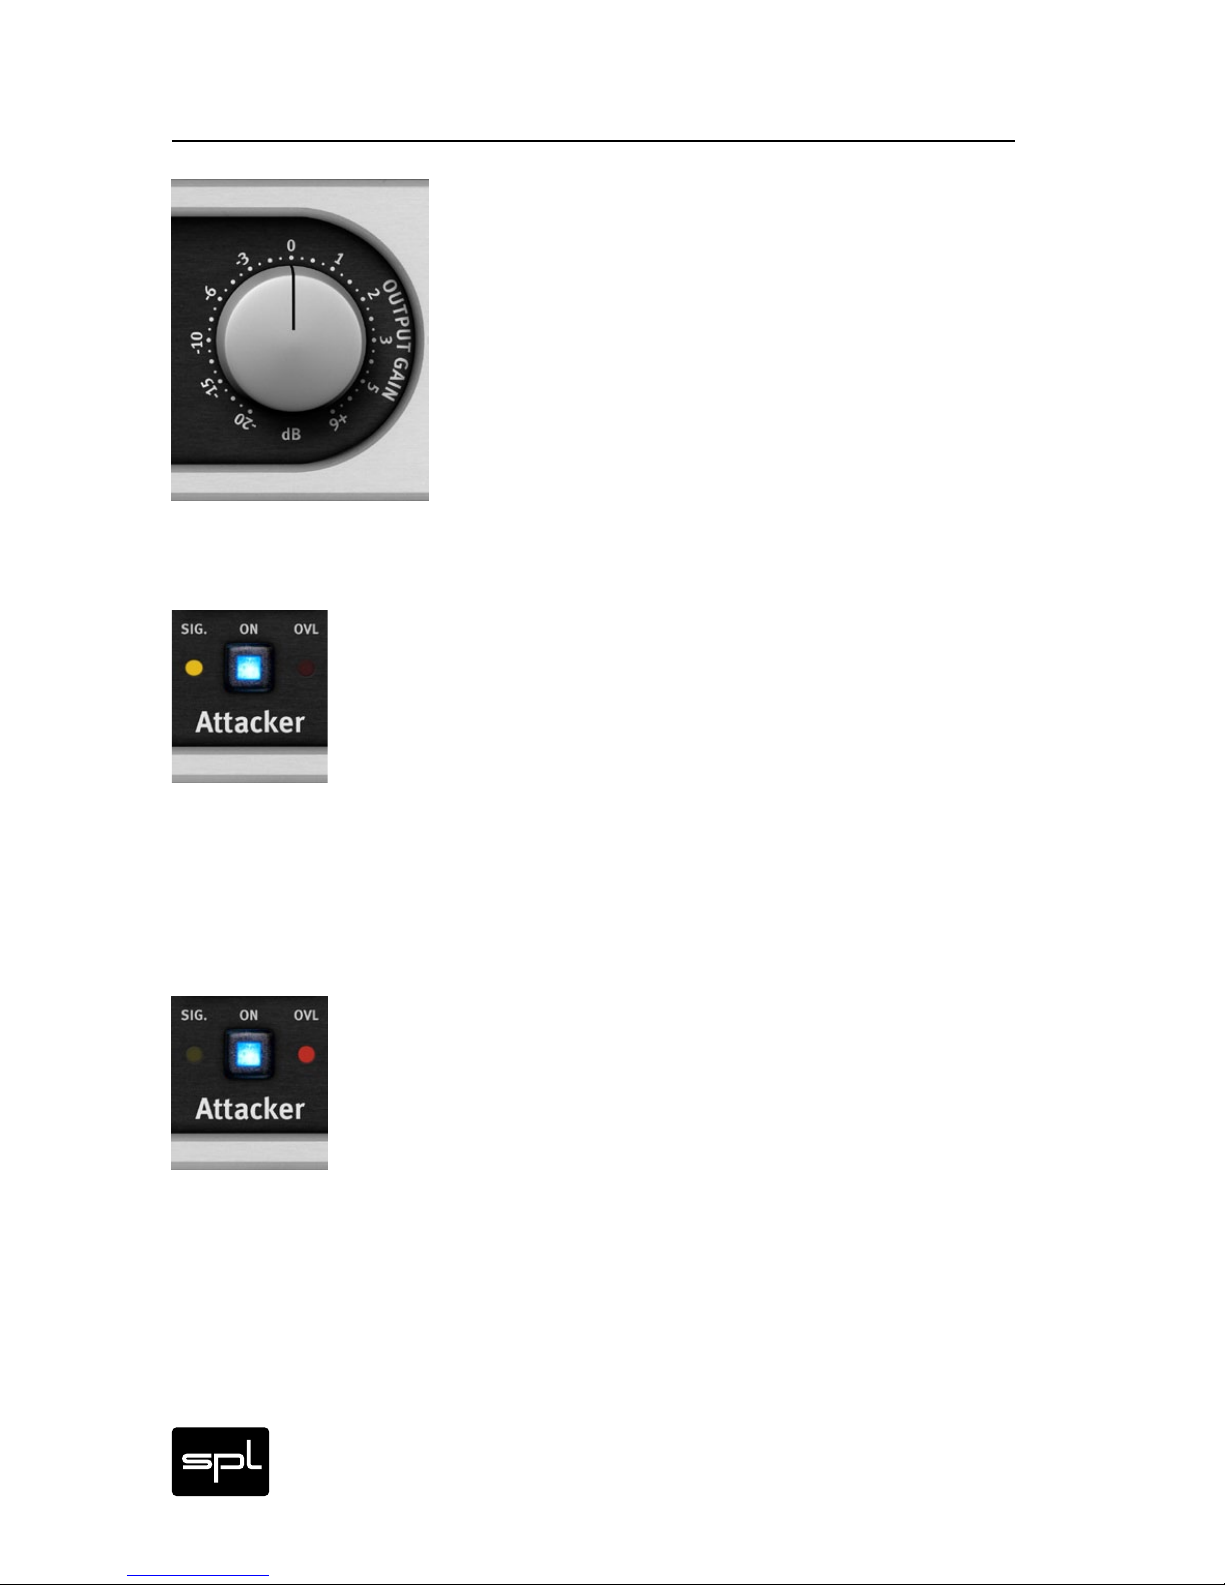
OUTPUT GAIN
The OUTPUT GAIN control allows you to reduce the
output signal by up to -20 dB or boost it by up to
+6dB. This ensures that following devices receive
an optimized level. The center position at 12-o‘clock
equals 0 dB output. If the OVL-LEDs keeps flashing
you have to reduce the output level to avoid internal
clipping.
SIG. LED
The SIG. (signal) LED indicates the presence of an audio signal. In the analog world this LED helps the operator especially
in complex setups to determine immediately if the device
receives any signal. In the digital domain it tells you that the
channel where you inserted the plug contains a signal that is loud
enough to ensure correct processing.
OVL LED
The OVL (overload) LED indicates internal clipping. Whether
the clipping is audible or not depends on the kind of audio
material you are processing.
You should always avoid that the OVL LED illuminates. Use the
OUTPUT GAIN control to reduce the output level if the OVL-LEDs
keeps flashing.
Page 9

Attacker Analog Code® MicroPlug
9
Applications
The following examples are given as suggestions and examples.
The described procedures with specific instruments can of course
be transferred to others which are not mentioned here.
Drums & Percussions
The processing of drum and percussion sounds is the most typical
Attacker application.
• Emphasize the attack of a kick drum or a loop to increase the
power and presence in the mix.
• Adjust the apparent distance of the microphone by simply varying the ATTACK values.
• Enjoy an amazingly simple integration of drum sounds into a
mix. If the acoustic level of a snare is expanded to approximately
+4 dB by increasing the attack value, the effective increase of
peak levels in the overall mix is merely about 0.5 dB to 1 dB.
• If your drums happen to sound as if they have been placed in a
shoe closet, the Attacker can immediately get them out of there.
Just crank the ATTACK control to emphasize the first wave.
Guitars
Increase ATTACK for in-the-face sounds, which is very useful and
works particularly well for picking guitars. Or blow life and juice
into quietly played guitar parts.
Distorted guitars usually are very compressed, thus not very
dynamic. Simply increase the ATTACK to get a clearer sound with
more precision and better intonation despite any distortion.
Page 10

10
Attacker Analog Code® MicroPlug
Applications
Keyboards & Sampler
Sounds in keyboards and samples usually show a lot of compression, not maintaining enough of their natural dynamic. Increase
the ATTACK values to re-gain a more natural response characteristic. The sounds occupy less space in the mix and appear more identifiable even at lower volumes.
Post Production
When dealing with overdubs in movies you can easily add more
punch and definition to effect sounds from any sample library.
The same applies to outdoor recordings that suffer from poor
microphone positioning—simply optimize them afterwards.
Mastering
Like with any good thing, you also have to know where not to use
it. For example, using the Attacker in mastering a summed signal
usually is not recommendable, as it is rarely a good idea to treat
a whole mix at once. Instead, treat individual elements within the
mix.
Page 11

Attacker Analog Code® MicroPlug
11
...........................................................
...........................................................
...........................................................
...........................................................
...........................................................
...........................................................
...........................................................
...........................................................
...........................................................
...........................................................
Your Notes
Page 12

SPL – Sound Performance Lab
Sohlweg 80, 41372 Niederkrüchten, Germany
Fon: +49 (0) 21 63 9 83 40
Fax: +49 (0) 21 63 98 34 20
E-Mail: [email protected], Website: spl.info
Attacker
Analog Code
®
MicroPlug
Manual
 Loading...