

Page 1
2007
SPINNER
Rear Shock
Owner's Manual
Sus
Petrol
Petrol R
Sus R
Page 2
Setup, tuning and maintenance of your
Spinner Rear Shock
Congratulations on getting a bike with Spinner suspension. To ensure the best performance and
longest service life from your Spinner shock, please read and carefully follow these setup, tuning and
maintenance instructions.
CAUTION!
All Spinner products must be installed by a qualified bicycle mechanic using appropriate professional
tools. Spinner assumes no liability for products which are improperly installed.
WARNING!
Failure to follow these instructions can result in component failure. Component failure can lead
to loss of control of the bicycle and result in serious personal injury or death.
Spinner shocks should be tuned to your weight, riding style and riding conditions. We recommend that
you ask your dealer to set the suspension for you before your first ride. Thereafter, follow these
instructions to fine-tune your suspension to meet your needs.
1. Before you start
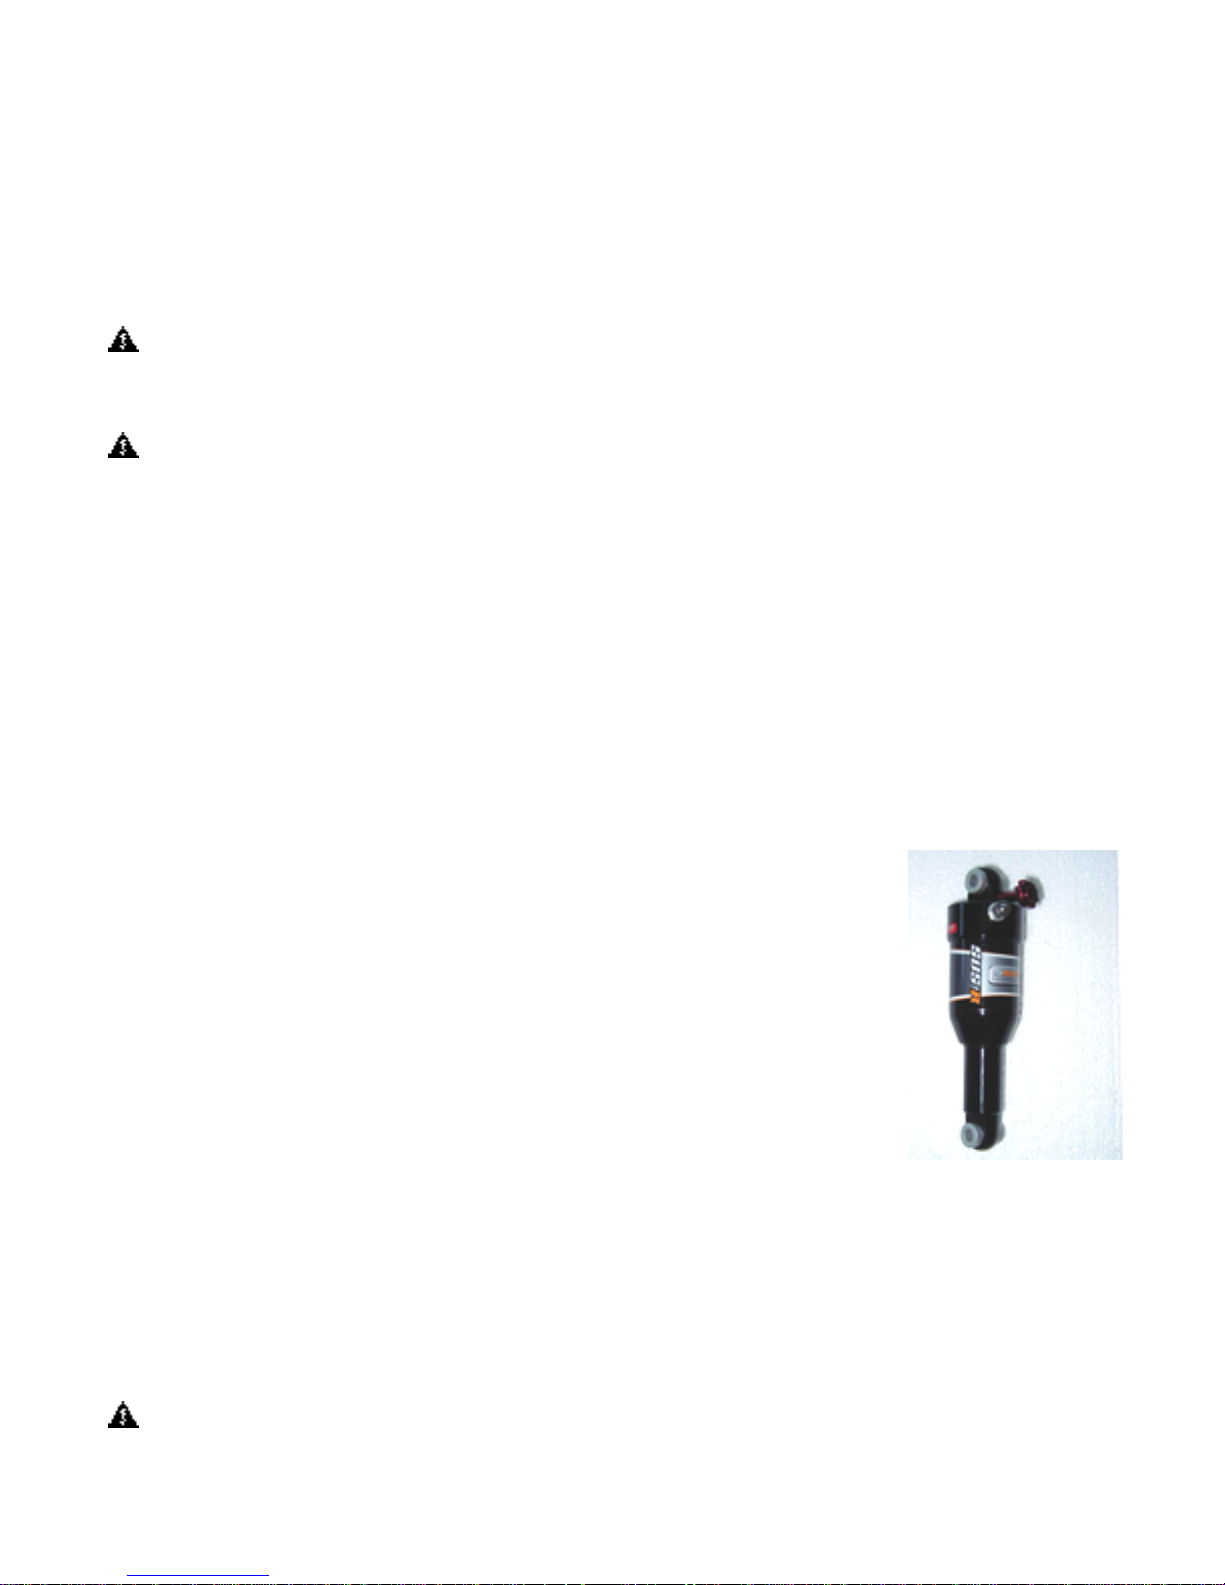
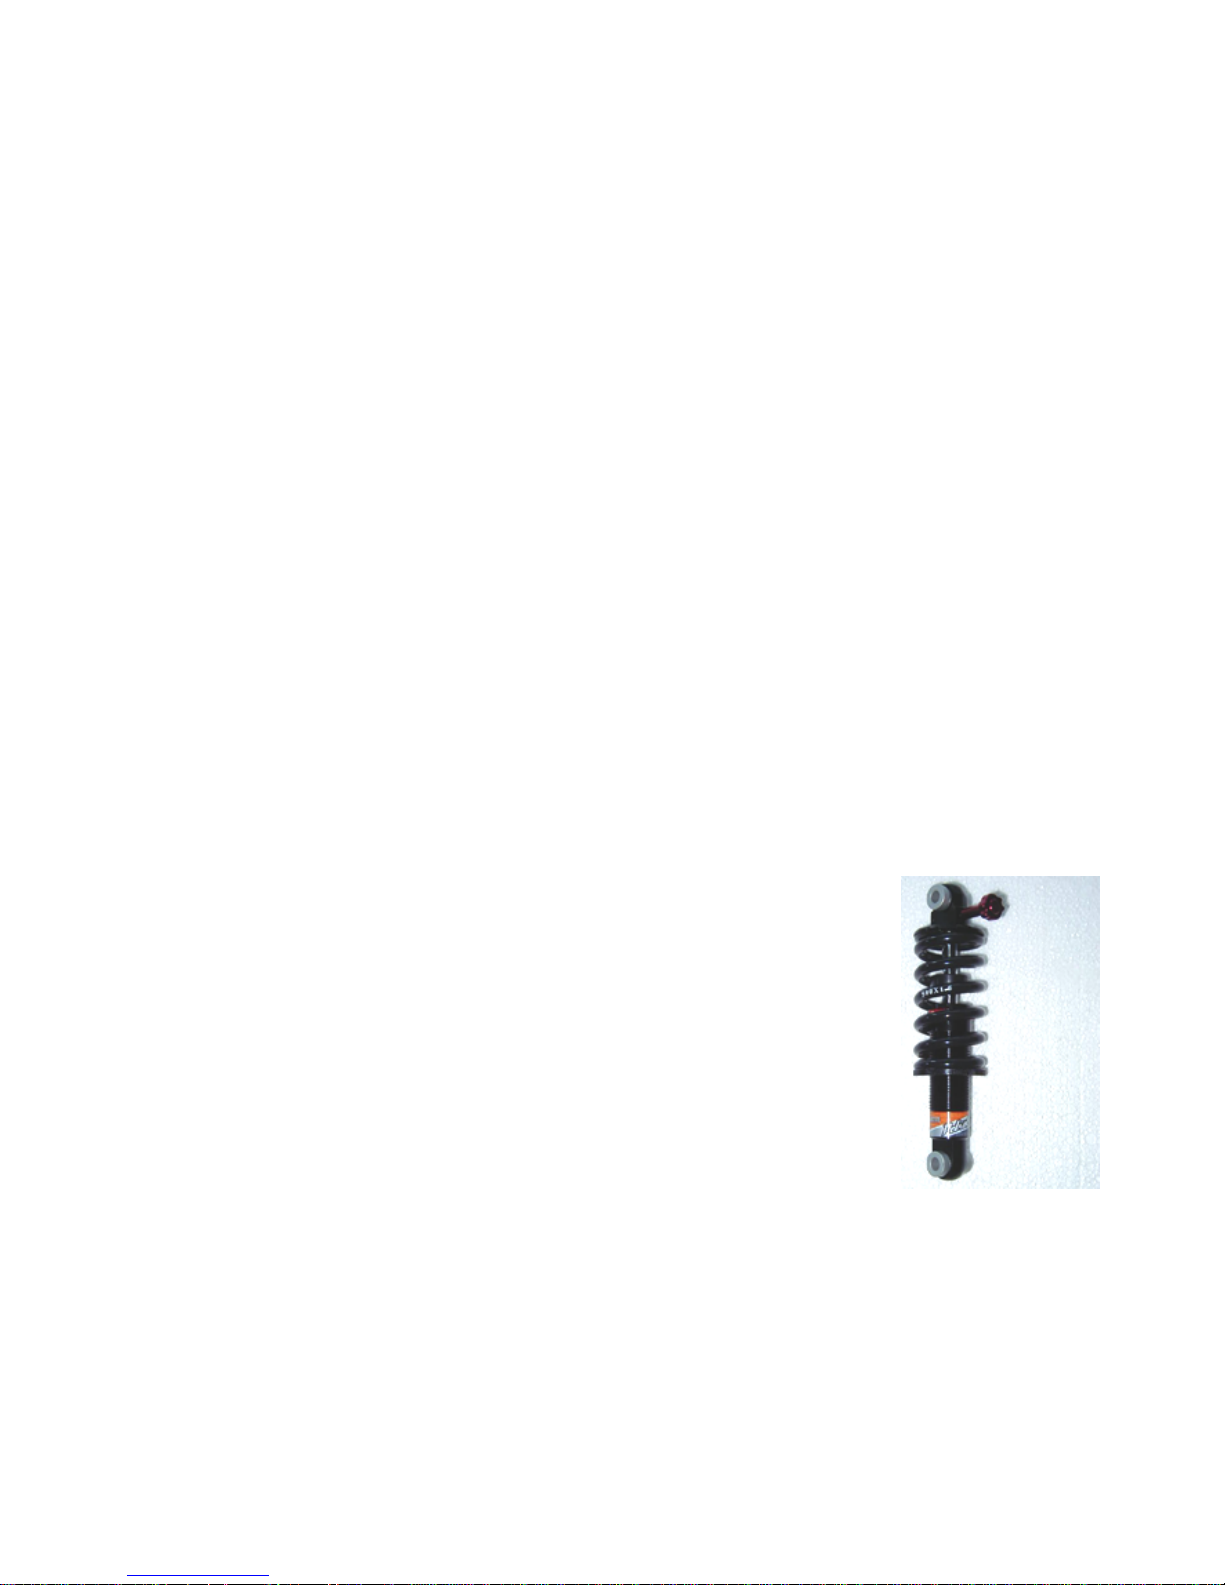
a. Identify the type of shock: Air Shock or Coil Shock
b. Identify the shock model: with Rebound Control or without Rebound Control
2. Setup and tuning of Air Shocks
Setting up and tuning your Spinner Air Shock is done in the following sequence:
a. Set the Sag: Sag, or static compression, is directly related to your weight,
and is the amount the suspension travels when you sit on the bike in the riding
position. The rule of thumb is that sag should be 15 to 30 percent of total
suspension movement; but check with your dealer or bike manufacturer for
specific sag recommendations for your bike’s suspension geometry; then:
1) If the dealer has not adjusted the shock for your weight, start with an air
pressure in the shock that is equal to your body weight.
2) Measure and write down the distance from the rear axle to the top rear
of the saddle.
3) Get on the bike, in riding position, and have a friend measure and write
down the distance from the rear axle to the top rear of the saddle with your full weight on the
bike.
4) The difference between these two measurements is the sag. If the difference between the
measurements is more than the dealer’s or manufacturer’s recommendation, add air to the
shock. If it is less, bleed air from the shock. Add or bleed air in small increments; then repeat
steps 2) and 3) until you get the recommended sag.
5) Record the air pressure at which you achieved correct sag. You’ll want to refer to it often in the
future, because it’s the starting point for spring rate adjustments.
CAUTION: Do not use air pressures above 250 psi or below 100 psi. Higher pressure can
damage the shock. Lower pressure can damage the bike.
Rebound
Adjuster
Air Valve
Page 3
b. Spring Rate: The spring rate is the stiffness (or cushiness) of the shock. Once sag has been set
for your weight, you may find times when riding conditions warrant more or less stiffness to your
suspension. You can adjust the stiffness by increasing or reducing air pressure, as long as you don’t go
outside the 100 to 250 psi range.
c. Rebound Rate: Some Spinner Air Shock models have a red rebound control knob (see
illustration above). Rebound rate is the rate at which the shock returns to its static (sag) position after
compression. Turning the control knob clockwise (in) slows the rebound rate; turning it counterclockwise (out) speeds up the rebound rate.
The starting point for tuning the rebound rate is achieved with a Curb Test:
1) Turn the Rebound Adjusting Knob all the way counter-clockwise, the fastest rebound rate. Note
that the knob has click detents every quarter turn.
2) While sitting in the saddle, ride the bike off a curb and count the number of times the rear
suspension bounces before it returns to normal sag position. You want to achieve one
suspension bounce.
3) Now, turn the Rebound Knob a quarter turn (the next click detent) clockwise, and repeat the
test, counting the number of bounces.
4) Repeat step 3) until you achieve one bounce of the suspension, and record how many clicks
clockwise you have turned the Rebound Knob. This is your “normal” rebound rate setting.
Different terrain conditions may warrant adjusting the rebound rate up or down; but you should
keep a record of the “normal” rebound position, along with your normal sag air pressure, as a
reference
When tuning suspension, make only one change at a time, and write down what you did. This
will help you understand how each change affects how the bike rides.
3. Setup and tuning of Coil Shocks
Setting up and tuning your Spinner Coil Shock is done in the following
sequence:
a. Set the Sag: Sag, or static compression, is directly related to your
weight, and is the amount the suspension travels when you sit on the bike in
the riding position. The rule of thumb is that sag should be 15 to 30 percent of
total suspension movement; but check with your dealer or bike manufacturer
for specific sag recommendations for your bike’s suspension geometry; then:
1) Measure and write down the distance from the rear axle to the top rear
of the saddle.
2) Get on the bike, in riding position, and have a friend measure and write
down the distance from the rear axle to the top rear of the saddle with
your full weight on the bike.
3) The difference between these two measurements is the sag. If the difference between the
measurements is more than the dealer’s or manufacturer’s recommendation, turn the Spring
rate Adjusting Ring clockwise a quarter turn at a time until you achieve the recommended sag. If
the difference is less than the dealer’s or manufacturer’s recommendation, turn the Spring rate
Adjusting Ring counterclockwise a quarter turn at a time until you achieve the recommended
sag.
4) Accurately measure the spring length at which you achieved correct sag. You’ll want to refer to
it often in the future, because it’s the starting point for spring rate adjustments.
Rebound
Adjuster
Spring Rate
Adjusting Ring
Page 4
b. Spring Rate: The spring rate is the stiffness (or cushiness) of the shock. Once sag has been set
for your weight, you may find times when riding conditions warrant more or less stiffness to your
suspension. You can adjust the stiffness by turning the Spring Rate adjusting Ring clockwise (stiffer) or
counterclockwise (softer).
Before every ride and after each spring adjustment, slide the rubber Bump Stop all the way down
against the shock body. If, as you ride, the bump stop moves all the way up against the top spring
retainer plate, your spring adjustment is not stiff enough. You need to increase the spring rate.
c. Rebound Rate: Some Spinner Coil Shock models have a red rebound control knob (see
illustration above). Rebound rate is the rate at which the shock returns to its static (sag) position after
compression. Turning the control knob clockwise (in) slows the rebound rate; turning it counterclockwise (out) speeds up the rebound rate.
The starting point for tuning the rebound rate is achieved with a Curb Test:
1) Turn the Rebound Adjusting Knob all the way counter-clockwise, the fastest rebound rate. Note
that the knob has click detents every quarter turn.
2) While sitting in the saddle, ride the bike off a curb and count the number of times the rear
suspension bounces before it returns to normal sag position. You want to achieve one
suspension bounce.
3) Now, turn the Rebound Knob a quarter turn (the next click detent) clockwise, and repeat the
test, counting the number of bounces.
4) Repeat step 3) until you achieve one bounce of the suspension, and record how many clicks
clockwise you have turned the Rebound Knob. This is your “normal” rebound rate setting.
Different terrain conditions may warrant adjusting the rebound rate up or down; but you should
keep a record of the “normal” rebound position, along with your normal sag air pressure, as a
reference
When tuning suspension, make only one change at a time, and write down what you did. This
will help you understand how each change affects how the bike rides.
4. Maintenance
After Every 8 hours of Riding
• Clean the shock with warm water, mild soap and a soft, small brush.
CAUTION: Do not use a high-pressure hose or washer to clean the shock or any part of your
bike. The high pressure can displace lubricants and force moisture where it can damage
components.
• Clean the air valve.
• Use a torque wrench to check the torque on the mounting bolts. It should be 60 in-lbs(6.8 N.m).
CAUTION: Over-torqueing the bolts can cause the suspension to bind and malfunction.
Under-torqueing can cause damage to the frame and shock.
After every 20 hours of riding
• Remove, clean, and lightly grease the mounting hardware, using a good quality bicycle grease.
• Reassemble and use a torque wrench to torque the bolts to 60 in-lbs (6.8 N.m)
CAUTION: Over-torqueing the bolts can cause the suspension to bind and malfunction.
Under-torqueing can cause damage to the frame and shock.
Page 5

WARRANTY
Spinner warranties its products to be free of defects in materials or workmanship for a period of one
year from the original date of purchase or one year from the date of manufacturing, whichever comes
first. The warranty in the USA is 12 months. If you are outside the USA, please contact the Spinner
authorized distributor in your country for the LIMITED WARRANTY. This warranty is extended to the
original owner only, and is subject to the following terms and conditions.
TERMS AND CONDITIONS
The warranty does not cover cosmetic or structural damage arising from abuse or misuse including, but
not limited to, damage caused by crashes and/or collisions, owner neglect, improper installation and/or
assembly, improper maintenance, alterations, modifications, additions, changes to the original product
or other excessive, improper or abnormal conditions. Wear and tear in normal use or environmental
exposure is not covered by this warranty. Spinner will repair or replace, at its sole discretion, any part(s)
or product(s) deemed defective under the terms of this warranty. In the event a product needs to be
replaced and is discontinued or not available, Spinner reserves the right to replace the product with one
of equal value. No credits or refunds will be issued.
This product is not intended for use in stunt riding, ramp jumping, acrobatics, competitive riding, with
power or motor assistance of any kind, riding with heavy loads, extreme riding or similar activities. The
user assumes the risk of any personal injuries, product damage/failure, and any other losses, which
may arise under such use. Spinner shall not be held responsible for any incidental or consequential
damages. Labor charges for parts changes, swaps, or incidental costs such as transportation to and
from an authorized dealer for repair or replacement of any defective part or fork are not covered in the
warranty.
This warranty gives you specific legal rights, and your rights may vary from state to state (USA only).
Spinner does not authorize or permit anyone else, including its dealers, to make any other warranties,
expressed or implied, for Spinner.
WARRANTY REPAIR
Warranty claim procedures will vary from country to country. To file a warranty claim, please see your
dealer who will contact your local Spinner distributor for specific instructions. A copy of the original
sales receipt must accompany all claims.
Page 6
ARGENTINA
Vaitech Intl. S.R.L.
Tel: 54-11-4251-1087
[email protected]
BRASIL
Curacao do Brasil Ltda.
Tel: 55-11-2145-4700
CANADA
ACS Distributing
Tel: 905-841-7868
[email protected]
GERMANY
BBF Fahrrad GmbH
Tel: 49-3342-3544321
TAIWAN
Spinner Industry Co., Ltd.
Tel: 886-4-6832810
vanessa@insyncsuspension.com
KOREA
Azokey Korea
Tel: 82-31-573-4003
[email protected]
SINGAPORE
Cappa Trading PTE ltd
Tel: 65-6841-5151
[email protected]
UNITED KINGDOM
Super Shox
Tel: 0-115-941-5972
[email protected]
SPAIN
Macario Llorenile, S.A.
Tel: +34-99-8873737
USA
J&B Importers
Tel: 800-666-5000
[email protected]
USA
Spinner USA
Tel: 1-650-965-4442
s6832810@ms15.hinet.net
www.spinner-usa.com
 Loading...