

SpinCore Technologies PulseBlasterESR-PRO SP4B, PulseBlasterESR-PRO SP18A, PulseBlasterESR-PRO SP45, PulseBlasterESR-PRO SP19 Owner's Manual
PulseBlasterESR-PRO™
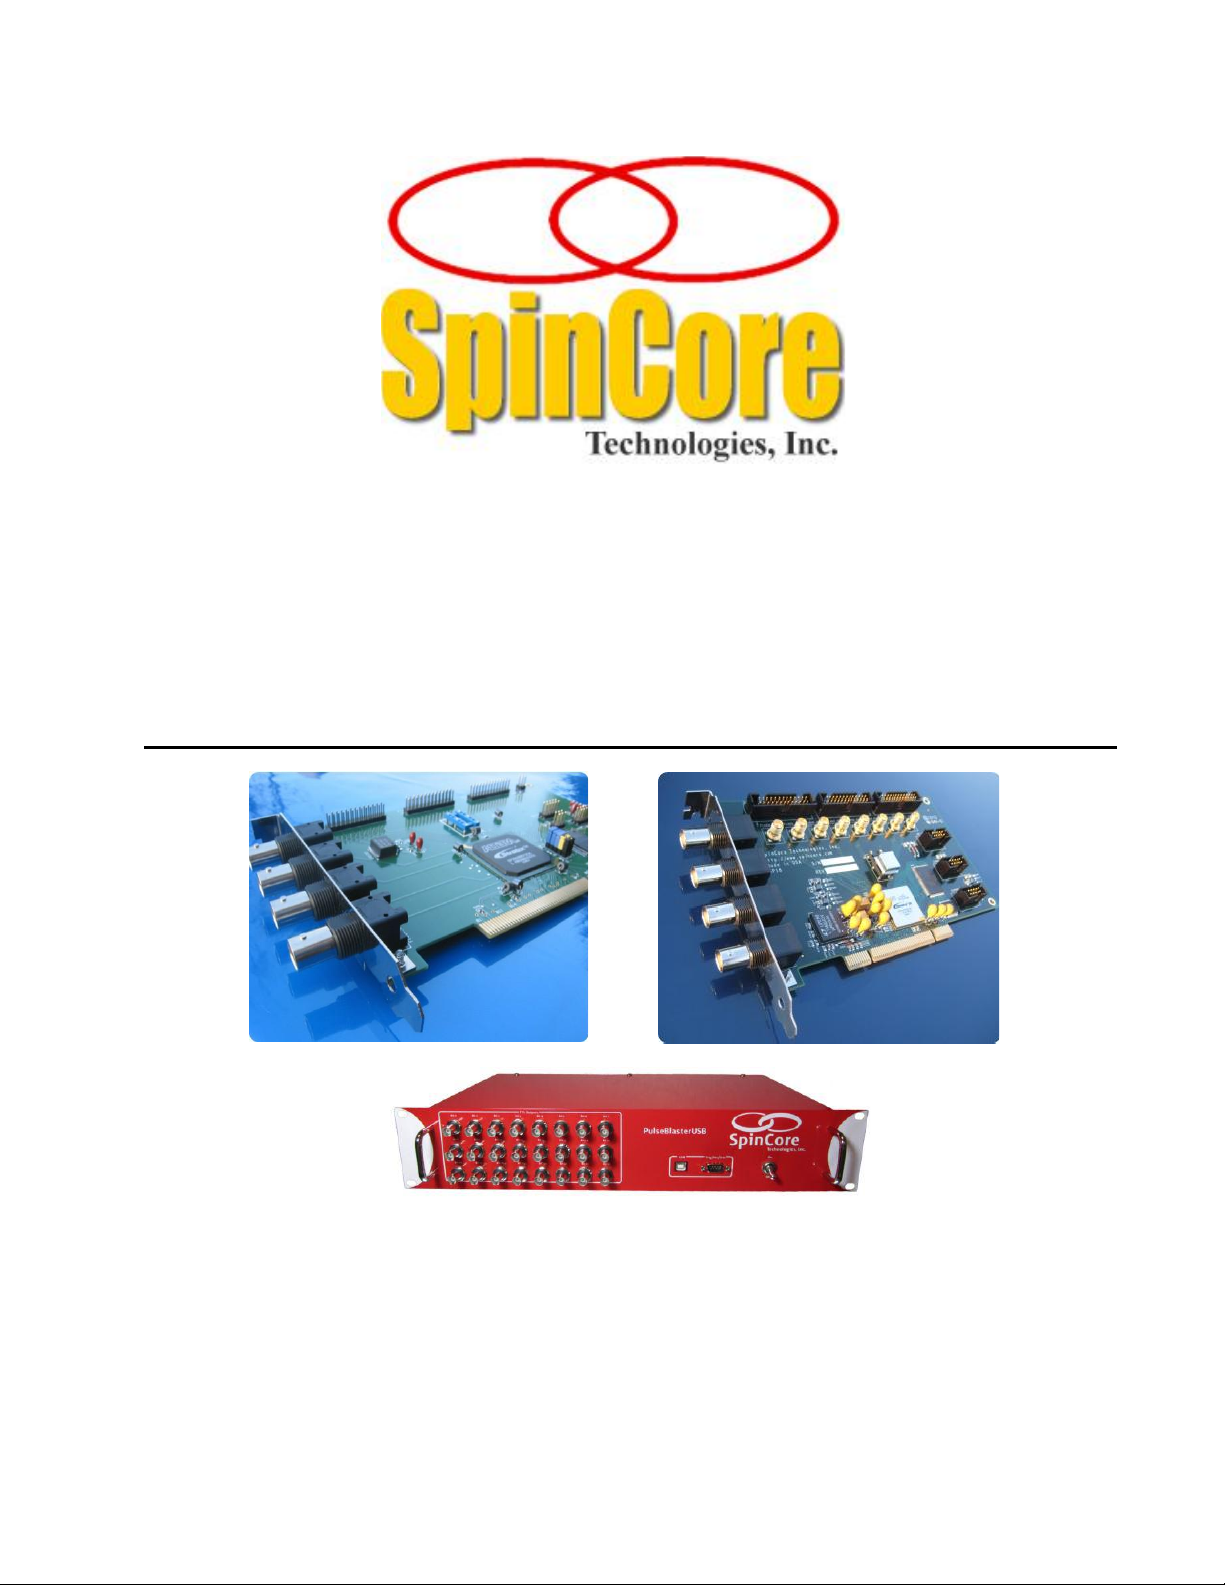
(PCI Boards SP4B, SP18A, and SP19)
(USB Enclosure System SP45)
Owner’s Manual
SpinCore Technologies, Inc.
http://www.spincore.com

PulseBlasterESR-PRO
Congratulations and thank you for choosing a design from SpinCore
Technologies, Inc.
We appreciate your business!
At SpinCore, we aim to fully support the needs of our customers. If you
are in need of assistance, please contact us and we will strive to
provide the necessary support.
© 2000-2019 SpinCore Technologies, Inc. All rights reserved.
SpinCore Technologies, Inc. reserves the right to make changes to the product(s) or information herein without notice.
PulseBlasterESR™, PulseBlaster™, SpinCore, and the SpinCore Technologies, Inc. logos are trademarks of SpinCore Technologies, Inc.
All other trademarks are the property of their respective owners.
SpinCore Technologies, Inc. makes every effort to verify the correct operation of the equipment. This equipment version is not intended
for use in a system in which the failure of a SpinCore device will threaten the safety of equipment or person(s).
http://www.spincore.com 2 2019/09/26

PulseBlasterESR-PRO
Table of Contents
I. Introduction .................................................................................................. 5
Product Overview .................................................................................................................... 5
Board Architecture .................................................................................................................. 6
Block Diagram ........................................................................................................... 6
Output Signals ........................................................................................................... 6
Timing Characteristics ............................................................................................... 7
Instruction Set ............................................................................................................ 7
External Triggering ..................................................................................................... 7
Summary .................................................................................................................... 7
Specifications ........................................................................................................................... 8
TTL Specifications ..................................................................................................... 8
Pulse Parameters (using 500 MHz clock frequency) ................................................ 8
Pulse Program Control Flow (Common) .................................................................... 8
II. Installation ................................................................................................... 9
Installing the PulseBlasterESR-PRO ....................................................................................... 9
III. Programming the PulseBlasterESR-PRO .............................................. 10
The PulseBlaster Interpreter .................................................................................................. 10
LabVIEW Extensions .............................................................................................................. 11
C/C++ Programming ............................................................................................................... 12
Using C Functions to Program the PulseBlasterESR-PRO ................................................. 14
Example Use of C Functions ................................................................................... 16
IV. Connecting to the PulseBlasterESR-PRO ............................................. 17
Connector Information for PulseBlasterESR-PRO Boards .................................................. 17
Connector Locations for the SP4B board ................................................................ 17
BNC Headers ........................................................................................................... 17
IDC Headers for SP4B and SP18A ......................................................................... 18
HWTrig/Reset Header for SP4B .............................................................................. 20
Connector Locations for the SP18A board .............................................................. 21
SMA Headers for SP18A ......................................................................................... 21
HW_Trig/Reset Header for SP18A and SP19 ......................................................... 21
Connector Locations for the SP19 board ................................................................ 23
http://www.spincore.com 3 2019/09/26

PulseBlasterESR-PRO
SMA Headers for SP19 ............................................................................................ 23
IDC Headers for SP19 ............................................................................................. 23
Clock Oscillator Header ......................................................................................................... 24
Connector Information for 2U BNC Rackmount Enclosure ................................................. 25
Connectors for 2U BNC Rackmount Enclosure ..................................................... 25
DB9 Connector (Trig/Res/Stat) for 2U BNC Rackmount Enclosure ........................ 25
Appendix I: Controlling the PulseBlasterESR-PRO with SpinAPI ............ 27
Instruction Set Architecture ................................................................................................... 27
Machine-Word Definition ......................................................................................... 27
Breakdown of 80-bit Instruction Word ..................................................................... 27
About SpinAPI ......................................................................................................................... 31
Related Products and Accessories ............................................................. 32
Contact Information ...................................................................................... 35
Document Information .................................................................................. 35
http://www.spincore.com 4 2019/09/26

PulseBlasterESR-PRO
I. Introduction
Product Overview
The PulseBlasterESR-PRO™ is a high-speed, intelligent pulse/pattern/delay generator designed for
outputting precisely timed TTL patterns. The intelligence of the PulseBlasterESR-PRO comes from an
embedded microprogrammed controller core nicknamed the PulseBlaster™. The controller is able to execute
instructions that allow it to control program flow much like a general purpose microcontroller. The speed of
the PulseBlasterESR-PRO comes from a maximum available clock of 500 MHz.
The PulseBlasterESR-PRO’s microprogrammed controller core is different from the general-purpose
microcontroller in that it contains a set of highly optimized instructions developed specifically for timing and
control applications. A unique and distinguishing feature of the PulseBlasterESR-PRO processor is that the
execution time for instructions is user programmable. This feature makes the PulseBlasterESR-PRO
processor capable of executing complex timing patterns at greatly varying update rates, ranging from
nanoseconds to months, with a constant setting accuracy of just one clock period.
http://www.spincore.com 5 2019/09/26

PulseBlasterESR-PRO
Board Architecture
Block Diagram
Figure 1 presents the general architecture of the PulseBlasterESR-PRO system. The major building
blocks are the SRAM memory, the PulseBlaster core, the integrated bus controller (IBC), the counter, and
the output buffers. The entire logic design, including the SRAM memory and output buffers, is contained
on a single silicon chip, making it a System-on-a-Chip design. User control to the system is provided
through the IBC over the PCI bus.
Figure 1: PulseBlasterESR-PRO Board Architecture. The clock oscillator signal is derived
from an on-chip PLL circuit typically using a 50 MHz on-board reference clock.
Output Signals
The PulseBlasterESR-PRO allows for 21 digital output signal lines. On the PCI boards, all 21 signal
lines are routed to two sets of 26-pin IDC on-board connectors. The first four output bits are also routed
to four bracket mounted BNC connectors. On the USB system, all 21 signal lines are routed to 21 BNC
connectors. The output signals are impedance matched to 50 ohm.
The 21 individually controlled digital output bits comply with the 3.3V TTL-levels’ standard, and are
capable of delivering 25 mA per bit/channel. Keep in mind that this is sufficient to provide a signal to a
132 ohm load, but if more current is necessary beyond this, the individual bits/channels can be driven in
parallel.
http://www.spincore.com 6 2019/09/26

PulseBlasterESR-PRO
Timing Characteristics
The PulseBlaster core's timing controller accepts an external (on-board) crystal oscillator of 50 MHz.
The input frequency is internally multiplied. The PulseBlasterESR-PRO is available with 4 different
internal clock frequencies: 250 MHz, 300 MHz, 400 MHz, and 500 MHz. The innovative architecture of
the timing controller allows the processing of either simple timing instructions (with delays of up to 2
clock cycles or 8.59 s at 500 MHz), or double-length timing instructions (up to 252 clock cycles long – over
100 days at 500 MHz!). Regardless of the type of timing instruction, the timing resolution remains
constant for any delay – just one clock period (e.g., 2 ns at 500 MHz).
The PulseBlaster core-timing controller has a very short minimum instruction time – only five clock
periods1. This translates to a 10 ns machine instruction time at 500 MHz. The PulseBlasterESR-PRO is
also capable of generating pulses on all outputs of lengths down to one clock cycle. For more information
on this feature, please see the Short Pulse Feature section in Appendix I.
Instruction Set
32
The PulseBlaster core features a set of instructions for creating highly flexible pulse program flow
control. The micro-programmed controller allows for programs to include branches, subroutines, and
loops at up to 8 nested levels – all this to assist the user in creating dense pulse programs that cycle
through repetitious events, especially useful in numerous multidimensional spectroscopy and imaging
applications.
External Triggering
The PulseBlasterESR-PRO can be triggered and/or reset externally via dedicated hardware lines.
The two separate lines combine the convenience of triggering (e.g., in cardiac gating) with the safety of
the "stop/reset" line (firmware-dependent). The input pins for the trigger and reset are pulled to logical-
high on the board and can be activated by a low-voltage pulse (short to ground).
Summary
The PulseBlasterESR-PRO is a versatile, high-performance pulse/pattern TTL signal generator
operating at speeds of up to 500 MHz and capable of generating pulses ranging from 2 ns to 104 days
per instruction at intervals ranging from 10 ns to 8.59 s per instruction (using a 500 MHz clock signal). It
can accommodate pulse programs with highly flexible control commands of up to 4096 instruction words.
Its high-current output logic bits are independently controlled with an unterminated output voltage of 3.3 V.
1
NOTE: For PulseBlasterESR-PRO-500 design 17-11, instructions with CONTINE, JSR, RTS and LONG_DELAY OpCodes, require a
minimum instruction time of at least 6 clock-cycles (12.0 ns). For PulseBlasterESR-PRO-400 design 9-18, the minimum instruction time
is 7 clock-cycles (17.5 ns).
http://www.spincore.com 7 2019/09/26

Specifications
TTL Specifications
21 individually controlled digital output lines (LVTTL levels, 3.3 V logical “one” unterminated)
4 bracket mounted BNC connectors, impedance matched to 50 ohm, for board
24 BNC connectors for rackmount system, 21 of which are independently controlled output
channels
Variable pulses/delays for every TTL line
25 mA output current per TTL line
Pulse Parameters (using 500 MHz clock frequency)
PulseBlasterESR-PRO
2 ns shortest pulse
10 ns shortest interval
104 days longest pulse/interval (using the long delay instruction)
2 ns pulse/interval resolution
4096 instructions
External triggering and reset – 3.3V LVTTL levels
1
Pulse Program Control Flow (Common)
Loops, nested 8 levels deep
20 bit loop counters (max. 1,048,576 repetitions)
Subroutines, nested 8 levels deep
Wait for trigger – 8 clock cycle latency (16ns at 500 MHz), adjustable to 0.89 seconds in duration
15 MHz max. re-triggering frequency
1
NOTE: For PulseBlasterESR-PRO-500 design 17-11, instructions with CONTINE, JSR, RTS and LONG_DELAY OpCodes, require a
minimum instruction time of at least 6 clock-cycles (12.0 ns). For PulseBlasterESR-PRO-400 design 9-18, the minimum instruction time
is 7 clock-cycles (17.5 ns).
http://www.spincore.com 8 2019/09/26

PulseBlasterESR-PRO
II. Installation
Installing the PulseBlasterESR-PRO
Whenever installing or uninstalling the PulseBlasterESR-PRO, always have it disconnected from the
computer initially. Uninstall any previous version of SpinAPI.
1. Install the latest version of SpinAPI found at: http://www.spincore.com/support/spinapi/ .
• SpinAPI is a custom Application Programming Interface developed by SpinCore Technologies,
Inc. for use with the PulseBlasterESR-PRO and most of SpinCore's other products. It can be
utilized using C/C++ or graphically using the options in the next section below. The API will also
install the necessary drivers.
2. Shut down the computer, unplug the power cord.
3. Connect the product to the computer.
a) For the PCI: Insert the PulseBlasterESR-PRO card into an available PCI slot and fasten the PC
bracket securely with a screw.
b) For the USB system: Plug one end of the USB cable into the PulseBlasterESR-PRO-USB-RM
and the other end into the host computer. Next, power the rackmount system.
4. Plug the PC power cord back in, turn on the computer and follow the installation prompts.
5. The simplest way to test whether the device has been installed properly and can be controlled as
intended is to run a simple test program. These example files can be found in the SpinAPI package.
6. To open the SpinAPI package on a Windows 10 PC, simply click the Window Start icon, and scroll
down to find and open the "spincore" folder. Example .exe files and their C source code can be found
in the folder /SpinAPI/examples. From there, you may select the “PulseBlasterESR-PRO” folder and
run all .exe programs to test your PulseBlaster.
http://www.spincore.com 9 2019/09/26

PulseBlasterESR-PRO
III. Programming the PulseBlasterESR-PRO
SpinCore Technologies Inc. is dedicated to providing an easy and efficient method of programming your
board. Various control methods available are detailed below, making PulseBlaster products flexible for any
number of applications.
Special consideration of the ESR-PRO Short Pulse feature must be taken when programming or
operating this board. For signals of instruction time greater than 10 ns, the Short Pulse feature must be
disabled by setting output bits 21-23 to HIGH at all times. For more information, see Appendix I.
The PulseBlaster Interpreter
The PulseBlasterESR-PRO can be programmed using PulseBlaster Interpreter, which is a free
programming utility provided by SpinCore for writing pulse programs. This easy-to-use editor allows you to
create, edit, save, and run your pulse sequence. Figure 2, below, shows the PulseBlaster Interpreter being
used with an example program.
Figure 2: Graphical Interface of PulseBlaster Interpreter. The example shown
creates a pulse that toggles all TTL bits on for 100 ms, then off for 500 ms, and
repeats.
http://www.spincore.com 10 2019/09/26

PulseBlasterESR-PRO
The PulseBlaster Interpreter is available as part of the SpinCore driver suite, and will be automatically
installed during the setup process (setup process is described in Section II. Installation). For convenience, a
shortcut to the PulseBlaster Interpreter will be added to your desktop. For more information on programming
using the PulseBlaster Interpreter, see the manual located at http://www.spincore.com/support/SPBI/Doc/.
LabVIEW Extensions
The SpinCore PulseBlaster LabVIEW Extensions (PBLV) provide the ability to program and control the
functionality of PulseBlaster boards using the simple National Instruments (NI) LabVIEW graphical
programming interface. The package contains basic subVIs that can be used to include PulseBlaster
interaction from your own LabVIEW programs, as well as some complete example VIs. Additionally, all of the
examples are available as stand-alone applications to control.
Figure 3: Example of PulseBlaster LabVIEW
Extensions User Interface.
http://www.spincore.com 11 2019/09/26
 Loading...