

Page 1
IQ Express
Ethernet Instructions
Honeywell Analytics
651 South Main Street
Middletown, CT 06457
(800) 711-6776 (860) 344-1079
Fax (860) 344-1068
Part number 13-289
Version 2.40
26 May 2011
Page 2

THE IQ EXPRESS IS DESIGNED TO INTERFACE WITH HONEYWELL
ANALYTICS GAS DETECTORS.
HONEYWELL ANALYTICS GAS DETECTORS HAVE BEEN DESIGNED
FOR THE DETECTION OF DEFICIENCIES OF OXYGEN,
ACCUMULATIONS OF FLAMMABLE GASES AND VAPORS AND
ACCUMULATIONS OF TOXIC VAPORS.
IN ORDER TO ENSURE THAT THE USER IS PROPERLY WARNED OF
POTENTIALLY DANGEROUS ATMOSPHERIC CONDITIONS, IT IS
ESSENTIAL THAT THE INSTRUCTIONS IN THIS MANUAL AND THE
OPERATIONS AND/OR REFERENCE MANUAL(S) FOR THE GAS
DETECTOR(S) BE READ, FULLY UNDERSTOOD, AND FOLLOWED.
THIS MANUAL IS NOT INTENDED TO REPLACE THE OPERATIONS
AND/OR REFERENCE MANUALS FOR THE GAS DETECTOR. THIS
MANUAL IS ONLY DESIGNED TO AID IN THE INSTALLATION AND
OPERATION OF THE IQ EXPRESS SYSTEM AND SHOULD BE USED IN
CONJUNCTION WITH THE INSTRUMENT REFERENCE OR
OPERATIONS MANUAL AT ALL TIMES.
IQ Express Ethernet Instructions
Part Number 13-289
Version 2.40
Copyright 2011
by
Honeywell Analytics, Inc.
Middletown, Connecticut 06457
All rights reserved.
No page or part of this operation manual may be reproduced in
any form without written permission of the copyright owner
shown above.
Honeywell Analytics reserves the right to correct typographical errors.
1
Page 3

Table of Contents
Overview------------------------------------------------------------ 3
1.
1.1 MAC Address --------------------------------------------------------------- 3
1.2 Software Requirements -------------------------------------------------- 3
1.3 Network Connection Settings------------------------------------------- 3
1.4 Network Architecture------------------------------------------------------ 3
2. Preparation -------------------------------------------------------- 3
3. Configuring the docks for Ethernet usage-------------- 3
3.1 Dynamic IP Configuration (DHCP) ------------------------------------ 3
3.2 Static IP Configuration---------------------------------------------------- 5
3.2.1 Configuring the addresses ------------------------------------------------------- 5
3.2.2 Initiating the Network Connection ---------------------------------------------- 6
4. Network Connection Settings ------------------------------- 6
4.1 Changing the Network Connection Setting-------------------------- 7
4.2 Listening Mode Query Interval------------------------------------------ 8
5. Status Indicators------------------------------------------------- 8
5.1 Left Column ----------------------------------------------------------------- 8
5.1.1 Instrument status LEDs ----------------------------------------------------------- 9
5.2 Right Column --------------------------------------------------------------- 9
6. Troubleshooting ------------------------------------------------10
6.1 Ping --------------------------------------------------------------------------10
7. Network Architecture------------------------------------------11
2
Page 4

1. Overview
This document is designed to assist the
user in setting up and using the IQ
Express Dock with an Ethernet
connection. This manual is designed to
be used in conjunction with the standard
IQ Express and the IQ Database
Manager Reference Manuals.
1.1 MAC Address
Each Ethernet-ready IQ Express Dock is
given a unique Ethernet physical address
before it leaves the factory. The address
is shown on the bottom of the dock and
will be uploaded automatically to the PC
when the dock is connected to the
network,
1.2 Software Requirements
To be Ethernet-compatible, the IQ
Express Dock must be equipped with
flash version 4.0 or higher and must be
equipped with an Ethernet port. The PC
must be equipped with IQ Express
Software version 4.0 of higher.
Note: The IQ Express Dock’s flash
will be automatically updated by the
PC as needed to meet the needs of
new PC software versions.
1.3 Network Connection
Settings
Once the Ethernet connection has been
established, the user will have the option
of configuring the dock to be “Active” and
in either “Live” or “Listening” Mode. The
network connection setting controls the
nature and frequency of the connection
between the dock and the PC and also
affects the number of docks that can be
controlled by a single PC over the
network. See section 4 for further
details.
being upgraded, follow steps 1 and 2
below prior to configuring the docks.
1. Follow the instructions given in the IQ
Express Reference Manual for PC
Software installation. If upgrading
existing software to version 4.00 (or
higher), the procedure is the same.
2. Install the Database Manager
program on your PC. See the IQ
Database Manager Reference
Manual for details.
3. Configuring the docks for
Ethernet usage
For systems running a server that
automatically assigns IP addresses,
follow the Dynamic IP Configuration
instructions given in section 3.1. For all
other Ethernet systems, follow the Static
IP Configuration instructions in section
3.2.
3.1 Dynamic IP Configuration
(DHCP)
1. Connect the dock or dock(s) to the
network and an appropriate electrical
source.
2. Launch the IQ Express PC Software
by clicking on the IQ Express Icon on
your desktop. If the IQ Express
Dock’s Flash needs to be updated,
the PC will automatically prompt to
proceed with the update.
On initiation, the PC will not
recognize any of the docks and the
following window will be shown:
3. Click OK. The IQ Express main
screen will be shown, but most of the
information will be unavailable.
1.4 Network Architecture
See section 7 for the network
architecture diagram.
2. Preparation
If this is the initial installation of the IQ
Express PC software, or if the software is
4. Click on Tools / Network Dock Setup.
3
Page 5

The log in window will be shown.
5. Enter an ID and password. If this is
the initial loading of the software and
user IDs haven’t been established,
enter “setup” as the User ID and “iq”
as the password to gain administrator
access to the program. The Network
setup screen will then be shown.
For more information on the
difference between the Live and
Listening settings, see section 4.
9. The blank IQ Express screen will be
shown again.
10. Close out the software by choosing
Exit from the File Menu.
11. Restart the software. As the docks
are loaded, the status is shown in the
lower right corner of the screen.
6. Click on “Autodetect” to search for all
available docks.
7. Click Active check box to select the
docks you wish to use then Press
Save
8. Double click or press the edit button to
open the “Edit settings window” switch
between Live and Listening Docks
At this point the docks that are connected
should be shown on the screen.
Note: If this process fails on a
functioning system, connect the
dock(s) to the PC via USB port, click
on the Ethernet button to check the IP
address.
If Auto Detect DHCP is a DHCP server
is required to provide the IP address
for the dock. In Static IP configuration
the IP is fixed and will not change.
4
Page 6

3.2 Static IP Configuration
For systems without the capability to
automatically assign Ethernet addresses,
follow these instructions:
Note: Only docks that are connected
via USB and recognized by the PC
software at software launch may be
configured. To program more docks,
the software must be closed and then
restarted with the new docks plugged
in via USB.
3. Click the “Ethernet” button at lower
right.
3.2.1 Configuring the addresses
1. Connect the dock or dock(s) to the
PC via USB cable. Use the power
supply / wall cube included to
connect the dock to an appropriate
electrical outlet. If multiple docks are
being configured at the same time
each dock must be powered using
the power supply that was included
with the dock. After satisfying the
power requirements the docks can be
connected directly to the PC by using
a USB cable or by using a USB hub.
Note: USB cable length from the PC to
the dock or hub may not exceed 10
feet.
2. Launch the IQ Express PC Software
by clicking on the IQ Express Icon on
your desktop. If the IQ Express
Dock’s Flash needs to be updated,
the PC will automatically prompt to
proceed with the update.
The following screen will be shown:
At this point the docks that are connected
via USB should be shown on the screen.
The status of the docks is shown in the
left column. On the right side, each dock
is also listed. At the bottom right of the
screen, the status bar for each dock
should indicate that the connection is by
USB.
5
The Ethernet Setup window will be
shown for the dock whose information is
currently shown.
Note: The Physical Address is unique
to the IQ Express Dock and may not
be changed by the user.
4. Enter the IP Address, Subnet Mask
and Gateway IP Address for your
network. You may need to speak to
your network administrator or IT
department to get this information. If
your network doesn’t have a
Gateway IP Address, enter “0” in
each of the four fields. Click OK
once the information has been
entered.
5. Click the “Set Config” button at lower
right to send the Ethernet settings to
the dock. The software may prompt
you to log in again.
Note: These changes will only take
effect after the dock has been shut
down and reconnected.
6. If more than one dock is plugged in
and being configured at this time
(either via additional USB hub or
multiple USB ports), click on the tab
for the next dock and complete step
3-5 above.
7. Once the Ethernet information has
been added to the dock(s), unplug
the dock from its USB cable and
Page 7

disconnect power if necessary. The
dock must be completely turned
off before proceeding to section 4
below.
8. Close down the PC software.
9. If more IQ Express Docks need to be
programmed, connect the next dock
or set of docks to the PC via USB
and complete steps 1-8 above.
Note: If the software fails to detect
any docks when it is launched, either
by USB or Ethernet, the following
warning will be shown.
5. Click the “All Live” button.
6. The software will make you confirm
that you want to change the Network
connection status to “Live”.
3.2.2 Initiating the Network
Connection
1. Make sure that the USB cable(s) are
disconnected. Then plug the network
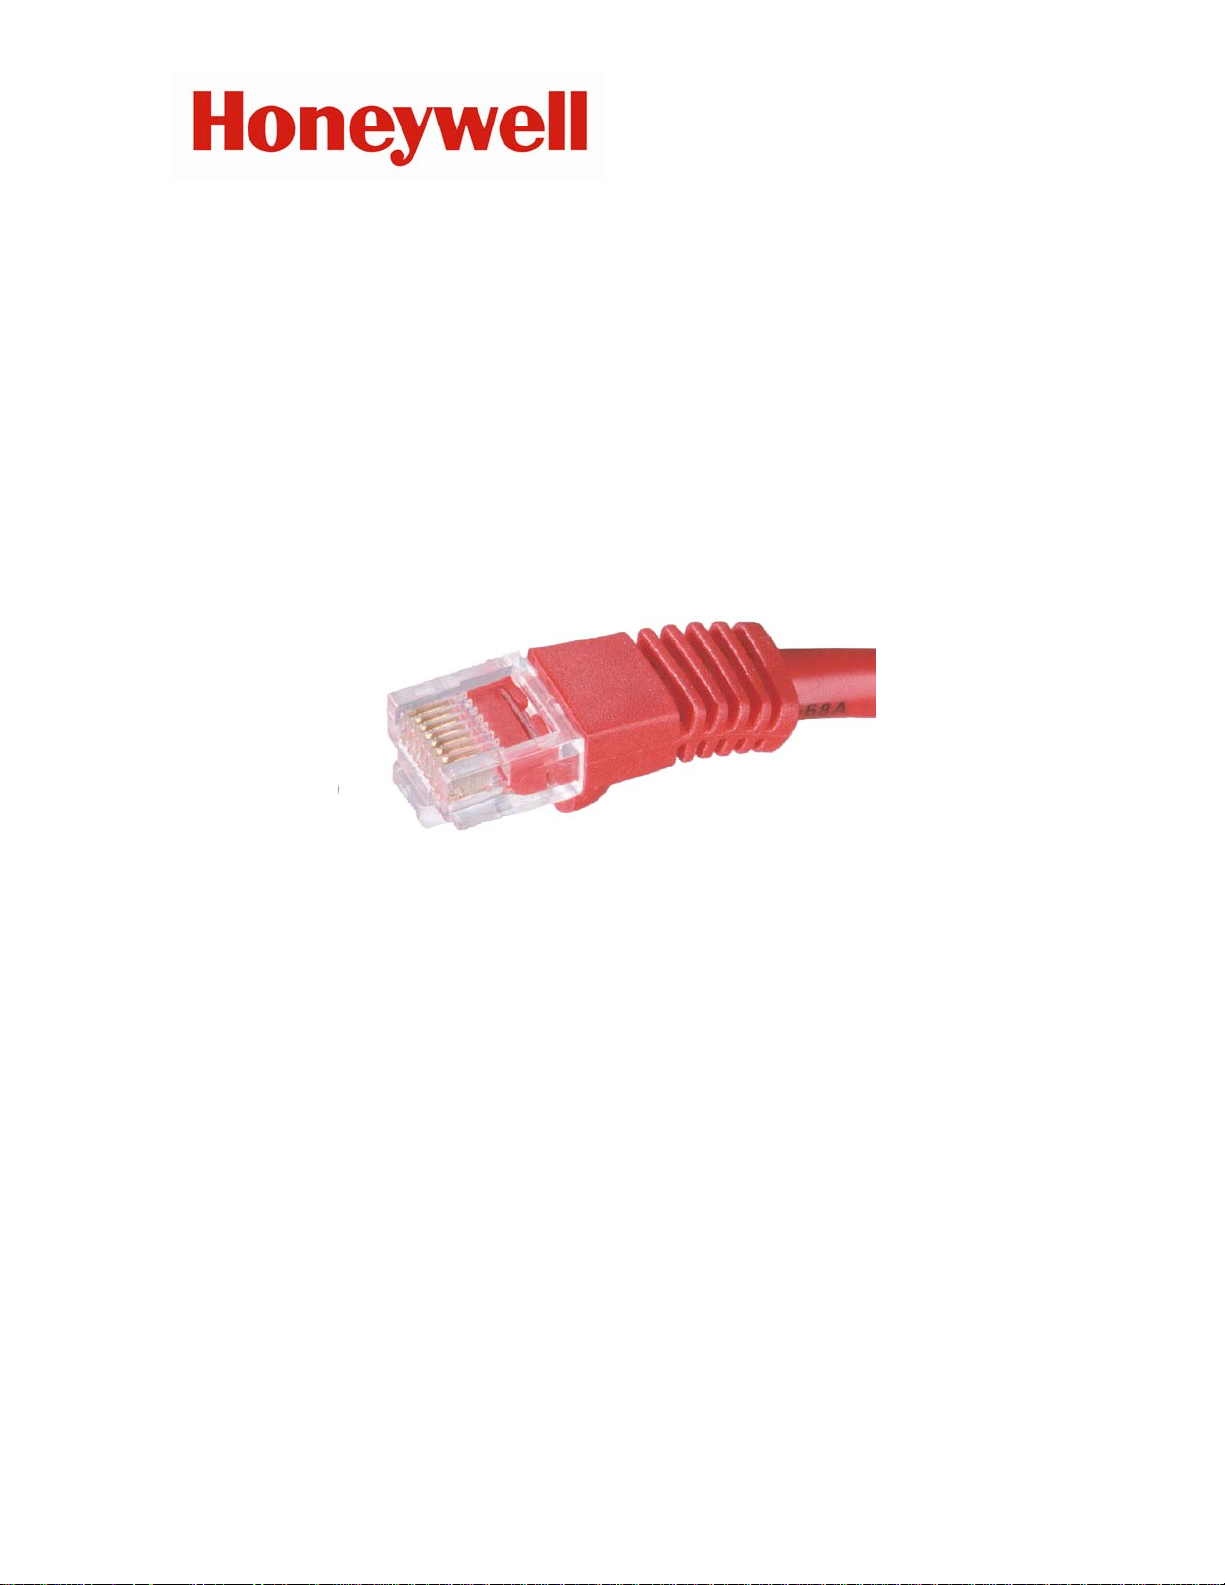
cable(s) into the dock(s). There are
two LEDs on a standard network
cable. These should be lit.
2. Plug the dock in to an appropriate
electrical source.
3. Click Tools / Network Dock Setup
and log in.
The log in window will be shown.
4. Enter an administrative level user ID
and password. Once the User ID
and password are accepted, a list of
devices will be shown comprising all
of the docks whose network
addresses were entered above.
Note : Check marks in the “Active”
column indicate these docks are
able to connect the software
7. Click Yes. The Network Connection
Status will change to “Live”
8. Close out the software and restart it.
The docks should appear in the
software once the software reboots.
Once the docks are recognized on the
network, the status bar near the bottom
of the screen will show “Ethernet”.
4. Network Connection
Settings
Once the network connection is initiated
and the docks have been successfully
set to “Live”, the user may choose to
leave the settings for each dock in “Live”
mode, disable them by un-checking the
active column ,or place them in listening
mode (See Section 4.2). The network
connection setting controls the nature
and frequency of the connection between
the dock and the PC and also affects the
number of docks that can be controlled
by a single PC over the network. The
network connection options are defined
as follows:
Live: When the dock’s network
connection setting is set to “Live”, the
dock is in constant communication with
the PC. For smaller systems, or
networks with little traffic, the “Live”
setting offers constant dock monitoring
6
Page 8

and instant data transfer from the dock to
the PC.
A single PC can control a maximum of 50
docks when all of the docks are in “Live”
mode.
Listening: When the dock’s network
connection setting is set to “Listening”,
the PC will automatically query the
dock(s) at a specified interval. In
Listening Mode, the dock effectively
functions as a standalone calibration
station that automatically downloads its
information to the PC at the next query.
Listening Mode results in a reduction of
traffic across the network.
See section 5.2 for instructions
concerning the Query Interval.
A single PC can control a maximum of
200 docks when all of the docks are in
“Listening” mode.
Disabled: When the dock’s network
connection setting is set to Disabled, the
PC will never automatically access the
dock. When set to “Disabled”, the Dock
functions as a standalone calibration
station and will store records for as long
as it can before its memory is full. The
user must initiate communication with the
dock by either USB or Ethernet
connection to obtain records, or update
the dock’s flash.
2. Enter an administrative level user ID
and password. Once the User ID
and password are accepted, a list of
devices will be shown comprising all
of the docks on the Network.
3. To change the Network Connection
settings all at once, click on “All Live”,
“All Listening”
4. To change the individual dock
settings, double click on the row or
select Edit.
5. Once finished editing the record use
the Save button to save any
4.1 Changing the Network
Connection Setting
1. Click Tools / Network Dock Setup
and log in.
The log in window will be shown.
7
changes.
6. When finished configuring all attached
docks click the Save button on the
“Network Dock Form”
7. The following window will be shown
to indicate that the software must be
restarted for the new dock settings to
take effect.
Page 9

4.2 Listening Mode Query
Interval
Listening Mode Query Interval allows the
user to select the frequency of queries
between the PC and the IQ Express
Docks.
To Select Listening Mode:
1. Click Tools / Network Dock Setup
and log in.
The log in window will be shown.
2. Enter an administrative level user ID
and password. Once the User ID
and password are accepted, a list of
devices will be shown comprising all
of the docks on the Network.
docks is divided into a narrow column at
the left, and a wider section at the right.
5.1 Left Column
The left side gives the status of the docks
that are currently installed and
recognized by the PC.
Each dock that is currently in contact with
the PC via USB or a “Live” Ethernet
connection is shown at left. The LED to
the far left shows the general status of
the dock. Green indicates that the dock
and connection are functioning normally.
Blinking yellow indicates that the network
connection may be compromised. Red
indicates that the dock is no longer
present on the network.
Each dock is given its own row of LEDs.
These LEDs show dock status while an
instrument is interfacing with the dock.
If there are docks connected via Ethernet
that are in Listening Mode, the final row
will show “Listening Mode” and will serve
as a single indicator for all docks
currently set to Listening Mode.
3: Use the All Listening button or edit
each dock you wish to operate in
listening mode
4: Press the save button to save those
changes
5. Acknowledge that you will need to
restart the software for these changes to
take effect
Note that in Listening Mode, a green
dock status LED means that at last
query, all of the docks in Listening
Mode were functioning normally.
5. Status Indicators
As is the case with the standard USB
configuration, the screen with Ethernet
8
Page 10

5.1.1 Instrument status LEDs
When a detector is placed in the dock,
the indicator will change to reflect the
new status. Status changes are also
shown on the dock’s LCD.
↓
Processing is shown in yellow.
Do not reinsert the
ToxiPro or ToxiLtd back into an IQ
Express Dock for at least 5 minutes
after it has been removed. Immediate
reinsertion of the ToxiPro or ToxiLtd
into an IQ Express Dock may lead to
inaccurate and potentially dangerous
readings.
For docks in Listening Mode, if a single
fault is detected on any of the docks, the
dock LED will turn grey and the Fault
LED will turn red.
If the dock is able to successfully
complete processing, OK will be shown
in green.
If a fault is detected and the IQ Express
Dock is unable to complete the tests, the
red fault light will be lit on the screen.
Details of the fault will be listed in the
input box on the right side of the screen
under the instrument tab.
5.2 Right Column
At the top of the right side of the screen
there is a tab for each dock that is
currently in contact with the PC by either
USB or by a “Live” Ethernet connection.
Contained within each tab are two subtabs: one for dock controls and one that
shows the calibration status and details
for the instrument that is currently in the
dock.
9
Page 11

Docks that are in “Listening Mode” are
given the furthest tab to the right at the
top of the right column and are shown as
“Express Dock (Listening Mode)”. Click
on the dock’s tab to view individual
records for each dock that is currently
registered on the system in “Listening
Mode”.
Individual LEDs are shown during
individual dock downloading and
querying as well as for faults. For more
information on individual dock status click
the “Show Details” button on the far right
check the status LED of the dock
before proceeding.
2. Make sure that the USB cables are
disconnected from the IQ Express
Dock.
3. Click Tools / Network/Alias Dock
Setup and log in.
4. Verify that the network connections
are set to live and that the IP address
is correct for the dock in question.
6.1 Ping
To immediately test the status of the
Ethernet connection, press the Ping
button at the lower right of the dock
screen.
6. Troubleshooting
If a connection can not be established, a
message box will be shown with the
reason. To immediately rule out the IQ
Express Dock itself and the IQ Express
PC Software, do the following:
1. Close down the software and reboot
it. Contact may be reinitiated, so
10
Page 12

7. Network Architecture
11
 Loading...