

Page 1

HOME SECURITY KIT.
SMART PROTECTION WITH THE ALL-IN-ONE SOLUTION.
SMART
WINDOW SENSOR
SMART
POWER SOCKET
SMART
IP CAM
SMART
MOTION SENSOR
SL-900100/900111 – HOME SECURITY KIT A/B
USER MANUAL
Page 2
SHORT INSTRUCTION
Note: To set up the Home Security Kit you need access to a wireless network (Wi-Fi*) and
the password. During the initial set up, the device (smartphone or tablet) you’d like to use to
control the kit must be connected to the same Wi-Fi network as the camera. After that you’ll
then also be able to control the camera remotely via the Internet.
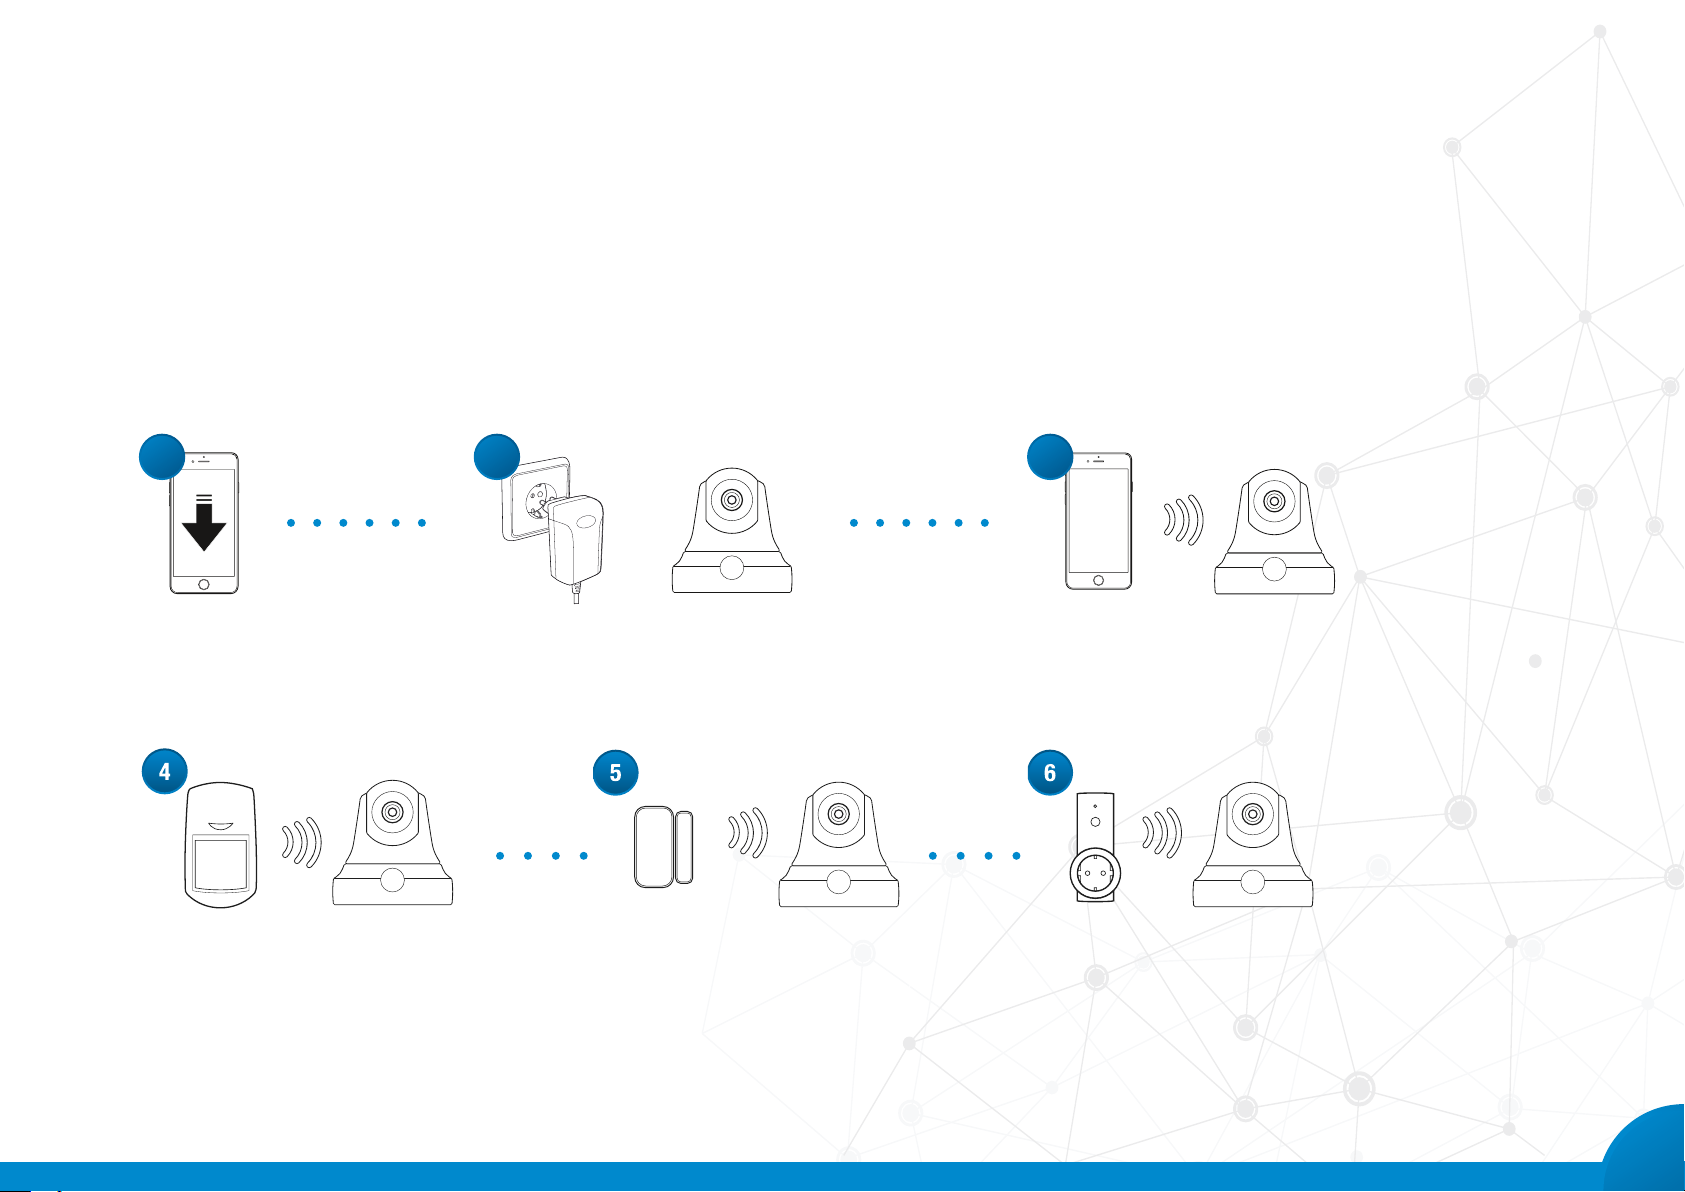
1 2 3
Download the app Connect the IP camera. Connect your
smartphone to the Wi-Fi network
Connect the wireless motion sensor to
the IP camera
Connect the wireless window/door
sensor to the IP camera
Open the app and connect to the IP
camera
Connect the app-controlled wireless
outlet to the IP camera
2
Page 3

CONTENT
Content Page
1 Initial settings 4
1.1 App and account 4
1.2 Connecting the camera 5
1.3 Linking up the sensors 8
2 Camera – detailed settings 11
2.1 Date and time 11
2.2 Media settings 12
2.3 Security settings 12
2.4 Network settings 12
2.5 Alarm settings 13
2.6 Recording settings 13
2.7 Monitored areas 14
2.8 Memory (SD card) 14
2.9 Firmware 14
2.10 Camera – name and password 15
3 Video recordings 15
4 Miscellaneous 16
4.1 Detecting the camera 16
4.2 Adding the camera 17
4.3 Snapshots 17
4.4 Alarm management 18
5 System and account settings 19
5.1 Account settings 19
5.2 Warning message 20
5.3 Terms of use 21
6 System reset 21
3
Page 4
STEP BY STEP
Index
1. Download and install the free SPEEDLINK Home Security app from the Apple App Store* or Google Play store*
on your smartphone or tablet.
2. Start the app and follow the on-screen instructions.
Create a free account using an email address and
password. This will allow you to log in and also control
the surveillance camera remotely from anywhere.
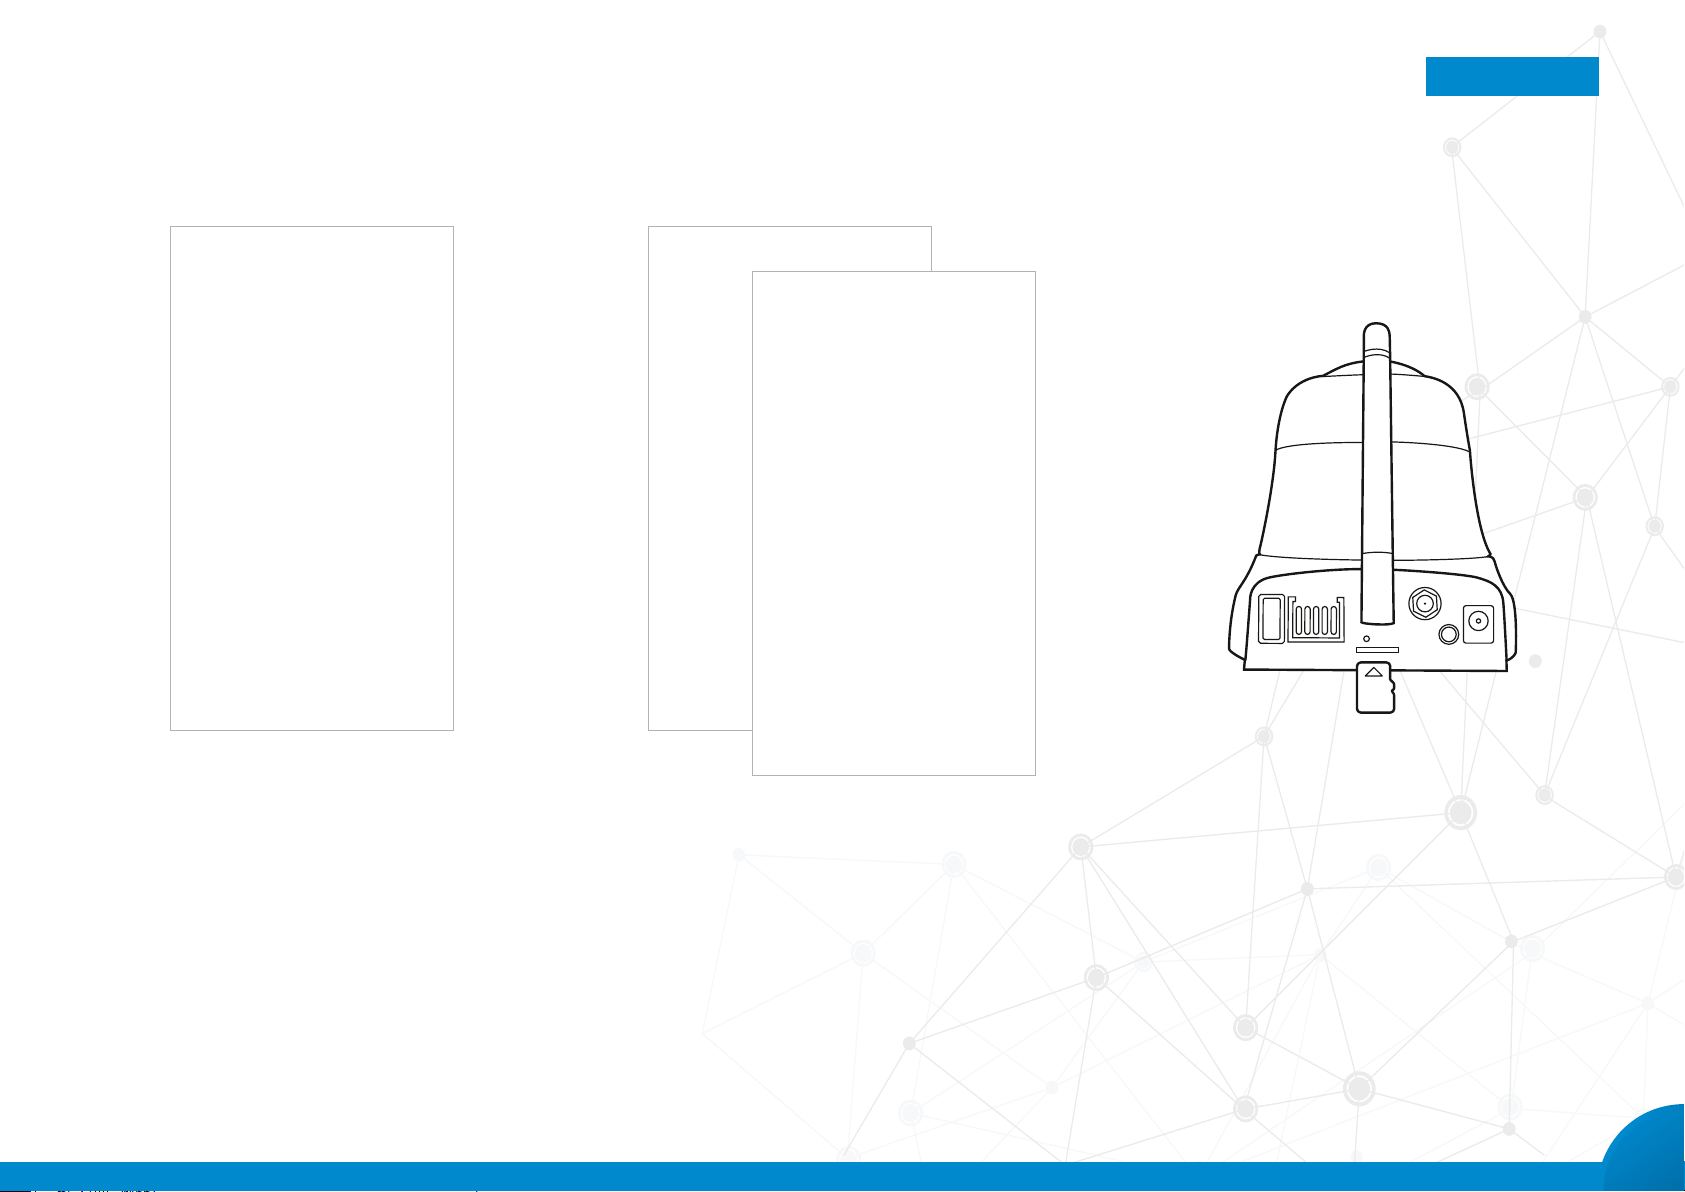
3. For video recording, insert a memory card (micro SD,
FAT 32 format, max. 32GB – not included) into the
camera.
4
Page 5
STEP BY STEP
Index
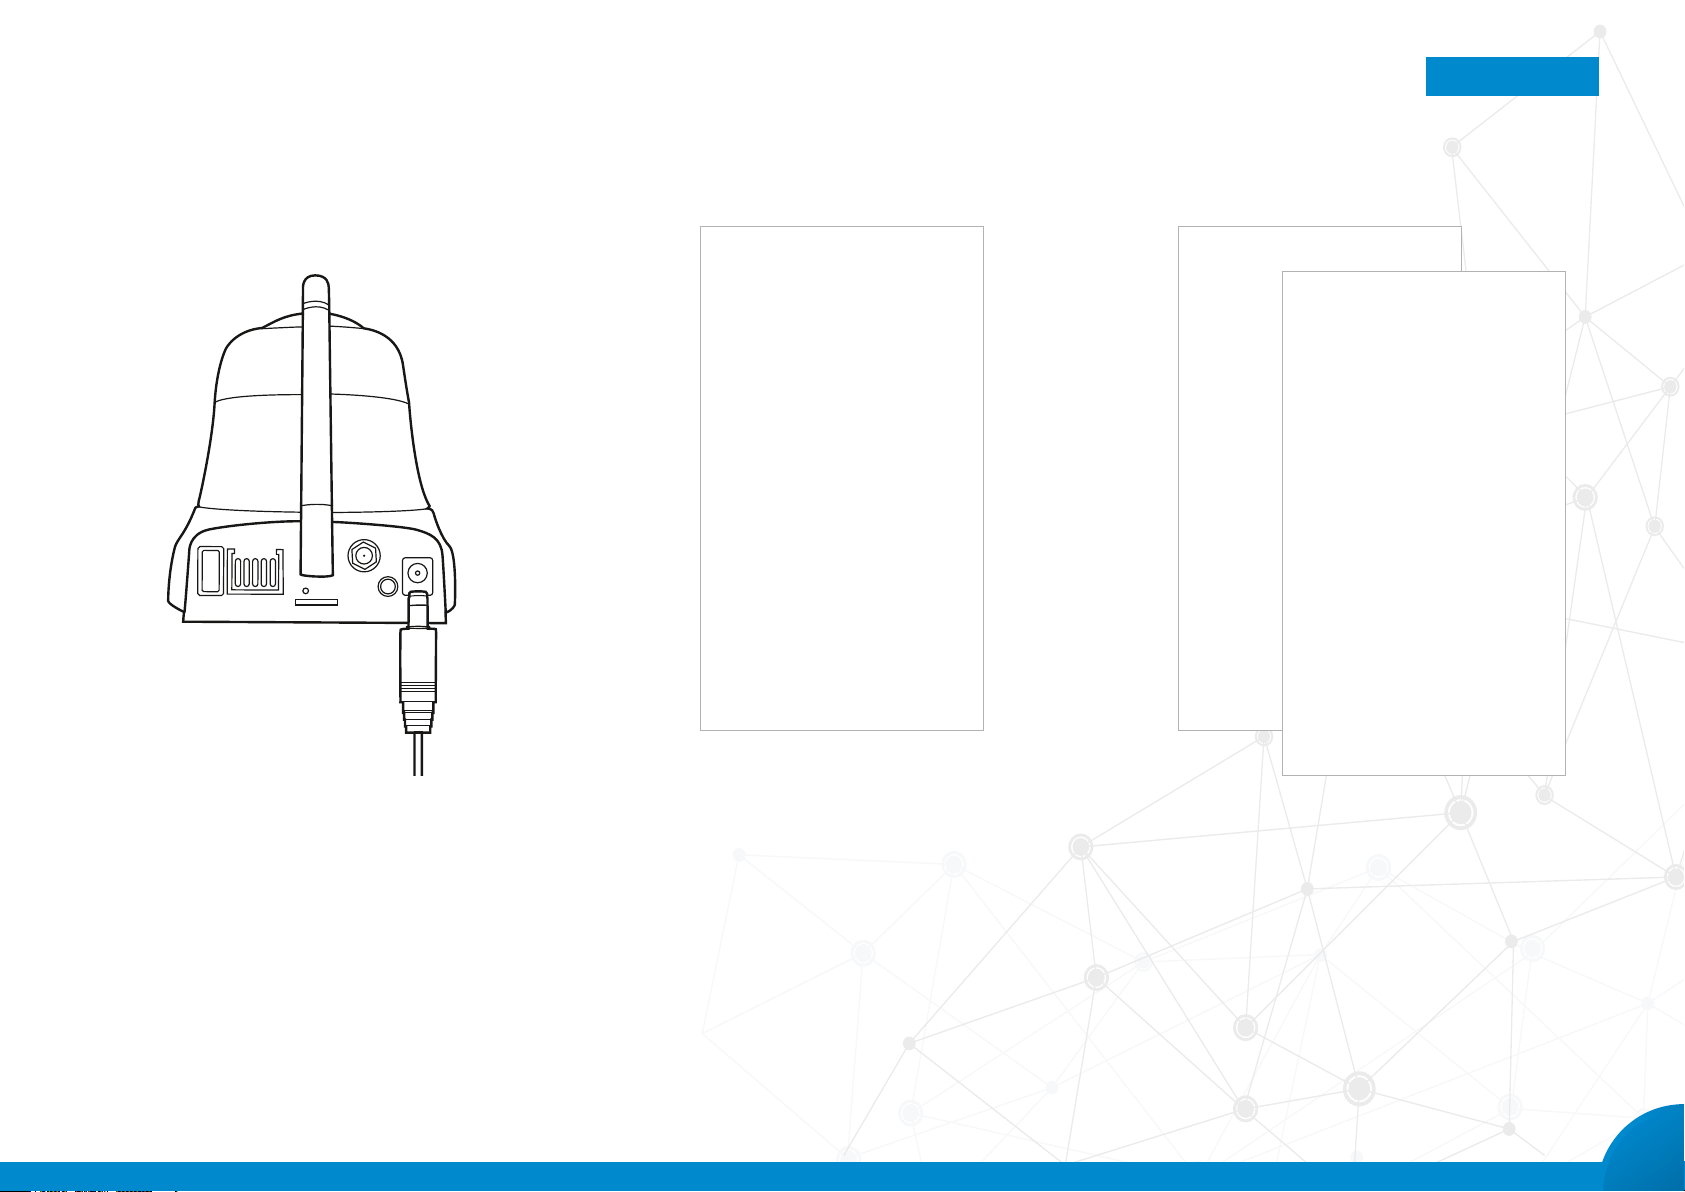
4. Connect the camera to the AC adapter and then plug it
into an AC outlet (100-240V, 50/60Hz). After around 30
seconds it will make a ding sound, which signals that
the camera is ready to connect to the Wi-Fi network.
5. In the app, tap the + icon in the camera list to add your
camera.
6. Tap the option ‘Smart scan’. Now enter the Wi-Fi net-
work’s password and conrm.
5
Page 6
STEP BY STEP
Index
7. To share the entered Wi-Fi password with the camera,
hold the QR code displayed on your device around
20cm away from the camera lens. Wait until the came-
ra makes a ding sound: this conrms the code has
been recognised. Now tap the OK button. The camera is
now connected to the Wi-Fi network.
8. The camera you added will appear in the camera list.
Tap the small + icon next to the camera entry. Give the
camera a suitable name (e.g. hall camera) and enter a
safe password. Now save your entries. The camera is
now ready to use.
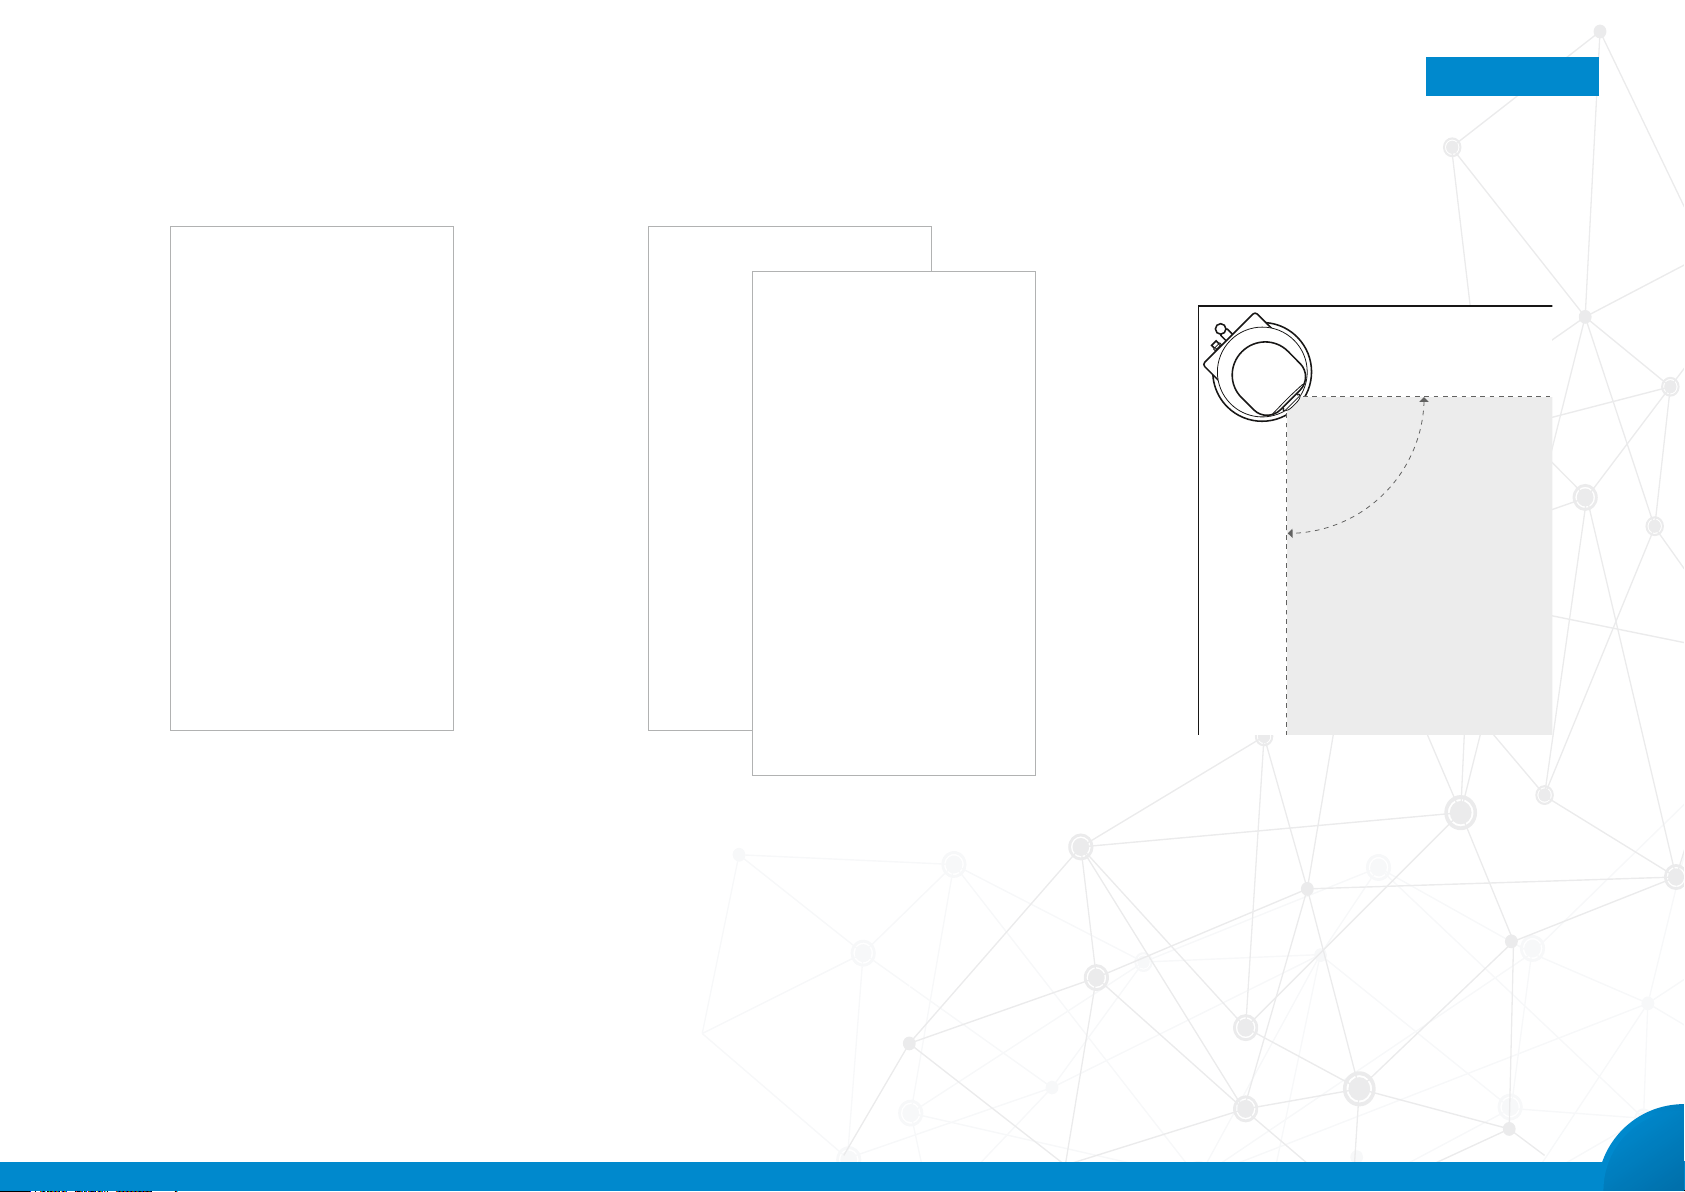
9. Position the camera in the room so it covers the
greatest area possible. It can also be mounted upside
down on the ceiling. You can change the orientation of
the image as well as pan and tilt position of the camera
later on using the app.
6
Page 7

STEP BY STEP
Index
10. To start streaming video, tap the device entry in the
camera list.
11. Move the video image to pan and tilt the camera. The bottom
edge of the image gives you access to key functions:
•
Tap the rst icon to enable two-way
audio communication.
•
The speaker icon deactivates/activates audio playback.
•
The camera icon lets you take a photo of the current video
stream. This will be saved to your smartphone/tablet.
•
The gear icon gives you access
to additional camera settings.
•
Tap the x icon to end streaming.
12. To put the camera into alarm mode, exit the live-stream screen and tap the padlock icon to the right of
the device entry in the camera list. If the padlock is
locked, the camera’s surveillance function is activated.
The app will now notify you if the camera or one of the
connected sensors (see No. 17 + 18) is triggered.
7
Page 8

STEP BY STEP
Index
13. You can congure alarm notications by going to the
camera settings. Access these by tapping the gear
icon in the live-stream screen. Tap the submenu
‘Alarm settings’. Activate ‘Alarm push’ to receive
notications via the app on your smartphone/tablet. In
addition, you can add an email address under ‘Alarm
email’ to receive a notication together with a photo
from the camera if an alarm is triggered. Under ‘Alarm
settings’ you can also activate the camera’s motion
detection feature. To end alarm mode, tap the padlock
icon in the camera list again.
14. To connect additional sensors and wireless outlets to
the camera, rst insert the required batteries in the
door/window sensors (A23, 12V) and motion sensors
(E Block, 9V).
15. From the live-stream screen, tap the gear icon and
tap the menu option ‘Monitored areas’.
8
Page 9

STEP BY STEP
Index
16. You can choose from eight virtual rooms as monitored
areas for door/window sensors and motion sensors
– just tap the particular zone where you want to use
your sensor (e.g. bedroom).
Then tap any one of the eight rows for the selected
zone to connect the device. Once you’ve tapped OK
to conrm, the camera will wait several seconds for
an identication signal from this device. Trigger this
signal as follows:
For the motion sensor, switch it on (set switch to ON).
17. Match the magnet and the sensor of this product, making sure the marks (arrows) of the components align
with each other. So as to combine the door/window
sensor with a camera, separate sensor and magnet.
18. Once connected, the sensor will be listed in the assi-
gned zone. To assign a specic name to a sensor, just
enter one in the row showing the connected device.
9
Page 10

STEP BY STEP
Index
outlet (230V, 50Hz). Go to the live-stream screen and
tap the arrow on the left-hand side of the screen.
Now press and hold the ‘On/Off’ button on the wire-
less-outlet until the red LED starts to ash. On your
device, tap the ‘On’ button next to one of the three
numbers on the left-hand side of the screen to assign
this number to the wireless outlet.
20. To switch connected wireless outlets on/off, from the
live-stream screen tap the arrow on the left-hand side
of the screen and set the switch to ON/OFF.
21. Your surveillance system is now ready to use. 19. To connect a wireless outlet, rst plug it into an AC
10
Page 11

STEP BY STEP
Index
22. To delete a camera from the list: On Android* devices
tap and hold the camera-list entry for a few seconds
and acknowledge the conrmation prompt. On iOS*
devices swipe left on the entry and then tap the button
that appears.
23. To set the camera’s date and time, go to the camera’s
live stream. Tap the gear icon to open the camera’s
conguration settings. Now tap the rst menu option
‘Date and time’. To change the settings, swipe each
number up or down to increase or lower the number.
Once you’ve selected the correct date and time com-
bination, tap ‘Apply’ to conrm the change. Please
also choose your timezone.
11
Page 12

STEP BY STEP
Index
24. To adjust the camera settings, in the settings menu
tap the second menu item ‘Media settings’. You can
choose between the video formats PAL and NTSC.
Use the volume slider to change the volume for future
recordings. To reverse the camera image by 180°
enable ‘Image reverse’. This is really useful when
mounting the camera upside down.
25. To adjust the camera’s security settings, in the settings menu tap the third menu item ‘Security settings’.
The ‘Admin password’ is the same one you set when
setting up the camera. This password lets you access
the camera and congure its settings. You can use the
‘Guest password’ to grant other people access to the
live stream only. No settings can be changed in guest
mode.
26. You can change networks in the camera’s network
settings. Doing so disconnects the camera from the
Internet until you log in again to the new network.
12
Page 13

STEP BY STEP
Index
27. The camera’s alarm settings let you set whether and how the camera triggers an alarm
and you are notied of this. By activating ‘Receive alarm push message’, your SPEEDLINK – Home Security app will push alarms if your camera or a connected sensor triggers an alarm. The ‘Alarm push receiver’ list includes all the mobile devices that receive
push alarms from this camera. Tap the red minus icon in the list to remove a device.
This stops it receiving push alarms. You can have a photo of the event that triggered an
alarm sent to a particular email address by entering an email address under ‘Alarm push
email’. Activate ‘Motion detection’ if you want the camera to trigger an alarm if it detects
any motion. Activate ‘Camera alarm sound’ if you’d like the camera to play an alarm
sound if an alarm is triggered. Activate ‘Infrared motion detection’ if you want to enable
the camera’s PIR sensor. This detects motion based on temperature changes.
28. Under the menu option ‘Recording settings’, you can congure when you want the
camera to record video – an SD memory card needs to be inserted for this. If you select
‘Manual recording’, a slider will appear under ‘Record type’ which lets you start and stop
recording. The video will be stored on the SD memory card. If you select ‘Alarm recording’, recoding will start as soon as an alarm is triggered. You can select a recording
period of between 1 and 3 minutes. If you select ‘Scheduled recording’, a window will
appear in which you can set the time when you want recording to start (left, HH:MM)
and end (right, HH:MM). To conrm the times, tap ‘Apply’. The camera will now record
between these times every day.
13
Page 14

STEP BY STEP
Index
29. To connect additional sensors, go to the camera settings menu and tap the option ‘Monitored areas’. Refer to steps 15-17 for information on how to connect
sensors. Connect the sensors under the monitored
area which best matches the sensor’s location.
30. Under the menu option ‘Storage Info’, you can see
whether an external storage device has been inserted
into the camera. If an SD card has been inserted, the
capacity and remaining capacity will be displayed.
You also have the option here to format the card. This
process starts once you reconrm the option.
31. Under the menu option ‘Camera rmware update’ you
can check whether a rmware update is available for
your camera and install it, if applicable.
14
Page 15

STEP BY STEP
Index
32. Under the menu option ‘Edit (name and password)’
you can change the camera name and admin password.
33. To play back camera recordings, in the app’s main menu
tap the ‘Playback’ icon. You will see the camera which
you added to your camera list. Select the camera whose
recordings you want to view. An SD memory card needs
to be inserted rst to make recordings using the camera.
Once you have done this and selected the camera, the
4th menu option will be displayed. You can view all re-
cordings from the past 24 hours, 3 days or past month,
or select the desired timespan manually. If no recordings
were made during the selected period, this notication
will be displayed: ‘No record found’. If recordings have
been found, they will be listed in descending date order
(latest > oldest). To play back a recording, simply tap it.
15
Page 16

STEP BY STEP
Index
34. To access the ‘Tools’ menu, tap the tool icon in the app’s
main menu. This option includes a number of handy
functions. The rst tool ‘Search cameras in WiFi’ lets you
search for SPEEDLINK IP cameras on the Wi-Fi network
that your mobile device is connected to. To do this, tap
‘Search cameras in WiFi’ and then slowly move your
mobile device back and forth. All the cameras connected
to this network will now be displayed. Tap a camera to
access its live stream. Full access rights to the camera
are required for this purpose. If this camera isn’t in your
list yet, and you haven’t entered the admin rights for
it, you will be prompted to enter a password. This can
either be the ‘Admin password’, which then grants you
full rights and access to the camera, or the ‘Guest password’, which grants you restricted rights to use certain
camera functions.
16
Page 17

STEP BY STEP
Index
35. The next tool ‘Add camera to WiFi’ lets you connect
cameras to a network. This tool is virtually identical
to the process you go through the rst time you
connect a camera to a network as described
under points 6 – 8.
36. You can access your snapshots by tapping ‘Snapshot’
in the tool menu. You can take snapshots manually
using the camera. If you haven’t taken any snapshots,
the screen will be empty. As soon as you have taken
some snapshots, they will be listed in ascending date
order (oldest > latest). To delete images, press and
hold the particular image until you are prompted to
conrm whether you really want to delete it (Android*).
Alternatively, select an image and tap the trash can
icon on the top right (iOS*).
17
Page 18

STEP BY STEP
Index
37. Under the menu option ‘Alarm management’ you will nd
the ‘Alarm logs’ option, an option to congure the ‘Alarm
interval’ and an option to block alarm notications from
particular cameras. Under ‘Alarm logs’ you will nd a
list of all previous alarms displayed in descending order
(latest > oldest). These logs also include details about the
alarm including the date and time, which camera was activated, the location where the alarm was triggered (location of the sensor that triggered the alarm) and the name
of the sensor that triggered the alarm. You can delete all
alarm logs by tapping the trash can icon on the top right
on the menu bar. To delete individual logs, follow the
steps under point 20 for your device. The ‘Alarm interval’
lets you set the length of time (in seconds) you don’t want
the sensors to respond within if an alarm is triggered (for
instance: if a door contact sensor is triggered by opening
the door and an alarm is triggered, the sensor will not
re-trigger an alarm for the rst 10 seconds if the alarm
interval has been set for 10 seconds). The last menu
option under ‘Alarm management’ is ‘Black list’. You can
enter camera IDs by tapping the ‘+’ icon. These allow
you to disable alarm notications from these cameras.
Once you’ve entered the camera ID, click ‘Save’ on the
top right. This returns you to the previous menu and you
won’t receive any alarm notications from this camera.
To unblock this camera, tap the red ‘-’ icon in the list of
blocked camera IDs.
18
Page 19

STEP BY STEP
Index
38. The settings icon in the main menu bar lets you
access the app and your account settings.
39. The rst menu option under the settings menu is
‘My account’. This option includes information and
options to manage your account. You can display your
account/ID, change your login email address and
password, and delete your account.
40. To change your email address, tap the ‘Email’ button.
Delete the email address, enter a new one and con-
rm by tapping ‘Next’ on the top right. You will now be
prompted to enter a login password. Once you have
entered and conrmed the password, the following
notication will appear: ‘Email address has been regi-
stered’. Exit the menu by tapping the back arrow.
19
Page 20

STEP BY STEP
Index
41. To change the login password, tap the ‘Login password’ button. Enter your current login password in the
top input box. Then enter your new password in the
box beneath followed by the new password again.
To compete the process, tap ‘Save’ on the top right.
You will now be logged out. To continue, log in using
your new password.
42. To delete your account, in the settings menu go
to ‘Account/ID’ and tap ‘Delete account/ID’ at the
bottom. You will be prompted to conrm this. Tap ‘OK’
and your account and all your settings will be deleted
and you will be logged out. Tap ‘Cancel’ to return to
the ‘Account/ID’ settings.
43. Under ‘Settings’ you can enable/disable vibrations and
sounds in the event of an alarm. Just toggle the slider
in the desired position or check the relevant box.
Under ‘Select Ring for alarm’ you can select a sound
to be played when an alarm notication is sent. To do
this, simply select a sound from the list.
20
Page 21

STEP BY STEP
Index
44. The menu option ‘About’ provides further information
about the version of SPEEDLINK Home Security app.
45. You will nd links to the terms and conditions and the
privacy policy for the SPEEDLINK Home Security app
under ‘Terms and conditions’.
46. If you want to reset all the camera settings (saved
Wi-Fi information, camera password), press the Reset
button on the back of the camera using a blunt-pointed object and keep it held depressed for around 2
seconds until the camera makes a ding sound.
21
 Loading...