

Page 1
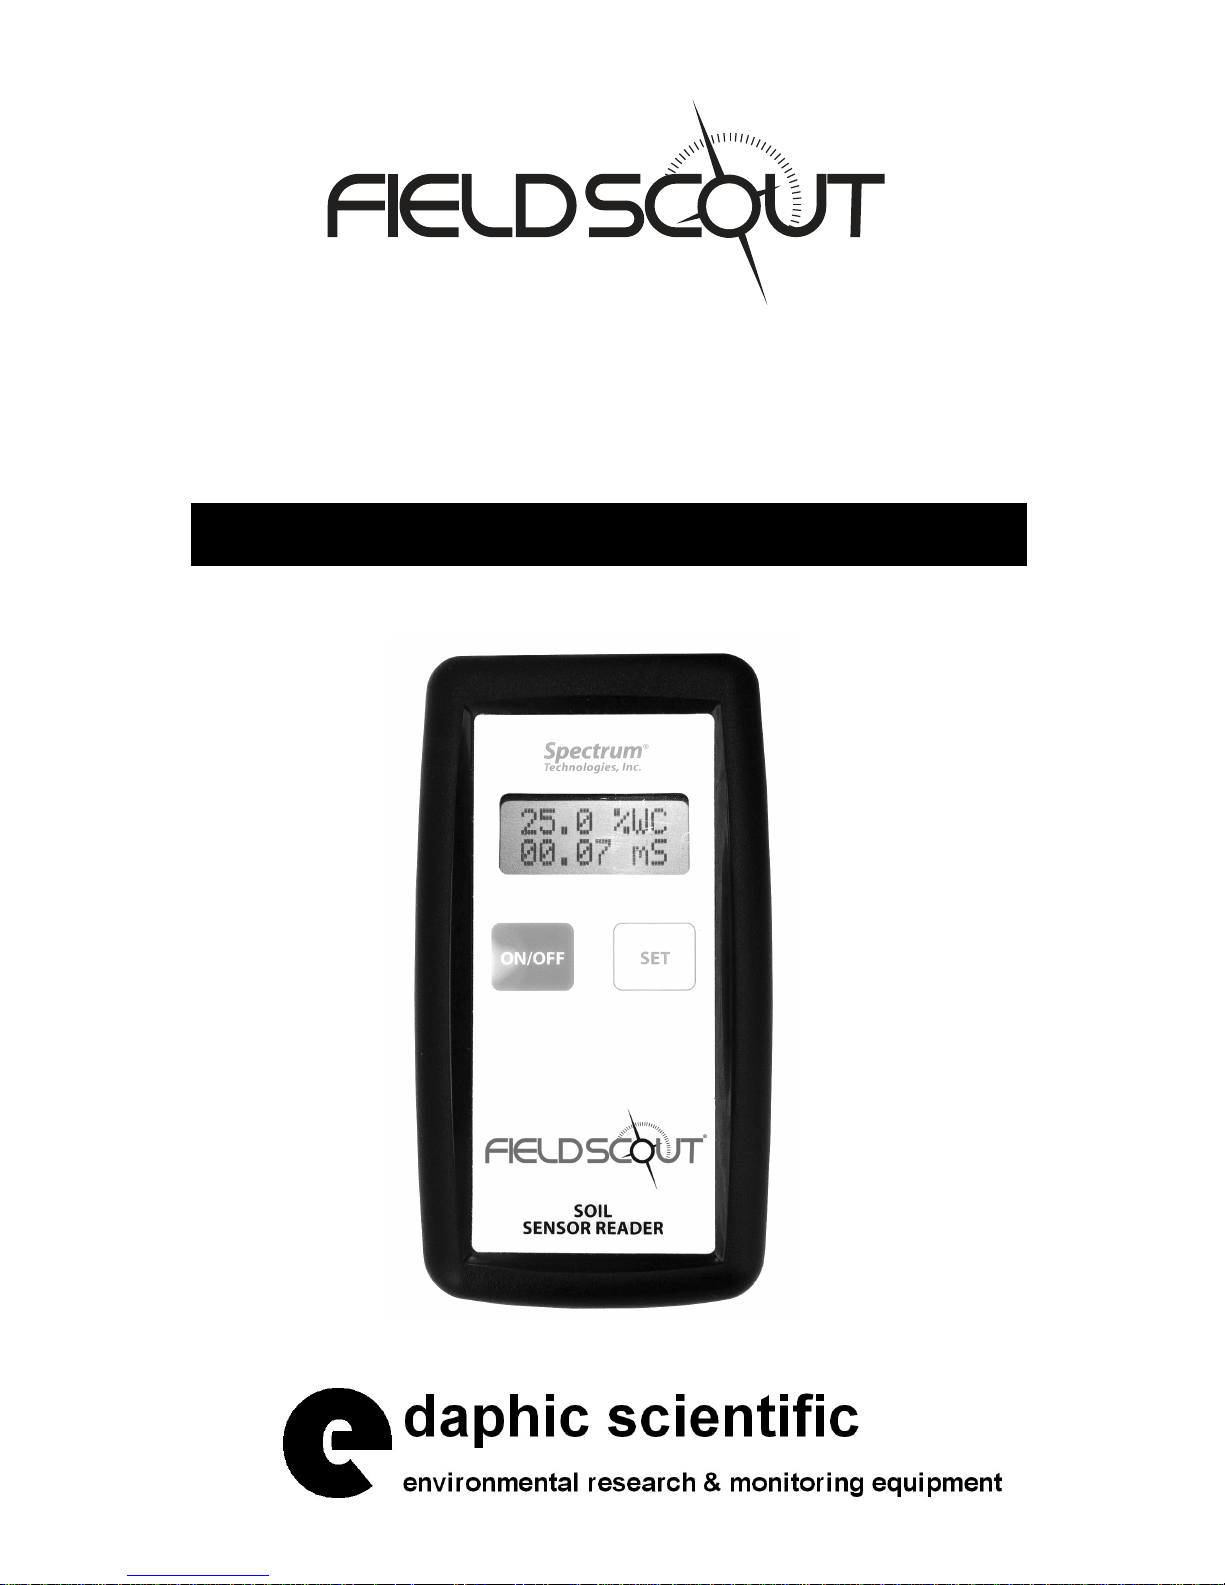
Soil Sensor
®
Reader
PRODUCT MANUAL
Item # 6466
Page 2

CONTENTS
Basic Operation
Power Up/Down 3
Sensor Reader Modes 3
Taking Readings 5
Connecting Sensors
Calibrating the SMEC300 EC Sensor
Calibrating the SM100
Changing the Battery
3
5
6
7
7
2
Page 3

Basic Operation
Power up/down
The soil moisture sensor reader is powered on and off with the
ON/OFF button. The meter will initially display the battery
level and firmware version. It will then transition to sensor
reading mode. The initial mode displayed will be the mode
that was active when the meter was powered off.
Sensor Reader Modes
Press the SET button to advance the meter to the desired
mode.
The available mode settings are listed below. The first four
modes are data measurement modes. The fifth mode is the
meter’s raw electronic (A/D) reading. The reader converts
the raw electronic reading to measurement units using internal
calibration constants. The sixth mode is for calibrating the
EC circuit of the SMEC300 or the soil moisture reading for an
SM100 (see pp. 6-7)
1. Spectrum Standard: For the SM100 and SMEC300, the
volumetric water content for a mineral soil will be displayed on the first line. For the SMEC300, the EC will be
displayed on the second line.
2. Spectrum Soilless: Similar to the Spectrum Standard mode
except the VWC displayed is for soilless media. Sphagnum peat moss was used to develop the calibration constants for this mode.
25.8 %WC
STANDARD
12.4 %WC
01.24 mS
Sample SM100
LCD screen
Sample SMEC300
LCD screen
3
Page 4

3. Watermark: Displays the soil moisture tension in kPa.
Reader must be connected to a WatchDog compatible
Watermark sensor (see Watermark Sensors, p 5).
116.0 kP
WatrMark
Sample Watermark
LCD Screen
4. Temperature: This mode is valid when a temperature sensor or an SMEC300 sensor is connected to the reader.
73°F 23C
TEMP
Sample Temperature
LCD Screen
5. Raw AD: Raw electronic reading.
1082 AD
Raw AD
Sample Raw AD
LCD Screen
6. Calibration: Initiate EC calibration for an SMEC300 or
soil moisture calibration for an SM100. Although readers
with firmware v 4.4 will display CAL EC? on this screen,
they can also calibrate the soil moisture circuit of an
SM100.
CAL EC?
Hold SET
EC Calibration Initiation
Calibration Initiation
LCD Screen (FW v4.4) LCD Screen (current)
4
CAL?
Hold SET
Page 5

Taking readings
The display is dynamic and will be continually updated as
conditions surrounding the sensor change. Because the meter
automatically refreshes itself, occasionally you will notice
that the LCD will spontaneously restart and display the initial
power-up screen. This happens if a sensor is being inserted
or withdrawn at the precise moment when the meter is taking
a reading. This is normal and will not affect subsequent readings.
Connecting Sensors
WaterScout SM100 and SMEC300 Sensors
Insert the 2.5mm stereo pin into the socket at the top of the
meter.
WaterMark Sensors
If the sensor is a WatchDog-compatible model of the sensor
(item numbers 6450WD or 6450WD20), the sensor can be
plugged directly into the meter like a WaterScout sensor. If
the sensor terminates in 2 green wires with circular leads, the
sensor must be connected to a Watermark Adapter (item
6450ADPT). The adapter has a 2.5mm stereo pin which can
then be connected to the meter.
Note: Only one adapter per Soil Sensor Reader is necessary.
5
Page 6

Calibrating the SMEC 300
EC Sensor
The EC sensor of the SMEC300 sensor has an
internal constant that can be adjusted by the user
to correct for sensor drift. To calibrate the sensor,
you will need a container wide enough to accommodate the sensor and tall enough so the sensor
can be immersed to the midway point of the sensor molding.
Sensor Preparation
Before starting the calibration procedure, the following preliminary steps are necessary to ensure the sensor is properly
calibrated.
1. Because residual oils on the EC sensor pads, including oil
from your fingers, will reduce the accuracy of the sensor,
clean the sensor with rubbing alcohol. After cleaning the
sensor, do not touch the pads with your fingers.
2. Allow the calibration solution to come to room temperature. You must calibrate with a solution with an EC of
1.41 mS/cm. It is important for the sensor and solution to
be at the same temperature.
Calibration Procedure
1. Pour clean calibration solution into the container.
2. Plug the sensor into the reader.
3. Immerse the sensor in the calibrating solution up to second mark on the molding. This ensures the sensor’s internal thermistor is below the liquid level. Take care that the
EC sensor pads are not touching the side of the container.
4. Set reader to CAL mode (see p.4).
5. Press and hold the SET button for 5 seconds. The LCD
will count down the time. When the calibration is complete, the sensor will transition to Standard Spectrum
mode (see p.3). If the SET button is released before the
6
Page 7

calibration is complete, the internal sensor constant will
not be modified and this step should be repeated.
6. Disconnect the sensor plug.
7. Rinse and dry the sensor. Take care not to touch the EC
sensor pads with your fingers.
8. Store the sensor in plastic bag until you are ready to install it in the field.
Calibrating the SM100
SM100 sensors with the “3/14” code printed on the front can
be re-calibrated to the factory setting. The calibration procedure is nearly identical to that used to calibrate the SMEC300
EC circuit. The calibration is done with distilled water. The
SM100 does not have an internal thermistor. So, when performing the soil moisture calibration, the sensor molding does
not have to be immersed. For soil sensor readers with firmware version 4.4, the calibration screen will read “CAL EC?”.
The calibration procedure for the SM100 will still work as
designed.
Note: The soil moisture circuit of an SMEC300 can not be
calibrated to the factory setting.
Changing the Battery
The Field Scout Soil Sensor Reader uses a standard 9V battery. To change the battery:
1. Slide open the door on the back of the meter.
2. Remove the old battery from the compartment, and insert
the new battery. Be sure to orient the battery to match the
image on the bottom of the compartment.
3. Place the battery cover on the case and slide it closed.
7
Page 8

DECLARATION OF CONFORMITY
Spectrum Technologies, Inc.
3600 Thayer Court
Aurora, IL 60504 USA
Model Numbers: 6466
Description: Soil Moisture Sensor Reader
Type: Electrical Equipment for Measurement, Control, and
Laboratory Use
The undersigned hereby declares, on behalf of Spectrum Technologies, Inc. of
Aurora, Illinois, USA, that the above referenced product, to which this declaration
relates, is in conformity with the provisions of:
Directive: 2004/108/EC
tandards: EN 61326-1:2006
S
EN 61000-4-2:1995, including A1:1998 and A2:2001
EN 61000-4-3:2002
EN 55011:2007
Michael J. Dunning
Director of Product Technology September 18, 2012
Warranty
This product is warranted to be free from defects in material or
workmanship for one year from the date of purchase. During the
warranty period Spectrum will, at its option, either repair or replace
products that prove to be defective. This warranty does not cover
damage due to improper installation or use, lightning, negligence,
accident, or unauthorized modifications, or to incidental or consequential damages beyond the Spectrum product. Before returning a
failed unit, you must obtain a Returned Materials Authorization
(RMA) from Spectrum. Spectrum is not responsible for any package that is returned without a valid RMA number or for the loss of
the package by any shipping company.
Edaphic Scientific Pty Ltd
61-2-6584 5768
info@edaphic.com.au
www.edaphic.com.au
R 3/14
 Loading...