

Page 1

1
by CSI/SPECO
USER’S INSTRUCTION MANUAL
RQS-10B
by CSI/SPECO
200 New Highway, P.O. Box 726
Amityville, New York 11701
Toll Free : 1-(800) 645-5516
In Metro NY : (631) 957-8700
說明書 RQS-10B(BQ09)
料號 85-BQ09-A001
圖號 85-0910083
日期 91.07.29
版次 A版
說明書尺寸 A4 297x210mm
Page 2
2
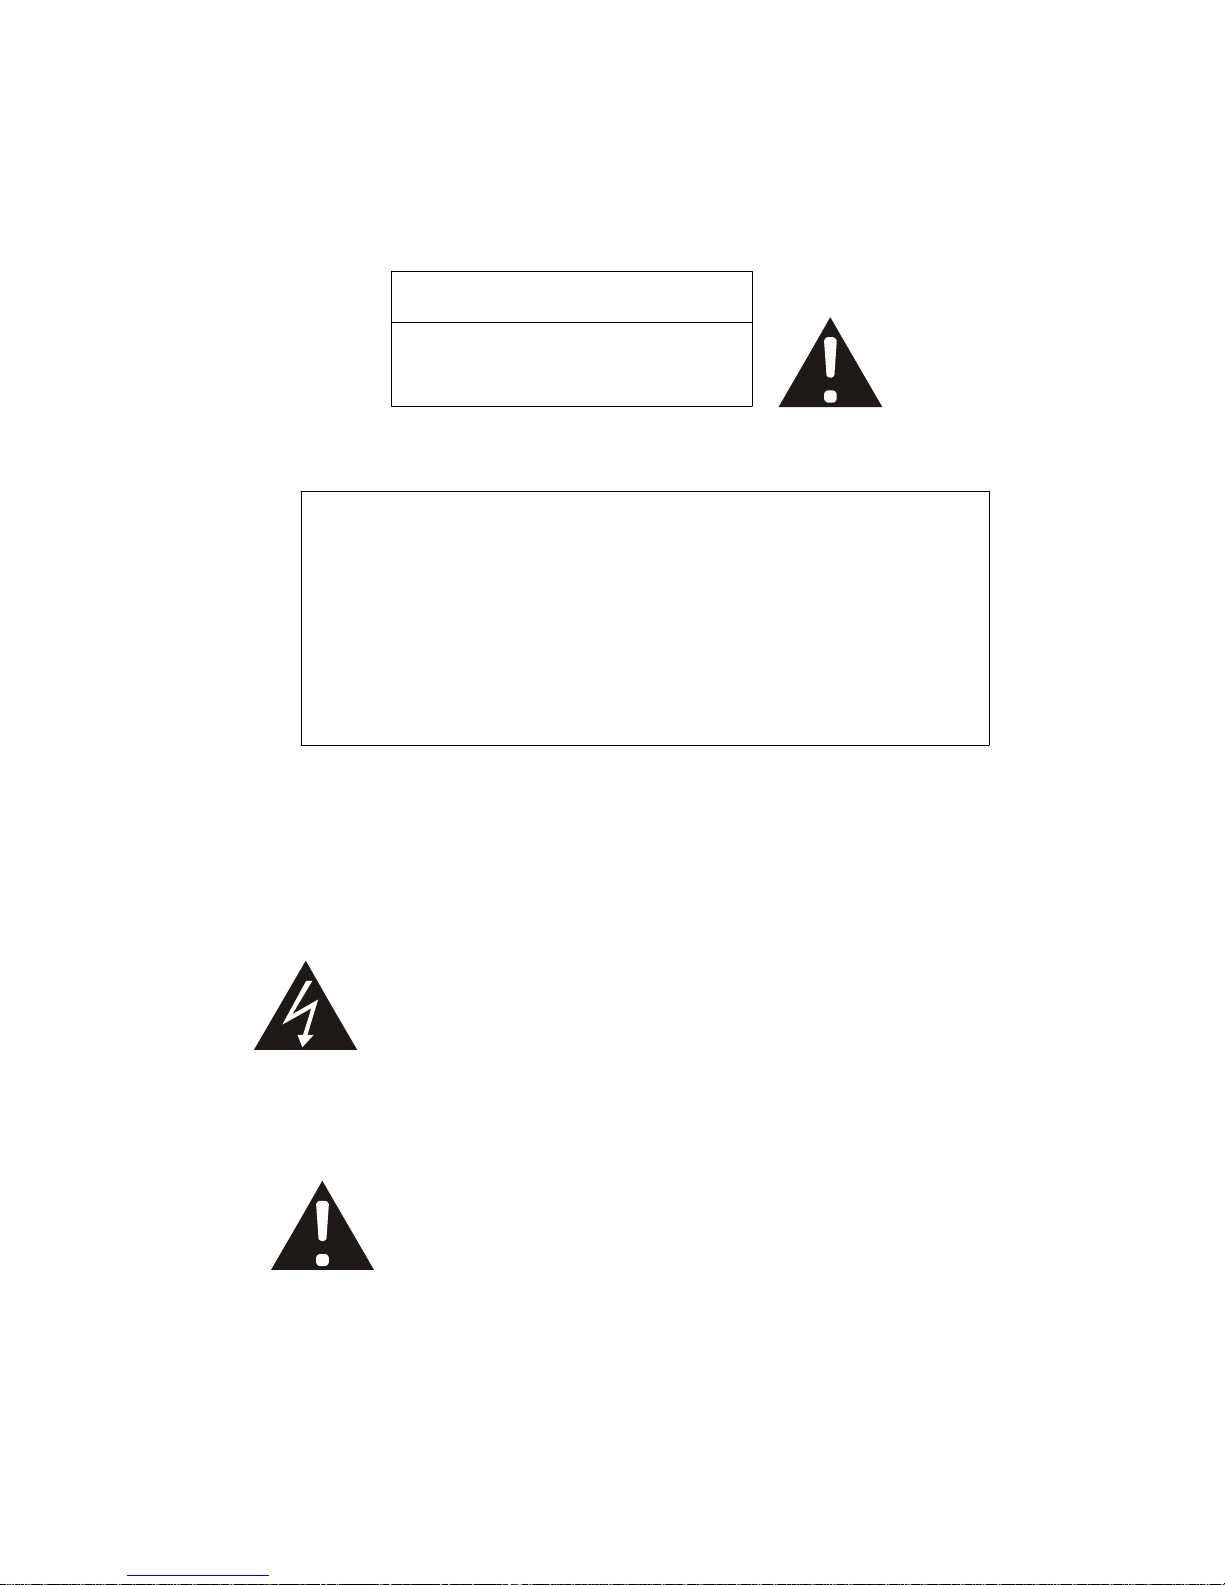
CAUTION
RISK OF ELECTRICAL SHOCK
DO NOT OPEN
CAUTION:
TO REDUCE THE RISK OF ELECTRICAL
SHOCK, DO NOT REMOVE COVER (OR
BACK), NO USER –SERVICEABLE PARTS
REFER SERVICING TO QUALIFIED
SERVICE PERSONNEL.
The lightning flash with arrowhead symbol, within an
equilateral triangle, is intended to alert the user to the
Presence of insulated dangerous Voltage within the
Product’s enclosure that may be sufficient magnitude
to constitute risk of electrical shock to persons.
The exclamation point within an equilateral triangle is
intended to alert the user to the presence of important
operation and maintenance (servicing) instructions in
the literature accompanying the appliance.
Page 3

3
1. Precautions……………………………………………………………………4
2. Features………………………………………………..………………………5
3. Panel Description…………………..……………..…………………………….6
4. Display Mode Change…………………………..………………………….….....7
5. Freeze Function ……………………………..………………………………….8
6. Operate Zoom Function ………………….……………………………………9
7. Loss History Function…………………..…………………………………….10
8. System Menu……………………………………………………………………11
9. System Specification……………………………………………………………..16
CONTENTS
Page 4

4
Precautions
Before using this unit, please read these operating instructions carefully. Take
special care to the follow the warnings indicated on the unit itself as well as the safety
suggestions listed below. Keep them handy for future reference.
1. Power source – The unit operates on 12V DC of power. Use only the power
transformer recommended by manufacturer so as to prevent any shock hazards.
2. Power cord protection – DC power supply cords should be routed so that they
are not likely to be walked on or pinched by items placed upon or against them.
Never take hold of the plug or cord if your hand is wet, and always grasp the plug
body when connecting or disconnecting it.
3. Water and Moisture – Do not use this unit near the sources of water. Moisture
will damage the internal parts.
4. Heat – Do not install the unit near heat sources such as radiators, stoves, heat
registers, or other appliances that product heat.
5. Ventilation – The unit should be situated so that its location or position does not
interfere with its proper ventilation.
6. Foreign Material – Extreme caution should be taken so that the objects do not
fall into the unit.
7. Surface – Place the unit on a flat, level surface or the unit may fall causing
serious damage.
8. Damage Requiring Service – The unit should be serviced by qualified service
personnel when:
The power cord or the plug has been damaged.
Objects have fallen or liquid has been spilled into the unit; or the unit has
been exposed to rain or water.
The unit does not appear to operate normally or exhibits a marked change in
performance.
The unit has been dropped, or the enclosure damaged.
9. Replacement Parts – Use only manufacturer specified parts. Unauthorized
substitutions may result in fire, electrical shock or other hazards.
10. Service – Should not attempt to service the unit beyond that described in the
operating instructions. All other servicing should be referred to an authorized
service personnel.
Notification: This device complies with Part 15 of the FCC rules. Operation is subject to the following
two conditions: 1) This device may not cause harmful interference and 2) This device must accept any
interference received, including interference that may cause undesired operation.
Page 5

5
Full Digital High Quality B/W QUAD System
Product Features:
z Great Picture Quality – 9bit/30MHz Sampling
z
Accepts Most Cameras Without The Need For External
Synchronization
z Real Time Refresh Rate In Quad Display
z
Quad Picture and Sequential Switching Function
z
Full Duplex. Record Quad Image & Display VCR Input
Simultaneously
z Video Loss Detection
z Alarm Function Support
z
Freeze & 2x2 Zoom Function in Live Display, VCR Playback
z Provide VCR-In to Support 2x2 Zoom & Freeze Function for
Playback
z Video Out & VCR (Quad) Out Connectors
z User Friendly OSD Set-up Menu
z Date, Time and 8 Characters Title Generator
z Auto Skip Unconnected Channel In Auto Switch Mode
z High Quality Video Encoder/Decoder with 9-bit Resolution
Page 6

6
Panel Description
1. Front Panel Controls
menu
1. Power ON/OFF Switch (Not on all models)
2. Freeze/Play Pressing this button to freeze the picture
Press for approx. 1 second to go to the VCR playback mode
3. Video Select (1,2,3,4)/Left & RIGHT Cursor (<, >)/Up Down Button
*When in display mode, these buttons work as Video Select button
*When in the setup menu, these buttons work as left, right, up, down button
4. Auto SEQ
Press this button to display pictures in sequential order with the dwell time set on
setup menu
5. Mode/Enter
Press this button to display the quad picture, 1 PIP , 2 PIP and 1 PIP auto mode.
Enter key is active only for zoom mode.
6. Menu/Zoom
Press
(6) this button for approx 1 second to display the menu setup
Press
(6) this button to enter the zoom mode.
7.
Switch Connect to main monitor for viewing
8.
Quad Connecting to VCR for Quad picture recording
9.
Camera 4 INPUT
10.
Camera 3 INPUT
11.
Camera 2 INPUT
Page 7

7
12.
Camera 1 INPUT
13.
VCR IN Connector Connect from VCR for playback use
14. 12V DC POWER INPUT
15. Alarm Input/Output port: Alarm port pin assignment
5
6
8
9
Display Mode Change
There are five different display styles as show below. They are selected by MODE
key or CHANNEL keys or PLAY key or AUTO SEQ key. When reset, the system is initialized
to QUAD Mode for both output channel SWITCH and QUAD (QUAD is only quad mode and
suitable provide to VCR input)
Display Channel Definition
When QUAD Mode or Auto Sequence Mode is running,
1. Alarm #1 4. Alarm #4 7. Normal Close (NC)
2. Alarm #2 5. Spare 8. Common
3. Alarm #3 6. Spare 9. Normal Open (NO)
Page 8

8
z
Press CHANNEL key.
Then it goes to SINGLE Mode of selected channel.
When Single Mode or Auto Sequence Mode is running,
z Press MODE key.
Then it goes to Quad Mode.
When QUAD Mode is running
z
Press Mode key one more time
Then it goes to 1 PIP Mode
When 1 PIP Mode is running
z
Press Mode key one more time
Then it goes to 2 PIP Mode
When 2 PIP Mode is running
z Press Mode key one more time
Then it goes to 1 PIP Auto Mode
When 1 PIP Auto Mode is running
z Press Mode key one more time
Then it goes back to QUAD Mode
When QUAD or Single or Auto Sequence or PIP Mode is running
z Press PLAY key more then 1 second.
z Then it goes to Play BACK Mode
z PLAY BACK Mode shows full screen VCR IN (Suitable for Play Back)
z To exit PLAY MODE, press MODE or CHANNEL Key
When Single Mode or QUAD Mode or PIP Mode is running
z Press AUTO SEQ key.
It changes mode as follows: Quad Mode-CH1-CH2-Ch3-CH4 Sequence
How to change channel of PIP Mode
z Press mode key more then 1 second when PIP mode is running
z Select Main or Sub Screen with left, right key
z Choose main or sub channel with Up, Down key.
z After selecting all these, save and quit with press Mode-key again.
Freeze Function
The following figure shows information regarding the freeze function. The large F means that a
picture is frozen and blinking digits indicate the frozen channel number. The freeze function is
enabled when the FREEZE key is pressed. Each channel has toggle operation of the freeze
function. Selecting the channel that is already frozen makes this channel release.
Page 9

9
The freeze function does not support sequenced picture like Auto Sequence Mode or
sub-picture of Sequence Picture In Picture Mode. The following table shows key operation
for freeze function.
Running mode Press FREEZE key Press CHANNEL key
QUAD Enable freeze function Freeze selected channel
Auto Sequence Does not support freeze function 1 Picture In Picture Enable freeze function Freeze selected channel
2 Picture In Picture Enable freeze function Freeze selected channel
Sequence 1 PIP Enable freeze function -
PLAY BACK Freeze main picture channel -
Single Freeze main picture channel -
When QUAD Mode, 1 Picture In Picture Mode is running
z Press FREEZE key first.
z Press channel keys that will be frozen.
z Press channel key that is already frozen when you want to release this channel.
z Press FREEZE key again for terminating freeze function.
Then all of frozen picture are released and this function is finished.
When SINGLE Mode is running
z Press FREEZE key to freeze main picture.
z Press FREEZE key again to release freeze.
Operate Zoom Function
The following figure shows information of zoom function. The large ZOOM means zoom
function is enabled and the following icon means fixed zoom function is enabled.
1234
Page 10

10
Zoom function can be executed in 2 ways. ONE is arbitrary location zooming and the other is
fixed location zooming. Arbitrary location zoom function can move the area that wants to be
enlarge using the CHANNEL keys. Key direction is CH1 for up, CH2 for down, CH3 for left and
CH4 for right. When Auto Seque nce is running, if zoom function is enabled then channel
sequencing is not working
For arbitrary location zoom
z Press ZOOM key first.
z Press CHANNEL keys to go to area that will be zoomed.
z Press ENTER key to execute zoom.
z Press UP, DOWN, LEFT, RIGHT keys to search specific area.
z Press ZOOM key again for terminating zoom function.
For fixed location zoom
z Press ZOOM keys first
z Press ENTER key to execute zoom.
z Press CHANNEL keys more than 1 second.
z Change channels with pressing other channel keys more than 1 second.
z Press enter key to execute zoom.
z Press ZOOM key again for terminating zoom function.
Video Loss /Alarm History Function
Video loss / Alarm history can be save. A maximum of 90 incidents can be saved.
History display can show 10 items per page. Use the up and Down keys for moving the page.
When you want to delete all saved data: Press the Enter key when history is displaying.
Page 11

11
System Menu
1. Software Menu Parameters
There are several system setup parameters such as channel name, data, time, Auto-sequ ence
delay time, Brightness, Contrast and, Alarm History. The following tables show key operation.
The Menu function is enabled when long press MENU key.
For CAMERA TITLE Change
z Move Cursor to 1
z Press MENU key to execute CAMERA TITLE
z Press CH2 key to select channel
z Press CH1 key to move cursor to correct location.
z Press CH3 and CH4 key change character
z Press MENU key again for terminating CAMEA TITLE function
Changing channel name when you choose the “ “ this character blink will be display.
CH1 CHANNEL 1
CH2 CHANNEL 2
CH3 CHANNEL 3
Ch4 CHANNEL 4
Page 12

12
For TIME/DATE Change
z Move Cursor to 2
z Press MENU key to execute Time/DATE
z Press CH3, CH4 key to move cursor
z Press Ch1 and CH2 key to change number
z Press MENU key again for terminating TIME/DATE function.
For DISPLAY MODE Change
z Move Cursor to 3
z Press MENU key to execute Display Mode
z Press CH1, CH2, key to move cursor
z Press CH3 and CH4 key to change value
z Press MENU, key again for terminating DISPLAY MODE function.
z INPUT SYSTEM to select NTSC (EIA) / PAL (CCIR)
2001/05/01
12:20:10
DATE / TIME : ON
CHANNEL NAME : ON
BOUNDARY : ON
ALARM SOUND : ON
INPUT SYSTEM : EIA
Page 13

13
For AUTO MODE Change
z Move cursor to 4
z Press MENU key to execute AUTO MODE
z Press CH1, CH2 key to move cursor
z Press CH3 and CH4 key to change value
z Press MENU key again for terminating AUTO MODE function.
For CONTRAST (BRIGHTNESS) ADJUST Change
z Move MENU key to execute CONTRASR (BRIGHTNESS) ADJUST
z Press CH1 and CH2 key to change channel
z Press Ch3 and CH4 key to up/down contrast (brightness) ADJUST function.
Ch1 :Ch1 :Ch1 :
Ch2 :
Ch3 :
Ch4 :
Ch1 :
Ch4 :
Ch2 :
Ch3 :
Ch1 :
ON
ON
ON
ON
Quad:
ON
Page 14

14
LOSS / ALARM HISTORY Change
For LOSS / ALARM HIST ORY Change
z Move Cursor to 7
z Press MENU key to execute ALARM HISTORY
z Press CH1, CH2 key to move Page 0~8
z Press MENU key again for terminating Alarm History function.
z Press Enter key to clear Alarm History
FOR LOSS/ALARM SET UP
z Move cursor to 8
z Press MENU key to execute Loss/Alarm setup
z Press CH1, CH2 key to move cursor
z Press CH3 and CH4 key to change value
z Press MENU key again for terminating Loss/Alarm SETUP function.
Page 15

15
85-0000-C009 保證卡
Page 16

16
85-BQ09-A001
 Loading...