

Page 1
ONSIP OS101
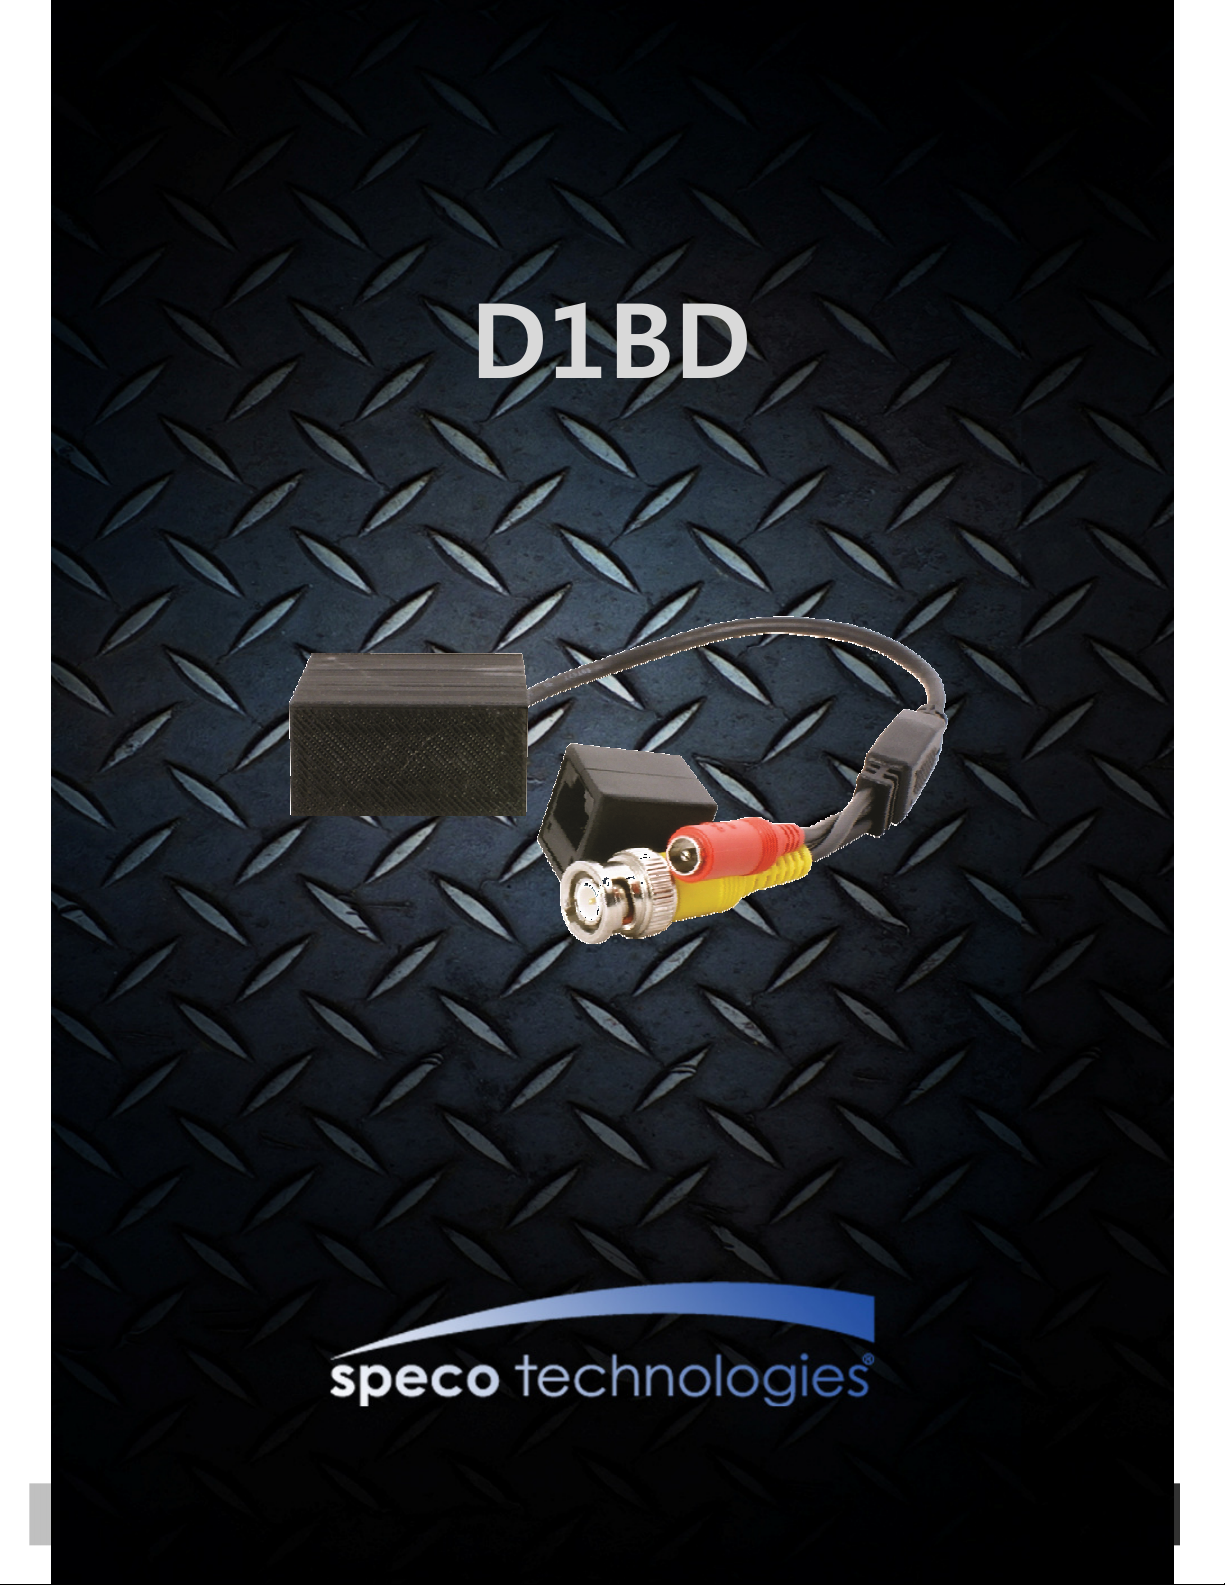
D1BD
User’s Guide
Page 2

D1BD User’s Guide
Directions
ONSIP D1BD is designed for indoor use only. When using ONSIP D1BD in an outdoor or equivalent
environment, you must use a water-resistant housing for the installation.
Be careful not to cause any physical damage by dropping or throwing the ONSIP D1BD. Especially keep
the device out of reach from children.
Do not disassemble ONSIP D1BD. You will void the warranty when disassembled.
Use only 12VDC power adapters.
If you would like to use the ONSIP D1BD for security, monitoring, please check the legal regulations within
the country.
Rev. 1.0 (Dec 6, 2013)
2
Page 3

D1BD User’s Guide
Caution
Any changes or modifications to this device could void the warranty.
Revision History
Date Rev No Description
Dec 6th , 2013 1.0 First manual revision creation.
Rev. 1.0 (Dec 6, 2013)
3
Page 4

D1BD User’s Guide
1. Introduction ................................................................................................................................................... 5
1.1. Overview ............................................................................................................................... 5
1.2. Specification .......................................................................................................................... 6
1.3. Applications of ONSIP D1BD ................................................................................................. 7
2. Product Description ..................................................................................................................................... 8
2.1. Contents ................................................................................................................................ 8
2.2. Preview ................................................................................................................................. 9
2.3. Physical description ..............................................................................................................10
2.4. Functional Description ..........................................................................................................10
3. Getting Started ........................................................................................................................................... 11
3.1. PC Requirement ................................................................................................................... 11
3.2 Quick Installation Guide .........................................................................................................12
4. Troubleshooting .......................................................................................................................................... 18
4.1. No power is applied ..............................................................................................................18
4.2. Cannot connect to the Video ................................................................................................19
4.3. Windows Vista or Windows 7 ...............................................................................................20
4.4. Technical Assistance ............................................................................................................23
Table of Contents
Rev. 1.0 (Dec 6, 2013)
4
Page 5

D1BD User’s Guide
1. Introduction
1.1. Overview
The ONSIP D1BD is a single channel IP video encoder which transmits synchronized video data in real time with
D1 resolution at full frame rate. This is possible through multi-codec (H.264, MJPEG) technology, which provides
high quality video with highly compressed data streams. The ONSIP D1BD can be connected, controlled and
monitored from a remote location through an IP connection over the internet or intranet.
The ONSIP D1BD is easy to install and owner will experience cost and space savings in the installation owing to
the state of the art technologies embedded in the system. Based on Embedded Software Solution (Embedded
Web Server, Embedded Streaming Server, Network Protocol), the ONSIP D1BD ensures unprecedented
performance and stability to be an ideal video server solution for system integration solutions.
.
Rev. 1.0 (Dec 6, 2013)
5
Page 6

D1BD User’s Guide
1.2. Specification
Category Sub-Category Details
Video
Compression H.264/MJPEG
NTSC (30 frames/sec Max.) : 704x480,
640x480, 704x240, 352x240, 176x112
Resolution
Interface RJ-45, 10/100 Mbps
PAL/SECAM (25 frames/sec Max.) :
704x576, 640x480, 704x288, 352x288,
176x144
Network
I/O CVBS Video input
Power Supply DC Adapter 12V DC adapter
Motion Detection 3 zones Arbitrary shape with independent sensitivity
Upgrade Firmware upgrade over IP network
Administration Remote administration over IP network
Client & Viewer
Dynamic IP support
Security
Access network Static, DHCP, PPP/PPPoE
Application IPv4/6, TCP, UDP, IGMP, ICMP, ICMPv6 etc.
Web Viewer Simple viewing over internet explorer
Speco-NVR Standard VMS software
DDNS support Supported
Video stream encryption
ID and Password protection
IP filtering for restricting administrative
Sync to PC Synchronize to PC only once
Manual Manual time setting
Time management
SDK support
Internet Time
Server
DLS Daylight savings
Active-X
HTTP
Source filter
Synchronize to Time Server
Rev. 1.0 (Dec 6, 2013)
6
Page 7

D1BD User’s Guide
1.3. Applications of ONSIP D1BD
Security surveillance (buildings, stores, manufacturing facilities, parking lots, banks, government facilities,
Military etc.)
• Real time Internet broadcasting
• Remote monitoring (hospitals, kindergartens, traffic, public areas, etc.)
• Remote Learning
• Weather and environmental observation
Rev. 1.0 (Dec 6, 2013)
7
Page 8

D1BD User’s Guide
2. Product Description
2.1. Contents
Open the package and check if you have the followings:
Components Description Remarks
ONSIP D1BD ONSIP D1BD Encoder
Quick Reference Guide Quick installation guide
Rev. 1.0 (Dec 6, 2013)
8
Page 9

D1BD User’s Guide
2.2. Preview
ONSIP D1BD
H.264 1CH IP Encoder
ONSIP-Installer
PC software to allocate an IP
address to the ONSIP D1BD
VMS Software
(Speco-NVR)
PC software to view and record the
A/V streaming data transmitted from
ONSIP D1BD
Rev. 1.0 (Dec 6, 2013)
9
Page 10

D1BD User’s Guide
2.3. Physical description
2.3.1. External View
Figure 2-1. External view of ONSIP D1BD
2.4. Functional Description
RJ-45: 100Mbps Ethernet (RJ-45).
12VDC Input.
Apply power through 12VDC Input.
CVBS Video In: Connect conventional analog video signal.
Rev. 1.0 (Dec 6, 2013)
10
Page 11

D1BD User’s Guide
3. Getting Started
3.1. PC Requirement
AV streaming data received from ONSIP D1BD can be decoded or stored in a PC running the Speco-NVR
program which is a viewing & recording program for a PC. Minimum requirement of the PC is described below:
CPU Pentium IV 3Ghz or above Dual Core 3Ghz or above
Main Memory 1GB or above 2GB or above
Operating System* Windows XP or later Windows XP / 7
Web Browser Internet Explorer 6.0 or above Internet Explorer 8 or above
Graphic Card 64MB or above 256MB or above
Network 100 Base-T Ethernet 100 Base-T Ethernet
* Operating Systems supported: Windows 2000 Professional, Windows XP / Vista / 7
Minimum Recommended
Rev. 1.0 (Dec 6, 2013)
11
Page 12

D1BD User’s Guide
DC adapter
Hub
Video
-In
3.2 Quick Installation Guide
1. Connect PC and ONSIP D1BD to the network.
1) Prepare a PC to run programs for the installation and video connection
(PC is needed to assign an IP address to ONSIP D1BD)
2) Figure 3-1. The DC power is applied through DC adapter.
Figure 3-1. Power and network connection
Rev. 1.0 (Dec 6, 2013)
12
Page 13

D1BD User’s Guide
2. Install Speco-NVR
Speco-NVR is a multi-channel VMS program for to IP camera or Video server. Install Speco-NVR on a
remote PC to connect to these products. It is needed to assign connection before connection. Insert the CD
provided with the product into the PC and install Speco-NVR.
Admin Page Button
ONSIP installer
Figure 3-2. Speco-NVR
Follow the sequence below for setting the IP parameter
i) Run ONSIP installer
ii) Click ① in ONSIP installer window.> Double click on ② > Fill in ④ > make a selection in ⑤ > Fill the
parameters in ⑥
iii) Click on ⑨ to apply the settings.
iv) You can connect to admin page by clicking on ⑩.
Rev. 1.0 (Dec 6, 2013)
13
Page 14

D1BD User’s Guide
③③③③
⑤⑤⑤⑤
1
2
3
6
4
9
5
7
8
1
Click on the field in
Select network mode that best suits from the drop down list in
Static or ADSL and Auto (DHCP), respectively. If ADSL and Auto are selected, the fields in
⑥⑥⑥⑥ is deactivated.
In case of ADSL, fill the User Name and Password in
ISP.
If DDNS service is needed, Check at the box and fill the empty field with hostname you
want in
⑦⑦⑦⑦
.
for sorting and rearranging the list.
. You can choose either
⑧⑧⑧⑧
with the values provided by your
Rev. 1.0 (Dec 6, 2013)
14
Page 15

D1BD User’s Guide
be omitted
3. Remote video connection to ONSIP D1BD
1) Connection through Web Viewer
Web Viewer offers simplest way of video connection to ONSIP D1BD. For video connection, enter the IP
address of ONSIP D1BD in the URL field of Internet Explorer as:
[e.g.] Port 80
[e.g.] Port 8080
Connection to Admin Page Basic Control Buttons
Note: Active-X module should be installed on your PC before actual connection. If your PC
is not connected to the internet, you cannot download Active-X module. Most
convenient way of installing the Active-X module is installing Speco-NVR which is
available from the CD or our web site.
The default port 80 can
Video Crop Control
Figure 3-3. Web Viewer
Default ID and password of Admin Page are admin,1234. For more detailed information, please refer to the
[Configuration_Guide] Guide.
Rev. 1.0 (Dec 6, 2013)
15
Page 16

D1BD User’s Guide
2) Connection through Speco-NVR
Click the camera assignment button for setting camera address. Input the description, address, Ch#,
User ID, Password and port and then click the save button. After assignment procedure, you must click
the SAVE button. You can see the live video when you click the live view button as below. When you exit
Speco-NVR, you have to input the ID/PW, admin/1234. Details for the Speco-NVR can be found in
[Speco-NVR User’s Guide].
Camera Assignment
Example
Camera Assignment
Live view
Exit Program
Default ID/PW: admin/1234
Save
Figure 3-4. Speco-NVR
Rev. 1.0 (Dec 6, 2013)
16
Page 17

D1BD User’s Guide
4. Additional settings through connection to the Admin Page
All the parameters of product follows factory default values. For more sophisticated target application it is
needed to change parameters. The admin page can be connected through
”http://IP_address:HTTP_port_number”/admin.htm
It is needed to enter ID and password of the administrator. Default ID and password are admin,1234. It is highly
recommended to change the ID and password to prevent illegal access to the unit. For more detailed
information regarding of the Admin Page, please refer to the [Configuration_Guide].
Rev. 1.0 (Dec 6, 2013)
17
Page 18

D1BD User’s Guide
4. Troubleshooting
4.1. No power is applied
DC adapter
The power and network connection should be made through separate cables. It is recommended to use a DC
adapter supplied by Speco Technologies. In case of replacing the DC power supply, make sure that the
power supply meets the power requirement of the unit to prevent damage or malfunction.
Rev. 1.0 (Dec 6, 2013)
18
Page 19

D1BD User’s Guide
1
2
4.2. Cannot connect to the Video
Check the status of the network connection through PING test.
Try the following on your PC:
- Start > Run > Cmd > Ping IP address (Ex : Ping 172.16.42.51)
- If “Reply from ~” message is returned ( in the figure below), the network connection is in normal state.
Try connection to the video again. If the problem persists, or refer to other troubleshooting notes.
- If “Request timed out” message is returned ( in the figure below), the network connection or network
setting is not in normal state. Check the network cable and settings.
Rev. 1.0 (Dec 6, 2013)
19
Page 20

D1BD User’s Guide
4.3. Windows Vista or Windows 7
Windows Vista and Windows 7 users need to configure UAC (User Access Control) and Privilege Level for
proper recording and still video capture in Speco-NVR and Web Viewer.
<Windows Vista>
1. UAC (User Access Control) configuration
1) Double-click “User Accounts” in control panel
2) Double-click “Turn User Account Control on or off”
3) Uncheck “Use UAC to help protect your computer”
2. Privilege Level Control
1) Select “NVR” icon on the desktop
2) Click right mouse button and select “Properties”
3) Check “Privilege Level” in “Compatibility” tab
Rev. 1.0 (Dec 6, 2013)
20
Page 21

D1BD User’s Guide
<Windows 7>
1. UAC (User Access Control) configuration
1) Double-click “User Accounts” in control panel
2) Double-click “Change User Account Control setting”
3) Set to “Never notify”
Rev. 1.0 (Dec 6, 2013)
21
Page 22

D1BD User’s Guide
2. Privilege Level Control
1) Select “NVR” icon on the desktop
2) Click right mouse button and select “properties”
3) Check “Privilege Level” in “Compatibility” tab
Rev. 1.0 (Dec 6, 2013)
22
Page 23

D1BD User’s Guide
4.4. Technical Assistance
If you need any technical assistance, please contact your dealer. For immediate service please provide the
following information.
1.
1.
Model name
1.1.
2.
2.
MAC address and Registration number
2.2.
3.
3.
Purchase date
3.3.
4.
4.
Description of the problem
4.4.
5.
5.
Error message
5.5.
Rev. 1.0 (Dec 6, 2013)
23
 Loading...