

Special Tomato 79 Series User Manual
USA
Model# Series
79XXXXXX
Revision 09/17
UMMPS09-17LIT
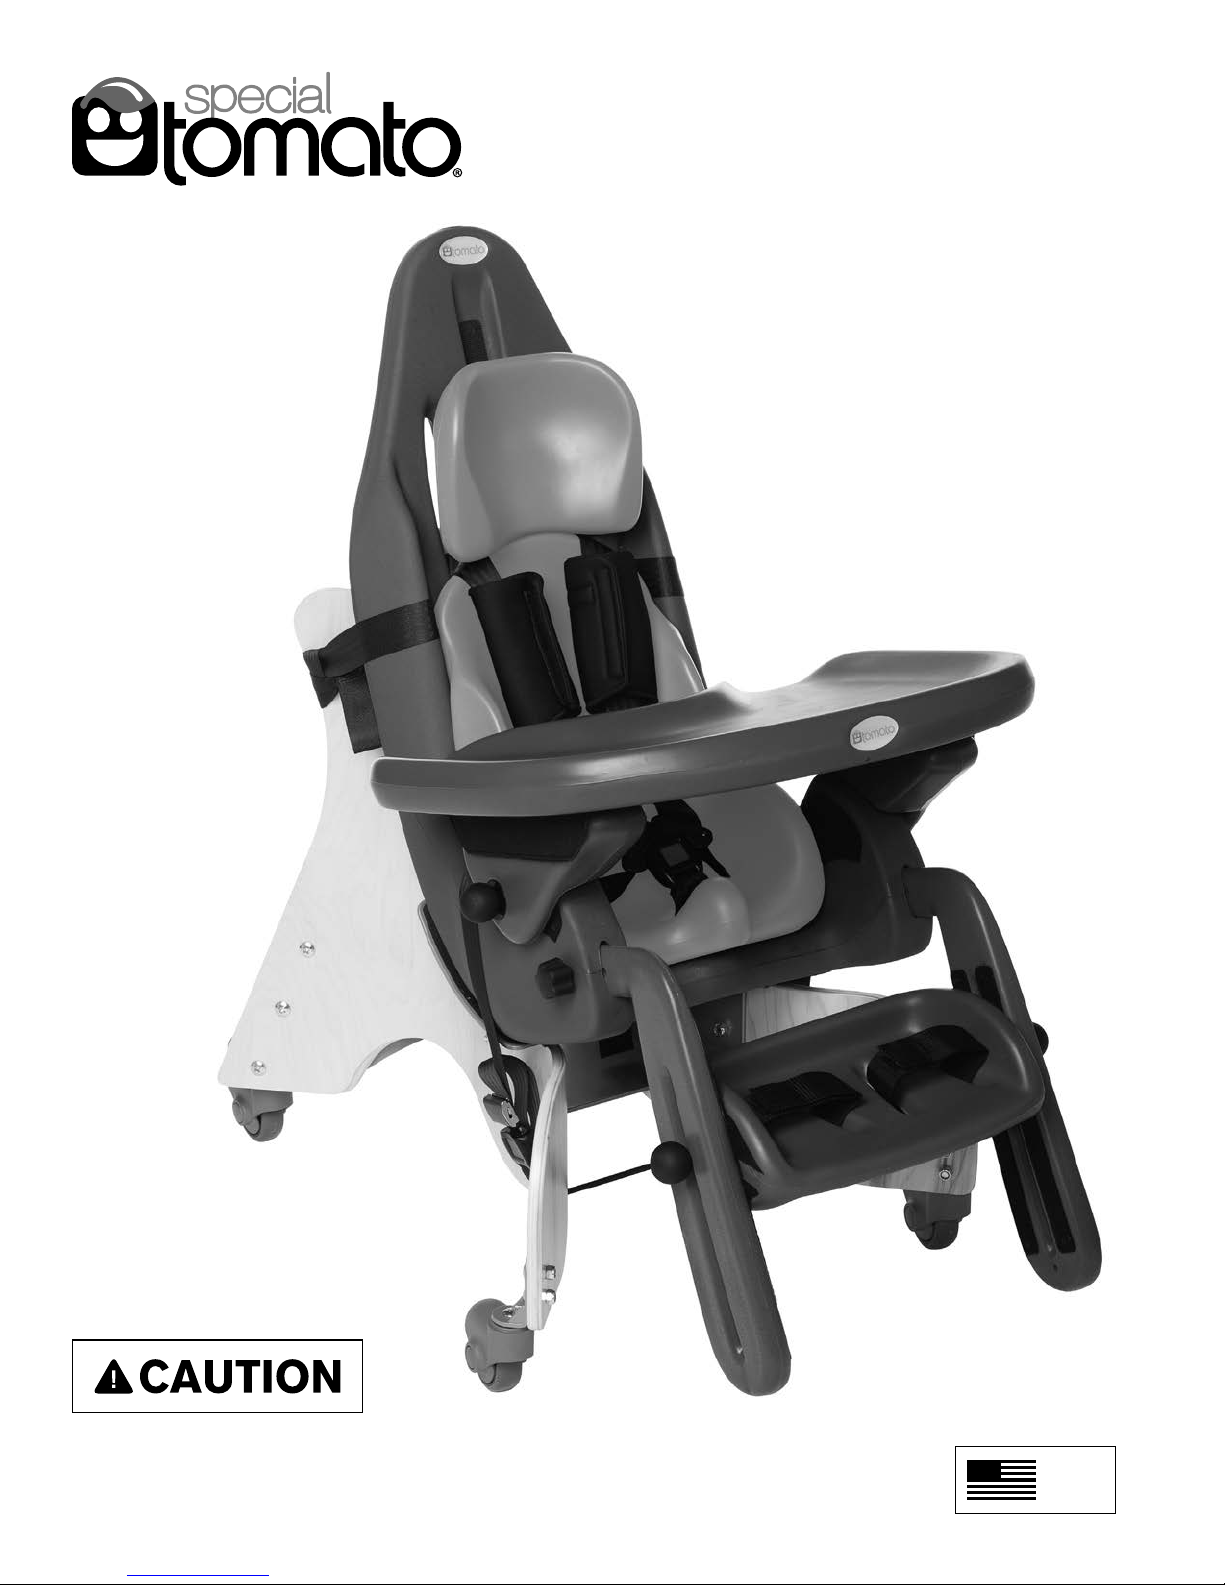
User’s Guide
Multi-Positioning Seat
Read Instructions Before Using!
Save This Guide For Future Reference
This product is NOT a certified car seat in Europe or Canada.
MADE
IN THE
USA

For Customer Service Support:
Contact your dealer directly.
Or...
Special Tomato® Customer Service
Phone: 315-429-8407
Fax: 315-429-8862
Email: customerservice@specialtomato.com
Website: www.specialtomato.com
Before Contacting Customer Service Support:
Please fill in the following. We will be able to help you more quickly if you have the
exact information indicated.
Serial Number (Located on seat shell):
Model:
Date of Purchase:
Notice:
The information contained in this document is subject to change without notice.
No part of this document may be photocopied, reproduced, transmitted, transcribed, stored in a
retrieval system or translated to another language or computer language, in any form or by any means,
electronic, mechanical, magnetic, optical, chemical, manual, or otherwise without the prior written
consent of Bergeron Health Care.
Use only Special Tomato accessories and parts on Special Tomato products. Special Tomato parts
are not interchangeable with other manufacturers’ products. Replace any worn parts immediately for
safety.
©Copyright Bergeron Health Care. All rights reserved.
2 Special Tomato™ Multi-Positioning Seat: User’s Guide
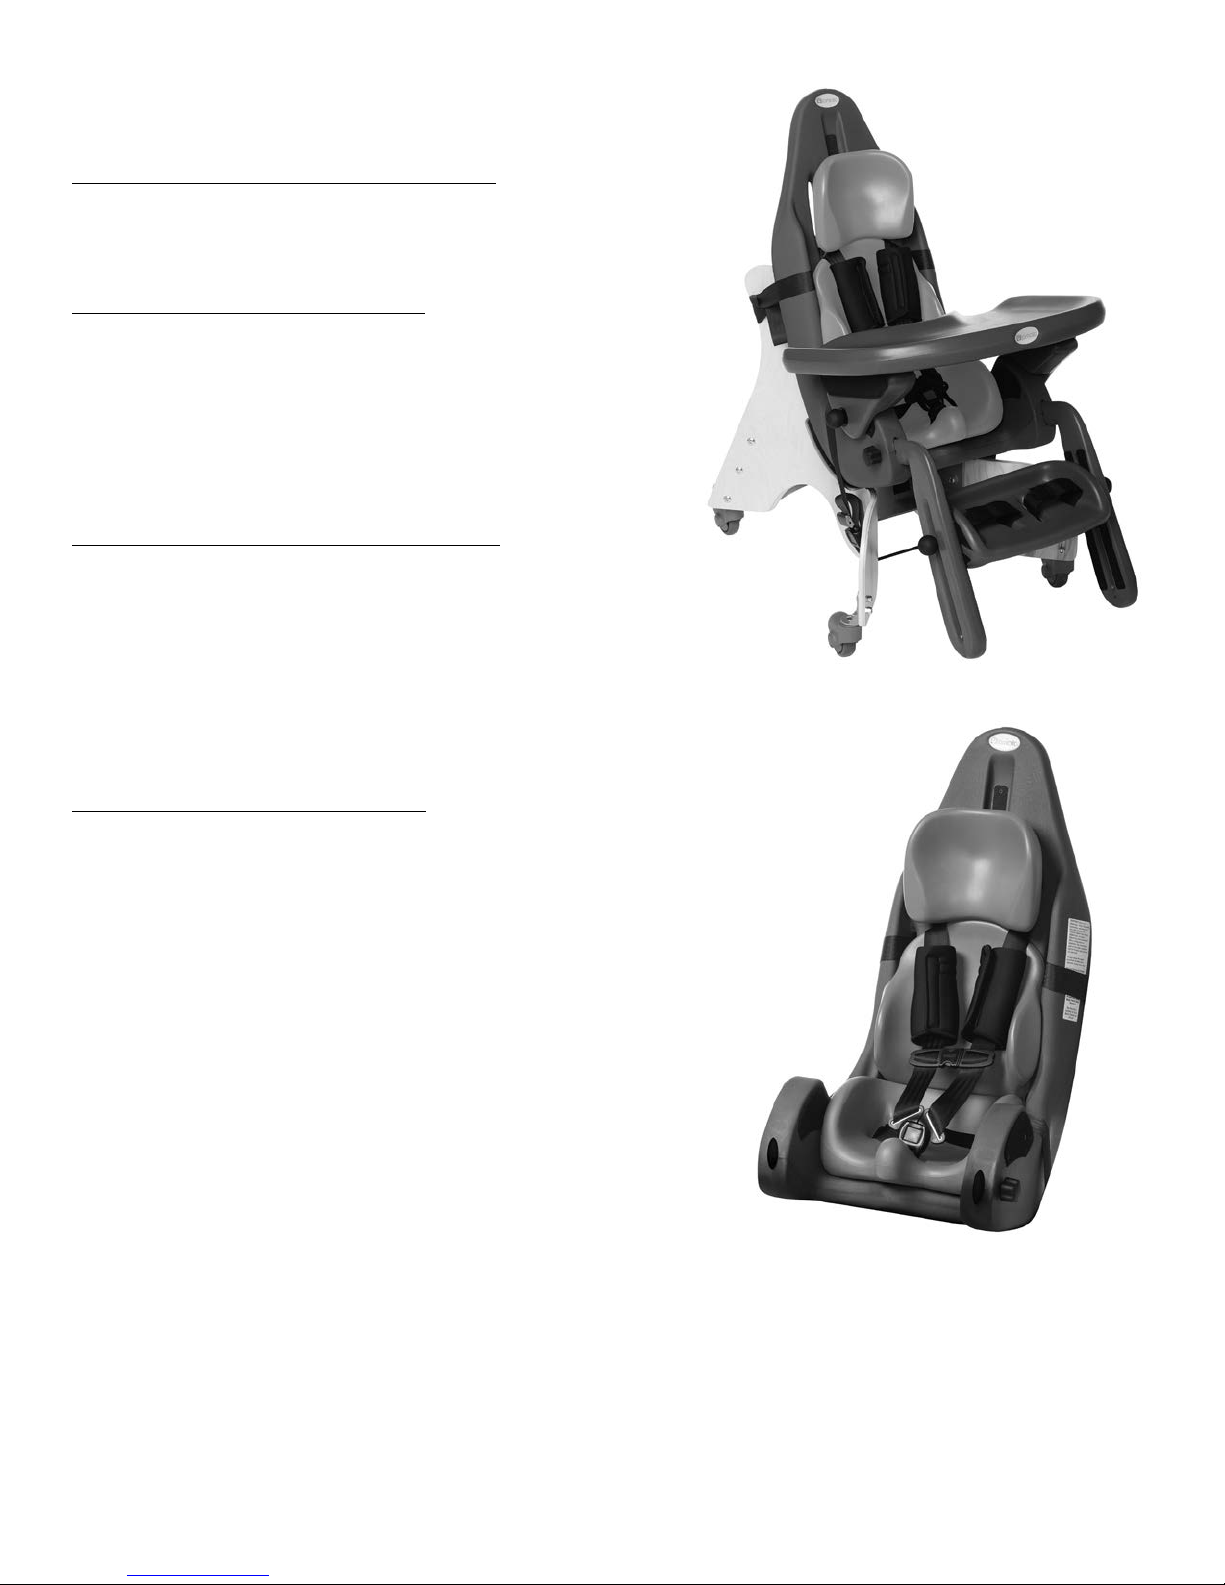
Table of Contents
What is a Special Tomato™
Story behind the brand 4
Setting Up Your MPS*
Unpack 5
Assembly 5
Footrest Assembly 6
Adjustments 7
MPS Optional Accessories
Mobile Floor Base 9
Customize Your Size Cushions 9
Install Replacement Cushions 10
Tray 11
Push Chair Base 11
Car Seat Installation**
Safety Information 12
Car Seat Installation 15
LATCH Belt 16
Lap/Shoulder Belt 17
Lap Belt 20
Aircraft Installation 21
5-Point Harness 22
Securing Your Child 23
Consumer Information Maintenance 24
Warranty 24
Please Note: Special Tomato™ products are latex-free.
*MPS = Multi-Positioning Seat
**All users MUST read and understand this instruction manual before using this product. Store instruction
manual in pocket on back of MPS so that it can be consulted at any point to ensure proper use!
Special Tomato™ Multi-Positioning Seat: User’s Guide 3

The Story Behind the Brand
Special Tomato™ is Tim Bergeron’s latest product line. He has over 40 years of experience designing, building,
and selling adaptive positioning equipment, including founding the Tumble Forms® product line as its original
designer. Tim has coupled his design experience with a new manufacturing process that provides soft durable,
impermeable cushions for positioning children with special needs. The first Special Tomato™ Brand Product is
the Multi-Positioning Seat.
Now you may be asking, “What’s so Special about Tomatoes?” Tim is pictured here with his youngest daughter,
Carrie, a young adult with Down syndrome. Carrie’s story, “The Special Tomato”, summarizes what Tim believes
that most parents feel about their child with special needs.
“Every child is special in their own unique way. It’s a parent’s job to find ways to facilitate their child’s growth in a
way that includes them equally within the family and community.” For children with physical disabilities, adaptive
equipment can play an important role in helping them reach their highest functioning level.
The Special “Tomato” on the Bergeron Bush
My dad and mom had four children. The first three children were healthy and regular people. Then I came
along, a baby with a dierence, Down Syndrome. I had a hole in my heart, a rip in my heart valve, jaundice, a
big tongue and a wobbly head. As I got older I also realized that I am a slow learner. One day it was bothering
me that I was having a hard time doing my school work. I told my dad about this problem and he shared a story
about when he was out in his garden picking tomatoes the year I was born. Every year my dad grows a garden
and loves to plant tomatoes.
At harvest time there were Beefsteak tomatoes on a bush. When he saw a dierently shaped tomato it got his
attention. It had a large, smooth, bright red enlarged side that made my dad want to pick it up and study the
bump because it was so unique and looked appetizing. At supper, that tomato was just as juicy as the others.
Even though I’m dierent like the tomato as a person with Down Syndrome, my family and friends love me even
more and want to help me when I need it. My dad tells me that even though I have more diculty learning than
my brother and sisters, my lovable and outgoing personality and strong character make me just as special as
they are. I guess I am the special “tomato”on our family’s bush!
-Carrie Bergeron
Peggy, Tim and
Carrie Bergeron
(from left to right)
4 Special Tomato™ Multi-Positioning Seat: User’s Guide
Setting Up Your MPS
Unpack
Check to see that the following items are included
with your Multi-Positioning Seat (MPS):
· Seat Shell
· Head Cushion installed
· Headrest Tether Strap
· Back Cushion installed
· Seat Cushion installed
· Two Safety Attachment Straps installed
· Five Point Harness System installed
· Top Tether Strap
· LATCH Strap (Small MPS only)
· Left and Right Leg Rest Extensions
· 2 Leg Rest GROOVED Knobs (1 3/16”)
· 2 Footrest BALL Knobs (1 1/2”)
· Footrest with 2 Foot Straps
These items are not
included when the
MPS is purchased
in the Car Seat
configuration only.
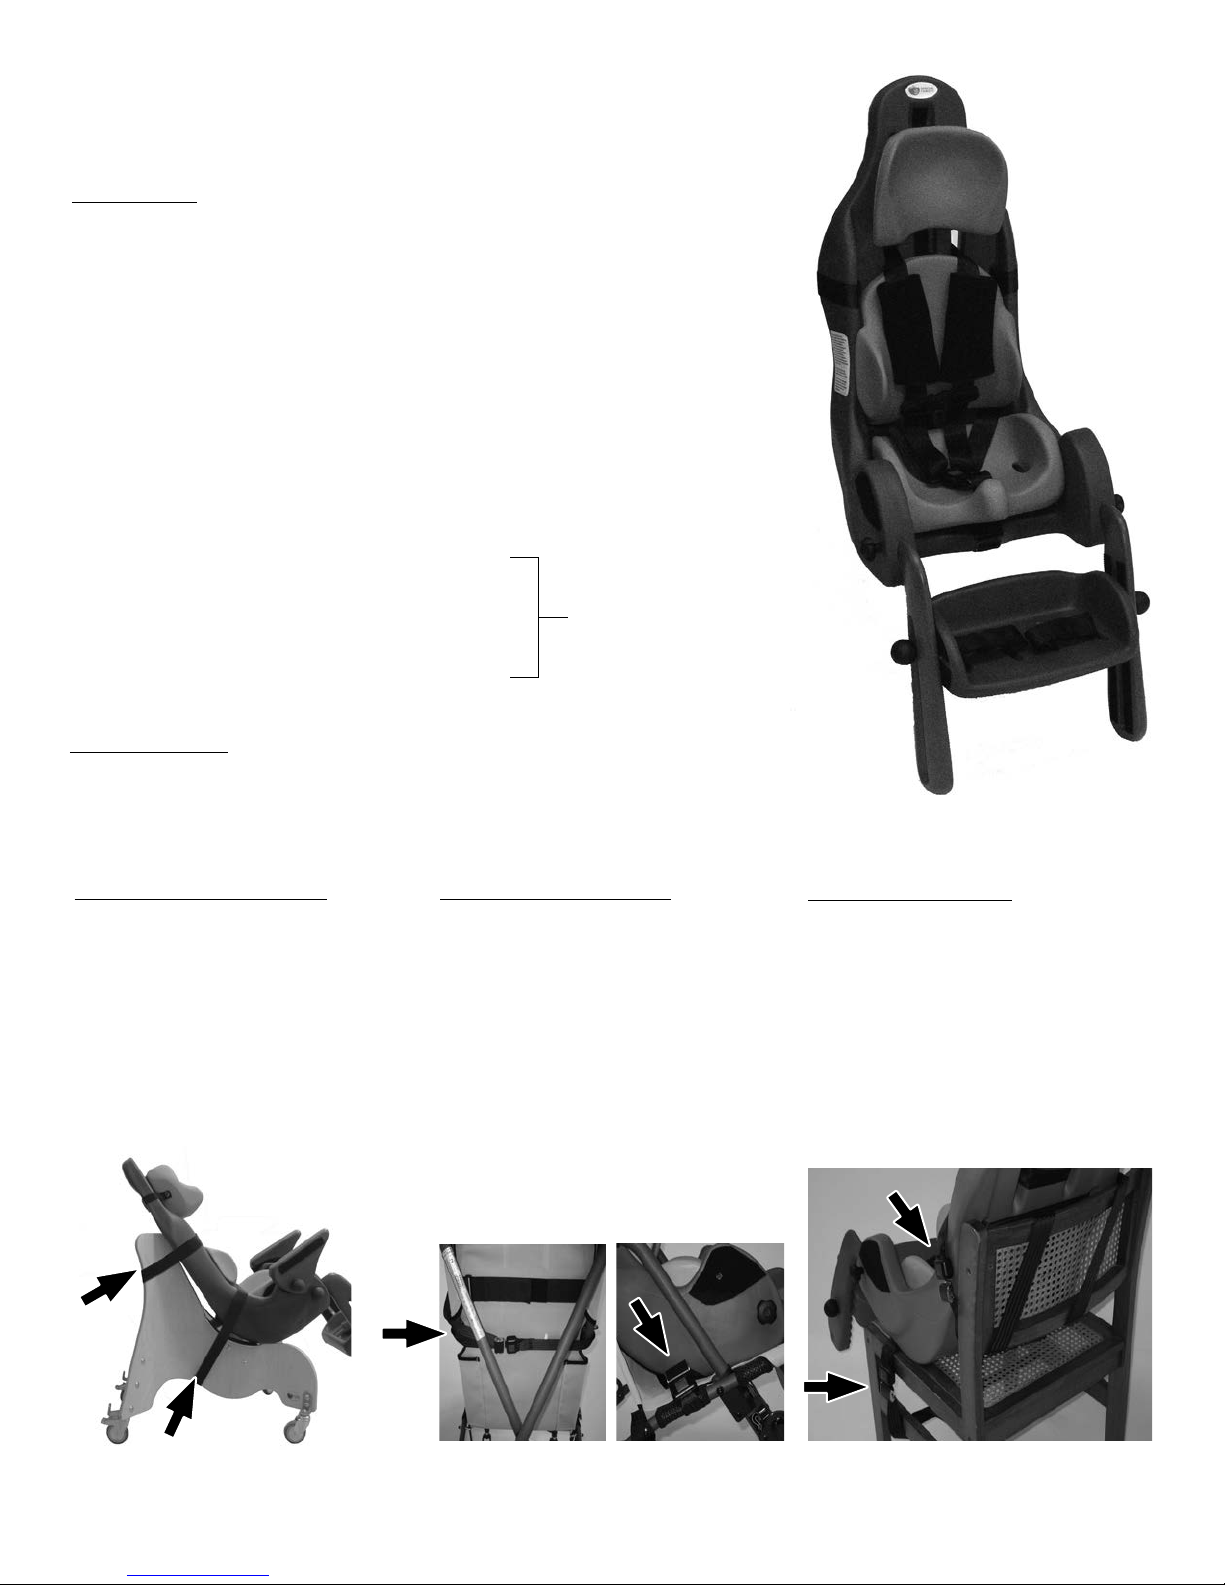
Assembly
First attach the MPS to the appropriate base of choice with the
Attachment Straps. If purchased as a car seat, skip to page 7.
Mobile Floor Base
- Secure tightly the Rear Strap
under lip of Mobile Floor Base
- Secure tightly the Bottom Strap
under Mobile Floor Base
between both sets of wheels
Figure 1.
Push Chair Base
- Secure tightly the Rear Strap
around back of Push Chair Base,
between the fabric and the
cross bars Figure 2a.
- Secure tightly the Strap under
Push Chair Base under the seat
making sure to thread between
the seat back frame and the
front leg frame Figure 2b.
Standard Chair
- Secure tightly the Rear Strap
around back of chair (spiral
method below or straight
method in Figure 1.)
- Secure tightly the Bottom Strap
under seat of chair Figure 3.
- Note: Make sure the chair is
stable!
Figure 1.
Figure 2a. Figure 3.
Figure 2b.
Special Tomato™ Multi-Positioning Seat: User’s Guide 5
Setting Up Your MPS
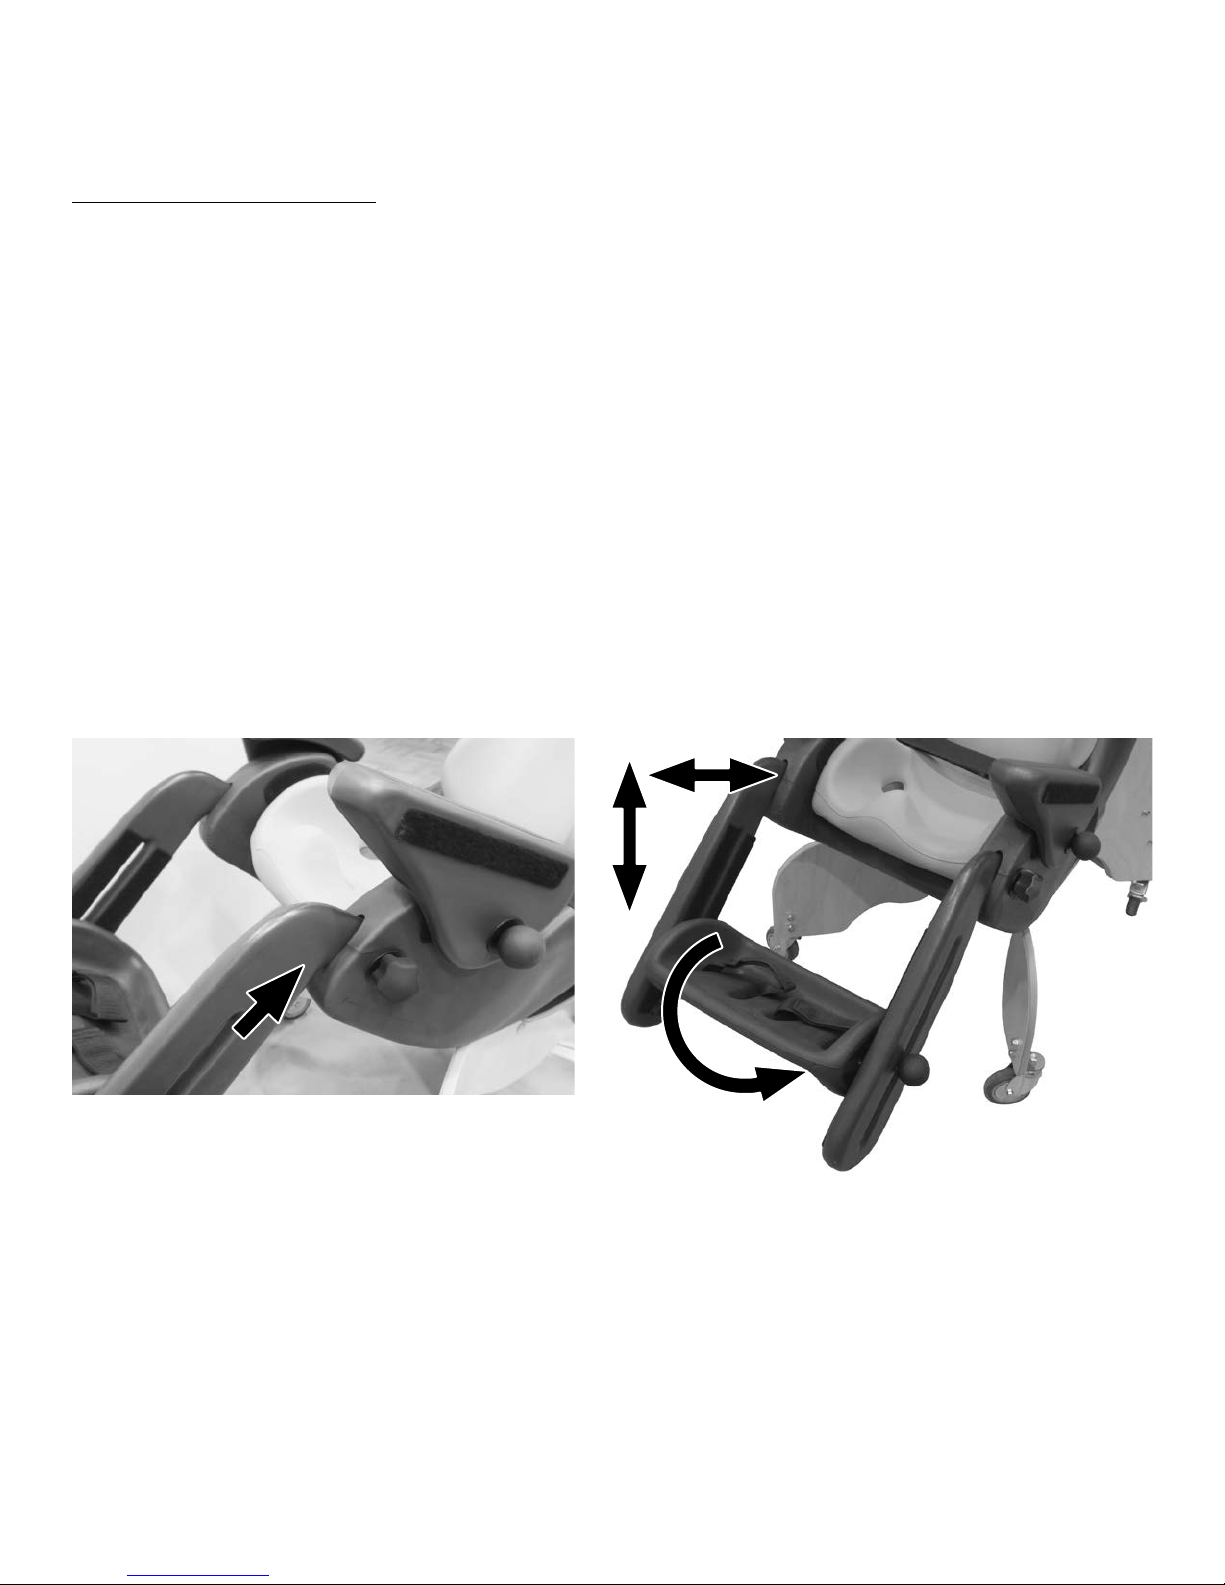
Footrest Assembly
Your Special Tomato™ Multi-Positioning Seat (MPS) comes partially assembled for your convenience.
1. Insert both ends of the Leg Rest Extensions into the corresponding holes in the front of the seat shell.
2. Make sure to insert the leg rests far enough so that the Leg Rest GROOVED Knobs (1 3/16”) go
through one of the three corresponding holes in the leg rests, giving the appropriate depth for your
child. Figure 4.
3. Tighten the 2 Leg Rest GROOVED Knobs (1 3/16”). Overtightening is not necessary! Turn it until you
feel resistance. There is a block to prevent tightening it too much.
4. Place the footrest at the appropriate height, depth, and angle for your child. Figure 5.
5. Insert the 2 Footrest BALL Knobs (1 1/2”) into one of the three appropriate holes on the side of the
footrest. These Footrest BALL Knobs (1 1/2”) should be tight!
Figure 4.
Please Note: It is NOT necessary to overtighten any of the knobs.
They are designed to hold with a SNUG fit!
6 Special Tomato™ Multi-Positioning Seat: User’s Guide
Figure 5.
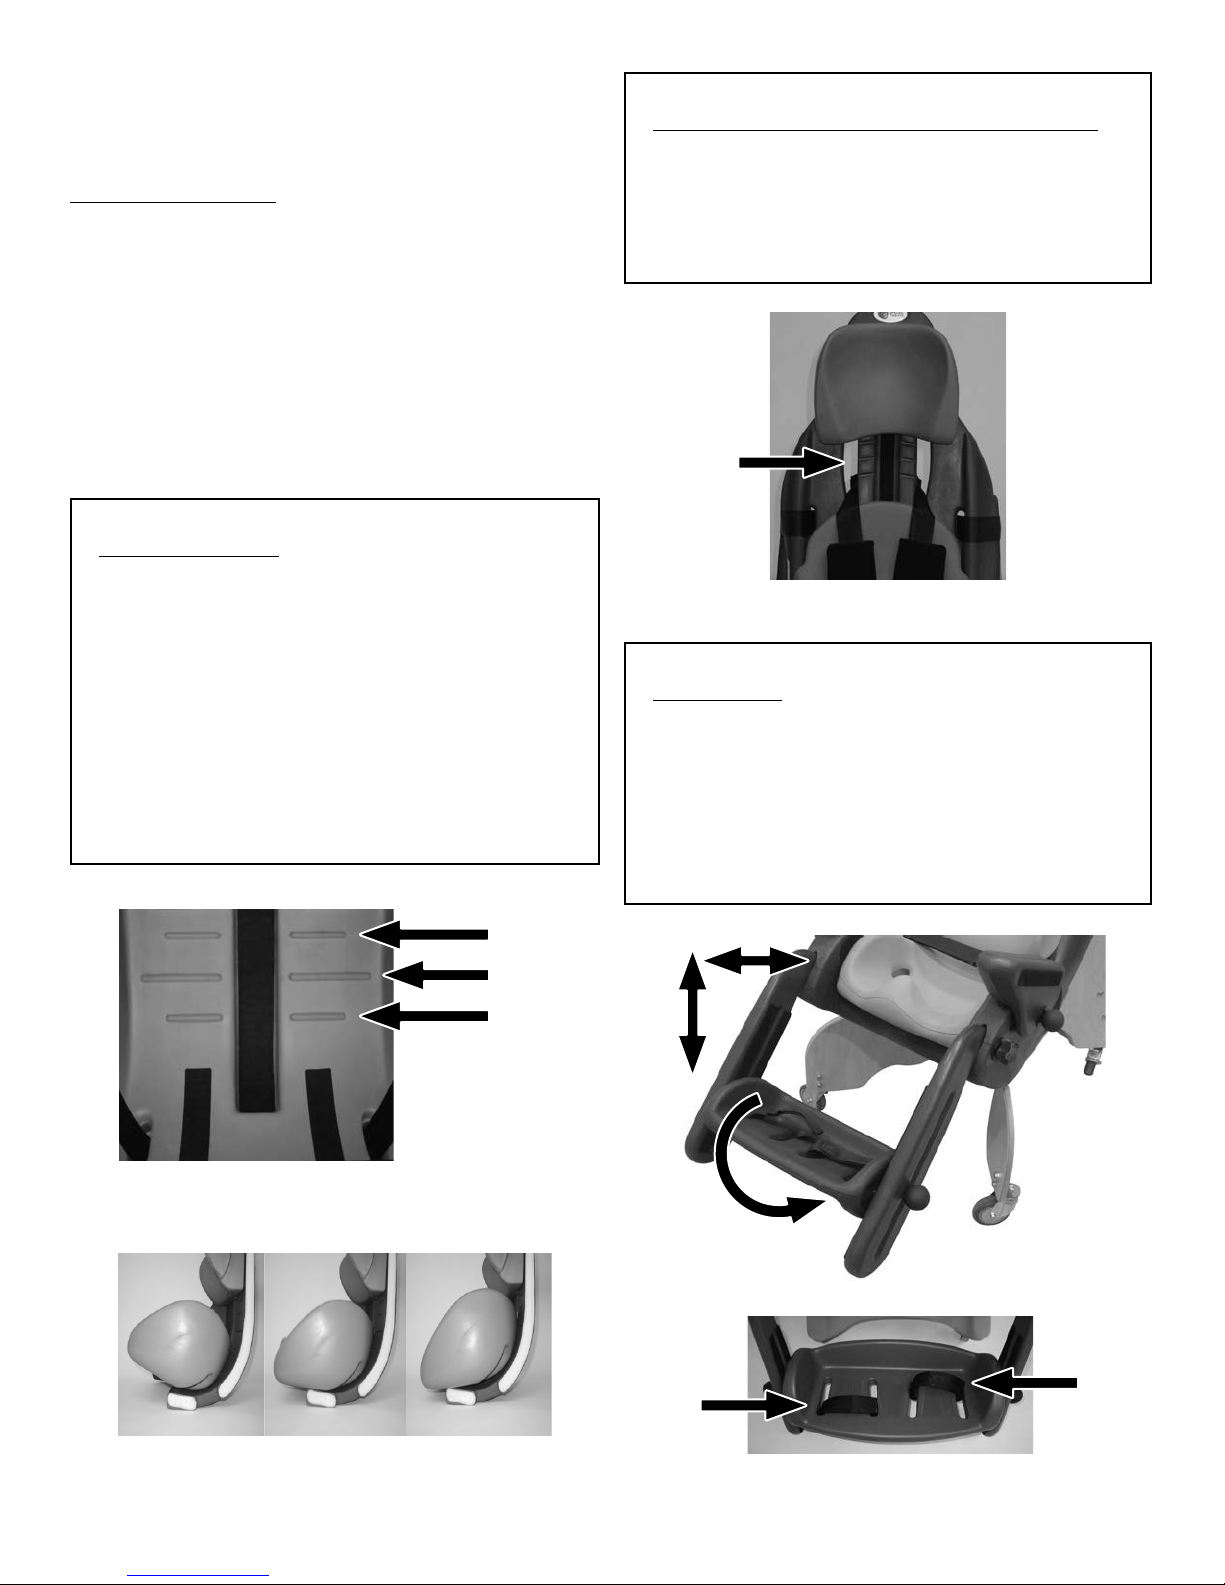
Setting Up Your MPS
Head Cushion and Back Cushion
Adjustments
The Special Tomato™ Multi-Positioning Seat
provides a comfortable and adjustable
seating surface for your child. The durability
of this unique product along with builtin adjustability allow for years of use as
it grows with your child. Adjustability is
accomplished as follows:
Seat Cushion
Uses hook and loop strips plus our track
system for easy adjustment. Under the Seat
Cushion are three guide lines. Figure 7a. The
middle line positions the hips at 90°. The top
line provides 15° of Hip Extension. The bottom
line provides 15° of Hip Flexion. Our Hip Flex™
Adjustment provides 15° of Hip Flexion or 15°
of Hip Extension without recline. Align the top
of the seat cushion along the selected line for
hip positioning. Figure 7b.
Adjust up and down easily. Hook and loop
strips and our track reference mark system
allow you to quickly reposition the modular
cushions to fit your child. Figure 6.
Figure 6.
Foot Rest
Provides maximum adjustment allowing for
height, depth, and angle adjustability. hook
and loop straps secure your child’s feet to
the footrest for proper positioning. Figure
8a. Adjust the depth of the footstraps as
needed. Figure 8b.
Figure 7a.
15° of Hip Flexion Neutral Hip neutre 15° of Hip Extension
Figure 7b.
105°
90°
75°
Figure 8a.
Figure 8b.
Special Tomato™ Multi-Positioning Seat: User’s Guide 7

Setting Up Your MPS
Adjustments
Five-Point Harness: Provides comfort and adjustment
needed to properly support and position your child.
Figure 9a.
To adjust the Five-Point Harness, remove the black covers
from the shoulder straps. Press in the gray button. Figure
9b. Pull the top strap to tighten. Figure 9c. Pull the bottom
strap to loosen. Figure 9d.
Figure 9a.
Figure 9b.
Figure 9c. Figure 9d.
Lap Strap
Press the center red button to release both
sides of the lap strap. Re-insert each metal
buckle into the corresponding socket to
secure the lap strap portion of the 5-point
harness. Figure 10.
8 Special Tomato™ Multi-Positioning Seat: User’s Guide
Figure 10.
 Loading...