

Speakeasy Vintage Music G2 Vintage Tube, Vintage Tube Owner's Manual
Speakeasy Vintage Music, Inc.
3250 Schoolhouse Road
Dover, PA 17315
717-292-0814
http://www.speakeasyvintagemusic.com
Specifications subject to change without prior notice or liability.
All Trademarks are the property of their respective owners.
S
S
S
p
p
p
e
e
e
a
a
a
k
k
k
e
e
e
a
a
a
s
s
s
y
y
y
V
V
V
i
i
i
n
n
n
t
t
t
a
a
a
g
g
g
e
e
e
M
M
M
u
u
u
s
s
s
i
i
i
c
c
c
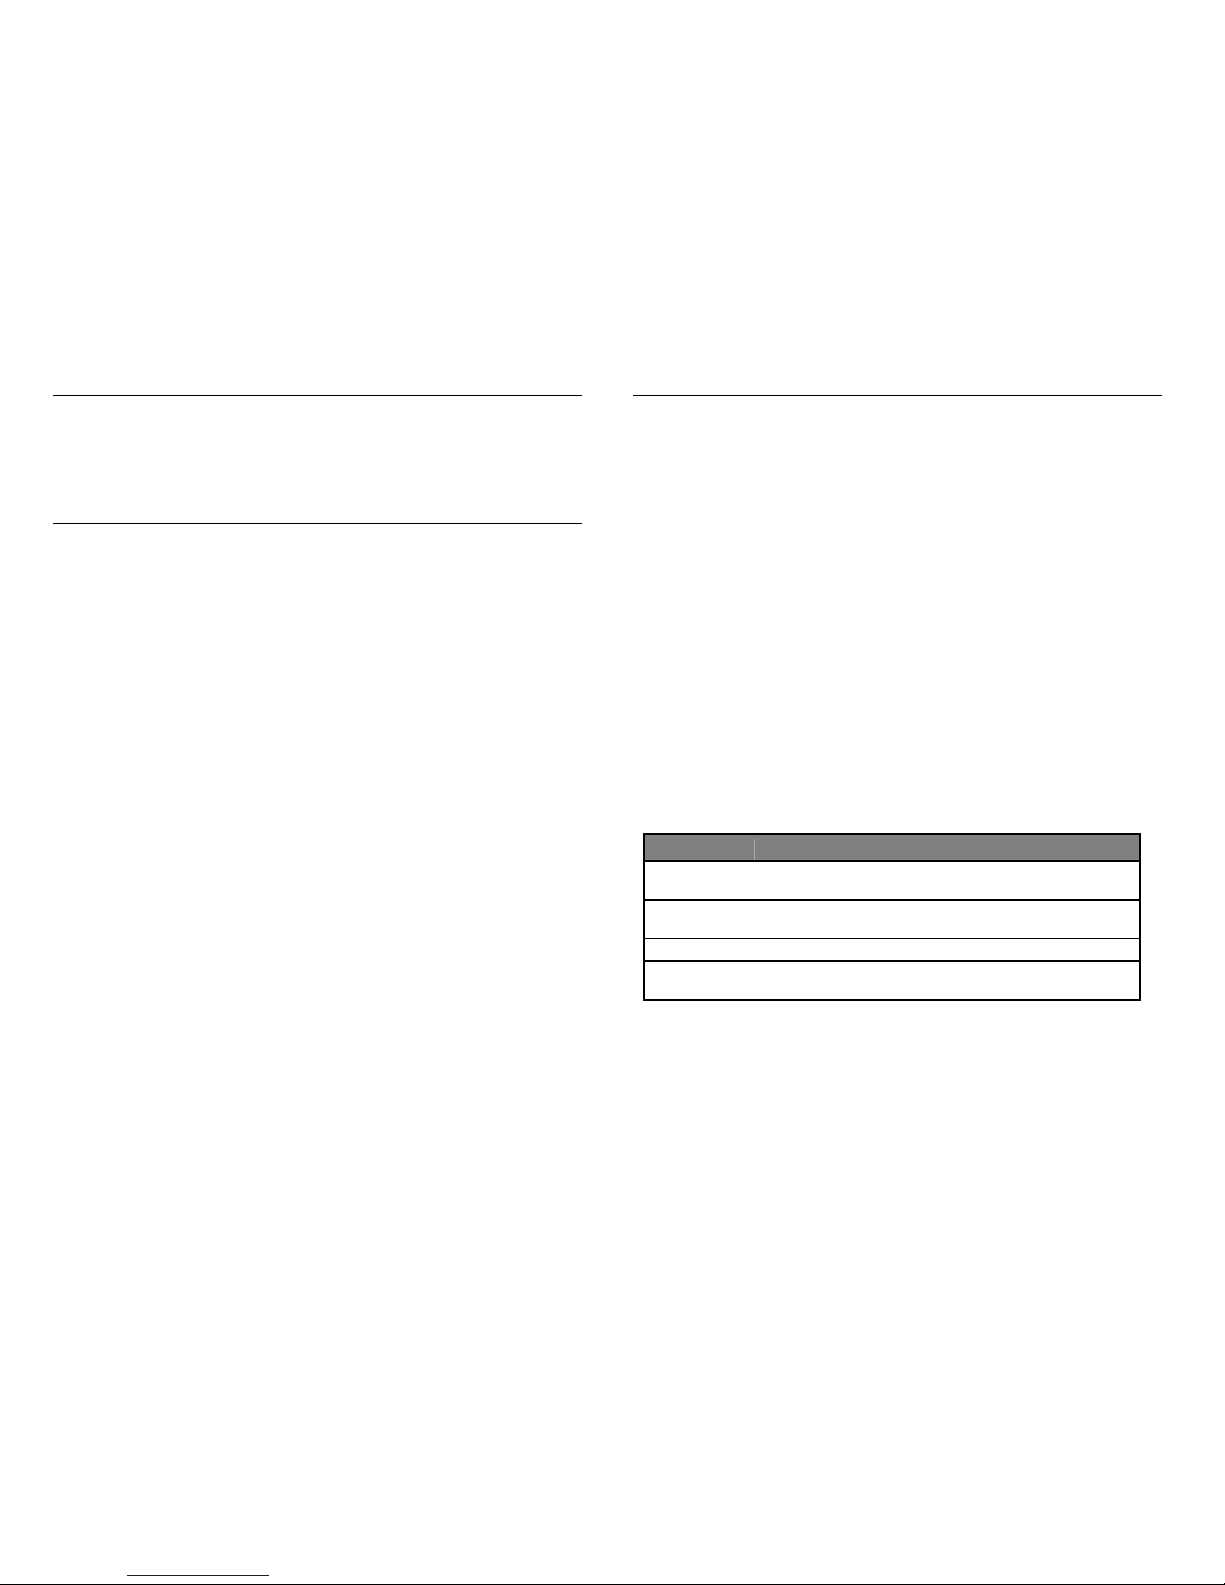
Vintage Tube Preamp
G2
OWNERS MANUAL
INTRODUCTION
Congratulations on choosing the Speakeasy Vintage Music Vintage Tube
Preamp. We recommend that you take a moment and read this manual as it
provides information that will help you in using this unit to its fullest
potential.
FRONT PANEL DESCRIPTION
Channel A descriptions are identical to Channel B if so equipped.
INPUT
Standard unbalanced ¼” input jack, connect to your synthesizer’s “mono”
output. Set your keyboard’s output level to between 75% and 100%.
VOLUME
The Volume knob controls the overall preamp drive level; you generally
want to keep this control between 50% and 75% also. When using the
preamp for the first time, start with this control at “0” and once the unit is
on and warmed up, advance the control slowly until you get a feel for where
the volume best suits your system.
TREBLE
The Treble knob controls the relative volume of the higher frequencies. Start
with this control set around 50%.
BASS
The Bass knob controls the relative volume of the lower frequencies. Start
with this control set around 50%.
HIGH / LOW GAIN Switch
This switch toggles an additional gain stage in and out of the audio path.
Use the High Gain position, unless undesired distortion is present.
REAR PANEL DESCRIPTION
OUTPUT (A/B)
Standard unbalanced ¼” line out jack. Connect to your audio amplifier’s
input.
GAIN (A/B)
Sets the preamps overall output level. You want to keep this level as high as
possible to have the best signal to noise ratio. If you are experiencing hum
or noise, try turning this control up and your amplifier’s input level down. If
the preamp is overdriving your amplifier, lower this control until the
distortion disappears.
SPEED
(OPTIONAL)
¼” jack used to connect a standard footswitch with a ¼” plug. Units with
the Stop option will require a dual footswitch was a stereo ¼” plug.
“PIG TAIL” CONNECTOR
(OPTIONAL)
If your preamp was ordered with a Leslietm option a special circular
connector will appear on the rear panel. Compare its label with the chart
below to determine which “Family” of tone cabinets your preamp is
compatible with.
Pigtail Label
Compatible Leslietm Models
122 30A, 30C, 31A, 31H, 21H, 22H, 22R, 122, 122R, 122V, 122RV,
142, 222, 222RV, 242, and 122A.
147 31W, 44W, 46W, 25, 45, 47, 47R 125, 225, 145, 147, 147V, 147RV,
245, 247, 247RV, and 147A.
9 Pin 760, 770, 825, 900, 910, and 925.
11 Pin 122XB, 130, 315, 330, 412, 615, 715, 716, 722, 723, 740, 750, 771,
815, 820, 822, 840, 860, 912, and 914.
 Loading...