

6 charging the battery
The device has an internal battery. You have to charge it before starting to use it,
connecting the device to the battery charger included in the box.
With the device switched off, connect one end of the USB cable in the battery
charger and the other end to the device’s connector (7). The battery will start to be
charging. Charge the battery during around 4 hours to ensure a maximum usage
time and to lengthen its useful life.
N
NOTE
- The USB connector of the cable is slightly longer than other cables in the market, so you MUST
use the USB cable supplied in the box, otherwise, you will not be able to charge the device
either to connect it to the computer .
- If the battery is TOO discharged, it’s possible that the device needs some minutes to start
charging. If you don’t see anything in the display it’s possible that it is too discharged. Wait some
minutes until the charging process starts.
- Do not forget to charge the device before the rst use and when the battery icon is empty.
7 connection to the computer and
formatting the memory
With the device switched on, connect it to a computer with the USB cable of the
box. The computer will automatically recognise the device.
In the device you will see a connection screen. To connect the device with the
computer, press on “Turn on USB storage”.
Once the computer has detected the device, it will operate like a portable disk.
Therefore, le transfer will be carried out in the same way as with any other storage
device (for example, selecting and dropping les to the unit, or copying and pasting
les in the unit).
4 environmental recycling
Never dispose of the device with domestic waste.
Ask your Town Council about how to dispose of it in an environmentally friendly way.
The cardboard box, plastic packaging and player components may be recycled in
accordance with prevailing recycling regulations in your country.
Always adhere to prevailing regulations.
Those who fail to do so may be ned or prosecuted in accordance
with the law.
The crossed out garbage can that appears on the device means that
when it has reached the end of its useful life, it should be taken to a
special waste disposal centre and treated separately to general urban
waste.
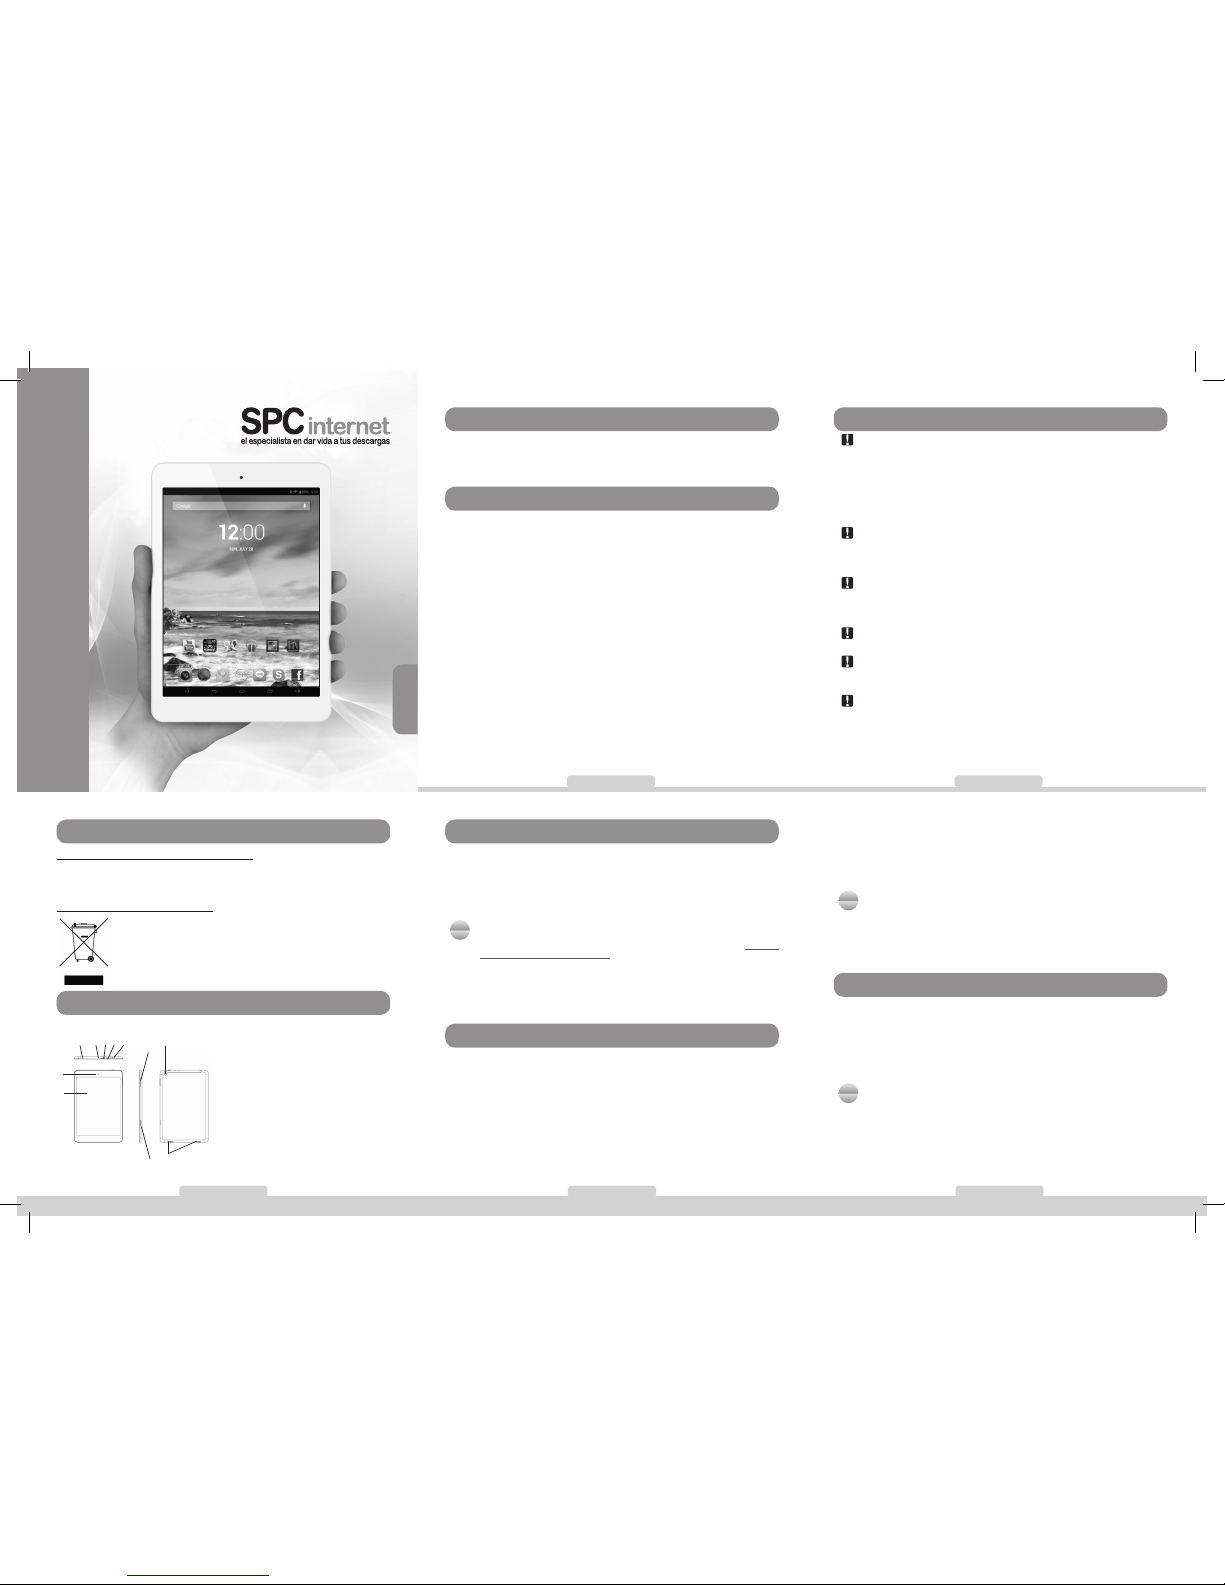
5 unit and controls
3 cautions and warnings
Cautions: Do not heat the device. Do not expose the unit to water or humidity. Do
not put it anywhere that is very hot, cold, dirty or wet. Do not attempt to disassemble
the unit as it could be damaged when handled by inexperienced people, thereby
forfeiting the guarantee. Keep the device and all its parts and accessories out of reach
of children. If the device is not going to be used for a long time, power it off. Use a
damp cloth to clean the unit, do not use benzine, alcohol or chemical solvents. Do
not use abrasive products or aerosols. Keep the device dust-free, and away from high
temperatures and vibrations. Never leave it in direct sunlight.
Connectors and ports: Do not repeatedly try to plug a connector into a port
if the connection between the connector and port does not occur immediately, as
they probably do not match. Make sure that the shape of the connector matches
the port and that you have put it in the right way.
Earphone volume: Using the earphones on high volume may cause permanent
hearing loss. If you get used to higher volumes, this could seem normal, but it could
damage your hearing capacity. Adjust the volume of your player to an appropriate
level. If you hear a beep, turn the volume down or stop using the player.
Activities: It is recommended that you do not use the player when performing
activities that require your attention.
Compulsory information according to regulations for battery-operated
devices. Caution: Risk of explosion if battery is replaced with a battery of a wrong
kind. Dispose of batteries in accordance with the instructions.
Compulsory information according to regulations for Lithium battery-
operated devices. Caution: There is a risk of explosion if the device overheats or
is submerged in water.
Android Internet Tablet
glow 8
USER GUIDE
10/13-Edition-2h
user guide | 3 user guide | 4
user guide | 1
user guide | 5
user guide | 2
English
1 introduction
This guide describes the player’s features and operating mode as well as its
accessories. The following is included in the box: GLOW 8 tablet / High-quality stereo
earphones / USB cable to connect the player with the PC / USB-OTG cable to connect
USB memories, cameras, etc. / Battery charger / User guide / Warranty sheet.
2 features
- Screen 7.85’’ touch capacitive anti-scratch
- Processor Quad Core Cortex A7 1.2GHz
- Battery Lithium-Polymer 4000mAh
- Camera Front VGA / Back 2Mpx & 720p recording
- Connections HDMI / micro USB / 3.5mm earphone
- Operating system Android 4.2
- Other specications Bluetooth
MicroSD (up to 32GB)
G-sensor
Plays music (MP3, WMA, WAV, APE, FLAC, AAC,
OGG, AMR, MID, MP1, MP2)
Plays videos (AVI (DIVX/XVID), MKV, FLV, WMV, M4V,
VOB, 3GP, RM, RMVB, MOV, M2TS, MP4, MPG, TP, TRP,
SVCD, VCD, TS)
Plays pictures (JPG, BMP, PNG, GIF)
Plays e-books (EPUB, PDF)
- Compatible operating Windows XP/Vista/7/8, MAC 10.6 or lower, Linux
systems
- Battery life 5h of web surng (estimated medium value)
-
Dimensions and weight
200 x 134 x 8 mm / 330 g
To format the unit (in case you need it), in “My PC”, right click on the storage drive
created by the unit. Then click on the “Format…” option. Select the FAT32 le
system and click “Start”.
To disconnect it, double click on the small icon displayed on the bottom righthand part task bar, and extract the formatted unit using the icon “Safely remove
hardware”, select the unit and click on “Stop” option.
N
NOTE
- Do not disconnect the player during the data copying or deleting process as this could cause
the unit to malfunction and damage the software. Do it using the icon of the bottom right-hand
task bar.
- Do not copy les or folders with le names too long or strange characters, because it may cause
a wrong performance of the device. If so, change the name of the les or folders.
8
memory card and USB device installation
Insert the microSD memory card (up to 32GB) in the microSD card slot (8) with the
contacts of the card inside, and looking at the back. Press until it is fully contained
inside the device and you hear a click. To extract the card, press it slightly inwards
until you hear a click. The card will pop out of the slot, then you can remove it.
To connect a USB memory or device, connect one end of the USB-OTG cable
supplied with the device and the other end into the USB device that you want to
connect.
N
NOTE
- You may need to use your nger nail or a slightly long object to help you to insert and remove the
card.
- The card and USB memory (not included) must be formatted in FAT32.
1. Front camera
2. Touch screen
3. Volume +/-
4. Microphone
5. HDMI connector
6. Earphone connector
7.USB port to connect to computer and
charge the device
8. MicroSD card slot
9. Switch on / Switch off / Power saving
mode activation
10. Speaker
11.Back camera
9
1
46 5 7
3
2
8
11
10

12 connectivity: WiFi / Bluetooth
Bluetooth You can connect to another device with the Bluetooth connectivity. You have
to enable it in “Settings” “Bluetooth”, look for the other device, and if both are seen,
touch the name of the other device to make the connection. You can also congure the
visibility and its time from this section.
You can connect to other devices like earphones (to listen to the music and talk by phone),
other mobile phones or tablets (to send les), etc.
WiFi
The device has WiFi to connect and browse Internet when you are in a WiFi network
range with Internet connectivity. To activate it:
Access the menu with the
icon and choose “Settings”. In the rst option, ensure that
the WiFi is activated, or if isn’t, press on the switch until you see the “ON” word.
The device makes an automatic wireless network search, and it shows the ones it nds
in the right side. Select the network to which you want to connect, pressing on it. If it’s
a secure network, the device will ask you to input the password. Then the device will
try to connect to the network, and if satisfactory, under the network name you will see
“Connected” word.
You can also add manually a network, from the icon
link in the top right position.
13 applications
To see the full list of applications and open them, you have to press the icon from
any desktop. Move right and left to move through the different applications screens in
case they occupy more than one screen. From this screen you can also access Widgets
section, if you move the nger to the right. You can install these widgets in the desktops
(press and hold them and drop in the desktop to place it).
Additionally you can access the applications from the desktops, in case there is the
corresponding icon as shortcut.
To install applications, you can do it from any applications store directly, or from a le with
“APK” extension from the memory card or internal memory.
N
NOTE
It is possible that some applications are in English.
- You can group icons in folders in the desktop to sort and store direct accesses,
widgets, etc. inside them. To do this, hold down an icon and drag it just above
the other.
- It is also possible to change the desktop background. Press and hold on any
desktop space and in the pop up menu, select “Wallpapers”. You can choose
between the default animated wallpapers, default background wallpaper gallery,
or any picture from the gallery, as last option.
The device has accelerometer to turn the screen automatically if the device’s
position is horizontal.
9 turning ON / OFF the device
Switch on the device by pressing the key (9) during some seconds. This
process needs some time, you have to wait until it nishes.
The device will go to locking screen, you have to press and move the lock icon
to the right position. Then you will see the main desktop, where you can see
the bottom information bar, some shortcuts to different functions, and the icon to
access the menu.
To switch the device off, keep pressing the
(9) during some seconds. Press
“OK” to conrm.
N
NOTE
- To activate the power saving mode and lock the screen, press the (9) key once. The
screen will switch off but the device will continue powered on. To activate it again, press once
again the key
(9) and then, move with the nger the lock icon to the right posistion.
- If at any time the device does not work correctly or if it gets blocked, in order to reset it press for
some seconds the
(9) key, until the device switches off.
- If you activate the “quick boot” in the power-off screen, after switching off, it will switch on
quickly, but it’s not a full switch off, it has a power consumption, so that it is recommended not
to activate the “quick boot” if you will not use the device for long time.
10 touch screen
- Select a function, option, etc. To select an option, just press on it.
- Move through a list When you see in the screen a list of items (folders, les,
sub-menus, etc.), you can move through the list by moving the nger from up to
down and vice versa.
- Select an item from a list
Just press once on it.
- Virtual keypad When you press on a text input eld, you will see in the bottom
part of the screen a virtual keypad, which allows you to write as with a normal
keypad.
- Back to previous menu To go back to the previous menu in any of the displays,
press on
icon in the bottom bar. Press it several times if you want to go to the
main desktop.
- Go to desktop
To go directly to the main desktop press the icon of the
screen.
11
unit operation and Android™ interface
The device has Android 4.2 JB (Jelly Bean) operating system, improving the graphical
interface, functions, applications and other features comparing with the previous
versions.
The device has 5 different desktops where the shortcuts to some applications and
widgets (applications that can show and run in the desktop) are shown as icons. To
move from one desktop to another one, just press with the nger on the screen and
drag it to left or right position.
The status bar in the top part of the screen shows the system notications, WiFi network
status, battery status, time; and the bottom bar allows you to increase or decrease the
volume, access to previous screen, to main desktop, and to recent applications.
Moreover you can customize the interface and desktop:
- Remove an icon or widget, keep pressed them and move them, or drag them to
upper position to “X Remove”, to remove them.
- Move an icon or widget, keep pressed on them until it makes its size slightly
bigger, and drag it to other empty place from same desktop or any adjacent.
- To add a widget, press on the
icon to access to main menu and then press
on WIDGETS option to show the available ones (this depends on the installed
applications). Choose the one you want, keep pressed it and it will appear in the
desktop if there is enough space to allocate it.
14 multimedia
The device has some pre-installed multimedia applications, for music, videos, pictures
and e-books playing. Inside each application, they will be displayed the les that are
found in any of the memories (internal, microSD, USB) of this kind. You can play the
les and inside the playing applications, you can do the typical functions (zoom, pause,
forward, etc…).
Also, it has a le browser that shows you the different les and folders of the
memories.
It also has microphone and voice recording application. The recordings are saved in
the root of the internal memory.
With the application “Camera”, you can take pictures using the front camera (also used
for video calling) or the rear camera, for higher quality photos.
15 settings
Press on Menu and Settings to access the different conguration options.
16 HDMI connection to a TV
The device has a micro HDMI (Type D) connector to be able to connect it to a TV.
You have to use a HDMI cable (not included). Once the TV has recognized the
device, you will see the display of the device in the TV.
N
NOTE
The micro HDMI connector of the device is slightly deeper than the estandar, so you have to look for
a cable with the male connector 5.9mm long at least, to be compatible with your device.
TELECOM Y NOVATECNO S.A. hereby declares that the Android Tablet
Reference number GLOW 8 complies with the essential requirements and any
other applicable and required provisions of the 1999/05/EC directive.
You can view the complete contents of the Declaration of Conformity online at:
www.spcinternet.com
user guide | 9
user guide | 10
user guide | 7
user guide | 11
user guide | 8user guide | 6
Back Back to previous menu.
Home
Recent
Press to go to main desktop.
Press to switch between the most recent opened applications.
Volume
Press to move down or up the system volume. You can also use the key (3).
Advanced menu
Press to go to settings menu and options (only works in some
applications).
WiFi
This icon is shown if the WiFi connectivity is on.
Battery
Battery status.
Search
Web searching or installed applications quick search.
Voice search
Web voice searching.
Menu
Press to show and access the installed applications and system
settings.
Security
Conguration of locking parameters and device´s security.
Language & input
Language, dictionaries, keyboard and voice synthesis conguration.
Backup & reset
Backup parameters conguration and factory reset.
Accounts
User accounts. You have to dene at least a Google account to the fully working
of the device. Other compatible accounts: Twitter, Exchange, Facebook,
Skype…
Date & time
System time and date conguration.
Accessibility
Functions management to help people with visual difculties.
Developer options
Options related with development and performance of the device, it´s
recommended not to modify them.
About tablet
Hardware and software information of the device.
Wi-Fi Allows to connect to a WiFi network that the device nds or to congure
a network manually.
Data usage
More...
Access to other settings of wireless networks.
Sound
Allows to congure the volume, notications and other parameters related with
sound.
Display
Allows to congure parameters related with the display, like brightness and
background picture.
Storage
Shows the space of the different memories that are in the device inserted that time.
Battery
Shows the battery status and consumption of the different applications.
Shows the data usage in case of using a USB 3G dongle.
Location services
Location services parameters conguration through WiFi network.
Bluetooth
It appears if the Bluetooth is activated.
Apps
You can manage the different installed applications and the ones that are running.
Bluetooth Connection to other Bluetooth device, like a handsfree or any other to
share information.
 Loading...