

Page 1
MULTISCALE
1080p Scaler Box
Operation Manual
Page 2

TABLE OF CONTENTS
1. Introduction.............................................................................. 1
2. Features...................................................................................... 1
3.PackageContents..................................................................…..1
4. Operation Controls and Functions .......................................2
4.1 Front Panel...............................................................………....2
4.2 Rear Panel...................................................................……......2
4.3 OSD Operation........................................................................4
4.4 Remote Control........................................................................5
5. MULTISCALE RS-232 Remote Control Protocol................6
6. Specifications.............................................................................9
6.1 General Specification...............................................................9
6.2 Support Resolution............................................................…..9
7. Connection and Installation..................................................10
Page 3

1. Introduction
SPATZ's Multiscale Scaler Box
is designed to upscale digital/analog video signal from
Composite, S-Video, PC, Component (HD) and HDMI input sources, to digital HDMI output of
wide-range HDTV and PC resolutions, up to 1080p and WUXGA (1920 x 1200.) Besides video
upscaling, the scaler box also converts digital/analog audio signal to digital format, then output
either through HDMI combining with the video, or Coaxial S/PDIF separately. SPATZ Multiscale
has a comprehensive OSD menu that allows user to select a variety of output resolutions and
adjust for best picture quality.
2. Features
1. HDMI 1.2, HDCP 1.1 and DVI 1.0 compliant.
2. Scales any PC (VGA ~ WUXGA) /HD (480i ~ 1080p) resolutions to/from
another PC/HD resolutions.
3. Automatically detect the factory setting of the connected display and
output the corresponding resolution and refresh rate, when the NATIVE
output is selected.
4. Supports 50/60Hz frame rate conversion.
5. Supports 3-D motion video adaptive, 3-D de-interlacing, and 3:2 / 2:2 pull-
down detection and recovery.
6. Provides output picture adjustment on contrast, brightness, hue, saturation,
sharpness, RGB (color tone) level, and aspect ratio size.
7. Supports high resolution input/output:
PC: VGA, SVGA, XGA, SXGA, UXGA, WXGA, WSXGA, WUXGA
HDTV: 480i, 576i, 480p, 576p, 720p, 1080i, and 1080p
8. Supports digital and analog audio input and output.
9. Automatic input selection for HDMI and VGA, VGA has priority. Unit defaults to HDMI if not
VGA signal is connected.
10. SPATZ AUTOSCALE
Since 01.11.2011 we offer a new firmware with the unit that incorporates our AUTO
SCALE. This function allows automatic scaling of any input signal maintaining original
aspect ratio by scaling the input format to the selected output format using either full
display height or full display witdth. No more image distortion with egg shaped
circles. As an example the unit will accept a XGA input image (4:3)and display it
centered on a 1080p (16:9) output image with correct aspect ratio. The scaler will scale
768 lines to 1080p and increase the horizontal pixels by the same ratio and filling left and
right side with black bars to complete the 1920 pixels.
3. Package Contents
1. SPATZ Multiscale Scaler Box
2. D-Sub (15pin) Cable
3. 3XRCA Cable (Composite Video + L/R Audio)
4. Remote Controller
5. 5VDC Power Supply Adaptor
6. Operation Manual
Page 4
4. Operation Controls and Functions
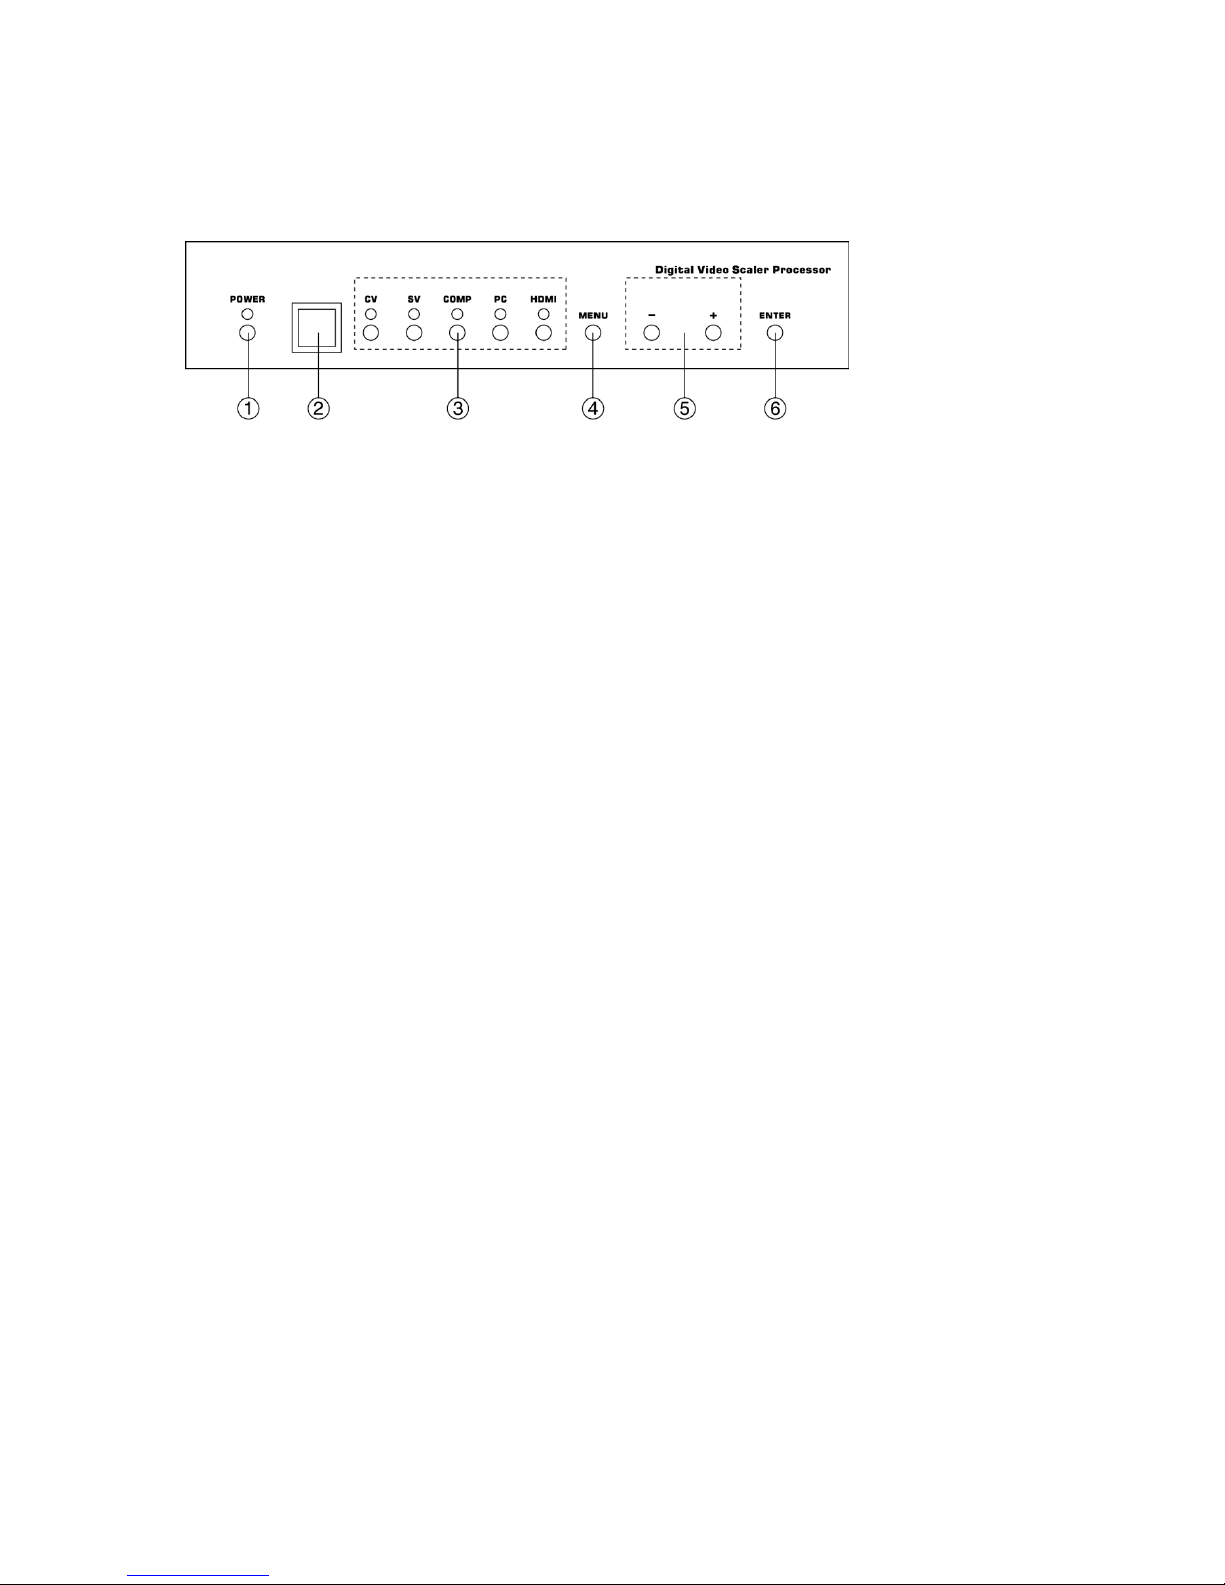
4.1 Front Panel
1. POWER Button and LED Indicator:
Press the button to turn ON/OFF the power of the unit. The LED will illuminate when the
power is turned on.
2. IR remote control sensor.
3. Input Selection Buttons and LED Indicators:
Press each of the buttons (CV/SV/COMP/PC/HDMI) to select the desired input source. The
LED will illuminate when the corresponding input is selected.
4. MENU Button:
Press the MENU button to bring up OSD operation menu (see section “4.3 OSD Operation”
for reference.)
5. +/- Buttons:
a. On the first tier of OSD menu, use + and - buttons to move up/down
the highlight item for selection.
b. Once the desired option is selected, use + and - buttons to toggle
between setting values.
6. ENTER Button:
In OSD menu, use the ENTER button to confirm the selection.
Page 5
4.2. Rear Panel
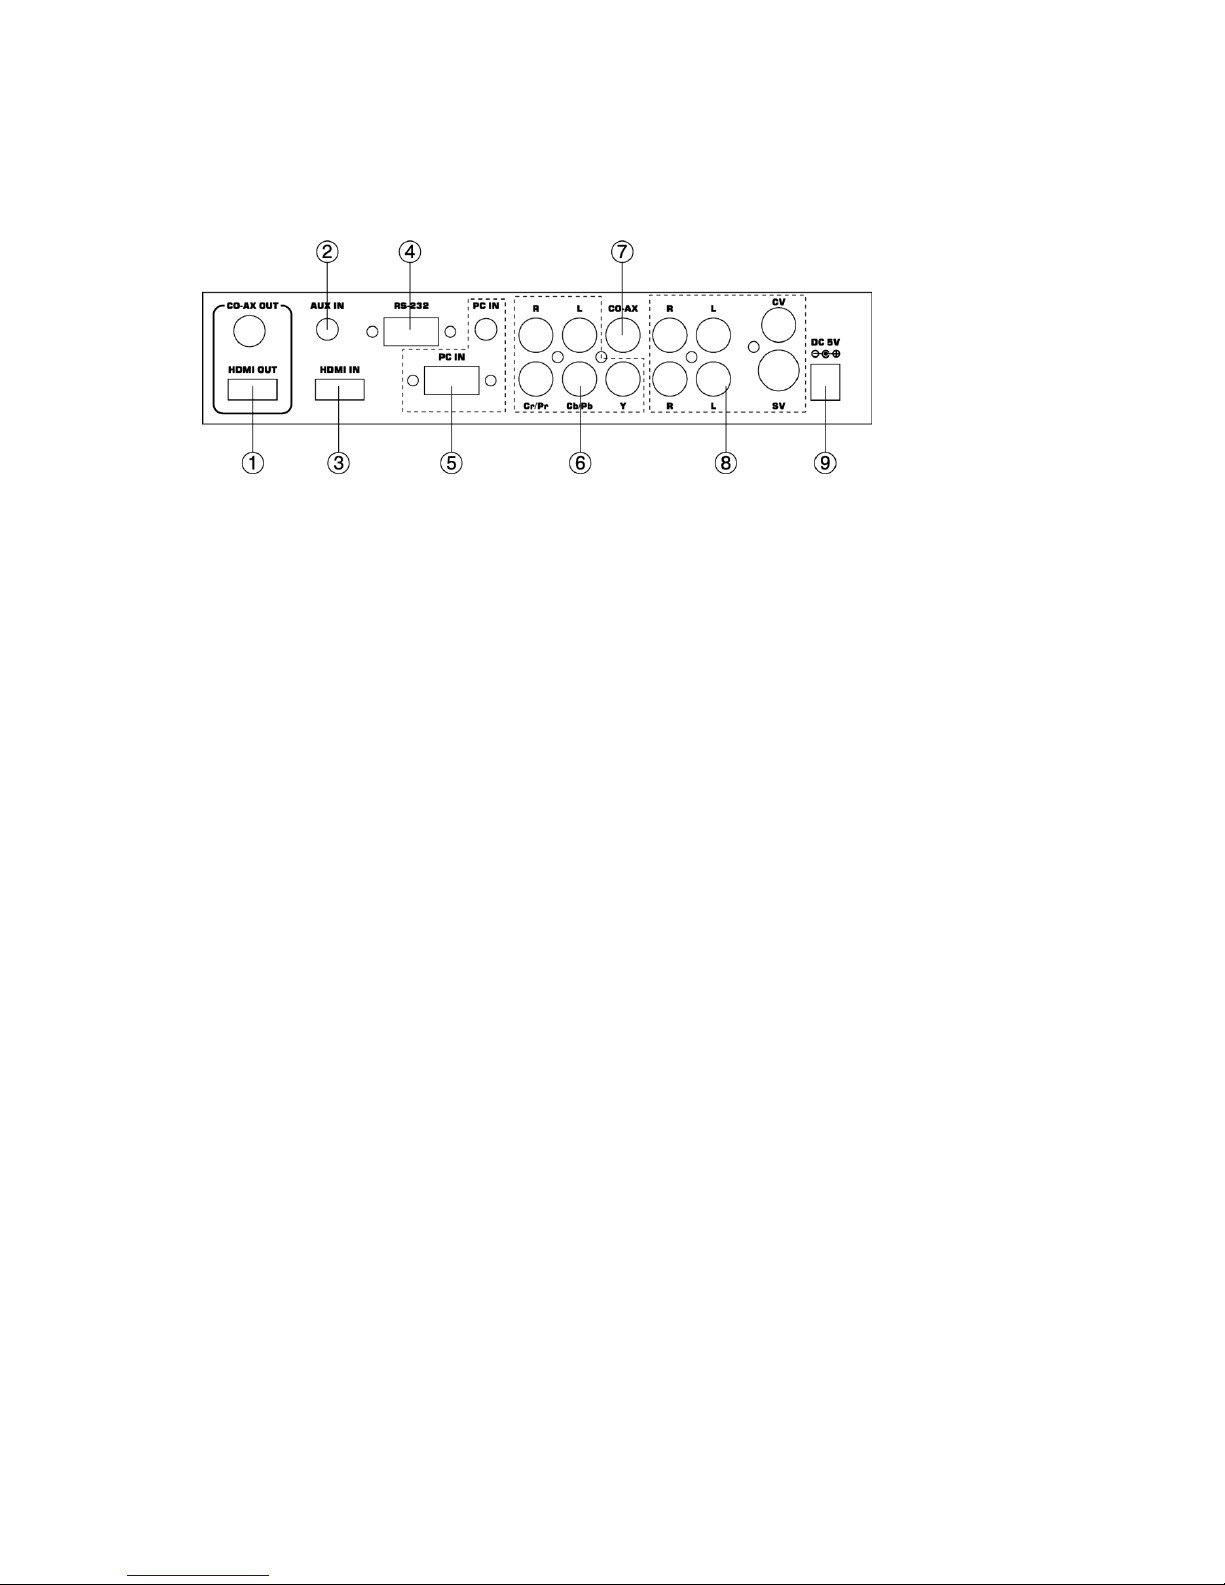
1. HDMI OUT and CO-AX OUT:
Connect the HDMI OUT port to the HDMI input port of your display such as HDTV. Connect
the CO-AX OUT port to the Coaxial (S/PDIF) input port of your amplifier for separate digital
audio output.
2. AUX IN Input:
When the video signal input through the HDMI IN port is from a DVI source such as a PC,
use the AUX IN port to input the audio signal.
3. HDMI IN Input:
Connect the HDMI IN port to the HDMI output port of your source equipment such as DVD
player or Set-Top-Box. Or, use HDMI to DVI cable to connect to the DVI output of your PC.
4. RS-232: Remote Control Port, for AMX or Crestron contol systems
5. PC IN for Video and Audio Input:
Connect the PC IN D-Sub (15-pin) port to the D-Sub output port of your PC. And, connect
the PC IN 3.5mm phone jack to the audio output port of your PC.
6. Y Pb/Cb Pr/Cr Video and L/R Audio Input:
Connect the Y Pb/Cb Pr/Cr (Component) 3 RCA input ports to the Component output port of
your video source equipment such as DVD player or Set-Top-Box. And, connect the L/R
audio input ports to the audio output port of your audio source equipment.
7. CO-AX Input:
The CO-AX port provides the digital audio input support, and can be used to combine with
each video input signals from CV/SV/COMP/PC/HDMI ports. Once connected, please use the
Audio Source Selection in the OSD menu to select between Coaxial (S/PDIF) or other audio
source (see section “4.3 OSD Operation” for reference.)
8. Composite Video / S-Video and L/R Audio Input:
Connect the Composite or S-Video input port to the Composite or S-Video output port of
your video source equipment such as DVD player or Set-Top-Box. And, connect the L/R
audio input ports to the audio output port of your audio source equipment.
9. Power:
Plug the 5VDC power supply into the unit and connect the adaptor to AC wall outlet.
Page 6
4.3. OSD Operation
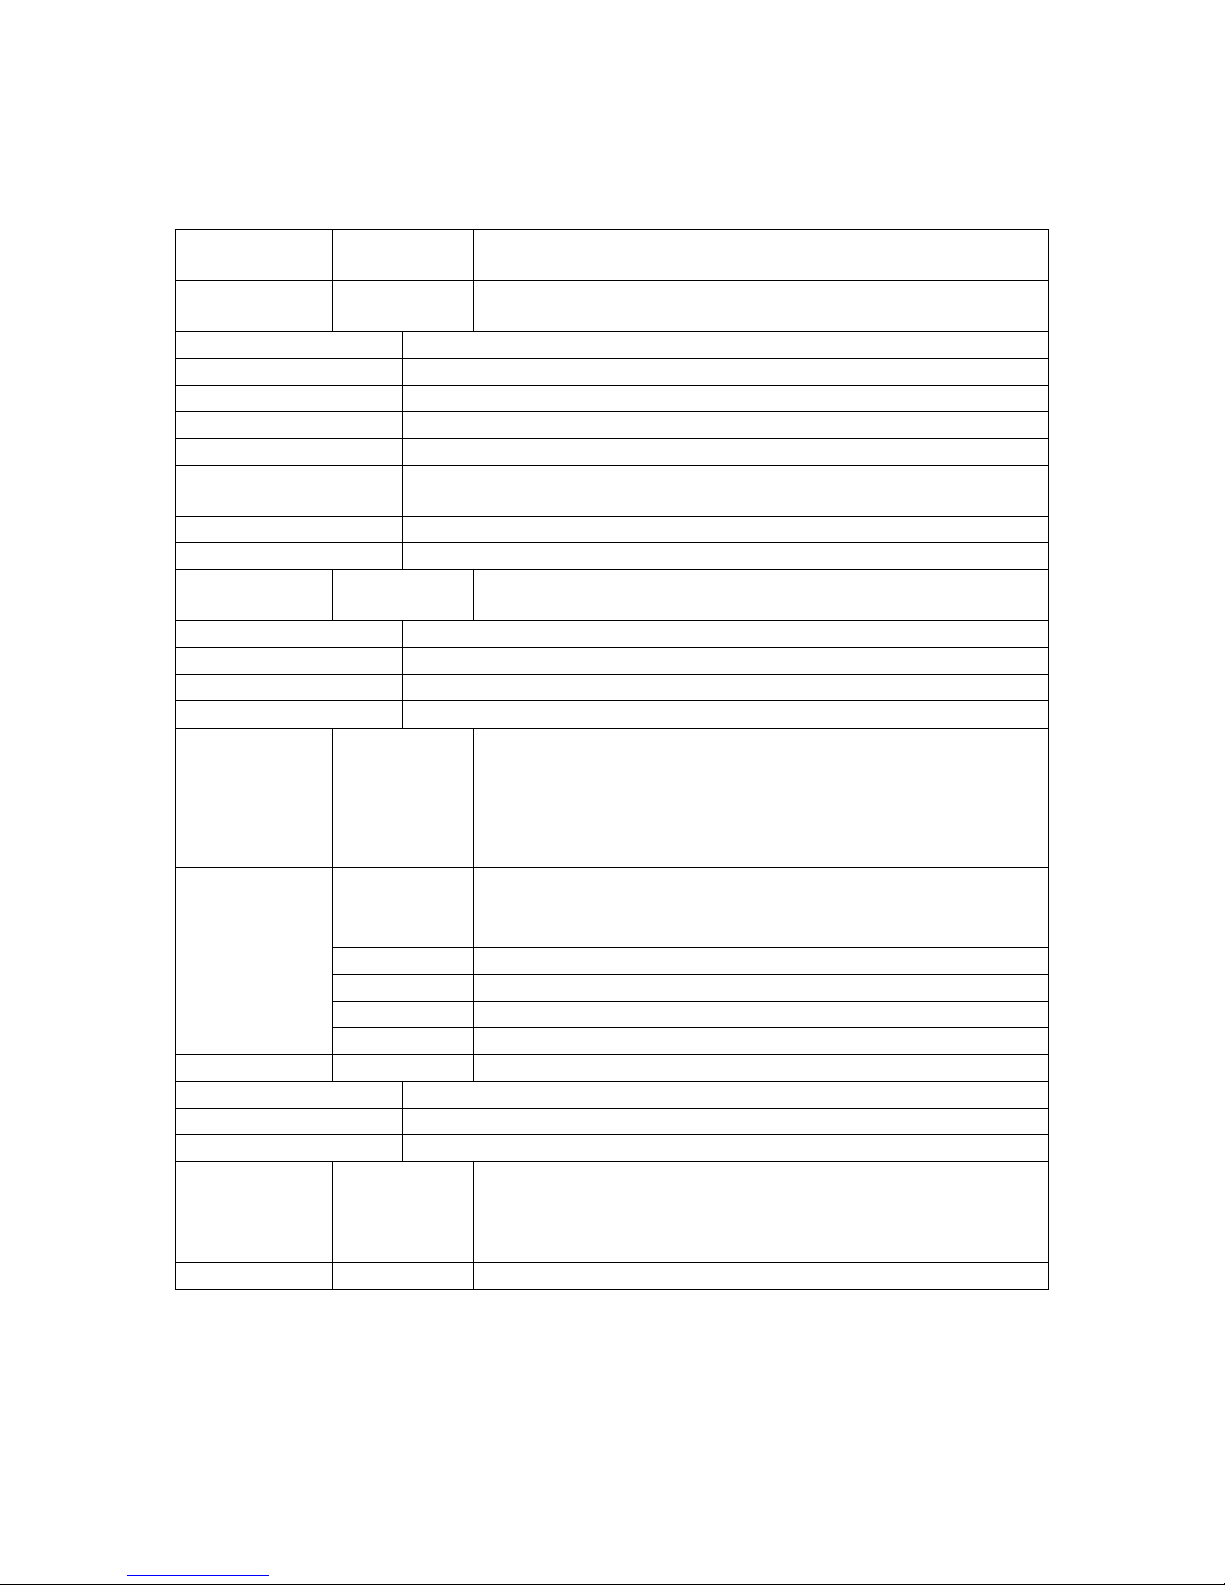
1st Tier Option
2nd Tier
Option
Adjustment
VIDEO
- PICTURE
MODE
USER / STANDARD / VIVID / MOVIE
- CONTRAST
0 ~ 100 of Contrast Level
- BRIGHTNESS
0 ~ 100 of Brightness Level
- HUE
0 ~ 100 of Hue Level
- SATURATION
0 ~ 100 of Saturation Level
- SHARPNESS
0 ~ 100 of Sharpness Level
- SCALE
OVERSCAN / UNDERSCAN /
LETTERBOX / PANSCAN / FULL
- NR
LOW / MIDDLE / HIGH / OFF
- EXIT
Back to the 1st Tier
COLOR
- COLOR
TONE
USER / NORMAL / WARM / COOL
- RED
0 ~ 100 of Red Color Level
- GREEN
0 ~ 100 of Green Color Level
- BLUE
0 ~ 100 of Blue Color Level
- EXIT
Back to the 1st Tier
OUTPUT
-
NATIVE / VGA / SVGA / XGA / SXGA /UXGA / 480i / 480p /
720p@60Hz / 1080i@30Hz / 1080p@60Hz / 576i / 576p /
720p@50Hz / 1080i@25Hz / 1080p@50Hz / WXGA / WSXGA
/ WUXGA
OSD
- HPOSITION
0 ~ 100 of OSD Horizontal Position
- VPOSITION
0 ~ 100 of OSD Vertical Position
- TIMER
0 ~ 100 of OSD Show Time (sec.)
- TRANSP
0 ~ 100 of OSD Transparent Level
- EXIT
Back to the 1st Tier
AUDIO
- SOURCE
HDMI / L/R / COAXIAL
- DELAY
OFF / 40MS / 110MS / 150 MS
- SOUND
ON / MUTE
- EXIT
Back to the 1st Tier
INFORMATION - SOURCE (Input interface)
INPUT (Input Resolution)
OUTPUT (Output Resolution)
VERSION (Firmware Version)
EXIT
-
Close the OSD Menu
Page 7

4.4. Remote Control
1. POWER:
Press the button once to power on the Multiscale
Press again
to enter standby mode.
2. INPUT:
Press the button repeatedly to toggle through
various input sources.
3. HD Input:
Press the button to directly select component input.
4. PC Input:
Press the button to directly select PC input.
5. HDMI/DVI Input:
Press the button to directly select DVI (or HDMI) input.
6. Output Resolution:
Press any one of the button to directly select output
resolution. For other output resolutions that are not covered
by these buttons please enter OSD Menu to select them.
7. MENU:
Press the button to bring up OSD main menu page.
8. Exit:
Press the button to exit from a sub menu or main menu.
9. Up/Down/Left/Right:
Press the Up/Down button to move the highlight bar to your desired parameter during the
OSD operation. Press the Left/Right button to increase/decrease the setting value of a
selected parameter.
10. OK (Enter):
Press the button to confirm your selection.
11. Reset:
Press the button to reset the unit's firmware setting to the factory default value.
12. Auto Adjust:
Press the button to optimize the position of the picture (picture centering) on the screen.
5. Specifications
5.1. General Specification
* Frequency bandwidth: 1.65Gbps (single link)
* Input Ports:
Composite x 1 / L/R x 1
S-Video x 1 / L/R x 1
Component (3 RCA) x 1 / L/R x 1
PC D-Sub (15-pin) x 1 / 3.5mm Phone Jack x 1
HDMI x 1 / 3.5mm Phone Jack x 1 (for DVI) Coaxial (S/PDIF) x 1
* Output Ports: HDMI x 1
Coaxial (S/PDIF) x 1
* 5V DC power supply
Dimensions: 215(W) x 154(D) x 47(H)mm*
Weight: 1K
Page 8
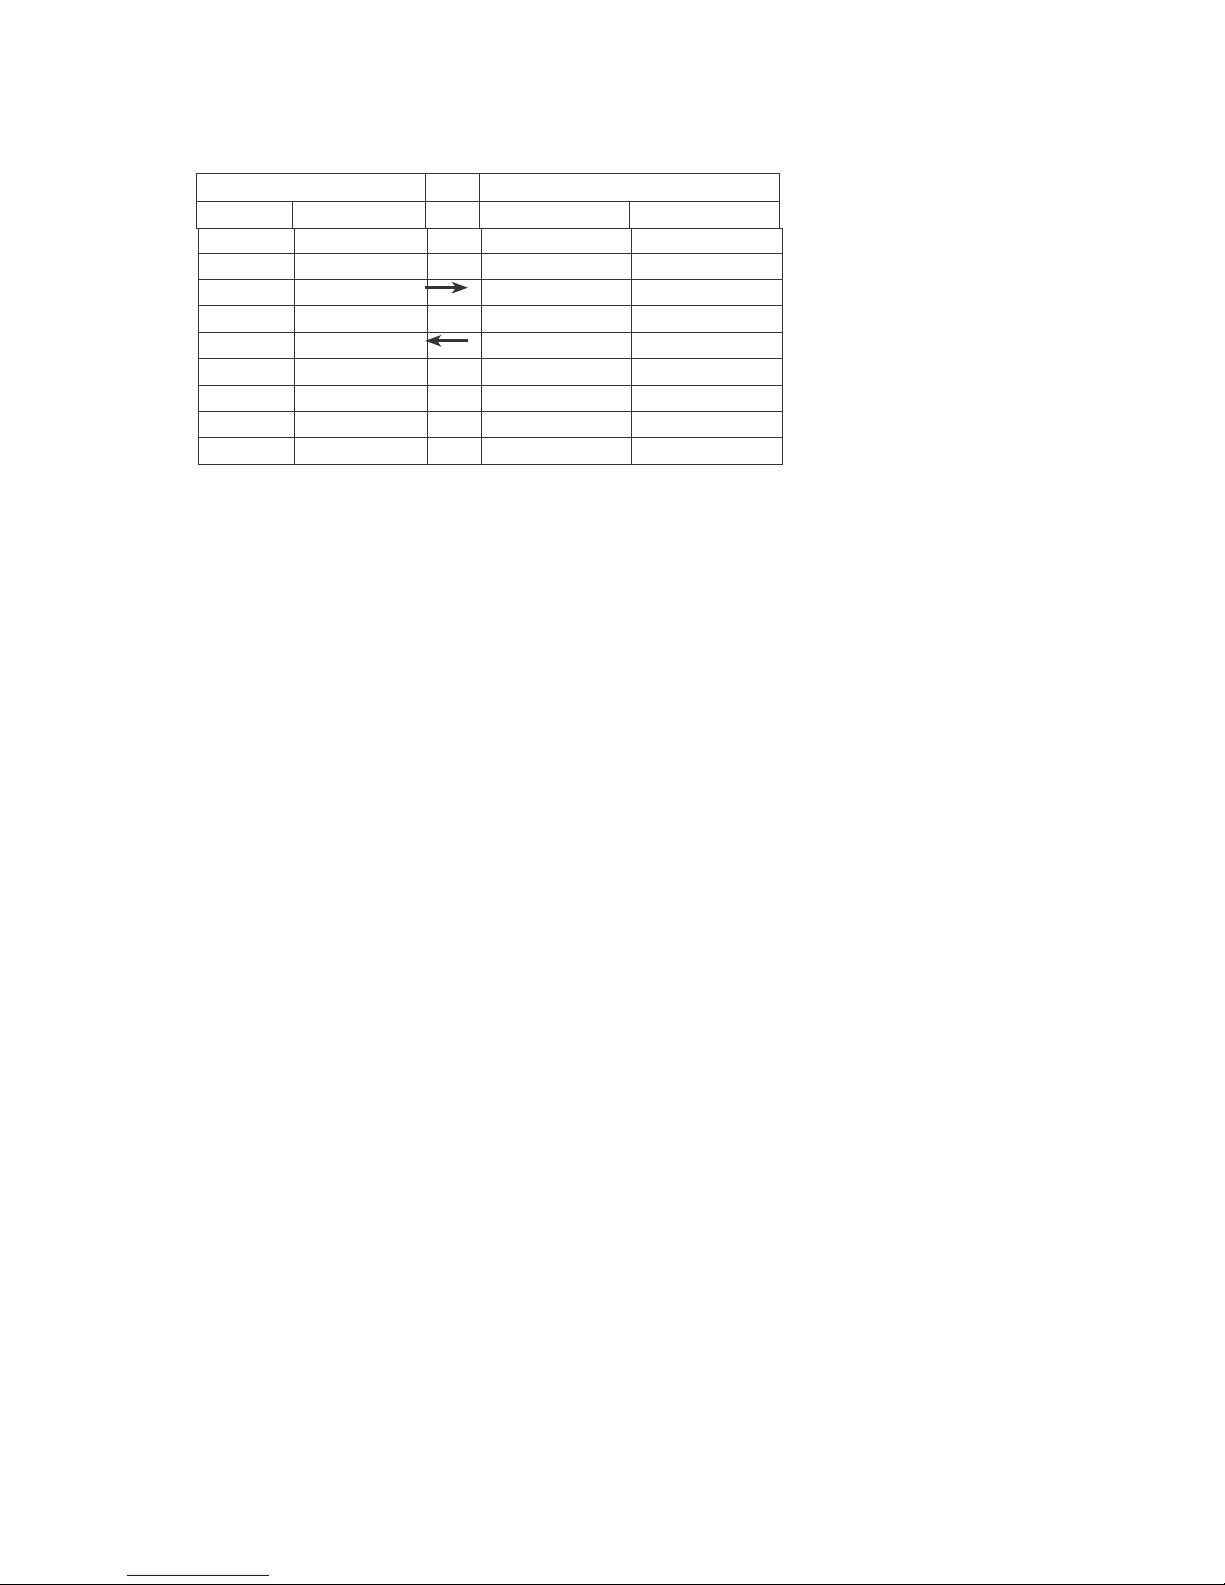
Pin definition for serial cable
Multiscale
Remote Controller
PIN
Definition
PI
Definition
1
NC 1
NC
2
TxD 2 Rx3
RxD 3
Tx
4
NC 4
NC
5
GND 5
GND
6
NC 6
NC
7
NC 7
NC
8
NC 8
NC
9
NC 9
NC
RS-232 transmission format:
BaudRate: 19200 bps
Data Bit: 8 bits Parity: None
Stop Bit: 1 bit
Page 9
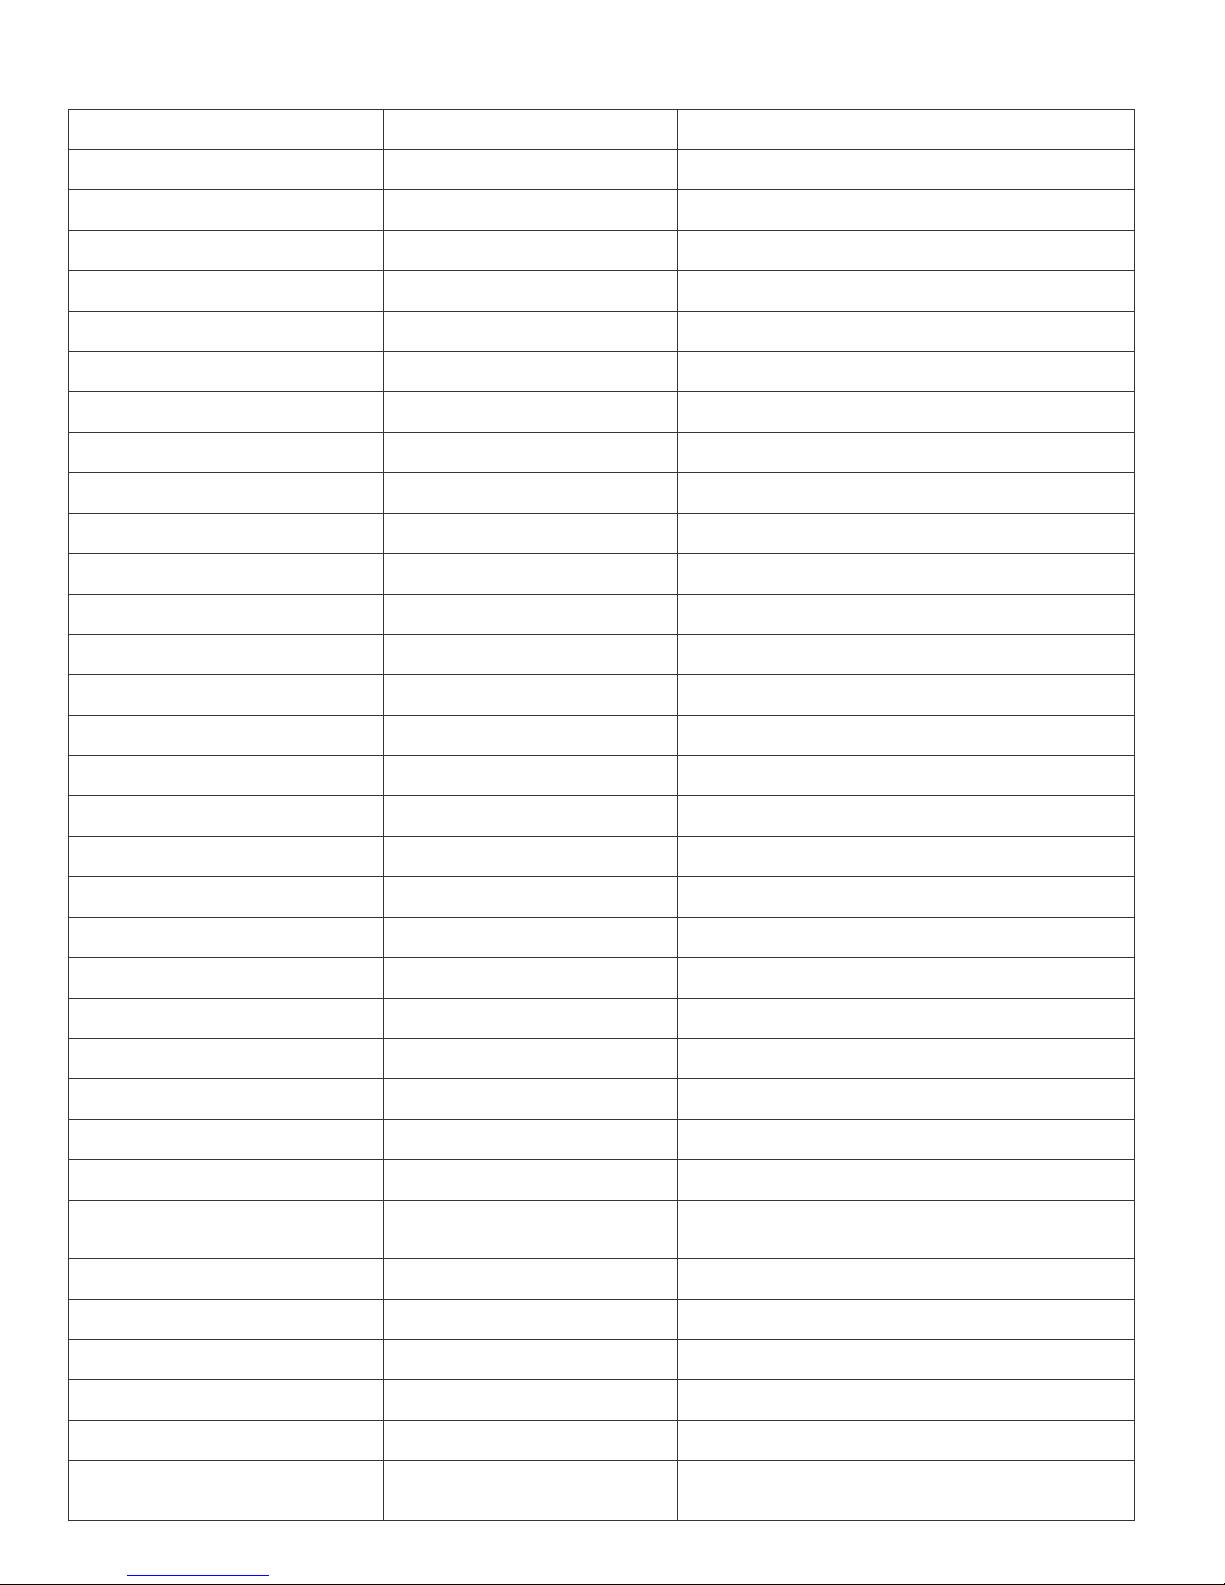
Serial Commands:
Command Code
Response
Description
S POWER 0
> POWER OFF
POWER OFF
S POWER 1
> POWER ON
POWER ON
S SOURCE 0
> SOURCE CV
CV INPUT
S SOURCE 1
> SOURCE SV
SV INPUT
S SOURCE 2
> SOURCE COMP
COMP INPUT
S SOURCE 3
> SOURCE PC
PC INPUT
S SOURCE 4
> SOURCE HDMI
HDMI INPUT
S OUTPUT 0
> OUTPUT NATIVE
NATIVE RESOLUTION OUTPUT
S OUTPUT 1
> OUTPUT VGA
VGA RESOLUTION OUTPUT
S OUTPUT 2
> OUTPUT SVGA
SVGA RESOLUTION OUTPUT
S OUTPUT 3
> OUTPUT XGA
XGA RESOLUTION OUTPUT
S OUTPUT 4
> OUTPUT SXGA
SXGA RESOLUTION OUTPUT
S OUTPUT 5
> OUTPUT UXGA
UXGA RESOLUTION OUTPUT
S OUTPUT 6
> OUTPUT 480I
480I RESOLUTION OUTPUT
S OUTPUT 7
> OUTPUT 480P
480P RESOLUTION OUTPUT
S OUTPUT 8
> OUTPUT 720P
720P 60HZ RESOLUTION OUTPUT
S OUTPUT 9
> OUTPUT 1080I
1080I 60HZ RESOLUTION OUTPUT
S OUTPUT 10
> OUTPUT 1080P
1080P 60HZ RESOLUTION OUTPUT
S OUTPUT 11
> OUTPUT 576I
576I 60HZ RESOLUTION OUTPUT
S OUTPUT 12
> OUTPUT 576P
576P 60HZ RESOLUTION OUTPUT
S OUTPUT 13
> OUTPUT 720P
720P 50HZ RESOLUTION OUTPUT
S OUTPUT 14
> OUTPUT 1080I50
1080I 50HZ RESOLUTION OUTPUT
S OUTPUT 15
> OUTPUT 1080P50
1080P 50HZ RESOLUTION OUTPUT
S OUTPUT 16
> OUTPUT WXGA
WXGA RESOLUTION OUTPUT
S OUTPUT 17
> OUTPUT WSXGA
WSXGA RESOLUTION OUTPUT
S OUTPUT 18
> OUTPUT WUXGA
WUXGA RESOLUTION OUTPUT
S SIZE 0
> SIZE
FULL
SCALER FULL OUTPUT
S SIZE 1
> SIZE OVERSCAN
SCALER OVERSCAN OUTPUT
S SIZE 2
> SIZE UNDERSCAN
SCALER UNDERSCAN OUTPUT
S SIZE 3
> SIZE LETTERBOX
SCALER LETTERBOX OUTPUT
S SIZE 4
> SIZE PANSCAN
SCALER PANSCAN OUTPUT
S SIZE 5
SIZE FOLLOW INPUT
OUTPUT IMAGE FOLLOWS INPUT
S PICTUREMODE 0~3
> PICTUREMODE
STANDARD~USER
0:STANDARD; 1:MOVIE; 2:VIVID;
3:USER, PICTURE MODE OUTPUT
Page 10
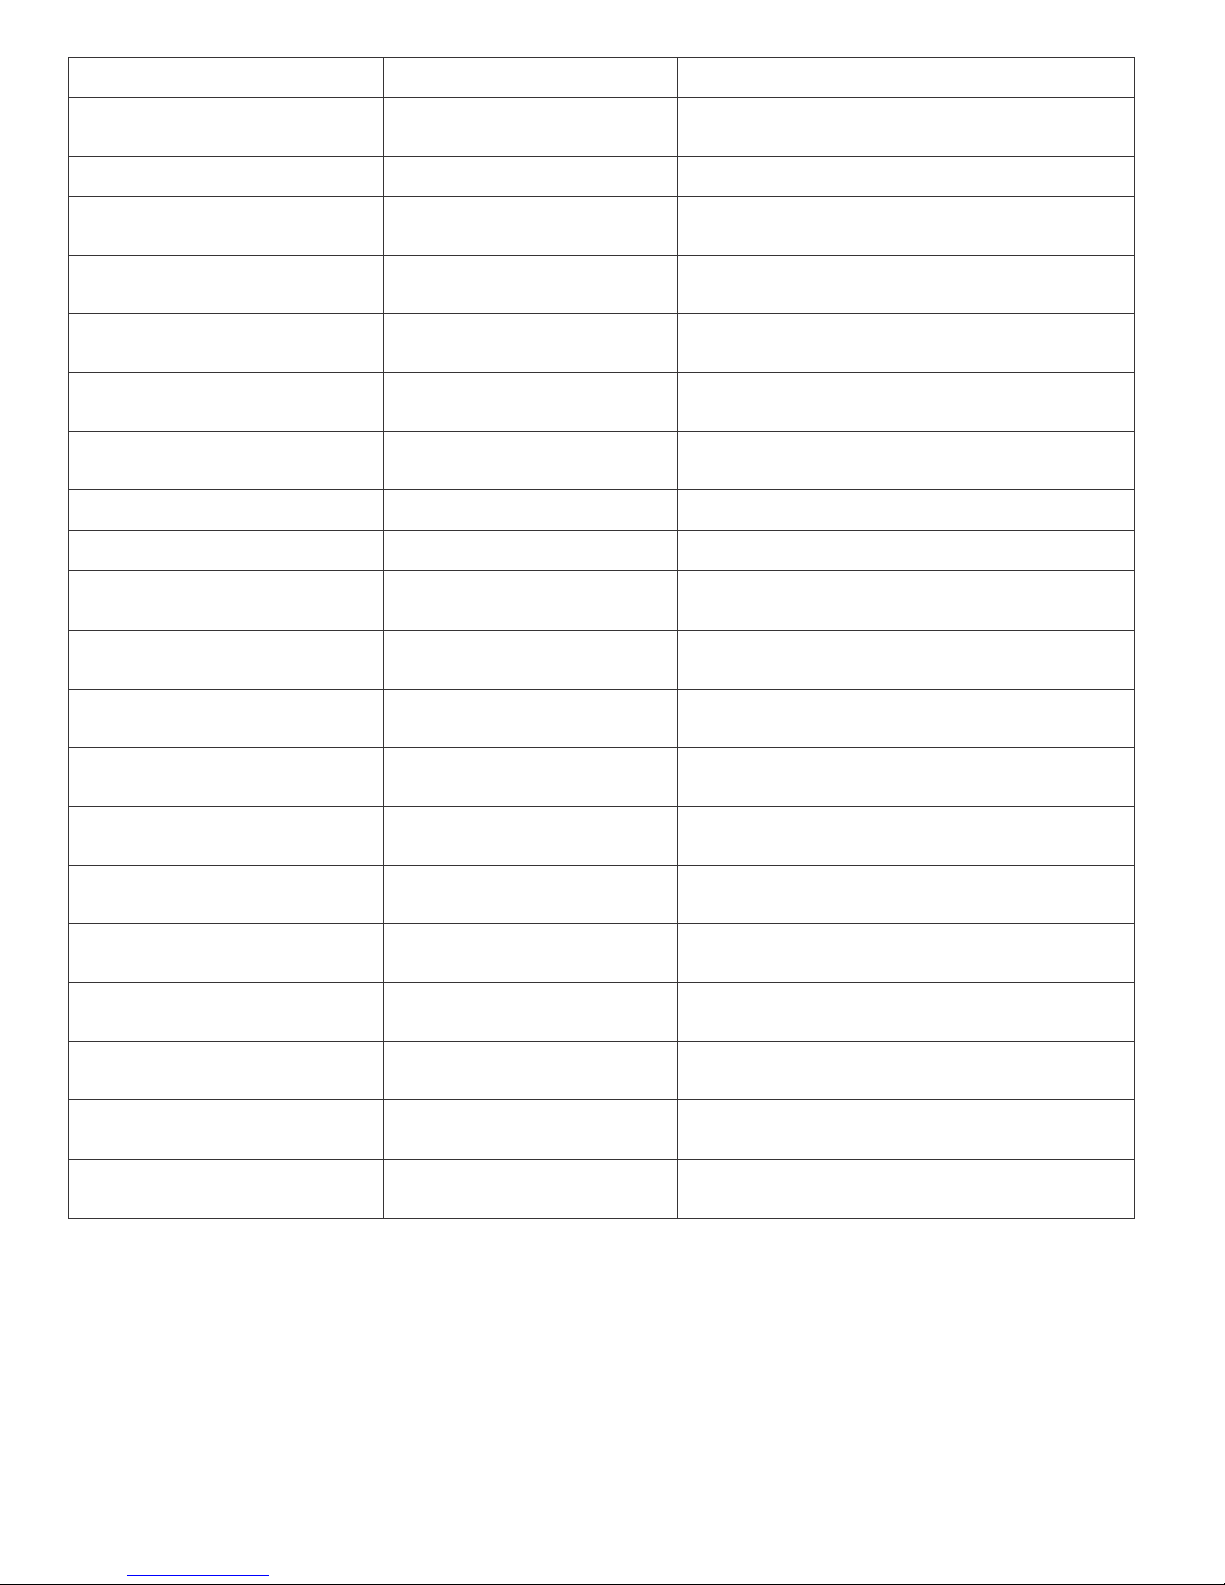
S CONTRAST 0~100
> CONTRAST 0~100
CONTRAST 0~100 ADJUST [Defaut:50]
S BRIGHTNESS 0~100
> BRIGHTNESS 0~100
BRIGHTNESS 0~100 ADJUST
[Defaut:45]
S HUE 0~100
> HUE 0~100
HUE 0~100 ADJUST [Defaut:50]
S SATURATION 0~100
> SATURATION 0~100
SATURATION 0~100 ADJUST
[Defaut:60]
S SHARPNESS 0~100
> SHARPNESS 0~100
SHARPNESS 0~100 ADJUST
[Defaut:32]
S NR 0~3
> NR OFF~HIGH
0:OFF; 1:LOW; 2:MIDDLE; 3:HIGH, NR
CONTROL
S PCHPOSITION 0~100
> PCHPOSITION
0~100
H POSITION 0~100 ADJUST
S PCVPOSITION 0~100
> PCVPOSITION
0~100
V POSITION 0~100 ADJUST
S PCCLOCK 0~100
> PCCLOCK 0~100
PC MODE COLCK 0~100 ADJUST
S PCPHASE 0~63
> PCPHASE 0~63
PC MODE PHASE 0~63 ADJUST
S COLORTEMP 0~3
> COLORTEMP
NORMAL~USER
0:NORMAL; 1:WARM; 2:COOL;
3:USER, COLOR TEMP SETTING
S RED 0~100
> RED 0~100
COLOR TEMP "RED" ADJUST
[Defaut:47]
S GREEN 0~100
> GREEN 0~100
COLOR TEMP "GREEN" ADJUST
[Defaut:47]
S BLUE 0~100
> BLUE 0~100
COLOR TEMP "BLUE" ADJUST
[Defaut:47]
S OSDHPOSITION 0~100
> OSDHPOSITION
0~100
OSD H POSITION 0~100 ADJUST
[Defaut:50]
S OSDVPOSITION 0~100
> OSDVPOSITION
0~100
OSD V POSITION 0~100 ADJUST
[Defaut:50]
S OSDTIMEOUT 0~100
> OSDTIMEOUT
0~100
OSD TIMEOUT 0~100 SETTING
[Defaut:10]
> OSDBACKGROUND
0~8
OSD OSDBACKGROUND 0~8 ADJUST
[Defaut:5]
S AUDIOMUTE 0~1
> AUDIOMUTE
OFF~ON
0:OFF; 1:ON, AUDIO MUTE CONTROL
S AUDIODELAY 0~3
> AUDIODELAY
OFF~150MS
0:OFF; 1:40MS; 2:110MS; 3:150MS,
AUDIO DELAY SETTING
S RESET 1
> RESET
ON
RESET ACTION
Page 11
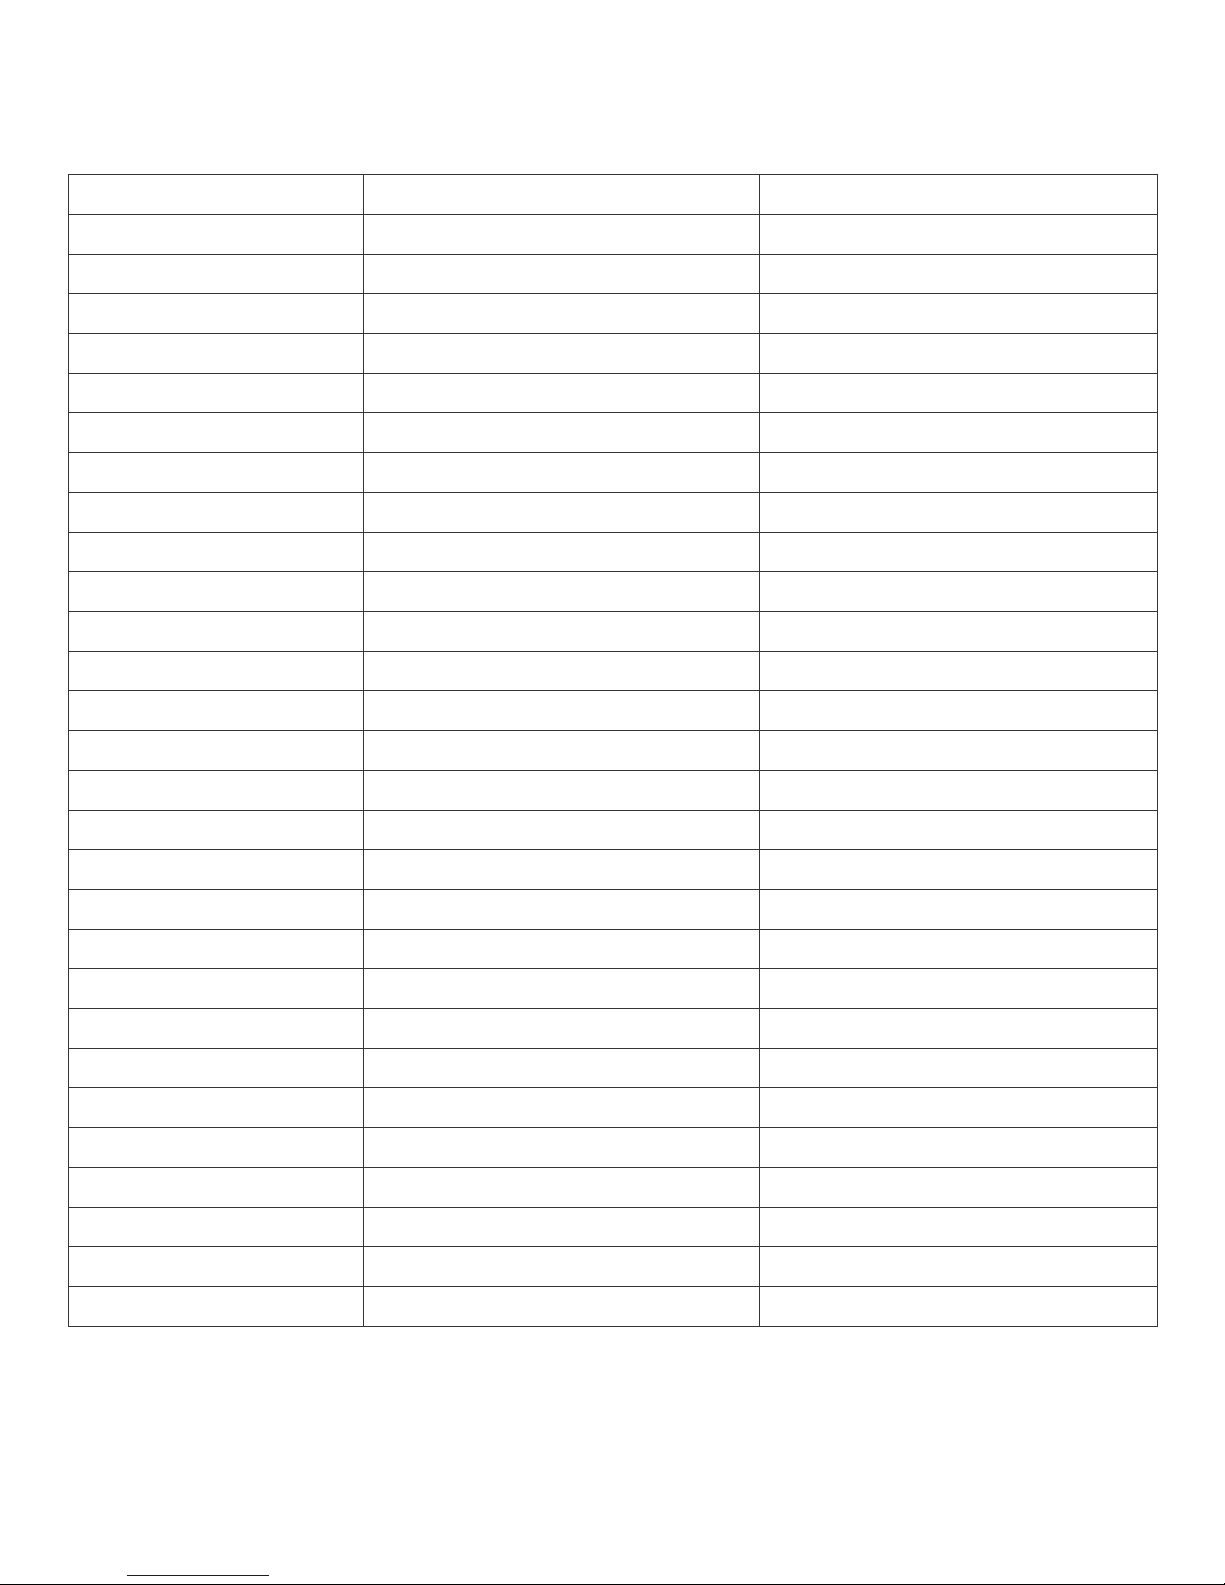
Command Code
Response
Description
R POWER
> POWER ON
SHOW POWER STATUS
R SOURCE
> SOURCE CV~HDMI
SHOW SOURCE STATUS
R OUTPUT
> OUTPUT NATIVE~WUXGA
SHOW OUTPUT STATUS
R SIZE
> SIZE FULL~PANSCAN
SHOW SIZE STATUS
R PICTUREMODE
> PICTUREMODE STANDARD~USER
SHOW PICTURE MODE STATUS
R CONTRAST
> CONTRAST 0~100
SHOW CONTRAST STATUS
R HDCPKEY
> HDCPKEY ON/OFF
Show HDCPKEY status
S HDCPKEY 0
> HDCPKEY OFF
input HDCP off
S HDCPKEY 1
> HDCPKEY ON
input HDCP on
R BRIGHTNESS
> BRIGHTNESS 0~100
SHOW BRIGHTNESS STATUS
R HUE
> HUE 0~100
SHOW HUE STATUS
R SATURATION
> SATURATION 0~100
SHOW SATURATION STATUS
R SHARPNESS
> SHARPNESS 0~100
SHOW SHARPNESS STATUS
R NR
> NR OFF~HIGH
SHOW NR STATUS
R PCHPOSITION
> PCHPOSITION 0~100
SHOW PC H-POSITION STATUS
R PCVPOSITION
> PCVPOSITION 0~100
SHOW PC V-POSITION STATUS
R PCCLOCK
> PCCLOCK 0~100
SHOW PC COLOK STATUS
R PCPHASE
> PCPHASE 0~63
SHOW PC PHASE STATUS
R COLORTEMP
> COLORTEMP NORMAL~USER
SHOW COLOR TEMP STATUS
R RED
> RED 0~100
SHOW COLOR TEMP RED STATUS
R GREEN
> GREEN 0~100
SHOW COLOR TEMP GREEN STATUS
R BLUE
> BLUE 0~100
SHOW COLOR TEMP BLUE STATUS
R OSDHPOSITION
> OSDHPOSITION 0~100
SHOW OSD H-POSITION STATUS
R OSDVPOSITION
> OSDVPOSITION 0~100
SHOW OSD V-POSITION STATUS
R OSDTIMEOUT
> OSDTIMEOUT 0~100
SHOW OSD TIMEOUT STATUS
R OSDBACKGROUND
> OSDBACKGROUND 0~8
SHOW OSD BACKGROUND STATUS
R AUDIOMUTE
> AUDIOMUTE OFF~ON
SHOW AUDIO MUTE STATUS
R AUDIODELAY
> AUDIODELAY OFF~150MS
SHOW AUDIO DELAY STATUS
(B) Status Commands: (Retrieve Status)
Page 12
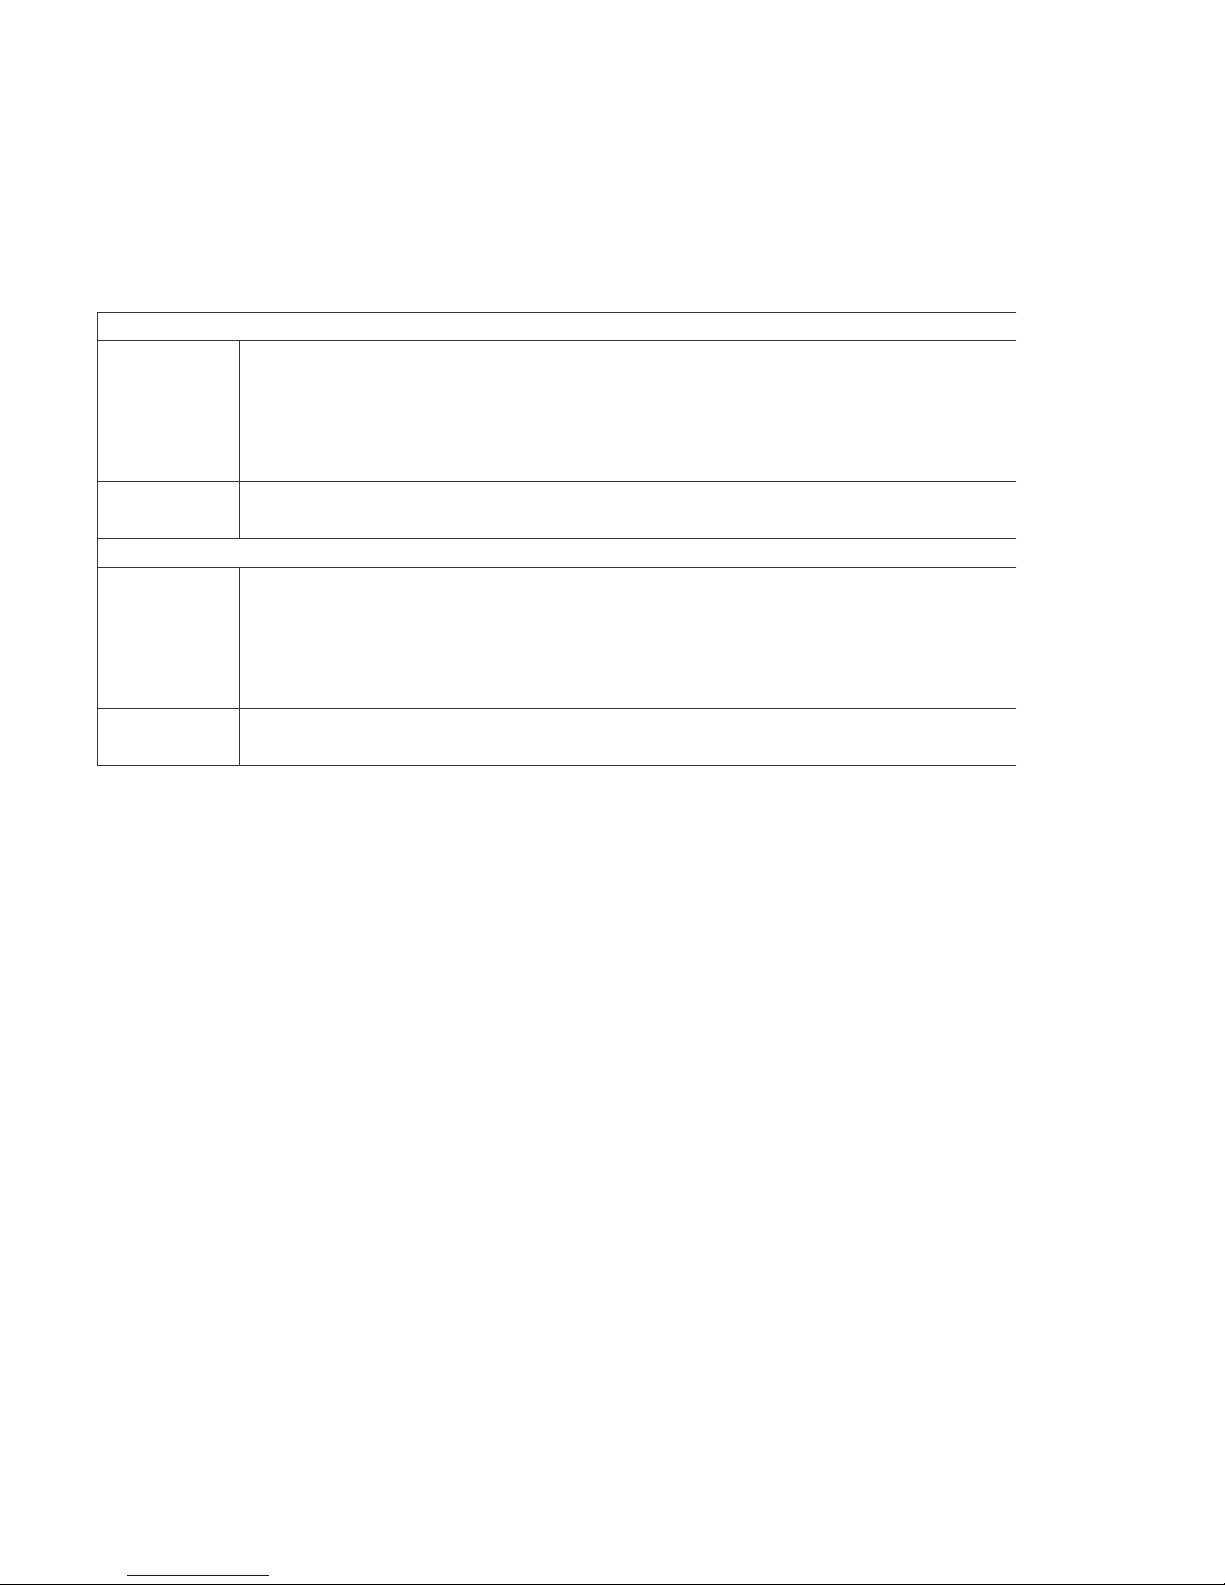
INPUT
PC
VGA@(60/72/75/85Hz), SVGA@(56/60/72/75/85Hz),
XGA@(60/70/75/85Hz), SXGA@(60/75/85Hz),
XGA@60Hz,
WXGA@60Hz, WSXGA@60Hz, WUXGA@60Hz
TV
480i, 480p, 576i, 576p, 720p@(50/60Hz), 1080i@(25/30Hz),
1080p@(50/60Hz)
OUTPUT
PC
VGA@(60/72/75/85Hz), SVGA@(56/60/72/75/85Hz),
XGA@(60/70/75/85Hz), SXGA@(60/75/85Hz),
UXGA@60Hz,
WXGA@60Hz, WSXGA@60Hz, WUXGA@60Hz
TV
480i, 480p, 576i, 576p, 720p@(50/60Hz), 1080i@(25/30z),
1080p@(50/60Hz)
5.2.
Supported
Resolutions
 Loading...