

Spa-Quip SPA Power 2000 User Manual
QUICK CARD USER GUIDE
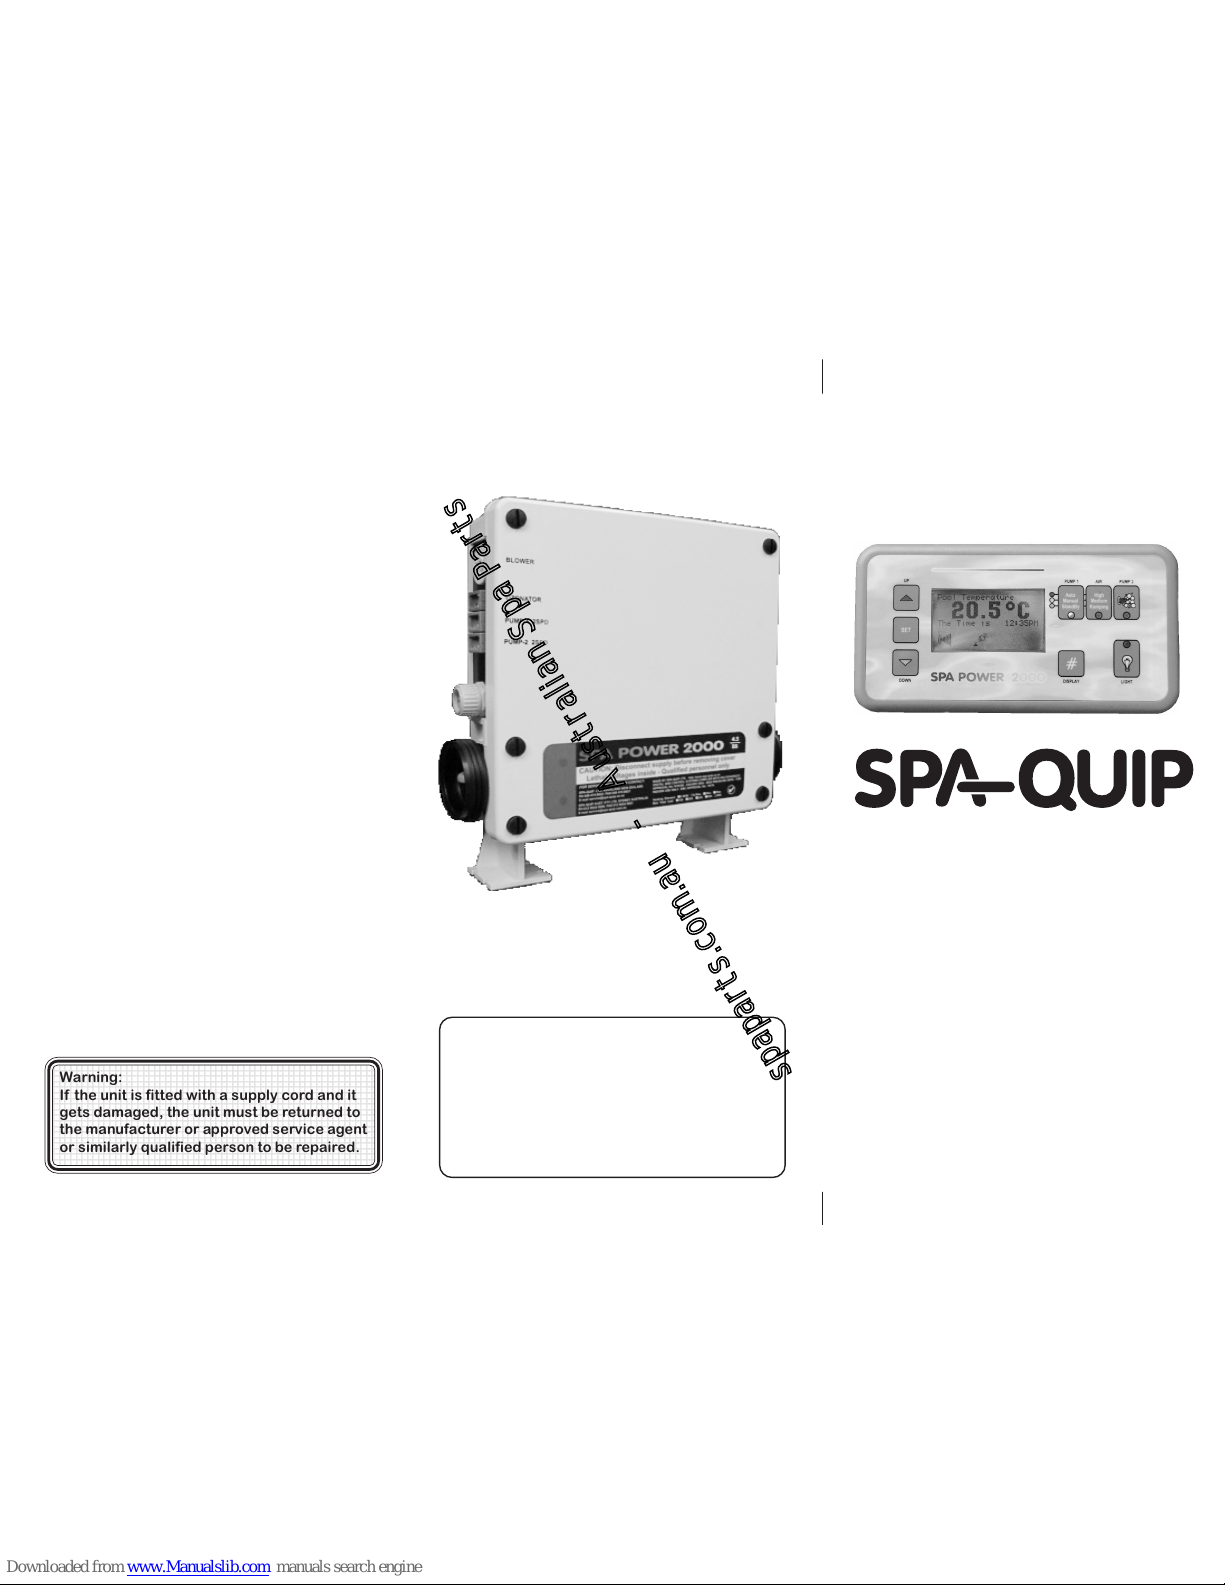
SPA POWER 2000
SPA CONTROLLERS
Dealer Stamp:
QuickSpaPwr2000
Please read these instructions carefully
Miscellaneous:
Important: Before using check that the Spa Pool has been
connected to a suitable weather protected outlet socket and
double pole isolating switch with ratings as specified on the name
plate of the control box. Do not run this appliance on an
extension lead.
LCD brightness (contrast) can be adjusted by holding down the
Display button and the Up or Down button. To lighten the display
hold down the Display button and the Up button. To darken the
display hold down the Display button and the Down button.
The control panel normally beeps every time a button is pushed.
These beeps can be switched off by holding down the Up button
and simultaneously pushing the Light button. To switch the beeps
on again repeat the above.
The display normally automatically returns to displaying the pool
temperature. The display can be made to stay on time by first
pushing the Display button until time is shown and then pressing
the Down button. The temperature display can be restored at any
time by pushing the Display button.
For accurate temperature readings it is advisable to run the pump
for several minutes in Manual mode to mix up the pool water.
In the event of electrical interference this unit automatically resets
to a pre-determined safe state.
Error codes :
01 - Stuck button
02 - No controller data
03 - Temperature sensor
04 - Water sensor
05 - Pool over temperature
06 - Heater thermal cutout
07 - Stuck heater relay
08 - Not used
09 - Water prime failed
Spa-Quip (Australia) Pty Ltd
Unit 2A, 4 Hudson Ave
Castle Hill NSW 2154
Ph (612) 9634 5600, Fax (612) 9634 5900
Email: service@spa-quip.com.au
Web site: http://www.spa-quip.com.au
Manufactured By: Spa-Quip Ltd
Cnr Rothwell Ave & Albany Hwy
North Harbour Industrial Park
Auckland, New Zealand
Ph (649) 415 8622, Fax (649) 415 8621
Email: service@spa-quip.co.nz
Web site: http://www.spa-quip.co.nz
1234567890123456789012345678901212345678901234567890123456
1234567890123456789012345678901212345678901234567890123456
1234567890123456789012345678901212345678901234567890123456
1234567890123456789012345678901212345678901234567890123456
1234567890123456789012345678901212345678901234567890123456
1234567890123456789012345678901212345678901234567890123456
1234567890123456789012345678901212345678901234567890123456
1234567890123456789012345678901212345678901234567890123456
1234567890123456789012345678901212345678901234567890123456
1234567890123456789012345678901212345678901234567890123456
1234567890123456789012345678901212345678901234567890123456
1234567890123456789012345678901212345678901234567890123456
1234567890123456789012345678901212345678901234567890123456
1234567890123456789012345678901212345678901234567890123456
1234567890123456789012345678901212345678901234567890123456
1234567890123456789012345678901212345678901234567890123456
1234567890123456789012345678901212345678901234567890123456
1234567890123456789012345678901212345678901234567890123456
1234567890123456789012345678901212345678901234567890123456
Warning:
If the unit is fitted with a supply cord and it
gets damaged, the unit must be returned to
the manufacturer or approved service agent
or similarly qualified person to be repaired.
spaparts.com.au - Australian Spa Parts
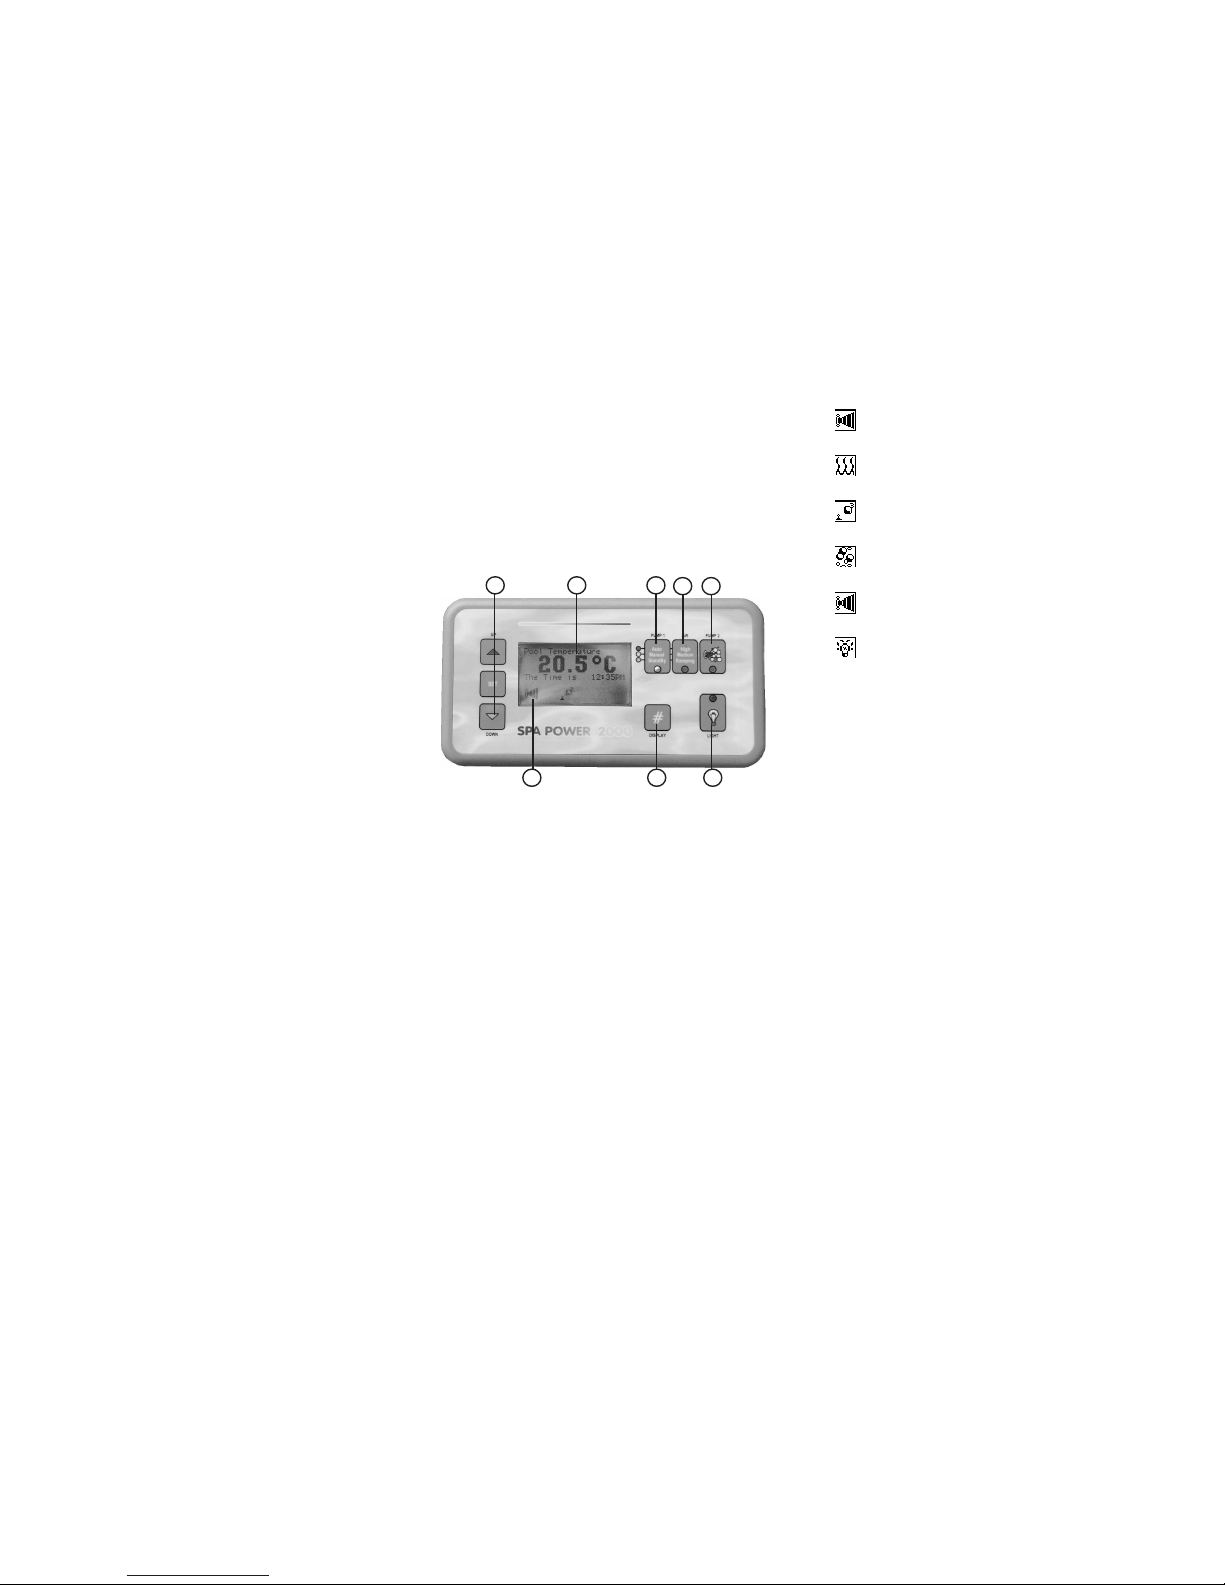
5: Liquid Crystal Display
The backlit LCD Display can display five different quantities...
1) The currently sensed pool temperature.
2) The set temperature (target pool temperature)
3) The current time of day
4) The sleep start time (time to enter sleep mode)
5) The sleep stop time (time to wake from sleep mode)
It can also show diagnostic error numbers in a fault condition.
The top line of text on the display states which quantity is currently
being shown on the main numeric display, eg pool temperature or
current time. The line of text below the main numeric display shows
the current time if the main display is showing temperature, or the
temperature if the main display is showing time, so that both are
always visable. The next row of text is normally blank but whenever
the Pump1 button is pushed it shows the newly selected mode and
pump state for a few seconds.
8: Set, Up & Down Buttons
To make any changes to the stored settings select the quantity of
interest using the Display button then press the Set button and the
display will flash the current value. Adjust to the required value by
pressing the Up/Down buttons. To store the changes press the Set
button again. If you change your mind before storing the changes
pressing the Display button will cancel any changes you have
made. The display will always revert to the pool temperature after a
short time. By following this procedure the target pool temperature,
the time of day and the sleep start and stop times can be set.
3: Pump2 Button
This button controls the booster pump. An LED and an LCD icon
indicate when the pump is on. If a two speed pump is fitted then
the LED is red for high speed and green for low speed.
2: Air Button
The Air button controls the air blower. It has three settings.
Successive pushes select high speed (red LED), medium
speed (orange LED) and Blower ramping up and down in speed
(green LED). An LCD icon also indicates when the Blower is on.
1: Pump1 Button
Pushing this button selects the main operating modes of the
spa system and controls the main circulation pump (Pump1).
The mode and pump speed selected by this button are shown
for a few seconds on the LCD display as well as being indicated
by an LED. An LCD icon also indicates when Pump1 is on.
1) Auto Mode (red LED) is the default start up mode where the
pump, heating and filtration are automatically controlled.
2) Manual Mode (orange LED) is used to switch on Pump1
even when the system is asleep. The heating will turn on and
off automatically as required in this mode. Pump1 may have
two speeds. The first position is low speed with the LED
flashing and the second is high speed with the LED steady.
3) Standby Mode (green LED) is used to turn Pump1 off for
quiet relaxation.
Notes:
1) The Manual and Standby modes will automatically revert to
Auto mode after a preset time (default is 90 minutes).
2) If additional filtration time is desired then pushing the button
for Manual mode will give an additional period of filtration which
will time out by itself when the system returns to Auto mode.
3) There is a time delay of a few seconds between the pump
switching on and the heater switching on, and between the
heater switching off and the pump switching off.
Spa Power 2000 User Guide
Thank you for purchasing a Spa Power 2000 spa control
system. This booklet will tell you all you need to know to use the
system to get the best out of your spa. The Spa Power 2000 is
the top of the line controller from Spa-Quip and includes ground
breaking sensor and display technology.
4: Light Button
This button controls the pool Light. A green LED and an LCD icon
indicate when the Light is on.
Note:
There is an automatic timeout of the Blower, Pump2 and Light. All
three will automatically switch off together 30 minutes after the last
push of any of their buttons. This ensures that proper automatic pool
maintenance is resumed if any are left on by accident.
6: Animated Icons
Along the bottom of the display is a row of six animated icons. Each
icon corresponds to a pool accessory. The icon is shown if that
accessory is on and is blank if it is off.
7: Display Button
This button cycles the LCD displays through the different quantities allowing viewing or adjustment of the controller’s settings.
This icon shows when Pump1 is on. Pump1 will turn on and
off automatically in Auto mode when required.
This icon shows when the Heater is on. The Heater will turn
on and off automatically in Auto and Manual modes.
This icon shows when the Ozonator is on. It will turn on and
off automatically. It will turn off when any button is pushed.
This icon shows when the Blower is on. It will turn on and off
when the Air button is pushed.
This icon shows when Pump2 is on. It will turn on and off
when the Pump2 button is pushed.
This icon shows when the Light is on. It will turn on and off
when the Light button is pushed.
Notes
1) The time of day will need to be set the first time the controller is
powered up or if it has been turned off for a long period.
2) Sleep is a very handy feature and is used to silence the spa
pool during your hours of sleep. Default settings are between
12pm & 7am. The spa can be used in manual mode within the
sleep hours without having to change any times.
3) If the sleep start and stop times are set to the same time then
the sleep mode is deactivated.
4) It is normal for the spa to run for a long period after sleep to
recover temperature lost over night. The sleep stop time should be
set approximately one hour before use of the spa is desired.
1
2 3
4
5
6 7
8
spaparts.com.au - Australian Spa Parts
 Loading...