

Page 1
Island Range hood
Owners manual
Models: SV200J-IM, SV400J-IM
Spagna Vetro Range Hood
Burnaby, BC, Canada
www.KitchenHoods.ca
Tel:604 430 5252
Page 2

NOTICE
Carefully read the following important information regarding installation safety and
maintenance. Keep this information booklet accessible for further consultations.
The appliance has been designed as a exhausting version (external exhaust) or as
recirculation range hood.
SAFETY PRECAUTION
• Clean ventilating fan frequently.
• Always use appropriate cookware and utensils size.
• Always use cookware appropriate for the size of the surface element.
To reduce the risk of injury to persons in the event of a stove top grease fire:
• SMOTHER FLAMES with a close-fitting lid, cookie sheet, or metal tray, then turn
OFF the burner.
BECAREFUL TO PREVENT BURNS. NEVER PICK UP A FLAMING PAN—you
may be burned. KEEP FLAMMABLE OR COMBUSTIBLE MATERIAL AWAY
FROM FLAMES. If the flames DO NOT go out immediately, EVACUATE AND CALL
THE FIRE DEPARTMENT or dial your local emergency service immediately.
• DO NOT USE WATER, including wet dishcloths or towels — a violent steam
explosion will result.
• Use an extinguisher ONLY if:
• You know you have a Class A, B, C extinguisher, and you already know how to operate
it. • The fire is small and contained in the area where it is started. • The fire department is
being called.
Page 3

• You can fight the fire with your back to an exit.
To reduce the risk of injury to persons in the event of a gas leaks:
• Extinguish any open flame.
• DO NOT turn on the range hood fan or any type of ventilator.
• DO NOT turn on the lights or any type of appliance.
• Open all doors and windows to disperse the gas. If you still smell gas, call the gas
company and fire
department, or dial your local emergency service immediately.
Your safety and the safety of others is very important. We have provided many important
safety mes-
sages in this manual and on your appliance. Always read and obey all safety messages.
All safety mes- sages will tell you what the potential hazard is, tell you how to reduce the
chance of injury, and tell you what can happen if the instructions are not followed
WARNING
In certain circumstances electrical appliances may be a danger hazard.
• Keep electrical appliances out of reach from Children. Do not let them use the appliances
without supervision.
• Do not touch the light bulbs when/after appliance use.
• Do not check the status of the filters while the range hood is operating
• Flame cooking is prohibited underneath the range hood
• Your range hood is for domestic use only, not suitable for barbecue, roast shop and other
commercial use.
Page 4

• Any installation work must be carried out by a qualified electrician or competent person.
• Before cleaning, always ensure that you have switched your range hood off.
• Clean the range hood according to the instruction manual and keep the range hood from
the danger of burning.
• If there is any fault with your range hood, please call the service department appointed by
agent for servicing.
• If the power cord is damaged, it must be replaced by the manufacturer or a qualified
service engineer in order to avoid a hazard.
• Do not exhaust the hood through the same duct used for other kitchen appliances.
INSTALLATION
SV400J-IS dimensions:
Page 5

The range hood must placed at a distance of 24”-28” from the surface for the best effect.
Raising the hood higher will decrease the suction and the efficiency. See Pic 1.
1. For safety, the ceiling should be able to carry at
least 120 pounds loads.
Use 2”x6” to make a rectangular or square frame
between trusses, the round metal support needs to
be anchored to the structure very well.
2. Calculate the length of angle bar according to Pic 1
。To connect the angle bar and bracket with 18 pcs
M4X10 screws , M4 nut and washer. (the overlap
between angle bars should more than 100mm) See
pic 3.
Using 6 pcs M4X10 screws to attach the angle
bars on the range hood housing, and install the extensible pipe. See pic 4/5. Set the inner
chimney
Put fixation of angle bars on the three installed angel bars. And then using 6 pcs M4X10
screws, M4 nut and washer to attach. See Pic 6
1. See Pic 7, put the inner chimney on the range hood housing.
2. See Pic 8, put up the unit, and take the extensible pipe out of ceiling. And then using 6
pcs M4X10 screws, M4 nut and washer attach the angle bar of unit to the hanging board.
3. See Pic 9. Undrawn the inner chimney and use 3 pcs ST4X8 screws to attach the inner
chimney on hanging board.
Page 6

Page 7

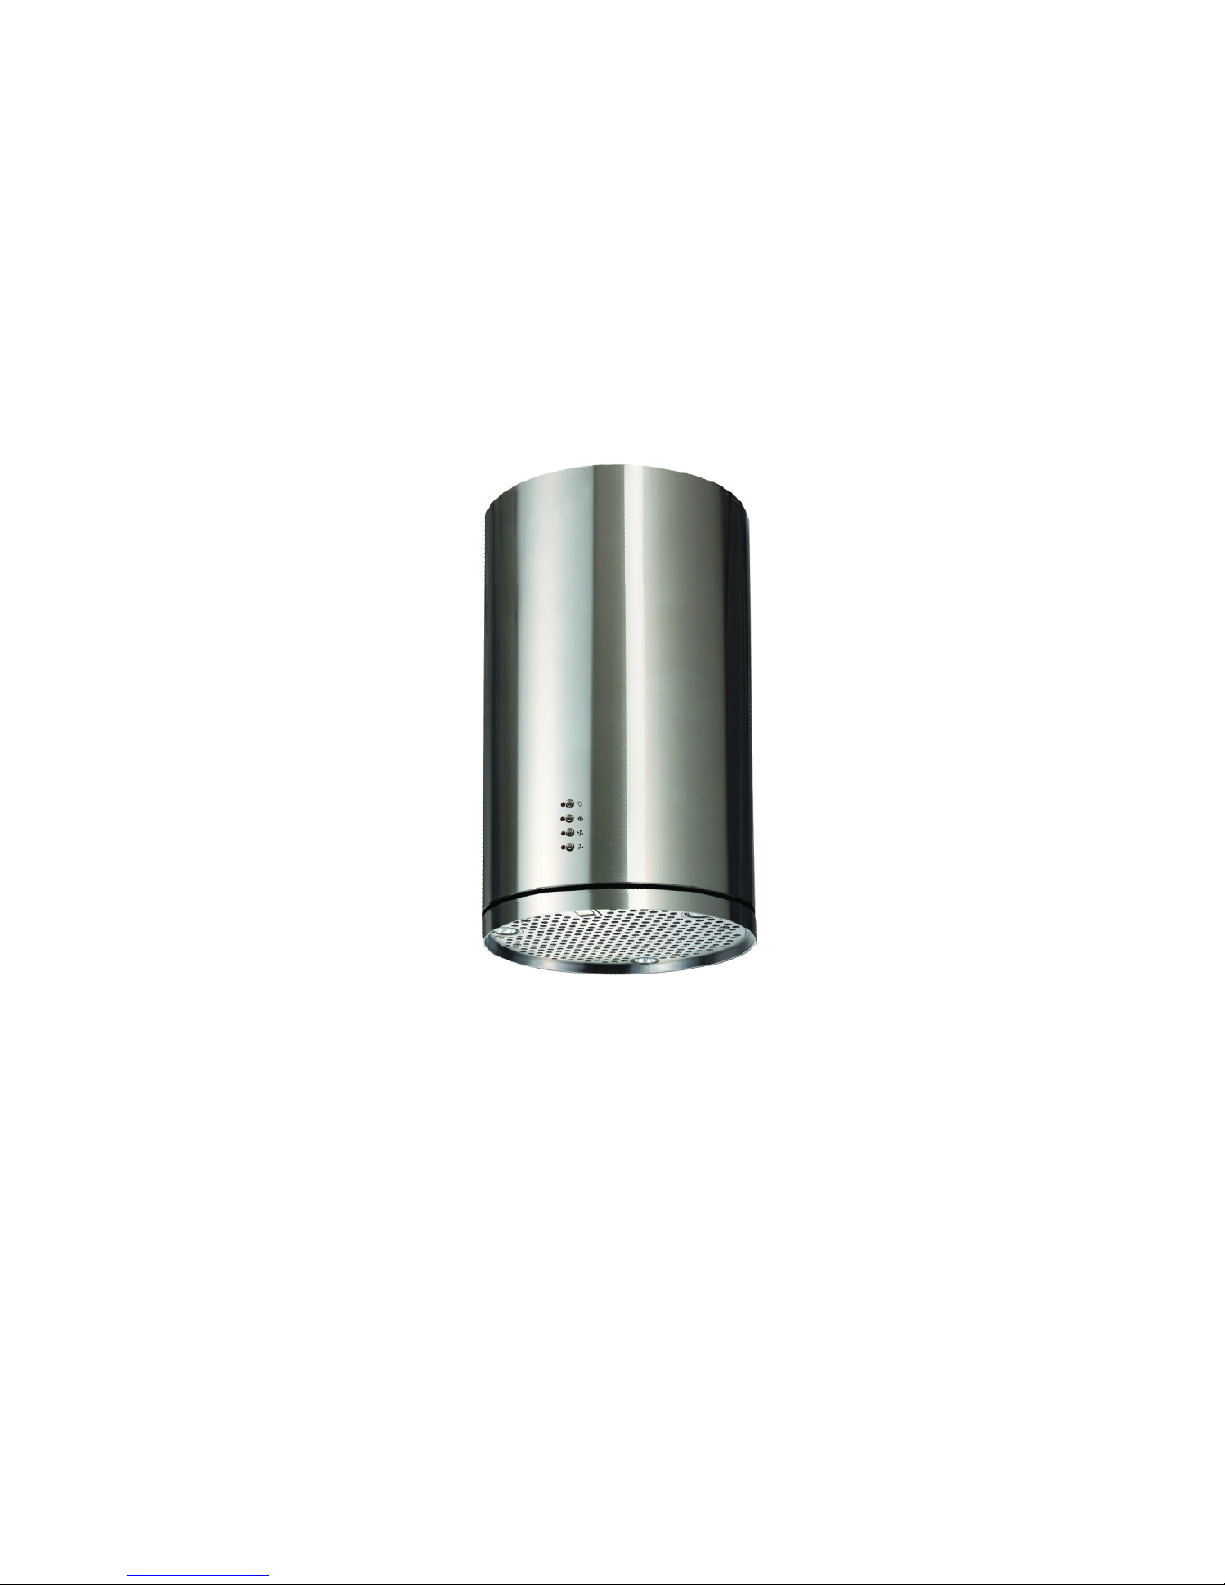
Range Hood
Speed adjustment (see pictures below)
Control Panel Layout and Buttons
Configurations:
Electronic Controls with Time Delay
• Lights:
o
Press the light button to turn halogen lights on and off.
• Power settings:
o
Press the button once and the motor starts to operate at Low speed
o
Press the button again and the motor will operate at Medium speed.
o
Press the button once more and the motor will operate at High speed.
o
Press the button to lower speeds in succession until the motor stops
working (power off).
• Timer function:
o
The control system provides the option to run the motor for a additional time
period in order to remove remaining vapors from the kitchen,
o
Press the timer button while the motor is running. The motor will shut off
automatically after 10 minutes
o
OPERATION
1. It is recommended to turn ON the hood prior to cooking.
Page 8

2. It is recommendable to turn OFF the hood 15 minutes after cooking is terminated in order
to completely eliminate cooking odors.
3. Charcoal Filters:
If it is not possible to vent the hood outside, charcoal filters should be installed. Charcoal
filters capture the grease particles in the air, and are therefore subject to clogging depending
on the frequency of the use of the appliance. They need to be replaced usually 4-6 months.
4. Cleaning:
Attention! Do not use abrasive detergent or alcohol as it will damage the body of the hood.
Attention! Keep the motor and other spare parts free from water, as this could cause damage
to the appliance.
Attention! Before cleaning the appliance please remember to cut off the power.
5. Cleaning the filter(s):
-Removing the filters- See Pic. 10;
Filters Cleaning:
1) Soak them for about 3 minute in warm water
(40-50 degrees) with a grease-loosening detergent then
brush it gently with a soft brush. Please do not apply too
much pressure, avoid damaging it.
2) It can be put into a dishwasher with detergent, set the temperature at around 60 degrees.
Note: Make sure that the hood is OFF before cleaning;
6. Installing the carbon filter, see Pic. 11;
Carbon/ Charcoal filters can be used to trap odors. Usually the carbon filter should be
changed 3 to 6 months depending on your cooking habit. Charcoal filters cannot be washed
or recycled. The installation procedure of install carbon filter is shown below.
Page 9

1) Remove the filters see Pic.10
●
2)The carbon filters (pic.11) are located at both sided of the motor. Turn the charcoal
filters counter clockwise until they are removed from the body.
3)Apply reverse procedure to install the charcoal filter
Pic1
TROUBLESHOOTING
Symptom Solution
The range hood does not start.
The range hood is not working
efficiently.
The range hood has switched off
during operation.
Check if the hood is connected to the
electricity supply.
● The fan speed is not set high enough.
● The grease filter is dirty.
● The kitchen is not ventilated well enough.
● If the hood is set for recirculation, check if the
carbon filters needs to be changed.
● If the hood is venting outside, check if ducting
and caps are not blocked.
● The safety cut-out device has been tripped.
● Turn off the hood and wait 2 min. for the
device to reset.
● Note that if you have installed your range hood
too low, this will happen.
www.KitchenHoods.ca
 Loading...