

Spa Electrics RETRO Installation & Owner's Manual
RETRO INSTALLATION

2
3
4
5
6
7
14
16
17
18
CONTENTS
1
READ THIS FIRST
TOOLS REQUIRED / PRODUCT SUPPORT
INCLUDED PARTS
BEFORE YOU START
EXISTING LIGHT REMOVAL
LIGHT INSTALLATION
MULTI PLUS SETUP
MULTI PLUS STANDALONE OPERATION
MULTI PLUS COLOUR MODES
TRI COLOUR OPERATION
The GK-Retro LED Light now utilises variable voltage operation allowing the light to
operate on any existing 12v AC / 24v AC or 32v AC power supply.
NOTE:
The use of DC / Electronic (or switch mode) power supplies is not permitted as they can
cause disruptions in the lights normal operation & in some cases damage the lights
internal electronic components. For more information, please contact Spa Electrics Pty
Ltd.
For safe & proper installation, use only parts (screws, plugs, sealant etc) provided.
For Multi Colour operation, please refer to the MULITPLUS Operating Manual
The GK-Retro Light must be water cooled at all times. DO NOT switch the light on
until installation is complete and the light is fully submerged in water.
Ensure sufficient cable is coiled behind the light to allow for servicing
(approx 300-600mm)
Ensure only circular cable not exceeding 10mm diameter is connected to the
GK-Retro Light. The use of Fig. 8 or TPS cable will not seal correctly & will void the
product warranty.
The GK-Retro LED Light does not contain any user serviceable parts, opening the
light will void the product warranty.
When using the ‘B’ plate for fibreglass installations - ensure that silicon sealant is
applied to fixing screws to seal the fibreglass wall.
The GK-Retro Light is NOT suitable for horizontal mounting.
This light contains no user-serviceable parts; opening the light will void the product
warranty
Pool chemicals & PH levels: Due to the corrosive nature of unblanaced pool chemi-
cals, Spa Electrics strogly recommencd that your pool water is balanced prior to
installing your pool Lights or any plastic or stainless steel components, and tested
weekly to maintain these levels. pH levels should be maintained between 7.2- 7.6 at
all times to ensure the longevity of these components.
Failure to do so can result in chemical damage to the light housing and
pool fittings, including stainless steel components.
Please note: Lights or components found to have excessive chemical
damage will not be covered under our manufacturer’s warranty policy
READ THIS FIRST
WARNING
2
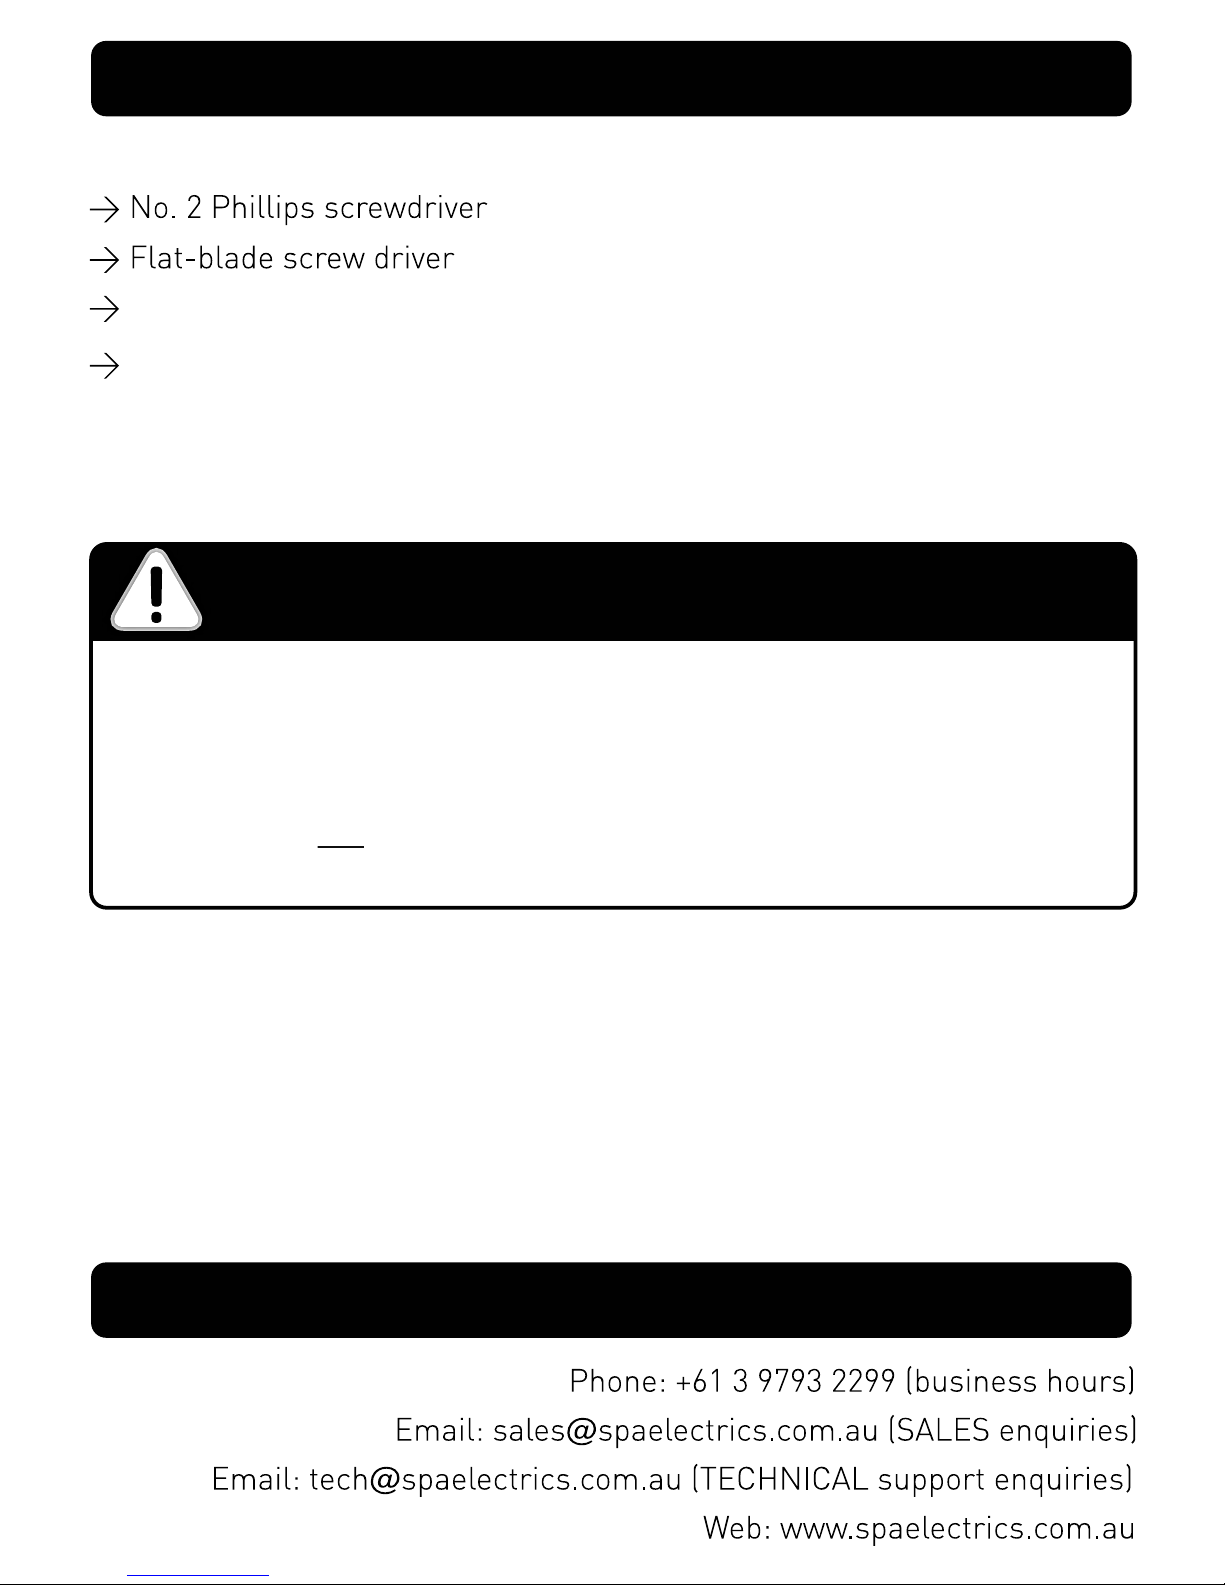
TOOLS REQUIRED
IMPORTANT
PRODUCT SUPPORT & INFORMATION
Side Cutters / Pliers
RTV Silicon (Fibreglass Pools Only)
With the exception on step 2 of the “LIGHT INSTALLATION”,
All installation steps shoulf be carried out with manual tools only.
The use of power tools (such as 240v and cordless drills) during
installation is not recommended as these devices can cause faults and
damage to light components
3
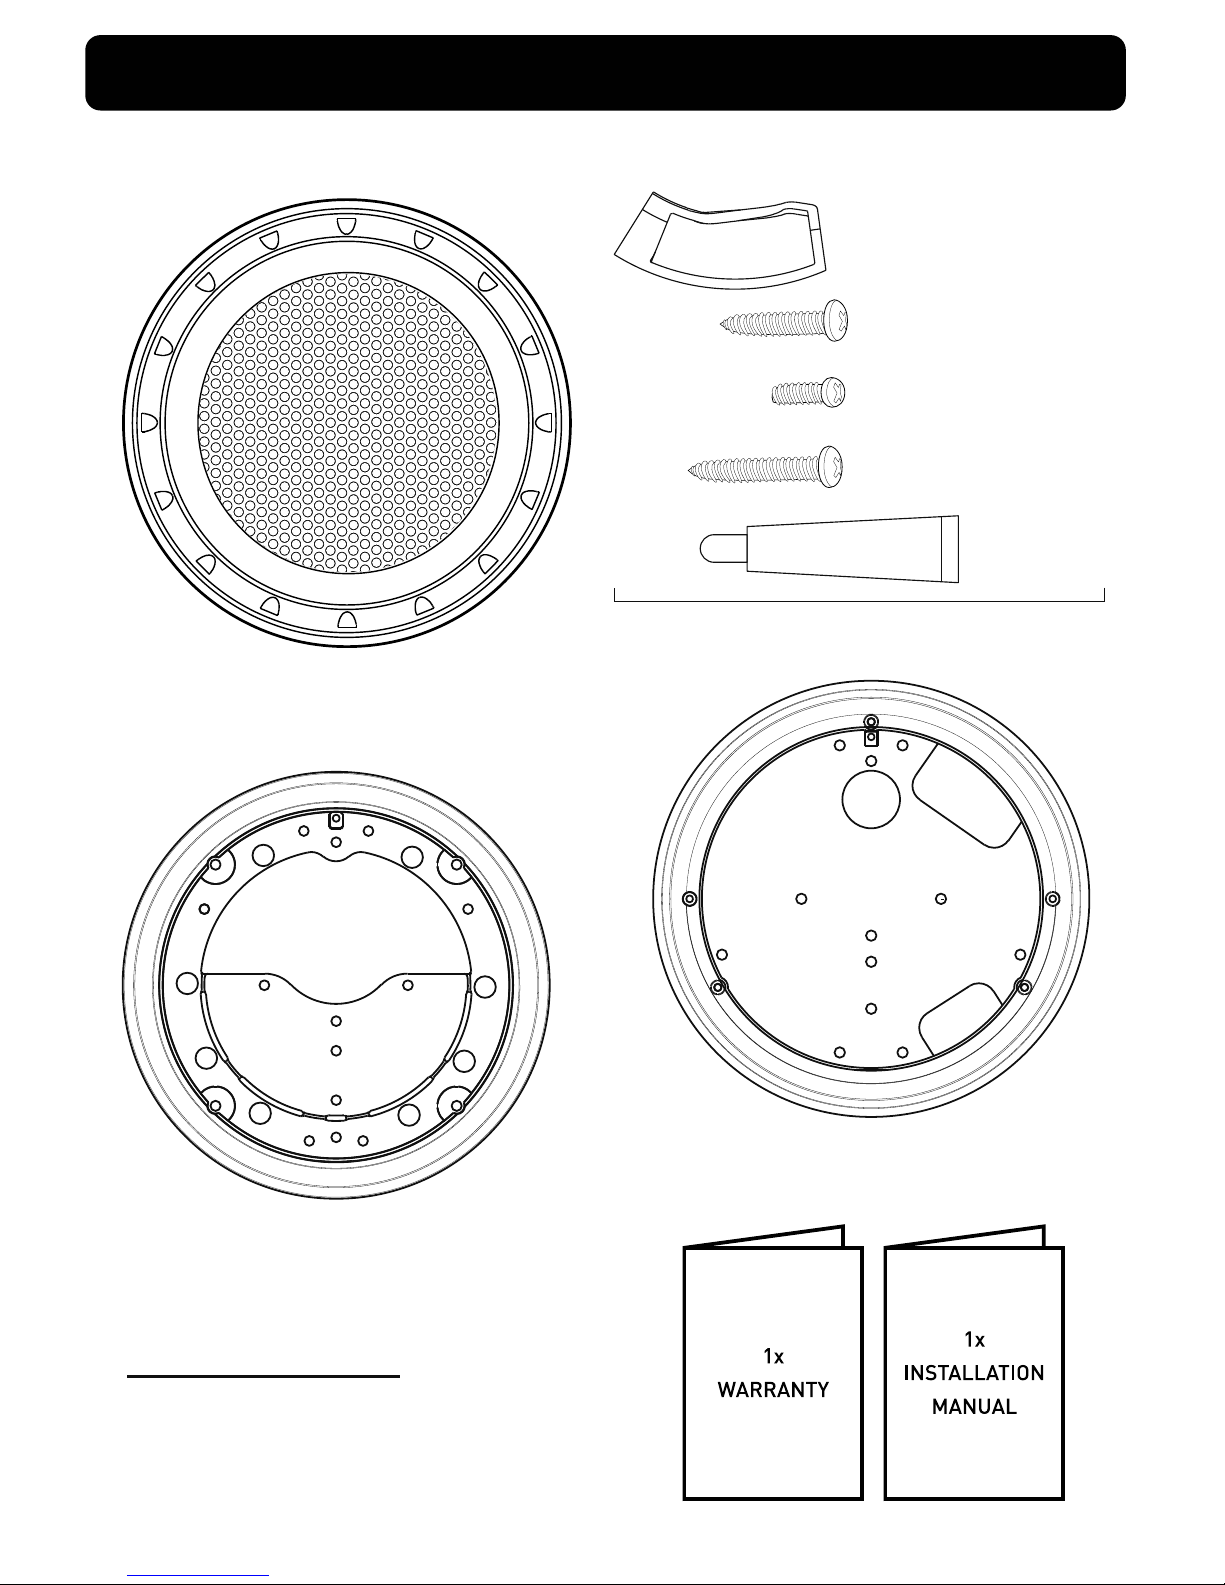
LANOLIN
1 X GKRX LIGHT
1 X CABLE SEAL KIT
4 X CABLE GLANDS
4 X SCREW 1” X 8
4 X SCREW M4 X 12P
4 X SCREW 1
1
/4” X 8
ALSO INCLUDED
STAINLESS STEEL (316)
MOUNTING SCREW KIT
INCLUDED PARTS
RETRO PLATE ‘A’
RETRO PLATE ‘B’
4
BEFORE YOU START
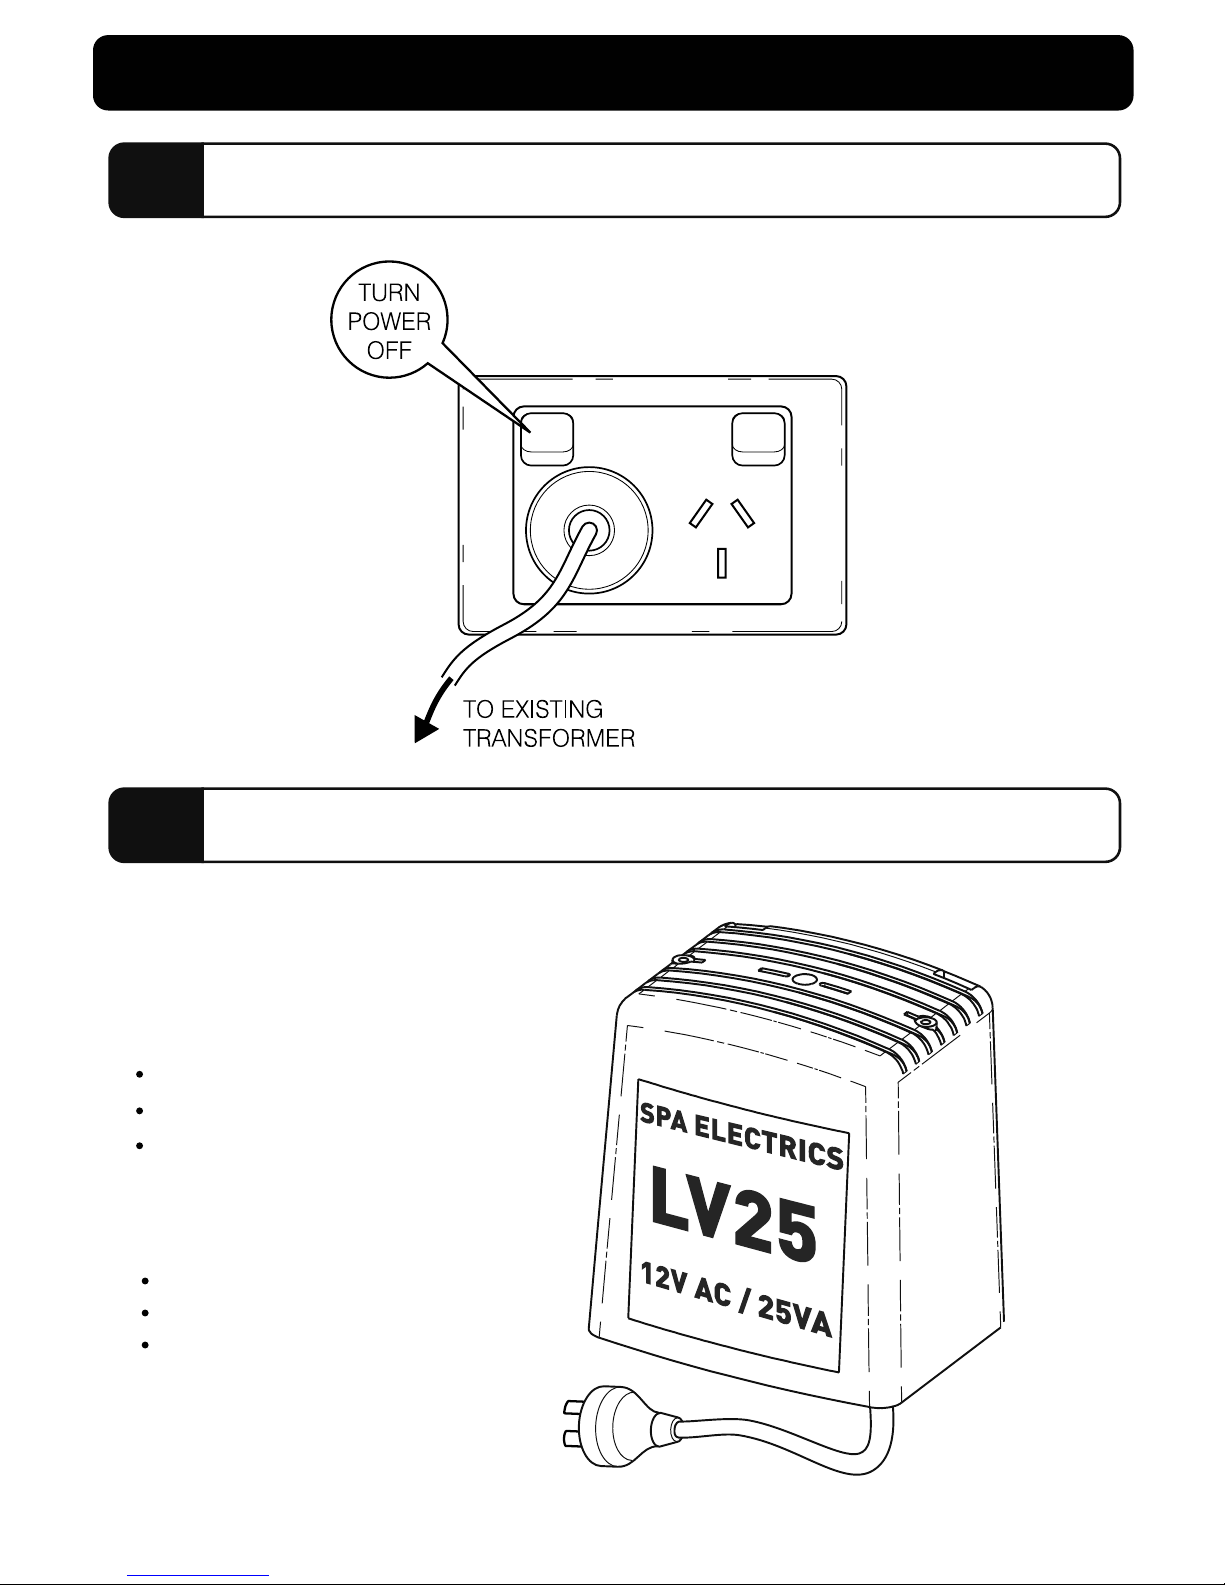
1
ISOLATE POOL LIGHTS
2
CHECK TRANSFORMER
EXISTING TRANSFORMER
MUST BE:
EXISTING TRANSFORMER
MUST
NOT BE:
12V~32V AC ONLY
MIN. 15 WATT (PER LIGHT)
IN GOOD WORKING ORDER
DC OR ‘LED DRIVER’
ELECTRONIC OR SWITCH MODE
WEATHER DAMAGED OR IN
OTHERWISE POOR CONDITION
5
 Loading...