

Spa SPA800 RED, SPA1200 RED, SPA1000 RED, SPA800 YELLOW, SPA1000 YELLOW Instruction Manual
...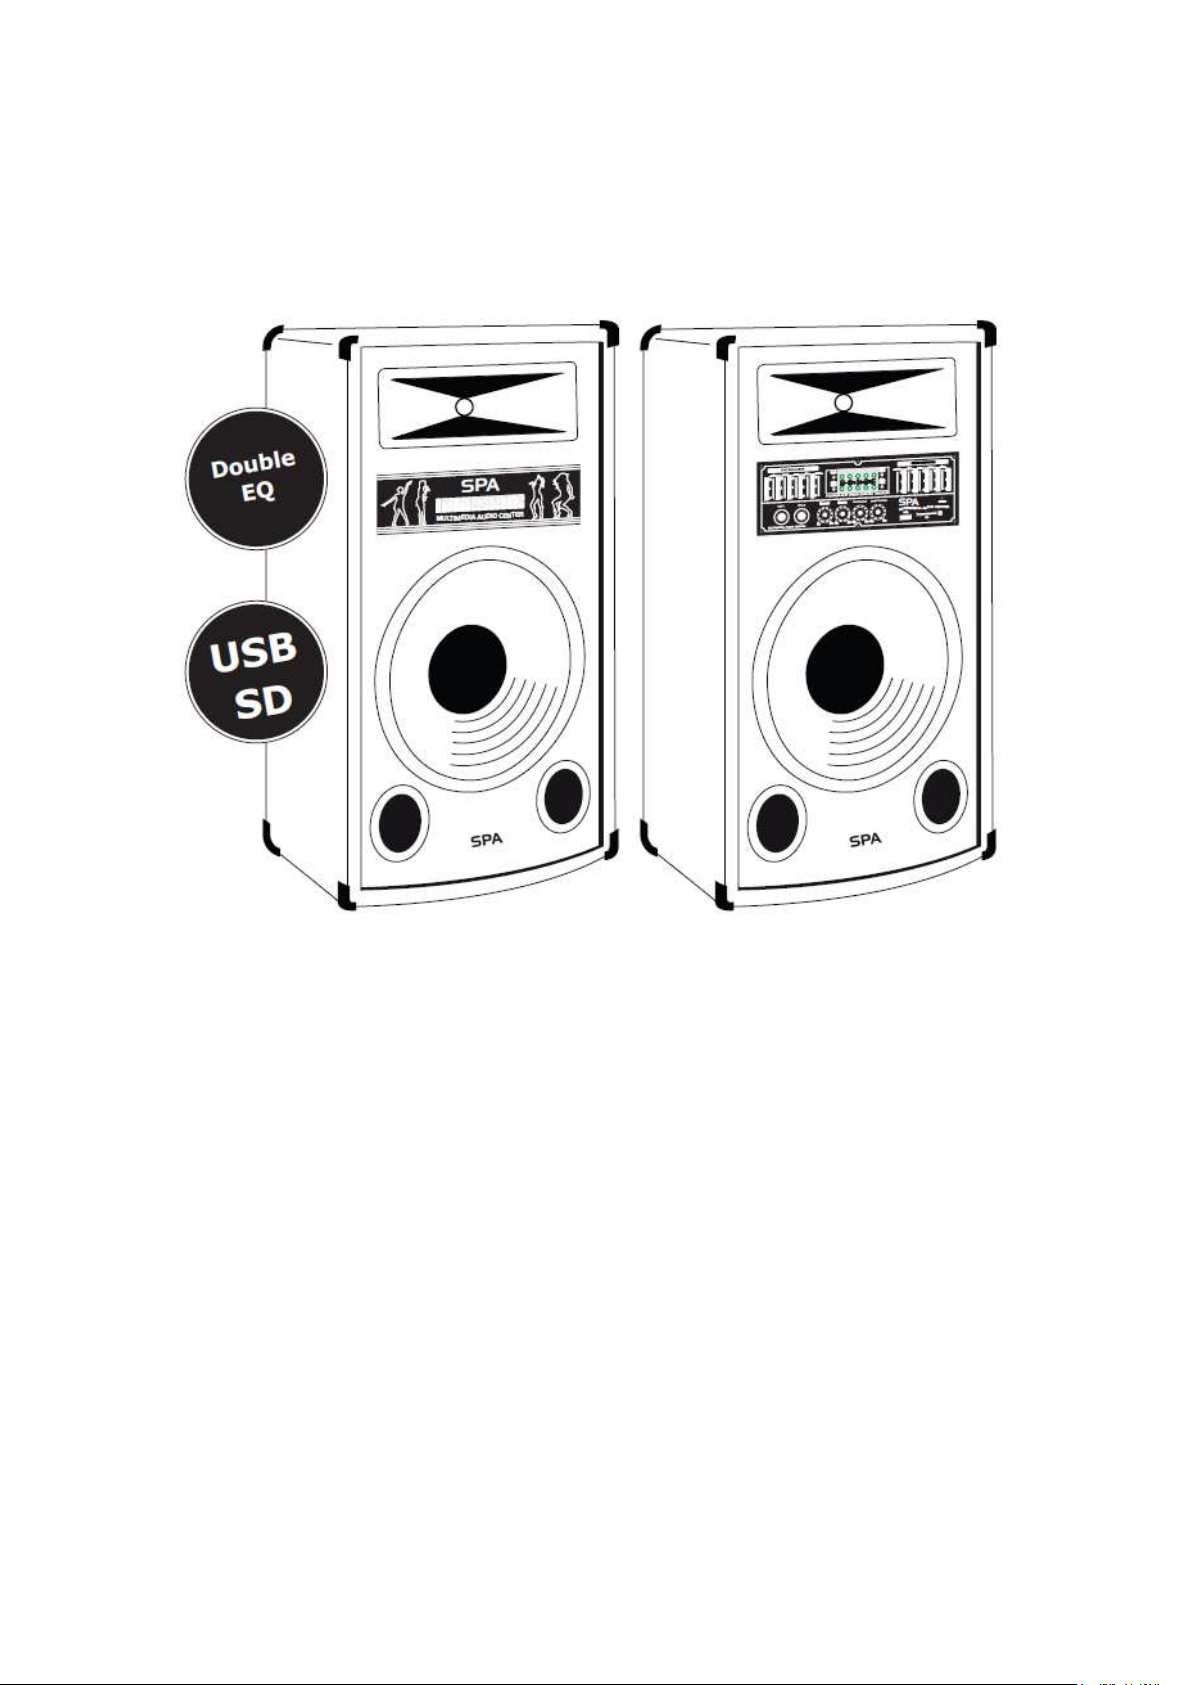
SPA KARAOKE SPEAKERSET
170.143 8” SPA800 RED
170.146 10” SPA1000 RED
170.149 12” SPA1200 RED
170.152 8” SPA800 YELLOW
170.155 10” SPA1000 YELLOW
170.158 SPA1200 YELLOW
Instruction Manual
Gebruiksaanwijzing
Gebrauchsanleitung
V1.1
GB
Congratulations on the purchase of this SkyTec Karaoke set.
Please read this manual carefully prior to using the unit.
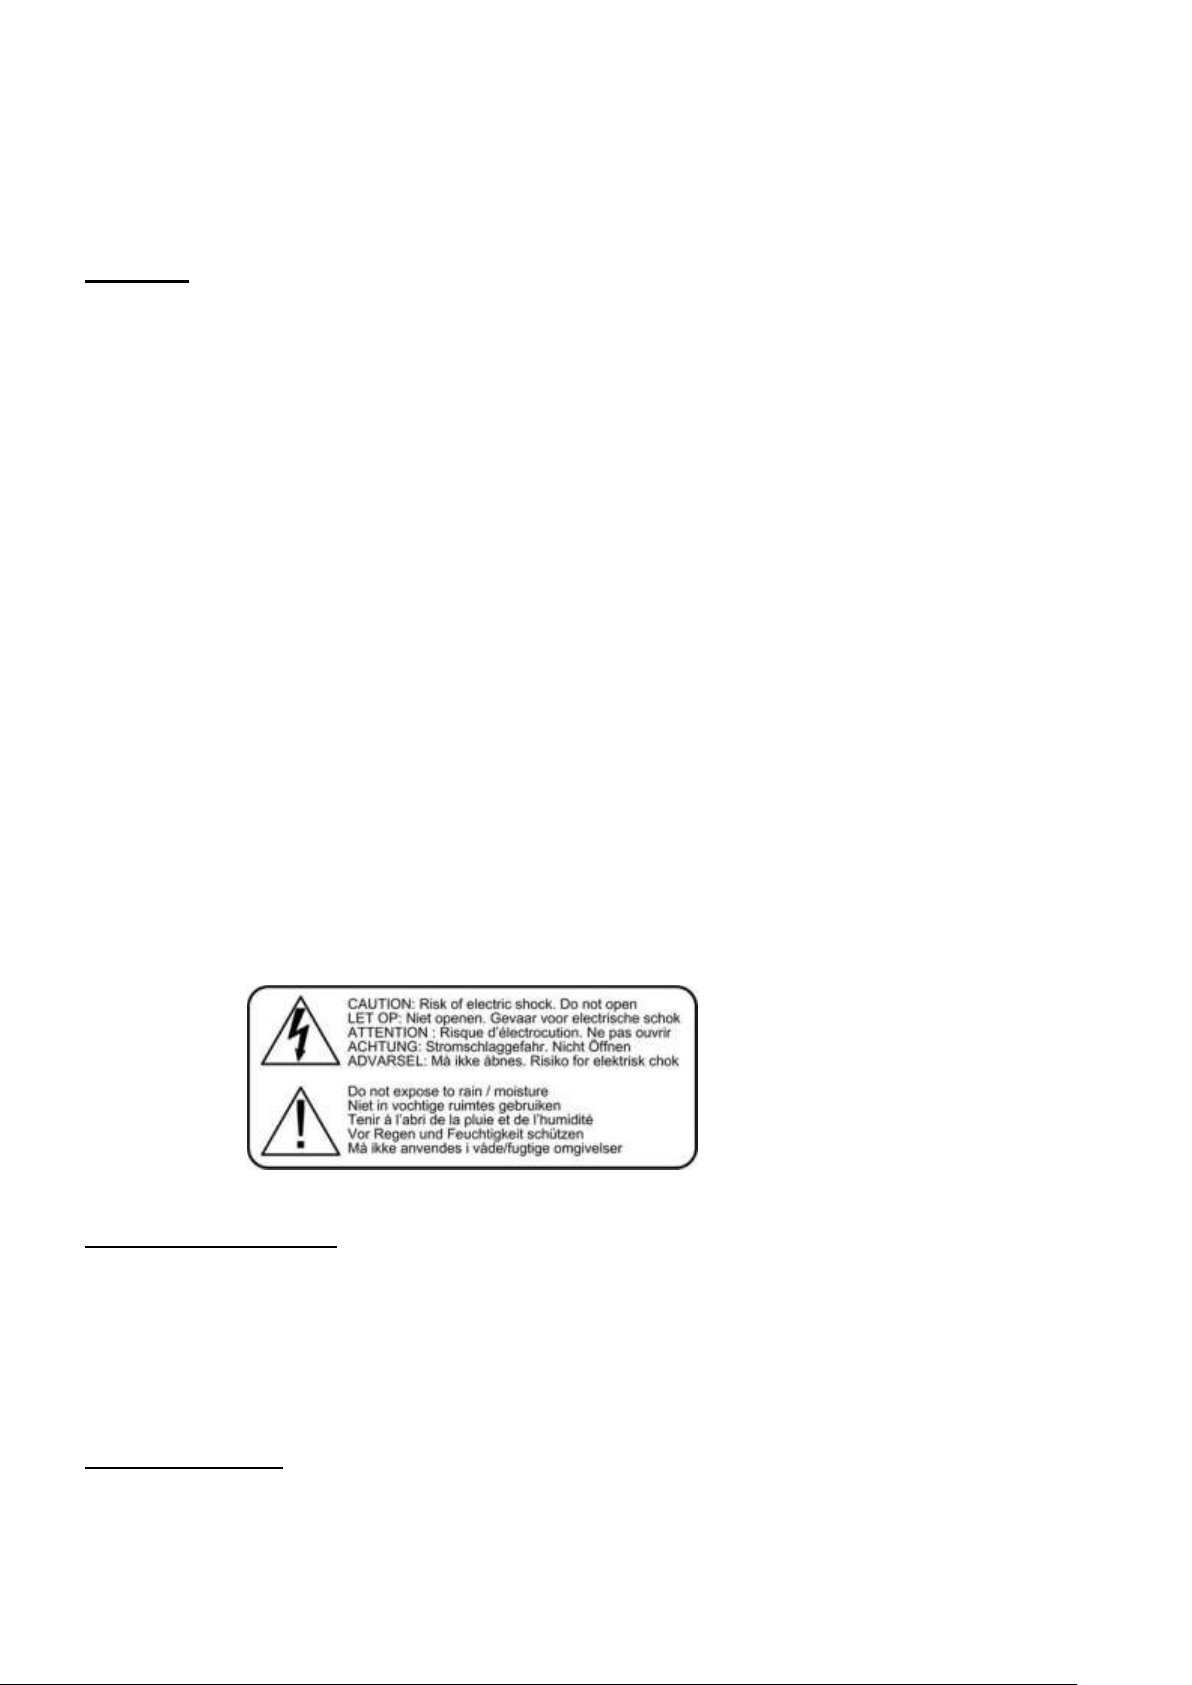
Warning:
- Read the manual prior to using the unit.
- Keep the manual for future reference.
- Keep the packaging for safer transport in its original packaging
- Prior to the first use, have the unit checked by a qualified person.
- The unit contains voltage carrying parts. DO NOT open the unit.
- When you unplug the unit from the mains always pull the plug, never the lead.
- Never plug or unplug the unit with wet hands.
- If the plug and/or mains lead are damaged, they need to be repaired by a qualified
technician.
- If the unit is damaged to an extent that you can see internal parts, do not plug the unit
into a mains outlet.
- Repairs have to be carried out by a qualified technician.
- Only connect this unit to an earthed mains outlet of 230Vac/50Hz and 10-16A.
- Do no place the unit near heat sources.
- Always unplug the unit during a thunderstorm or when it is not in use.
- If the unit has not been used for a longer period of time, condensation can occur inside
the housing. Please let the unit reach room temperature prior to use.
- To avoid accidents in public premises, the legal requirements must be fulfilled and
instructions/warnings must be adhered to.
- Keep out of the reach of children.
- All volume controls must be set to zero prior to switching the unit on.
- Do not use cleaning sprays for the slider controls. The residues of these spray cause
dust deposits in the controls. If a problem occurs, please consult a specialist.
- Do not clean the unit with chemical solutions. This might damage the finish. Only use a
dry cloth for cleaning.
PARTS DESCRIPTION
Thanks you for choosing our products.
Please take a few moments to read these instructions carefully, as we want you to enjoy your
new products quickly and to the full. This speaker set with a new design and nice looking, can
suit different occasions, especially for office, meeting, exhibition, outside party, teaching etc.
The series is provided with wired, amplifying and amusement; fully embody high quality, low
price, portability and convenience.
MAIN FEATURES
USB, Card reader supported play forms: MP3, WMA
Failure
Possible cause
NO POWER
The power line is cut off or not connected
No power on the electric outlet
NO SOUND
Wrong input, check input selection
The volume knob at lowest
ONE SPEAKER WITHOUT SOUND
Connection between master & slave unit wrong
Signal line was broke
MICROPHONE NO SOUND
The microphone not complete connected
Adjust the microphone volume
Change microphone
MICROPHONE HOWL
The microphone is too close to the speaker
Master volume is set to high
WARNING:
The back can be very hot after long use, never touch this !!
TROUBLE SHOOTING:
This appliance should not be put into the domestic garbage at the end of its useful life, but must be
disposed of at a central point for recycling of electric and electronic domestic appliances. This symbol on
appliance, instruction manual and packaging puts your attention to this important issue. The materials
used in this appliance can be recycled. By recycling used domestic appliances you contribute an
important push to the protection of our environment. Ask your local authorities for information regarding the
point of recollection.
Do not attempt to make any repairs yourself. This would invalid your warranty. Do not make any changes to the unit. This would also invalid
your warranty. The warranty is not applicable in case of accidents or damages caused by inappropriate use or disrespect of the warnings
contained in this manual. Tronios cannot be held responsible for personal injuries caused by a disrespect of the safety recommendations and
warnings. This is also applicable to all damages in whatever form.
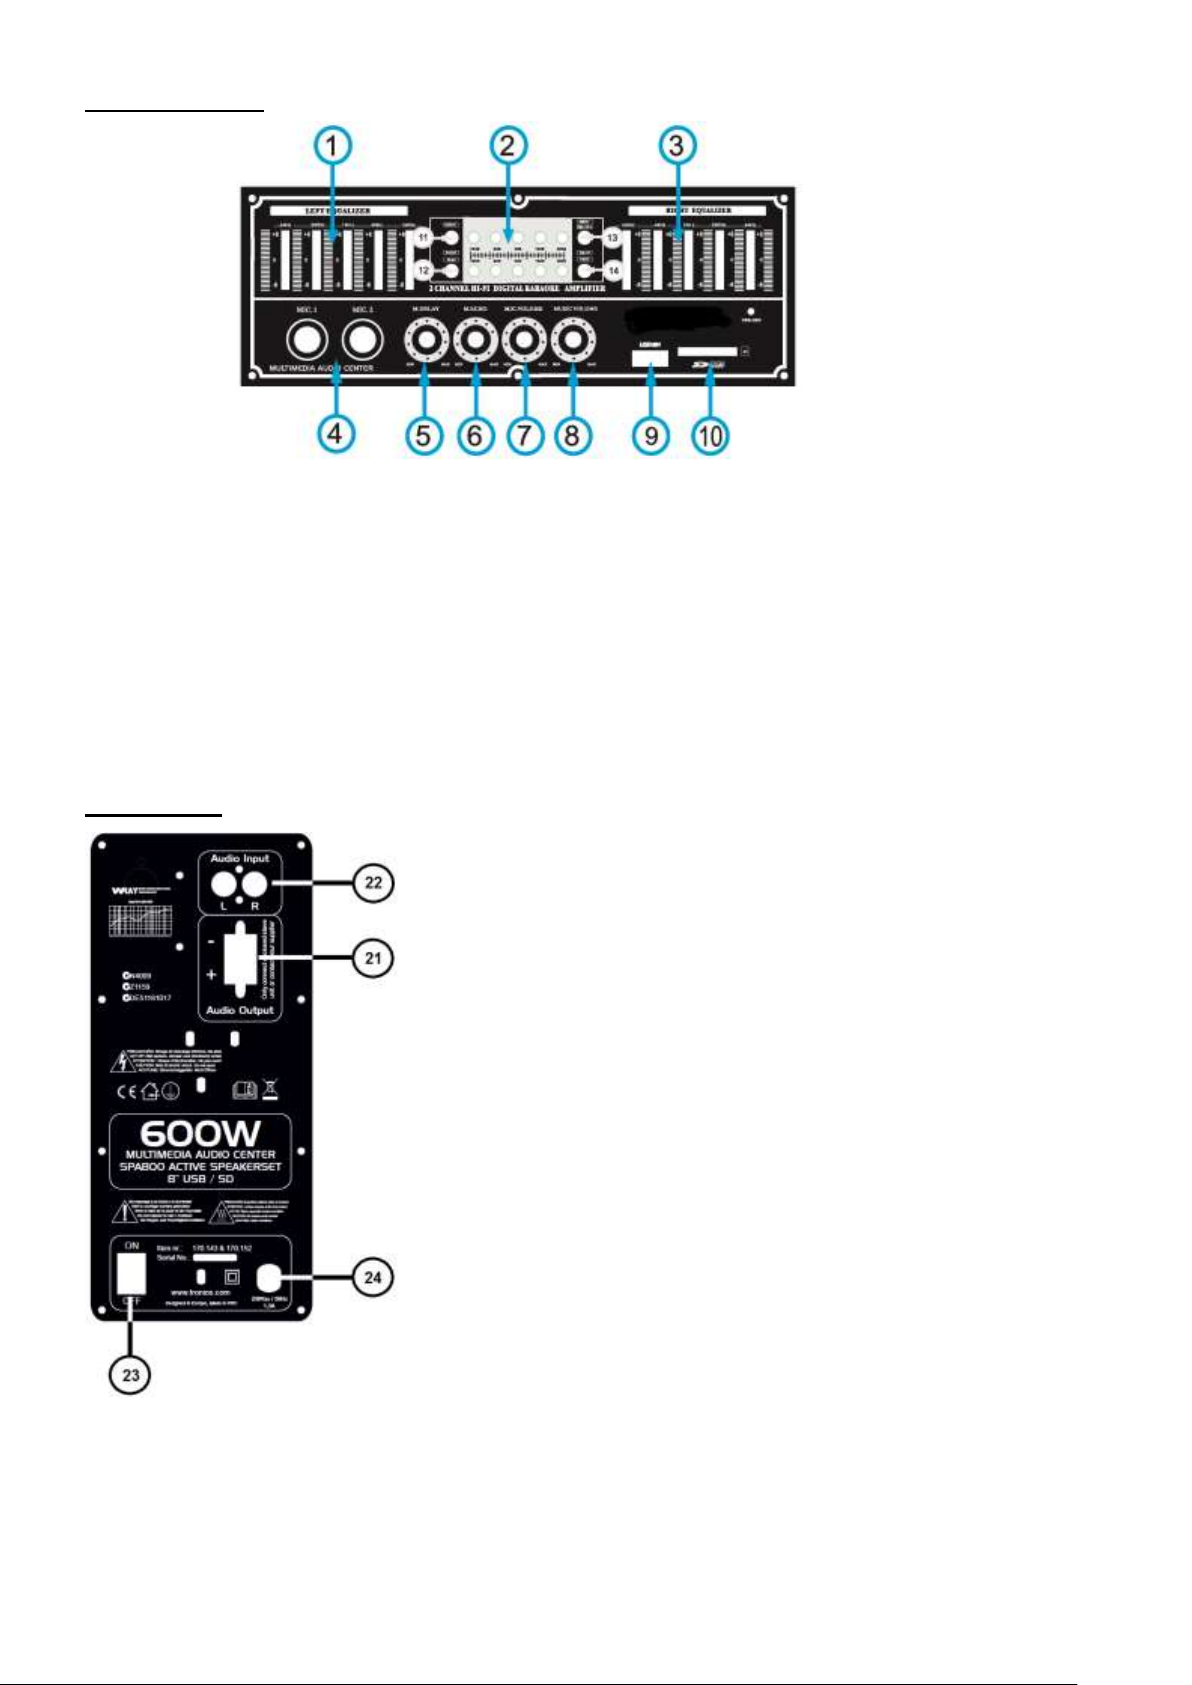
FRONT PANEL:
21. (Slave-) Speaker
output
22. Line input
23. Power switch
24. AC power cable
1. 5-Bands master Equalizer Left
channel
2. LED VU-meter master signal
3. 5-Bands master Equalizer Right
channel
4. Microphone Input Sockets
5. Microphone delay control
6. Microphone echo control
Back Panel:
7. Microphone volume control
8. Master Volume control
9. USB Socket
10. SD socket
11. Source selector
12. MP3 play Pause button
13. MP3 Next / Volume + button
14. MP3 previous / Volume - button

OPERATION:
Connect the passive speaker with the delivered speaker cable to the speaker output connector
(21). WARNING: only connect the original slave speaker on the speaker output terminal!
If required connect an external signal source like a CD-layer to LINE IN.
Connect the device with an electric outlet (230VAC / 50Hz)
LINE INPUT (DVD, CD-player etc.):
1. Connect the source (DVD-player, CD-player etc.) to the line input (22) on the rear panel
2. Press the SOURCE selector button (11) to select the line input
USB/SD:
1. Insert an USB (9) or SD device (10). The player will automatically starts playing the files
that are on the inserted device
MICROPHONE:
1. Insert the microphone to the MIC1 or MIC2 jack (4)
2. Adjust the MIC volume (7)
3. Adjust the echo (6) and delay (5) control
Volume control can be adjusted with the master VOLUME (8) Make sure that when you turn
on the active speaker's volume control is minimal.
Adjust the Equalizer (1+3) to get the right sound
SPECIFICATION
Frequency Response: ...................................................... 40Hz-20kHz ± 3dB
Input Sound Source: ...................................................................... Line Input
Speaker: ........................ 8 inch Woofer & Piezo Tweeter (170.143/170.152)
..................................... 10 inch Woofer & Piezo Tweeter (170.146/170.155)
..................................... 12 inch Woofer & Piezo Tweeter (170.149/170.158)
Car reader memory medium: ......................................... MMC Card, SD Card
Power supply: ..................................................................... 230VAC at 50Hz
 Loading...