

Sovella 14-C10041120, 14-C10041121, 14-C10041122 Assembly Instructions Manual
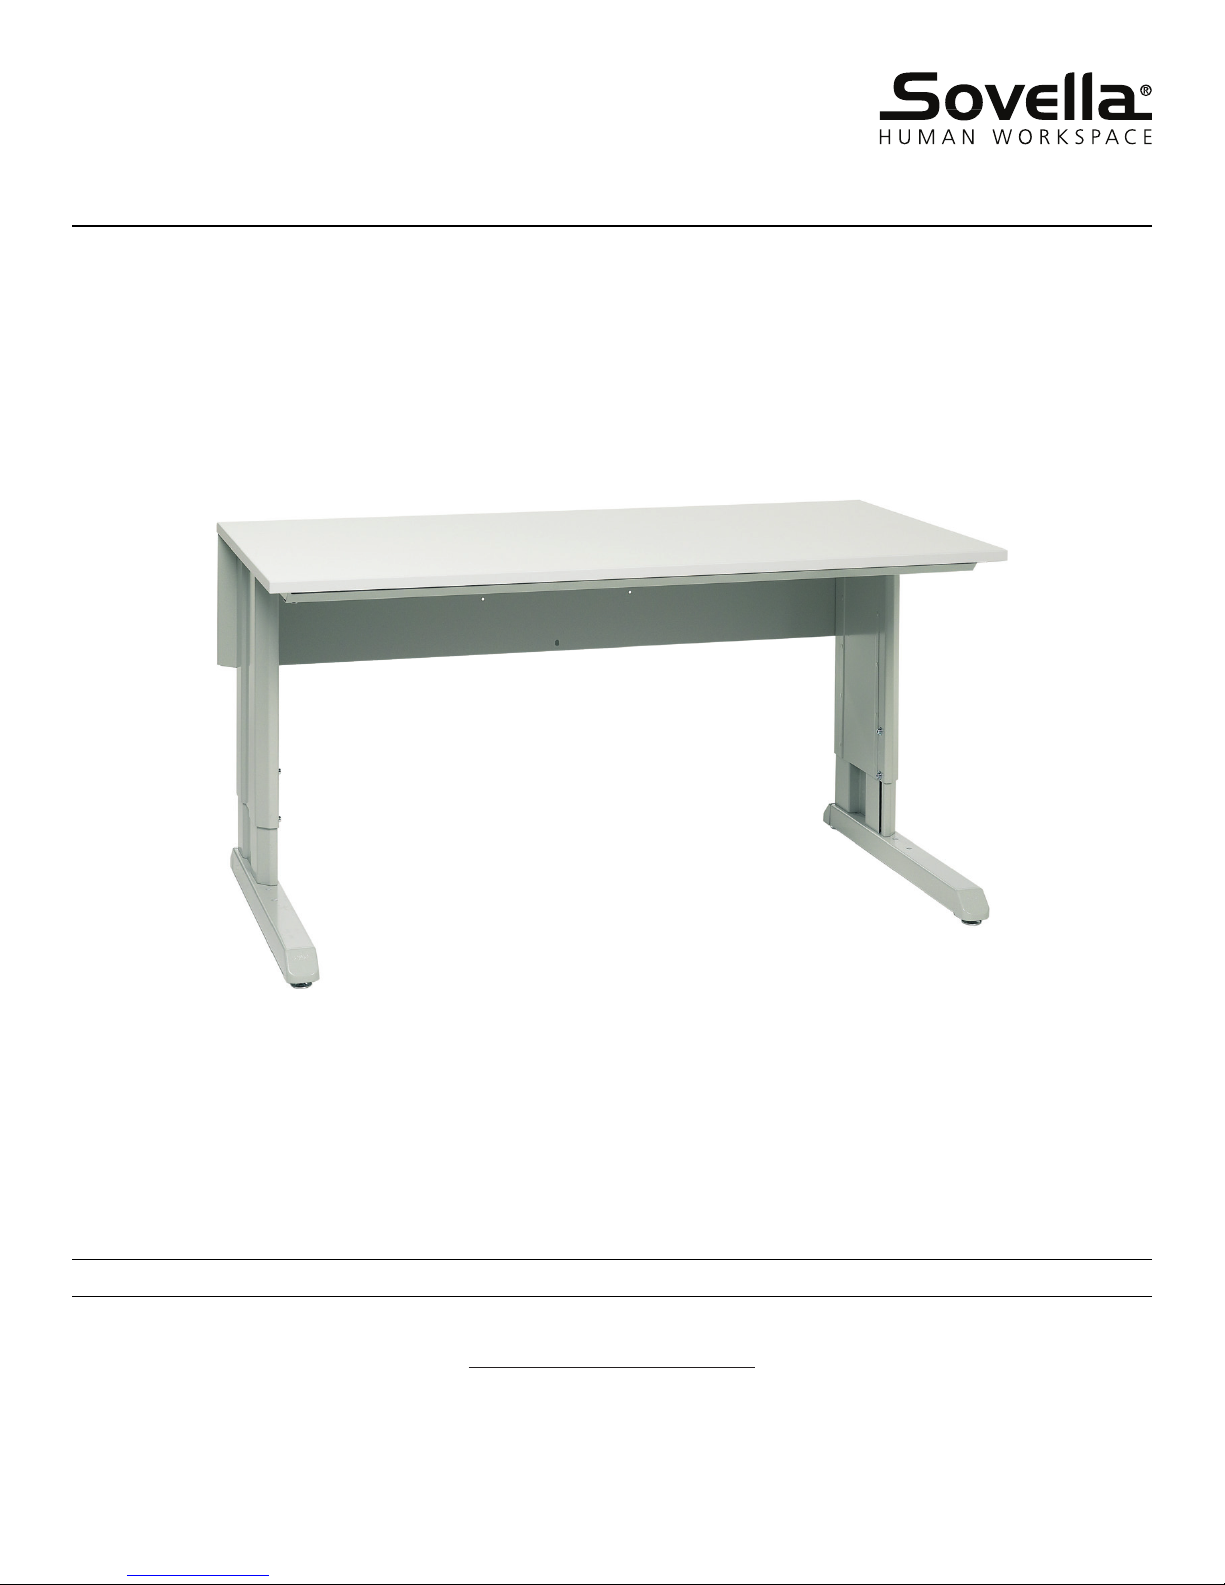
Sovella Concept Workstation
Sovella, Inc. 1910 Cobb International Blvd. Suite C, Kennesaw, GA 30152
Tel. 800.437.6772 • Fax 770.424.8066 • infousa@sovella.com • www.Sovella.us
Assembly Instructions
Order No. Size
14-C10041120 30 x 60
14-C10041121 30 x 48
14-C10041122 30 x 72
Assembly Instructions
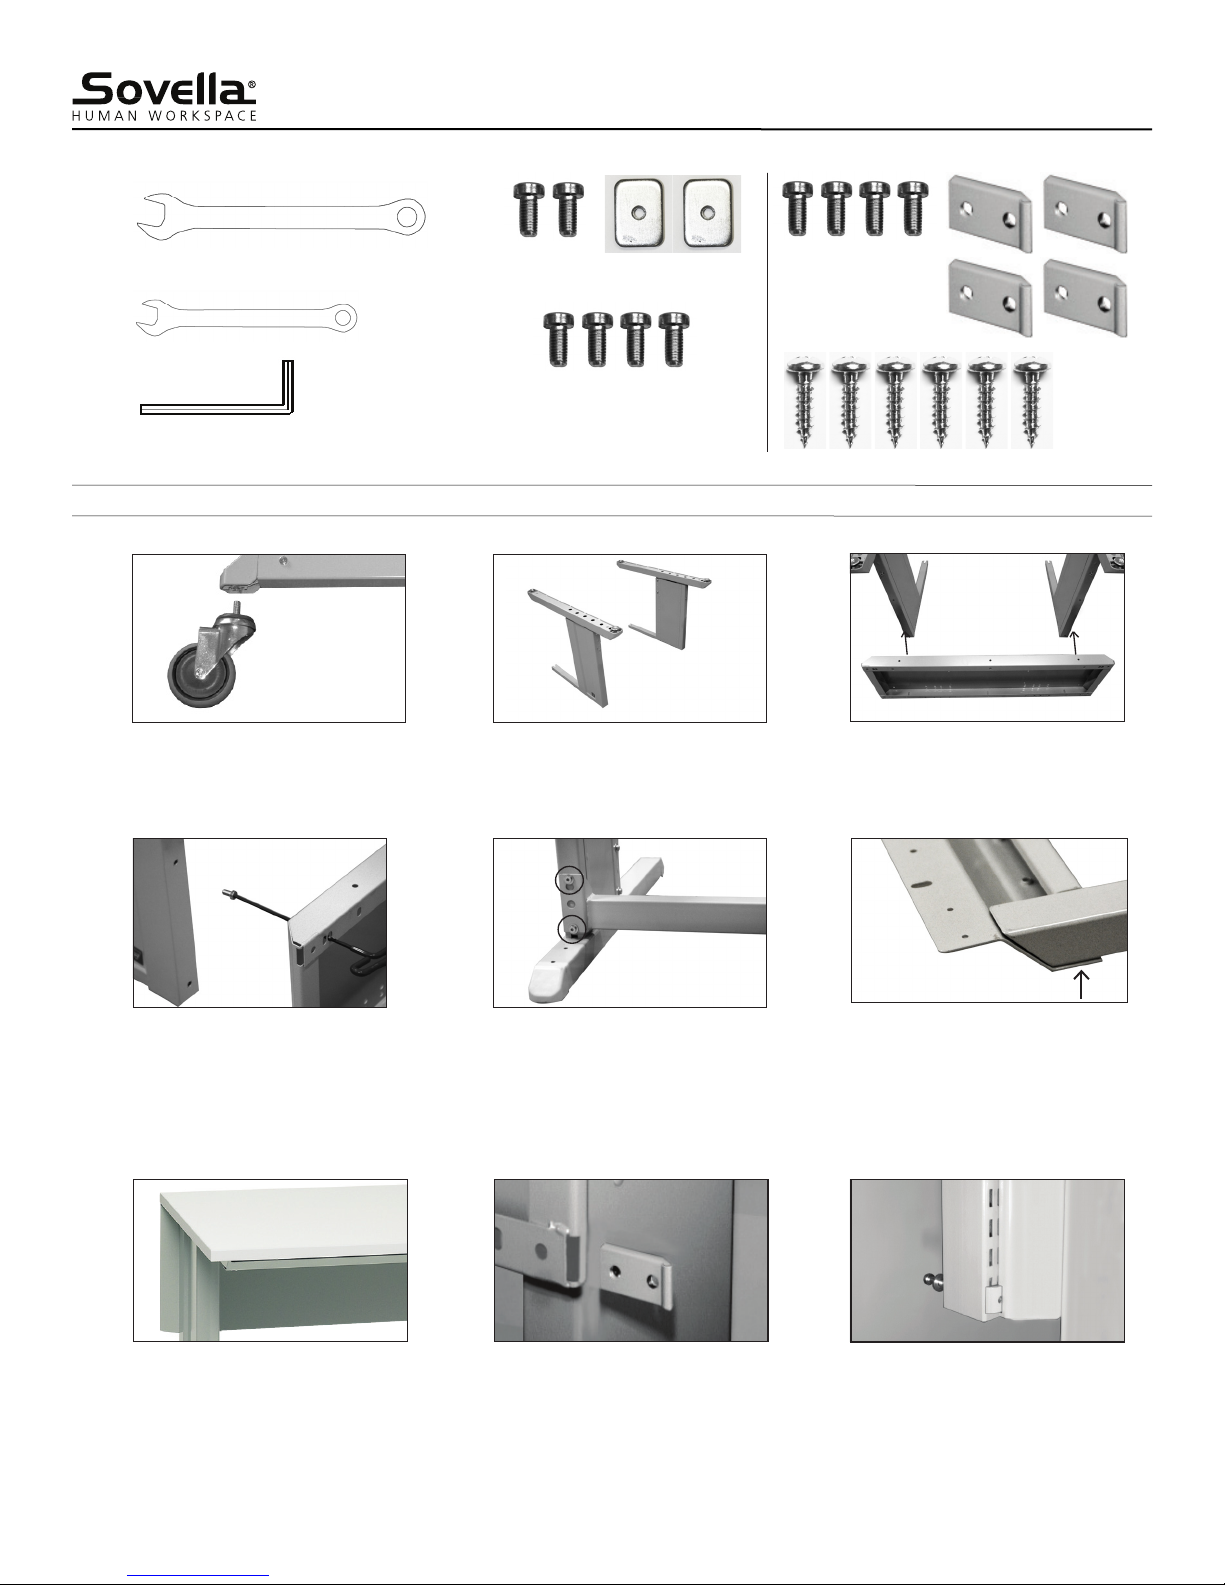
Tools required for installation
19 mm wrench
13mm wrench
5mm allen wrench
Assembly Instructions
STEP 1 STEP 2
Hardware included
Front bar hardware
Rear Case hardware
Upright Tab hardware
Worksurface hardware
STEP 3
OPTIONAL: Attach casters to legs.
STEP 4
Attach rear case to frame legs using 4
M8X16 rear case bolts, as shown above.
Tighten bolts and turn table upright, onto
casters.
Position the legs casters up, and so the ush sides
are facing each other. This maintains the proper
spacing for the other components. (Workstation
will be assembled upside-down rst.)
STEP 5
OPTIONAL: Loosen the bolts and washers on
the back side of both legs, do not completely
remove. Position spacer bar so top bolt on each
leg is in the top hole of the spacer bar. Bottom
hole should rest on the bottom bolt. Slide bar
down and tighten bolts. Note: Washers should be
between the bolt and the spacer bar.
Place rear case facing back of legs as shown
above, with oval holes facing down.
STEP 6
Attach Z-prole front rail to arm tubes using
m8X16 front rail hardware. Front rail hardware
includes a square nut, which is inserted into
the bottom of the side rail. M8x16 bolt is then
inserted through Z-prole front rail and
tightened into the square nut.
STEP 7 STEP 8 STEP 9
Attach work surface to table frame using the
wood screws provided.
Sovella, Inc. 1910 Cobb International Blvd. Suite C, Kennesaw, GA 30152
Tel. 800.437.6772 • Fax 770.424.8066 • infousa@sovella.com • www.Sovella.us
OPTIONAL: Insert the upright xing tab into the
slot on the rear of the base unit. Use a M8x16 bolt to
fasten the upright xing tab to the base unit. Do not
tighten the tabs in place until uprights are attached.
Repeat step 1 for all 4 of the upright xing tabs.
OPTIONAL: Attach the uprights to the upright
xing tabs in the out side threaded holes using
the M8x70 bolt included with the uprights. Tighten
all hardware in place. Note: These tabs are used
when attaching a double bay 60” upright system
to a 60” base unit, or when attaching a double bay
72” upright system to a 72” base unit.
 Loading...