

Southern Enterprises FA939800TX Assembly Instruction Manual
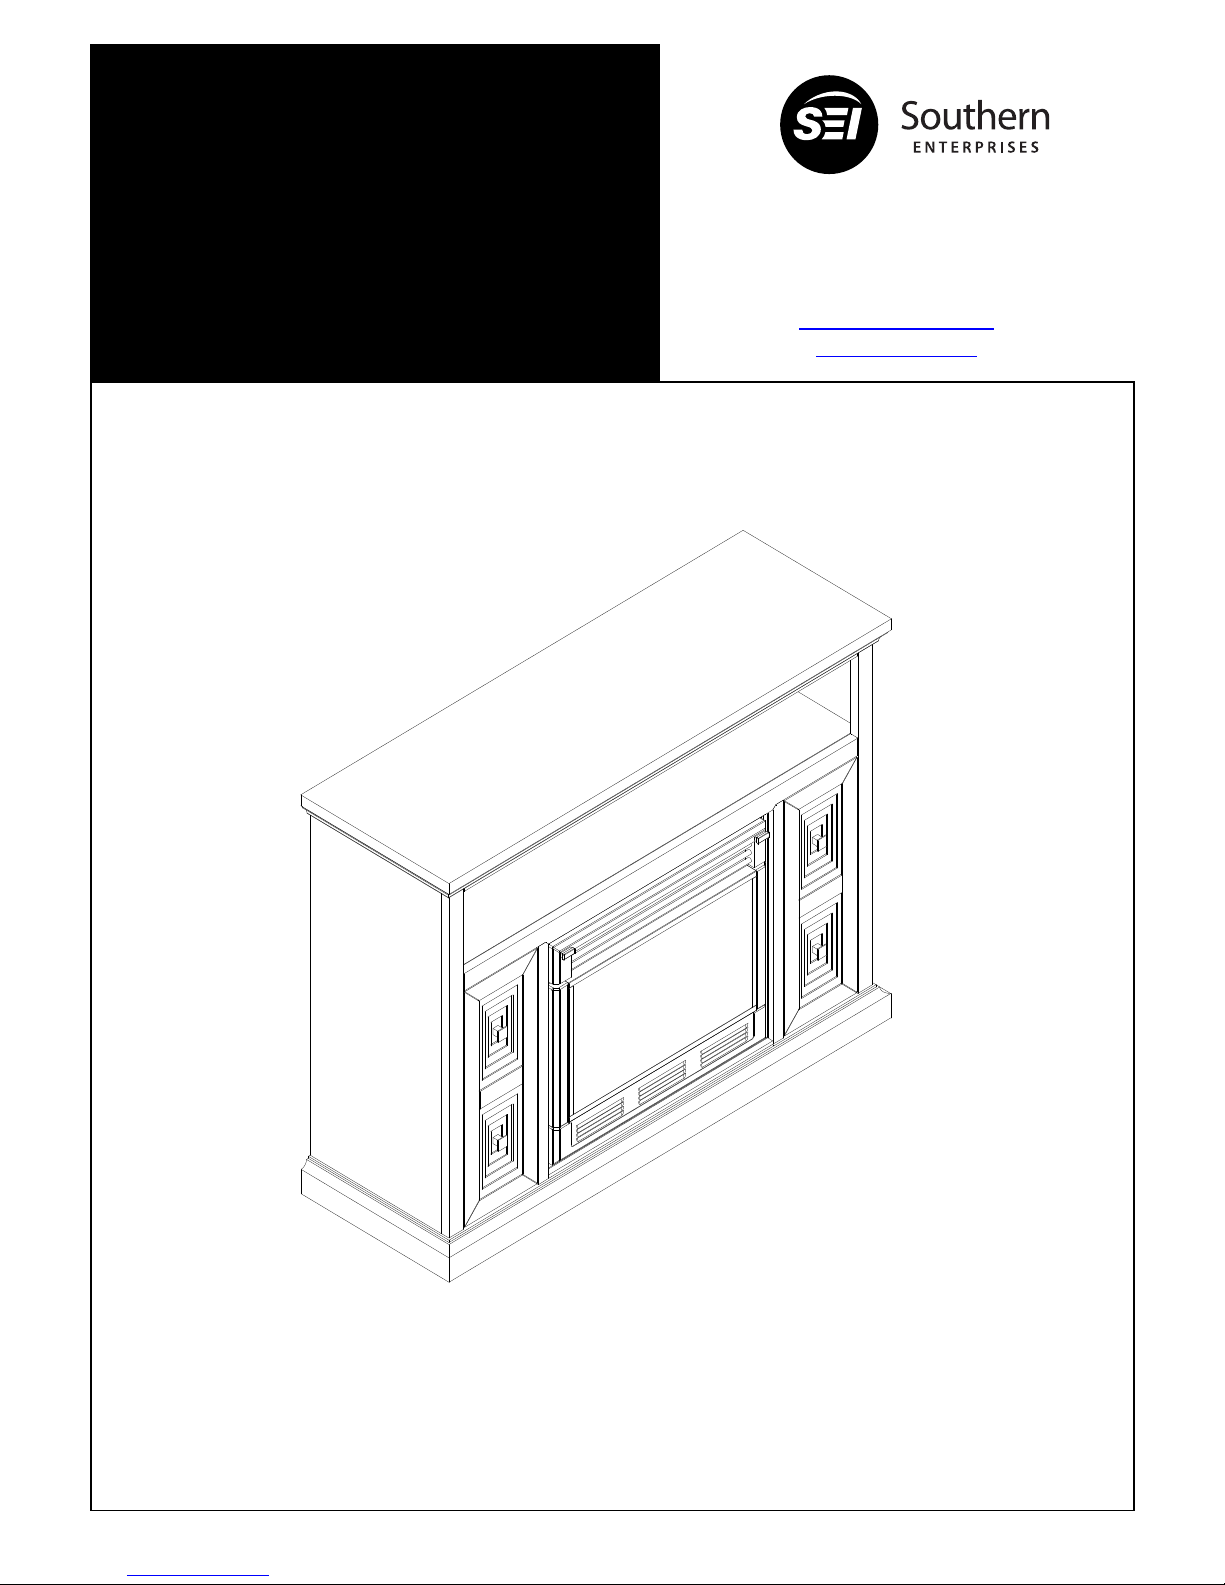
FA939800TX–CHERRY
CRESTON MEDIA FIREPLACE
MANTEL
ASSEMBLY INSTRUCTION
For assistance with assembly contact:
Southern Enterprises Inc.
Customer Service 1-800-633-5096
service@seidal.com
www.seidal.com
CRESTON MEDIA FIREPLACE
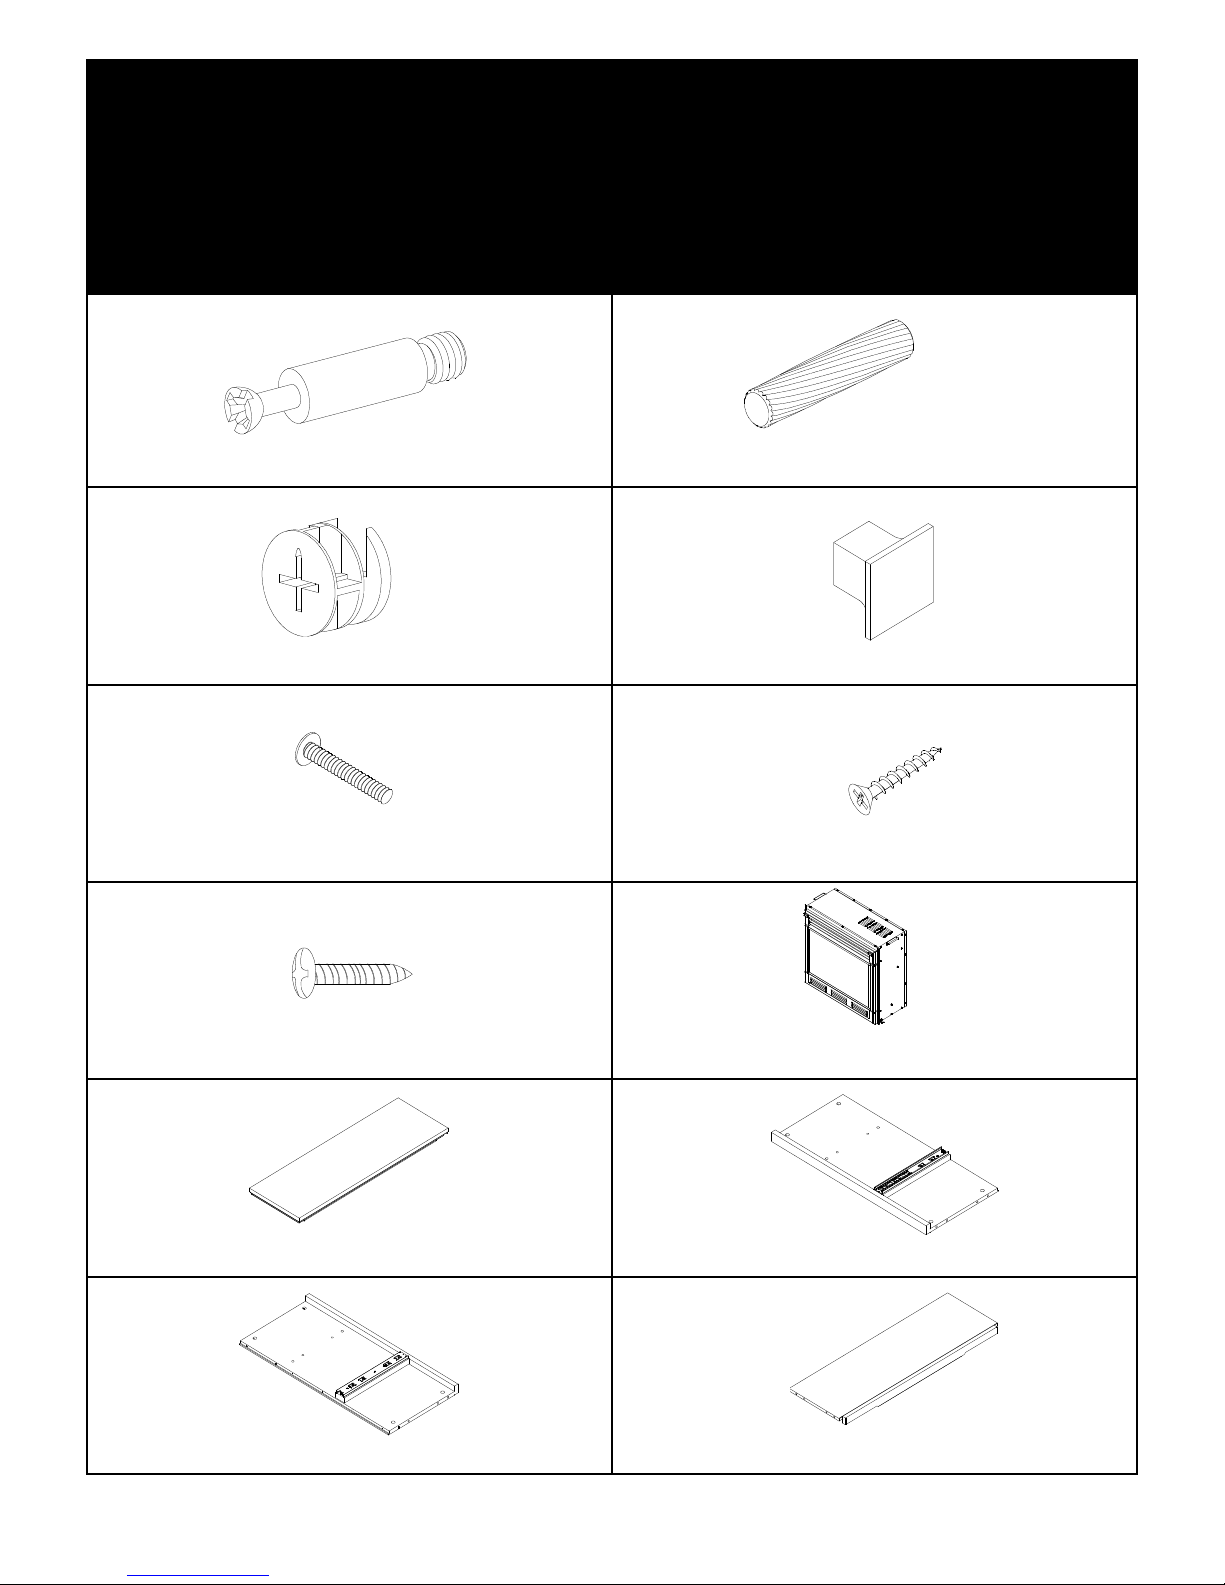
Parts List
Please review all parts and hardware before disposing of any packaging.
Call Customer Service if missing hardware. Do not return to store/retailer.
Using a screw that is too long will cause damage.
Before beginning assembly, separate each type of screw. Carefully study the
screw diagrams below. You may receive extra hardware with your unit.
A Quantity
of 20
CAM BOLT
B Quantity
of 20
WOOD DOWEL (¢8*30mm)
C Quantity
of 20
CAM LOCK
D Quantity
of 4
DRAWER PULL
E Quantity
of 4
LONG BOLT(5/32”*3/4”)
F Quantity
of 50
SCREW (8*1”)
G Quantity
of 38
SCREW (3*14mm)
H Quantity
of 1
FIREBOX(IN SEPARATE CARTON)
(1) Quantity
of 1
TOP PANEL
(2) Quantity
of 1
LEFT SIDE PANEL
(3) Quantity
of 1
RIGHT SIDE PANEL
(4) Quantity
of 1
MIDDLE SHELF PANEL

(5) Quantity
of 1
LEFT DIVIDED PANEL
(6) Quantity
of 1
RIGHT DIVIDED PANEL
(7) Quantity
of 1
BOTTOM PANEL
(8) Quantity
of 2
DRAWER FRONT PANEL
(9) Quantity
of 2
DRAWER BACK PANEL
(10) Quantity
of 4
DRAWER SHELF PANEL
(11) Quantity
of 4
DRAWER UPPER SIDE PANEL
(12) Quantity
of 4
DRAWER MIDDLE SIDE PANEL
(13) Quantity
of 4
DRAWER LOWER SIDE PANEL
(14) Quantity
of 1
UPPER BACK PANEL
(15) Quantity
of 2
LOWER BACK PANEL
(16) Quantity
of 1
WOOD HOLDER
Care and Cleaning Instructions:
Before using, wipe with a clean, dry cloth.
Periodically apply furniture wax to renew
the finish. Avoid rubbing or scratching the
surface with rough or abrasive objects.
Call Customer Service at 1-800-633-5096
Do not return product to store, please call
Manufacturer for assistance, questions or
Parts.
Assembly Tool Required
No.2 Phillips Screwdriver (Not Included)
CRESTON MEDIA FIREPLACE
Assembly Instructions
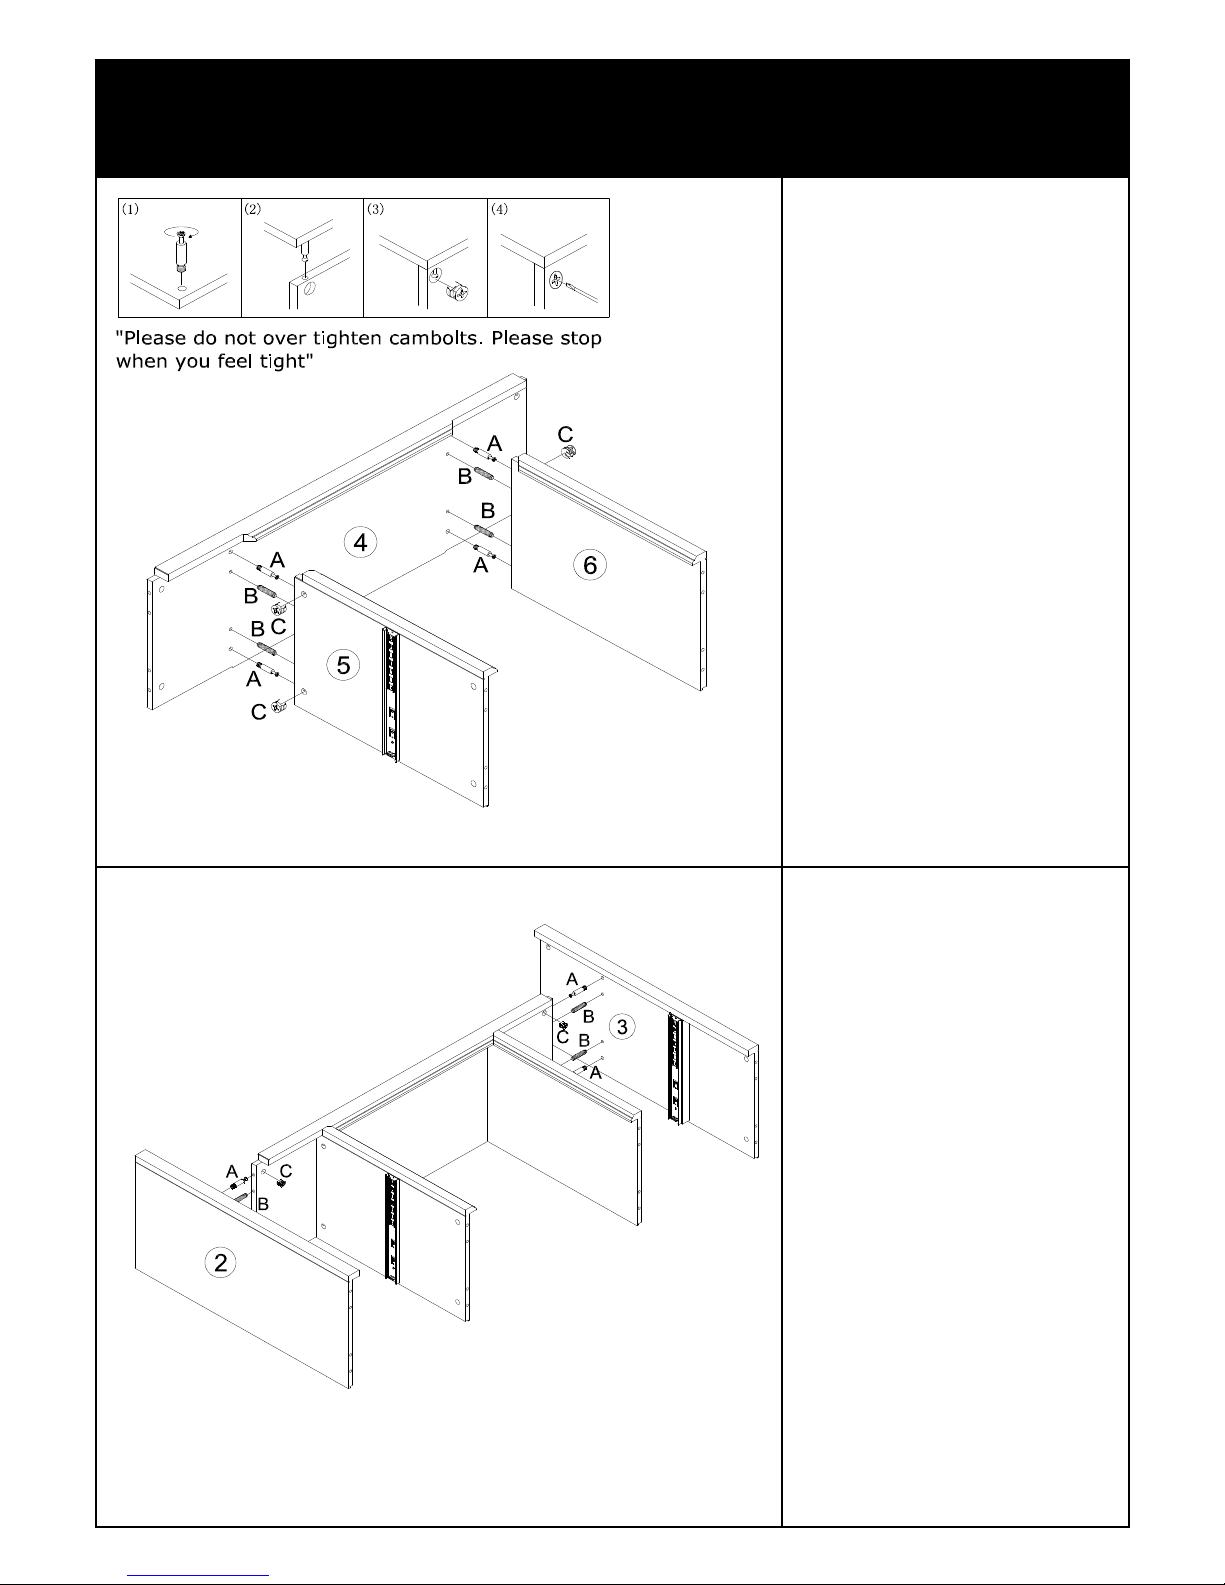
Figure 1
Unpack and lay parts on clean,
padded surface like carpet or
blanket. Check that you have all
parts indicated on the front page
Insert cam locks (C) into pre-drilled
holes on left divided panel (5) & right
divided panel (6).
Screw cam bolt (A) into pre-drilled
holes on the middle shelf panel (4).
Attach left divided panel (5) & right
divided panel (6) to shelf panel (4) by
inserting wood dowel (B) & cam bolt
(A) into corresponding pre-drilled
holes until left divided panel (5) &
right divided panel (6) & middle shelf
(4) meet.
Secure by rotating cam lock (C)
clockwise with Phillips screwdriver.
Figure 2
Insert cam locks (C) into pre-drilled
holes on the pre-assemble parts in
figure 1 as shown.
Screw cam bolt (A) into pre-drilled
holes on left side panel (2) & right
side panel (3) .
Attach left side panel (2) & right side
panel (3) to pre-assemble parts in
figure 1 by inserting wood dowel (B)
& cam bolt (A) into corresponding
pre-drilled holes until assemble parts
in figure 1 & left side panel (2) & right
side panel (3) meet.
Secure by rotating cam lock (C)
clockwise with Phillips screwdriver.
 Loading...