

Southern Car Parts C6 Tail Light Seal Installation Instructions Manual
Southern Car Parts
C6 Tail Light Seal Installation Instructions.
Tools Needed
Rag, T-15 Torx Head, Lubricant (soapy water compound, very small amount of car wash or
dish soap mixed with water, ½ tsp per ever gallon of water).
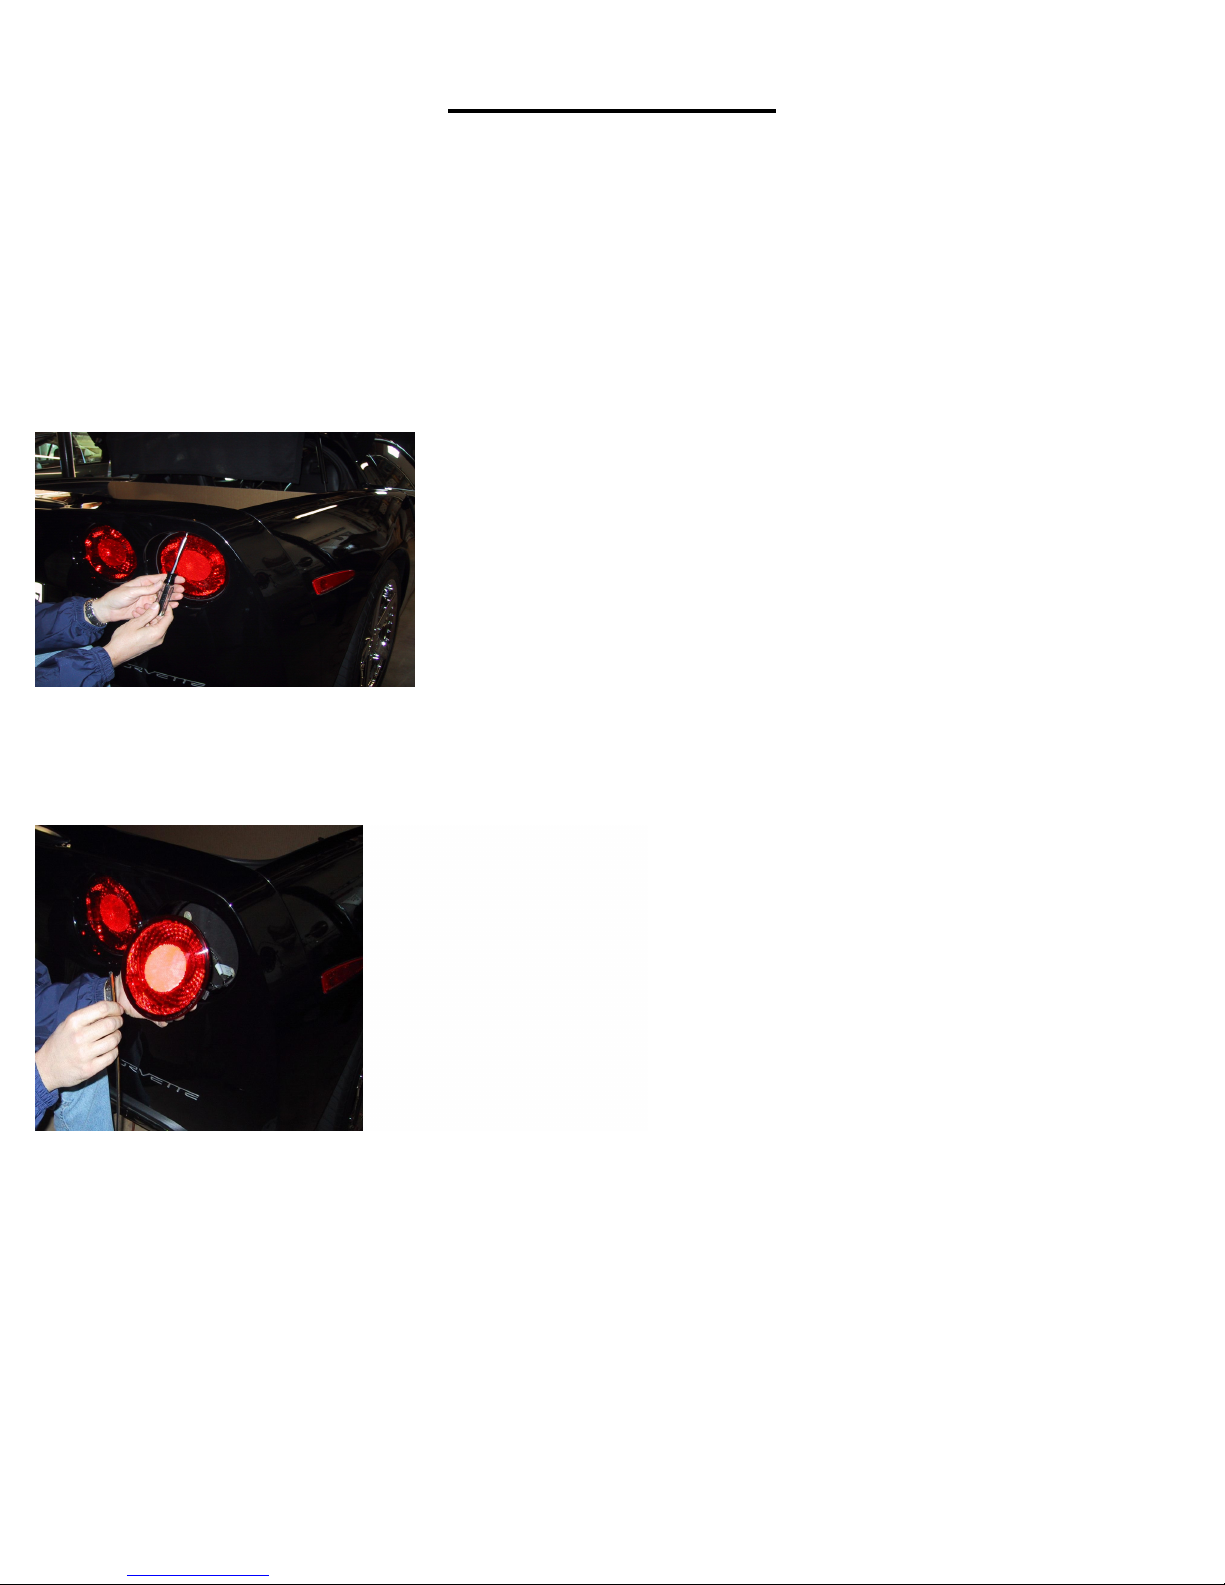
Remove the tail lights one at a time with a T-15 Torx head...One screw at the top of the lens.
Clean the edges of the tail light with a wet rag...Heck while you’re at it clean all of the grime
from behind the tail light as the seal will prevent that from happening again.
All clean and ready for the new seal...
Peel the adhesive backing (yellow strip) off the seal. Starting at the top of the taillight, gently
press the seal onto the tail light all the way around the perimeter. You want the big (thick) side
of the seal facing OUT and the thin side facing the front of your car (into the bumper). You
want the seal to be just about flush with the outer edge of the light lens.
www.southerncarparts.com
Southern Car Parts
C6 Tail Light Seal Installation Instructions.
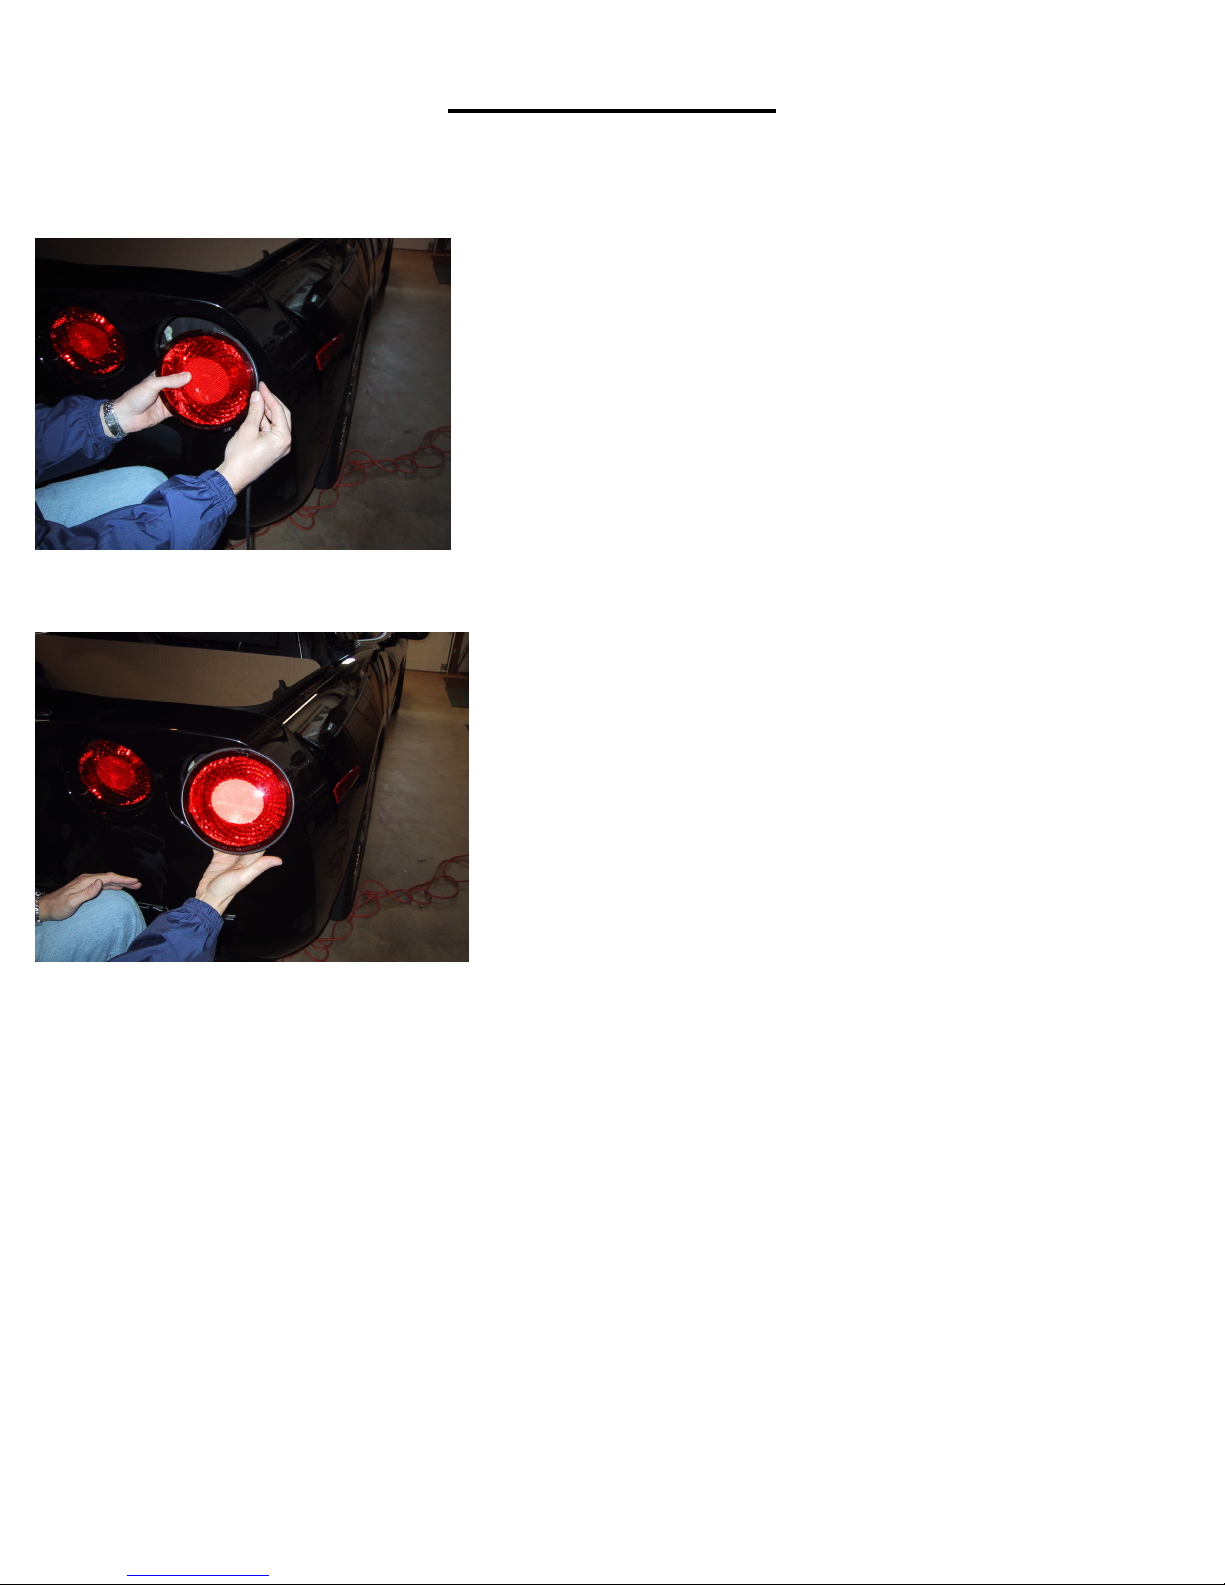
Seal is installed and ready to reinsert into housing.
For the next step you are going to need a tiny amount of lubricant (this is very important,
without the lubricant, installation of the taillight will be very difficult without shifting the
position of your seal) Before starting, double check the clip in the fascia where the screw
threads into and make sure it is tight and not bent out in any way. We do not want it to snag on
your new seal and damage the seal or push off into the rear fascia. Now, take some of your
soapy water compound and generously spread it around the seal and around the inside of the
fascia where the taillight goes. Reinstall the light by lining up the tabs on the bottom of the light
with the notches in the bottom of the fascia socket. Put the bottom of the light all the way in
first, pressing down on the top of the light and press the top of the light back and into the
socket. It should be tight, but slide right in. You may have to push the bottom again a bit and
then back to the top until you see the screw hole line up in the attaching bracket on the light. .
Repeat for each tail light.
and run it on the outer edge of the seal (top and bottom). This will help the tail light slide into
position without shifting the position of your seal and will also make installation much easier.
www.southerncarparts.com
 Loading...