

SoundTraxx ECO-21PNEM, TSU-21PNEM, TSU-PNP, ECO-PNP, TSU-4400 Installation Manual
...
Tsunami2 and Econami Digital Sound Decoder
Installation Guide
Rev.D 05/10/2017

Contents
All Aboard! ............................................................................................................................... 3
Overview ...................................................................................................................................... 3
Pre-Installation Considerations ................................................................................................... 4
Installation ................................................................................................................................ 6
Step 1. Test the Motor Stall Current ........................................................................................... 6
Step 2. Plan the Installation ........................................................................................................ 7
Step 3. Isolate Motor and Lights from the Frame ....................................................................... 9
Step 4. Modify the Tender or Body Shell .................................................................................. 10
Step 5. Mount the Speaker ....................................................................................................... 12
Step 6. Install and Wire the Decoder ........................................................................................ 13
Step 7. Test the Istallation ........................................................................................................ 16
Wiring Diagrams .....................................................................................................................17
TSU-1100/ECO-100 .................................................................................................................. 17
TSU-2200/ECO-200 .................................................................................................................. 18
TSU-21PNEM/ECO-21PNEM ................................................................................................... 19
TSU-PNP/ECO-PNP ................................................................................................................. 20
TSU-4400/ECO-400 .................................................................................................................. 21
Notice
The information in this document is subject to change without notice.
SoundTraxx (Throttle Up! Corp.) shall not be liable for technical or editorial errors or omissions contained
herein, nor for incidental or consequential damage resulting from the furnishing, performance or use of
this material.
This document contains information protected by copyright. No part of this document may be photocopied
or reproduced in any form without the prior written consent of Throttle Up! Corp.
Product names mentioned herein may be trademarks and/or registered trademarks of their respective
companies.
SoundTraxx, Tsunami2, Econami, Tsunami, SoundTraxx DCC, Dynamic Digital Exhaust, Auto-Exhaust,
Hyperlight, Hyperdrive2, SoundCar, and Intelligent Consisting are trademarks of Throttle Up! Corp.

All Aboard!
Tsunami2
Econami
TSU-1100
ECO-100
TSU-2200
ECO-200
TSU-21PNEM
ECO-21PNEM
TSU-PNP
ECO-PNP
TSU-4400
ECO-400
To download all user documentation, visit www.soundtraxx.com/manuals.php.
All Aboard!
Overview
Congratulations on the purchase of your Tsunami2 or Econami Digital Sound Decoder! Properly
installed, this decoder will provide high-quality sound, realistic lighting effects, and superior
motor control. This installation guide will give you step-by-step instructions to successfully install
the following Tsunami2 and Econami formats for steam, diesel, or electric locomotives:
Though each decoder is tested thoroughly before shipping, we cannot control the correctness or
quality of a given installation. It is imperative that you follow the directions, and never remove
the protective heat-shrink from the decoder; there are no adjustments that can be made to the
hardware and this will void your warranty.
The difficulty of an installation depends principally on the modeler, and may be more or less
challenging according to any given circumstance. However, an installer should generally have
basic modeling skills, be comfortable disassembling a model, and be able to identify wires, such
as power pickups and motor leads.
Note: In the event that you damage the decoder during installation, our warranty policy is
outlined in the User’s Guide and on our website. It includes information about returning the
decoder to SoundTraxx for repair or replacement.
Further documentation regarding steam, diesel, or electric versions of your decoder:
If you’re new to DCC and sound, refer to the Quick Start Guides for default operation and
programming highlights.
Refer to the User’s Guides for in-depth instructions regarding operating and programming
your digital sound decoder.
Refer to the Technical References for details regarding each CV included in your Digital
Sound Decoder.
Refer to the Sound Selection References for a quick guide of CV values to adjust sound
effects in each version.
Refer to the SoundTraxx Guide to Successful Soldering for soldering tips and
recommendations.
Tsunami2 and Econami Installation Guide 3

All Aboard!
Pre-Installation Considerations
Carefully read the instructions that are printed on the decoder’s packaging. Then, finish reading
this installation guide. While installing the decoder, keep these precautions in mind:
Handle the decoder carefully in a
static-free environment. To discharge
static electricity before handling the
decoder, touch a water pipe or another
grounded metal surface.
Never remove the decoder’s protective
shrink tubing; this voids your warranty.
Never make connections to the decoder
while it is receiving power.
Make sure all electrical connections are
insulated. Avoid using electrical tape; it
tends to unwrap over time. We
recommend using heat-shrink tubing
instead.
Never allow the decoder leads to come
in contact with any DCC track wiring not
specifically designed for that purpose.
Never allow speaker or motor outputs to
be shorted together.
Do not exceed the output ratings for
which the decoder is designed.
Do not choose a locomotive with a stall
current exceeding the decoder’s rating;
always test the stall current of your
locomotive before installing the decoder.
If possible, mount the decoder in an
area with some airflow to provide
ventilation for the decoder.
Mount the decoder away from other
heat sources (such as the motor or
lamps) to avoid overheating.
Always use a proper speaker enclosure
(baffle) and select the largest speaker
possible.
Choose an appropriately rated speaker.
Take your time and have fun!
Testing the Decoder Prior to Installation
In rare cases, damage received during shipping or improper handling can cause a decoder to
fail prematurely. We recommend that you test all Digital Sound Decoders and accessories
within the item’s warranty period prior to beginning the installation. Proper bench testing of
decoders can save countless hours of headache and frustration if problems are discovered after
the installation process has begun
Testing the decoder on your workbench can be accomplished by connecting the wires/pads
from the DSD to a surplus motor, 8 ohm speaker and 12 volt lamps. Refer to the appropriate
wiring diagram for your decoder when making these connections. Also ensure that the wire
connections are mechanically sound and well insulated to prevent damage to the decoder or
accessories during testing.
When the appropriate connections have been made, test the motor by running it in both forward
and reverse directions. Test each lighting output by turning on the corresponding function key.
Lastly, check the audio output of the DSD by blowing the horn or whistle, ringing the bell and
listening for changes in prime mover notch, exhaust chuff or traction motor whine.
If you should discover any issues during this test, please contact our Customer Support
department for assistance.
Note: Neither Tsunami2 nor Econami require a programming track booster.
Tsunami2 and Econami Installation Guide 4
All Aboard!
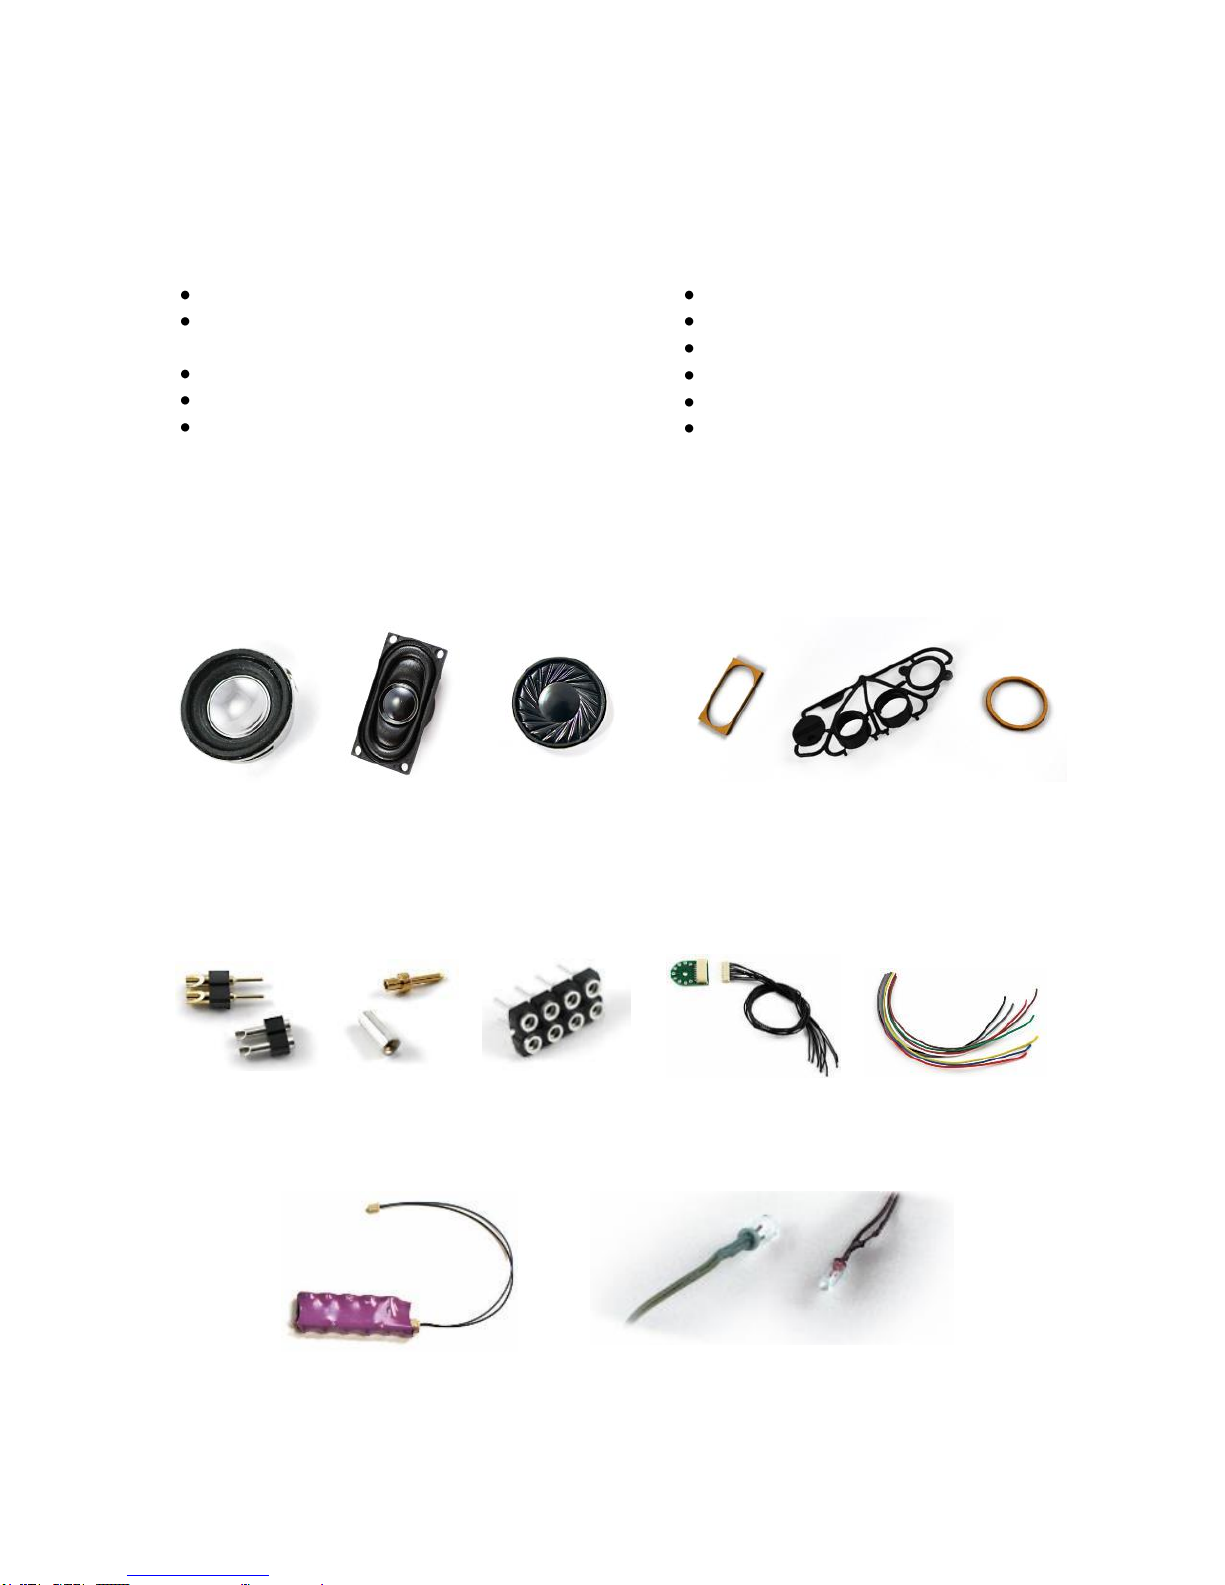
Miniature Speakers, Baffles, and Gaskets:
We have a variety of miniature speakers, baffles, and gasket kits for use with our digital sound
decoders; choose the largest speaker the installation will allow.
Wiring Aids
Micro-connectors can be used to facilitate easy separation of components. NMRA-Compatible
Connectors are used for converting universal-style decoders to a “plug-and-play” format.
DBX-9000 Wiring Kit facilitates easy separation of the locomotive and tender. Super-flexible
wire is ideal for working in tight spaces.
DCC Accessories
The CurrentKeeper helps maintain decoder performance during momentary power losses.
Microbulbs and LEDs let you take advantage of our Hyperlight lighting effects.
Tools and Materials You Will Need
In addition to the common hand tools found on most modeler’s workbenches, you should have
the following at your disposal:
Low-wattage soldering iron
Rosin-core solder and electronics
safe flux
Hobby knife
Miniature screwdriver set
Diagonal wire cutters
We have a variety of accessories to aid your installation. For more information about our full line
of installation accessories, visit www.soundtraxx.com/access/index.php.
Handheld rotary tool
Multimeter
Double-sided foam tape
Heat-shrink tubing
Silicone RTV
Drill bit assortment
Tsunami2 and Econami Installation Guide 5

Installation
Installation
Step 1. Test the Motor Stall Current
Test the locomotive’s stall current to ensure that it is compatible with the decoder that you have
chosen:
1. Place the locomotive on a section of track powered by a conventional DC powerpack set to
the same track voltage as your command station (typically 12-14 volts).
2. Referring to Figure 1, connect a DC ammeter in series with one of the track feeders. If your
powerpack has built-in meters, you may use them for this purpose.
Figure 1: Testing the Locomotive’s Motor Stall Current
3. Immobilize the locomotive by holding it to the track, and turn on the powerpack.
4. Firmly press down on the locomotive or hold the motor’s flywheel to stop it from spinning.
5. Ensure the powerpack voltage remains the same to receive an accurate measurement.
6. Measure the current the locomotive is drawing while the motor is stalled; this is the stall
current.
7. Ensure the motor stall current is less than the decoder’s rated capacity.
Tsunami2 and Econami Installation Guide 6
Installation
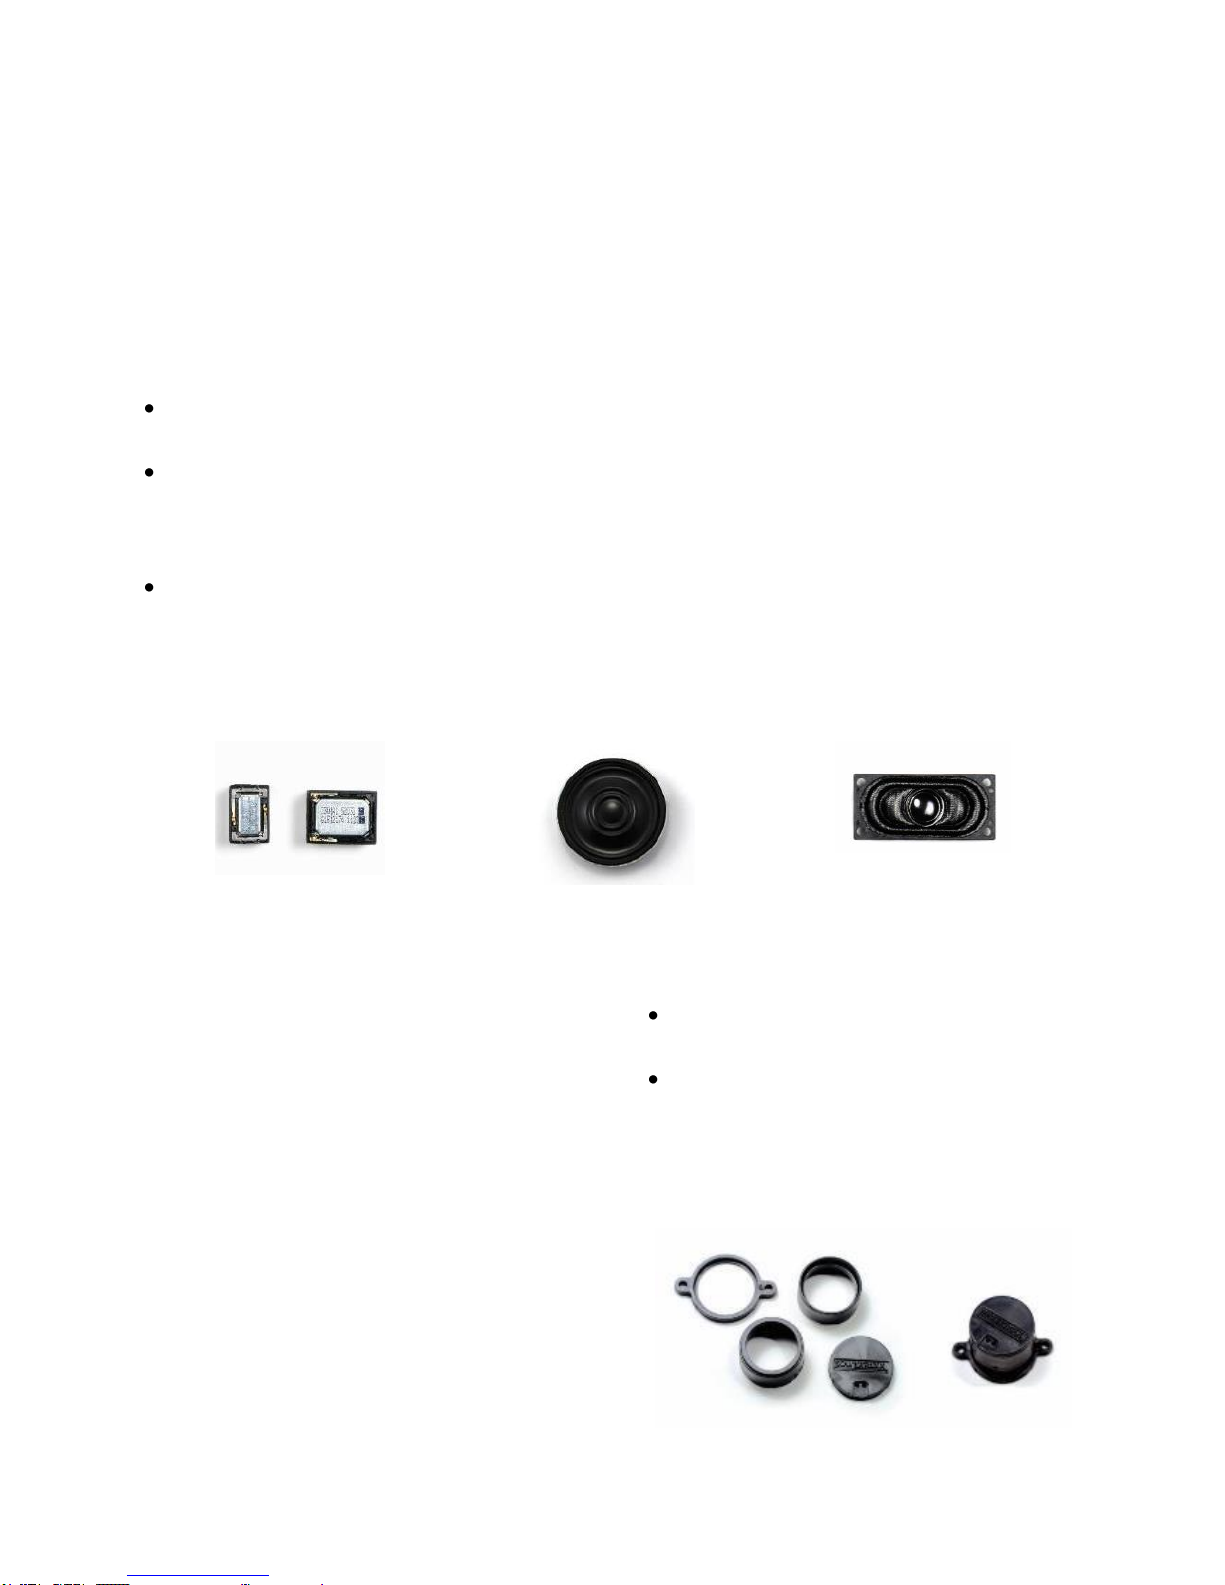
Mini Cube Speakers
28 mm (1”) Round Speaker
16 x 35mm Oval Speaker
Step 2. Plan the Installation
The sound quality you will receive from your
Digital Sound Decoder depends upon your
speaker selection, the way you install the
speaker, and the location of the decoder
within the model. Consider the following as
you plan your sound installation:
Provide ventilation for the decoder if
possible.
Mount the decoder away from other
heat sources (such as the motor or
lamps) to reduce the chance of
overheating.
Always provide a proper enclosure
(baffle) for the speaker. Lack of a
speaker baffle will cause poor sound
quality.
Speaker Considerations
Select the largest speaker that your model
permits to achieve higher volume and better
quality low-frequency response for a more
realistic sounds. We offer a range of
speakers that you can use with your model.
Note: Be sure that your speaker is rated to
match the audio amplifier of your decoder;
failure to do so could cause damage to your
speaker. Check the packaging and our
website for ratings for each decoder format.
Note: If a single large speaker isn’t an
option, you may be able to use two or three
smaller speakers to improve the frequency
response. For details, refer to “Wiring
Multiple Speakers” within Step 6. Install
and Wire the Decoder (Pg. 13).
Speaker Enclosures
A speaker enclosure (baffle) should be used
to allow air pressure to build up and amplify
sound.
The enclosure should fit the speaker. The
pressure building within an enclosure that is
too small for the speaker will compromise
certain frequencies and muffle the sound
response. As a guideline, enclosures for
speakers measuring less than 3” in
diameter should be built using the cubic
relationship between height, length and
width. For example, a 1” speaker should be
paired with a 1” x 1” x 1” enclosure.
Note: Employing a proper speaker
enclosure cannot be emphasized enough;
the absence of an effective enclosure is
almost always the cause of poor sound
quality.
Speaker enclosures should also be:
Fixed with stiff walls to prevent
vibrations and buzzing
Installed flush with the speaker
dimensions to create an airtight space
for the speaker cone to build pressure
and produce a strong sound response
We offer various snap-together baffle kits
like the one shown below.
SoundTraxx Speaker Baffle Kit
Tsunami2 and Econami Installation Guide 7
 Loading...