

Page 1
1
BFHM-12/6708
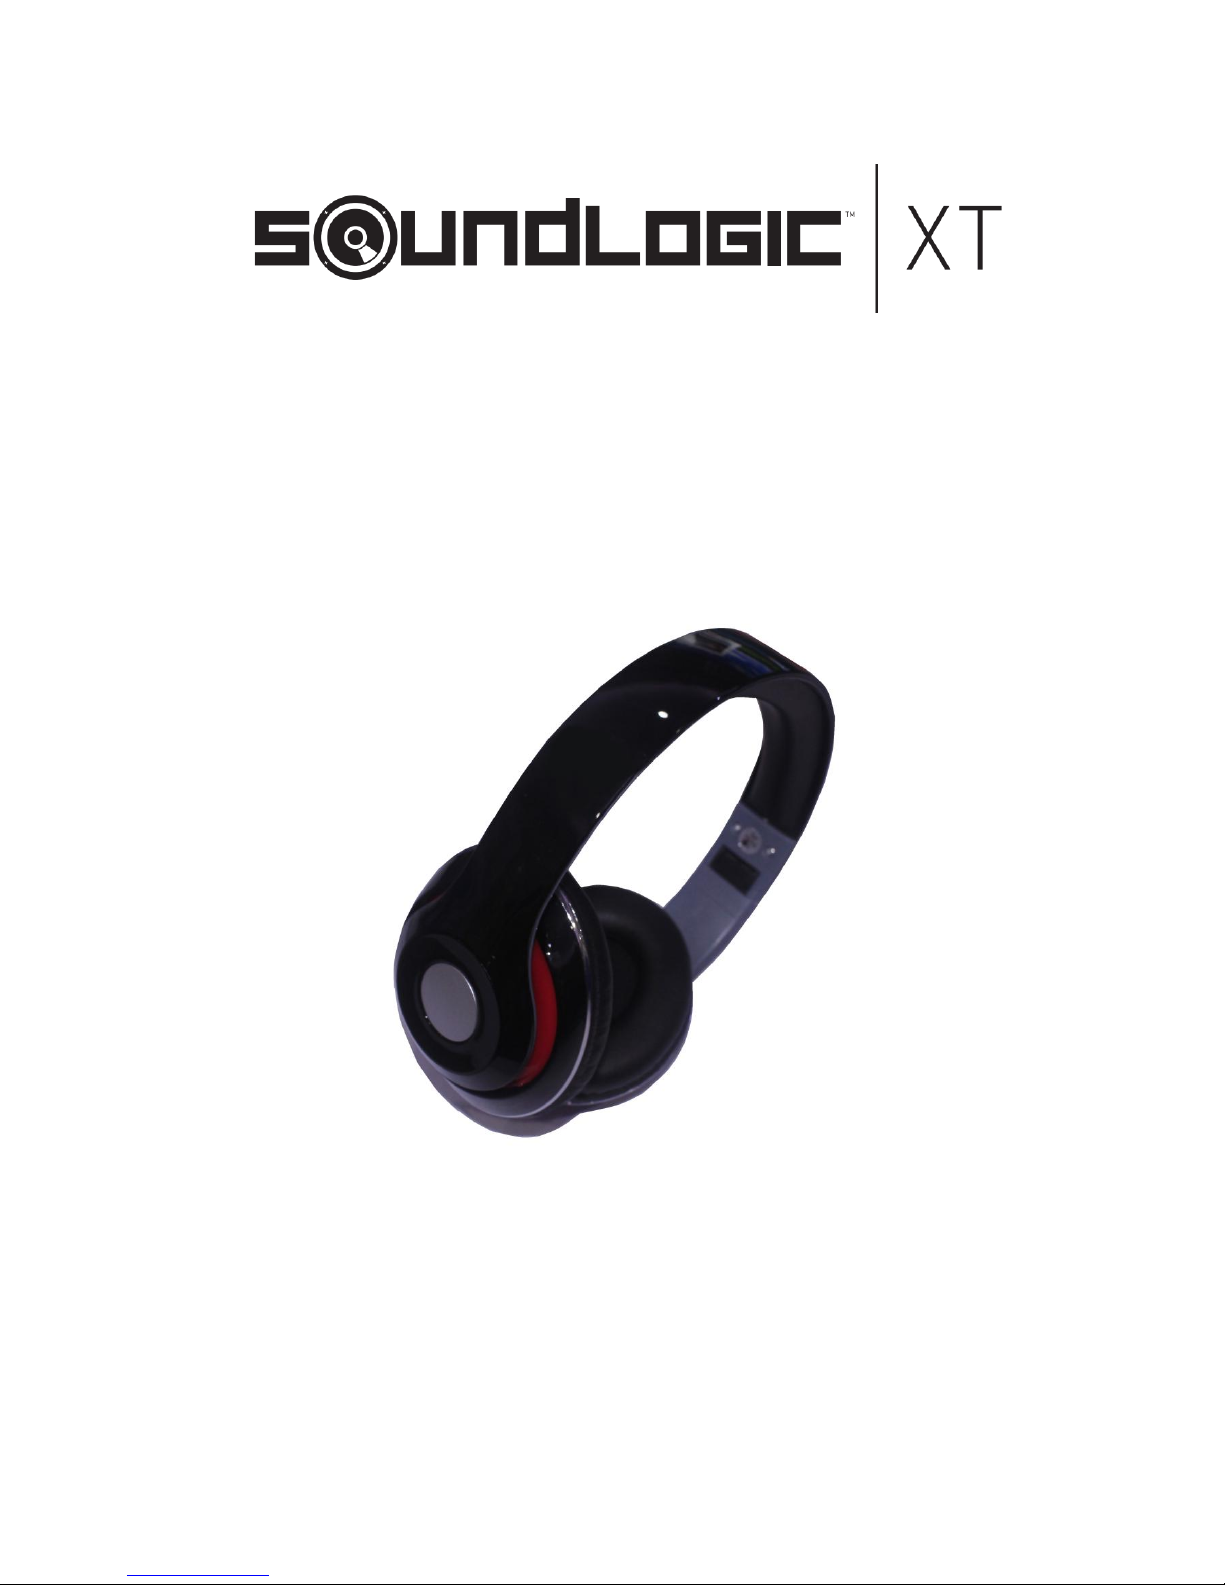
Bluetooth Foldable Stereo Headphone
with Mic
INSTRUCTION MANUAL
PLEASE READ ALL INSTRUCTIONS CAREFULLY
AND RETAIN FOR FUTURE USE
Page 2

2
Getting started
Remove the product from the box.
Remove any packaging from the product.
Please retain all packaging after you have checked and counted all the parts and the
contents against the list.
Package Contents
Bluetooth Headphone
USB charging cable
3.5mm auxiliary cable
Instruction Manual
Key Features
Bluetooth Stereo Headphone
Built-in microphone for hands-free use with Bluetooth enabled devices
Great Sound
Foldable and comfortable adjustable design
Connects automatically to previously connected devices
Rechargeable batteries built-in
Auxiliary Back Up, if battery runs out
Auxiliary cord included
Built-in FM Radio
Built-in Micro SD Card slot, to play music directly from memory card
Safety Instructions
Keep the unit away from heat sources, direct sunlight, humidity, water and any other
liquids.
Do not operate the unit if it has been exposed to water, moisture or any other liquids to
prevent against electric shock, explosion and/or injury to yourself and damage to the
unit.
Do not use the unit if it has been dropped or damaged in any way.
Repairs to electrical equipment should only be performed by a qualified electrician.
Improper repairs may place the user at serious risk.
Do not use the unit with wet hands.
Do not put objects into any of the openings.
Keep the unit free from dust, lint etc.
Do not use this unit for anything other than its intended use.
Keep the unit out of reach of children.
This product is not a toy.
Do not use the handset at excessive volume levels, as damage to hearing may occur.
Page 3
3
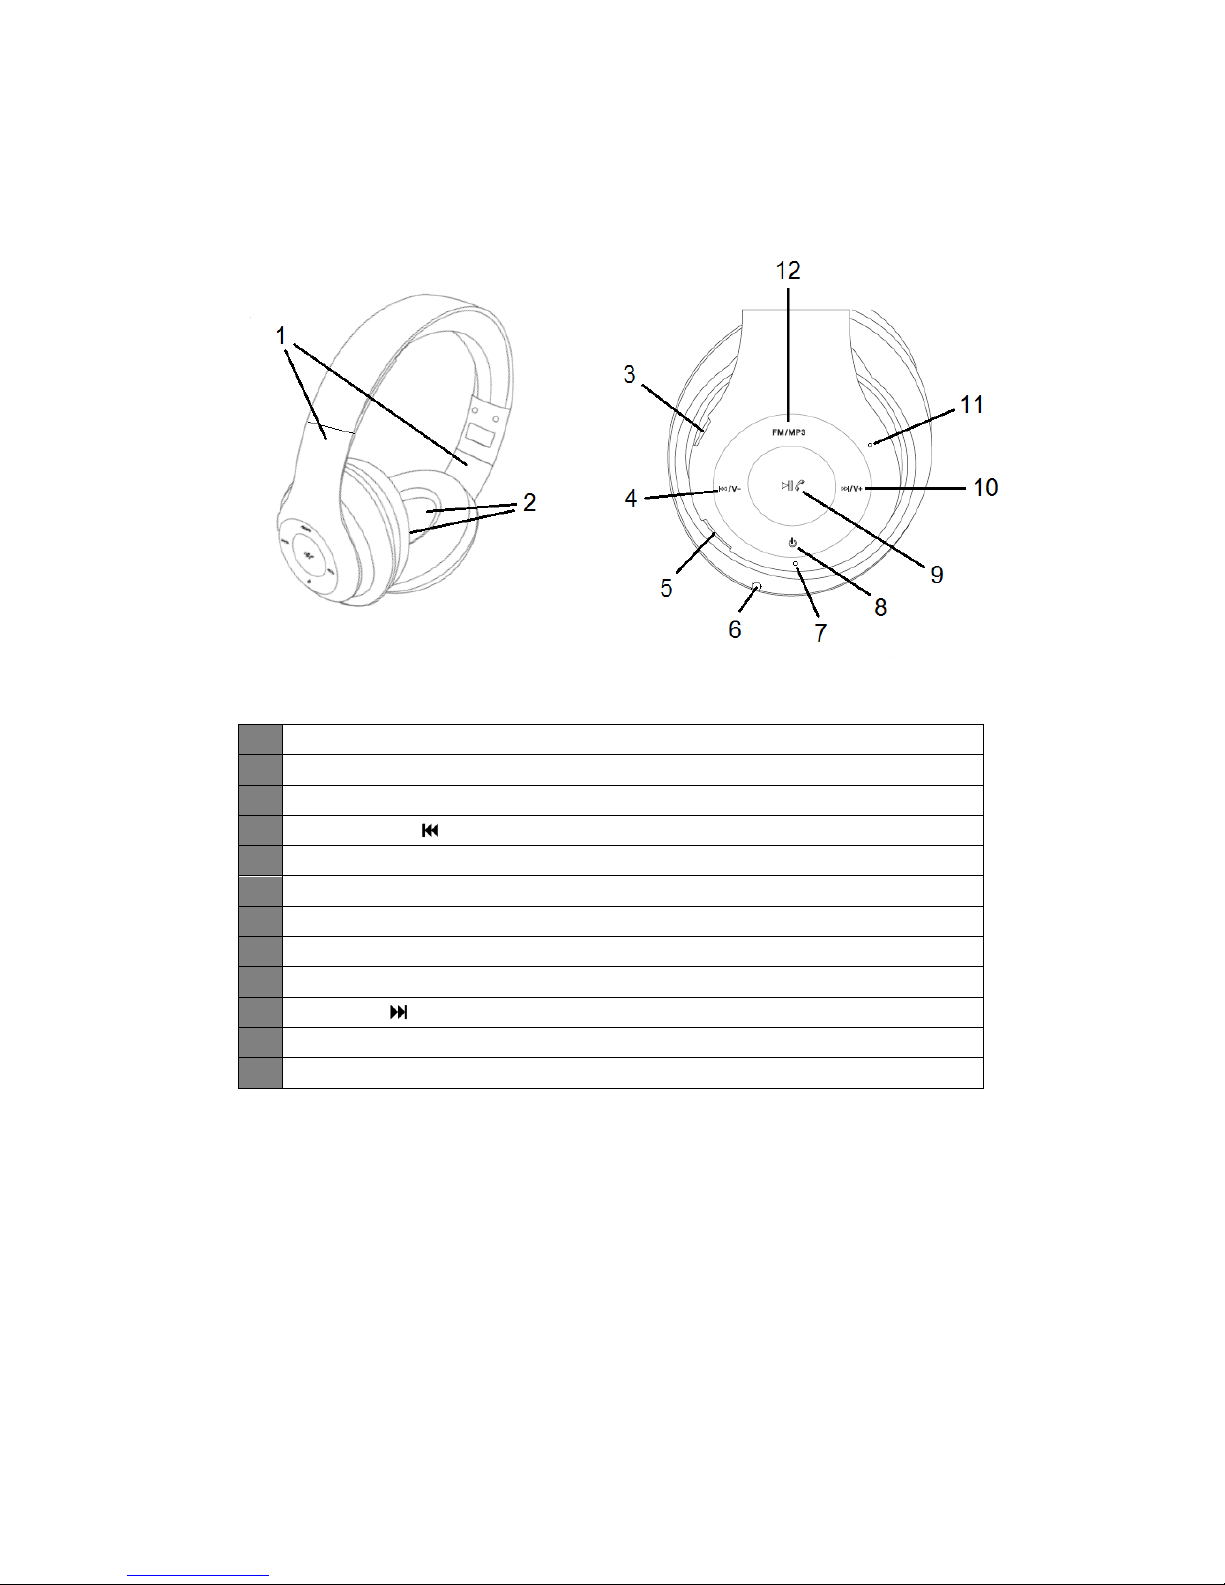
Description of Parts:
1
Foldable and adjustable headband
2
Speakers
3
Charging port
4
Previous Track / Volume Decrease (V-)
5
Micro SD card slot
6
Auxiliary input
7
LED Light Indicator
8
Power ON/OFF button
9
Play / Pause / Phone button
10
Next Track / Volume Increase (V+)
11
Built-In Microphone
12
FM/MP3 mode button
Page 4

4
INSTRUCTIONS FOR USE
Charging Instructions
The Bluetooth Headphone comes with a built in rechargeable battery. Before using it for
the first time we recommend you charge the battery fully. Only use the supplied USB
Cord to charge the Bluetooth Headphone. Please charge for about 2 hours.
Connect the USB charging cable to a computer USB port or other suitable charging
source and the Micro USB plug to the charging port of the device. The Red LED light
turns on while the device is charging. It takes 2 hours for the unit to fully charge. When
the battery is fully charged, Red LED light will turn off.
Turning on/off the device
Press and hold the Power ON/OFF button for around 6 seconds to turn ON the device
with sound message “Bluetooth mode”, Red and Blue LED lights will flash alternatively.
Press and hold the Power ON/OFF button for around 2 seconds to turn OFF the device
with sound message “Power off”.
Pairing the Headphone with Bluetooth devices (phone or music device)
Ensure the Headphone is turned off, and then press and hold the Power ON/OFF button
for around 6 seconds to turn on with sound message “Bluetooth mode”, Red and Blue
LED lights will flash alternatively. Place the Headphone and Bluetooth device (phone or
music device) so that they are no further than 3 feet apart;
Activate the Bluetooth function on your Bluetooth device (phone or music device).
Please refer to the manufacturer’s instructions for instructions on enabling Bluetooth on
your device.
Once you have activated Bluetooth on your device, select the “SL BT HDSET” from the
list of available Bluetooth devices.
If required, enter the password ‘0000’ to confirm & finalize pairing.
Once paired successful, indication tone will be heard and the only Blue LED is ON.
You can now start to use the Headphone.
If pairing is unsuccessful, turn off the device first and then re-pair following the above
steps.
Once you have paired the Headphone with a device, the Headphone will remember this
device and will pair automatically when the device’s Bluetooth is activated and in range.
You do not need to re-pair any previously connected devices.
The Bluetooth Headphone will attempt to automatically connect to the last device it was
paired with when switched on. If you want to pair it with a new device, please follow the
steps outlined above.
Once the Bluetooth Headphone is paired with your device the music will transmit
through the Bluetooth Headphone. Please refer to your device’s user manual for further
information.
Page 5
5
Function Summary
Listening to Music
Once the Headphone is paired with your device you can stream music wirelessly through
the Bluetooth Headphone. Should you encounter any problems while streaming please
refer your device’s user manual for further information.
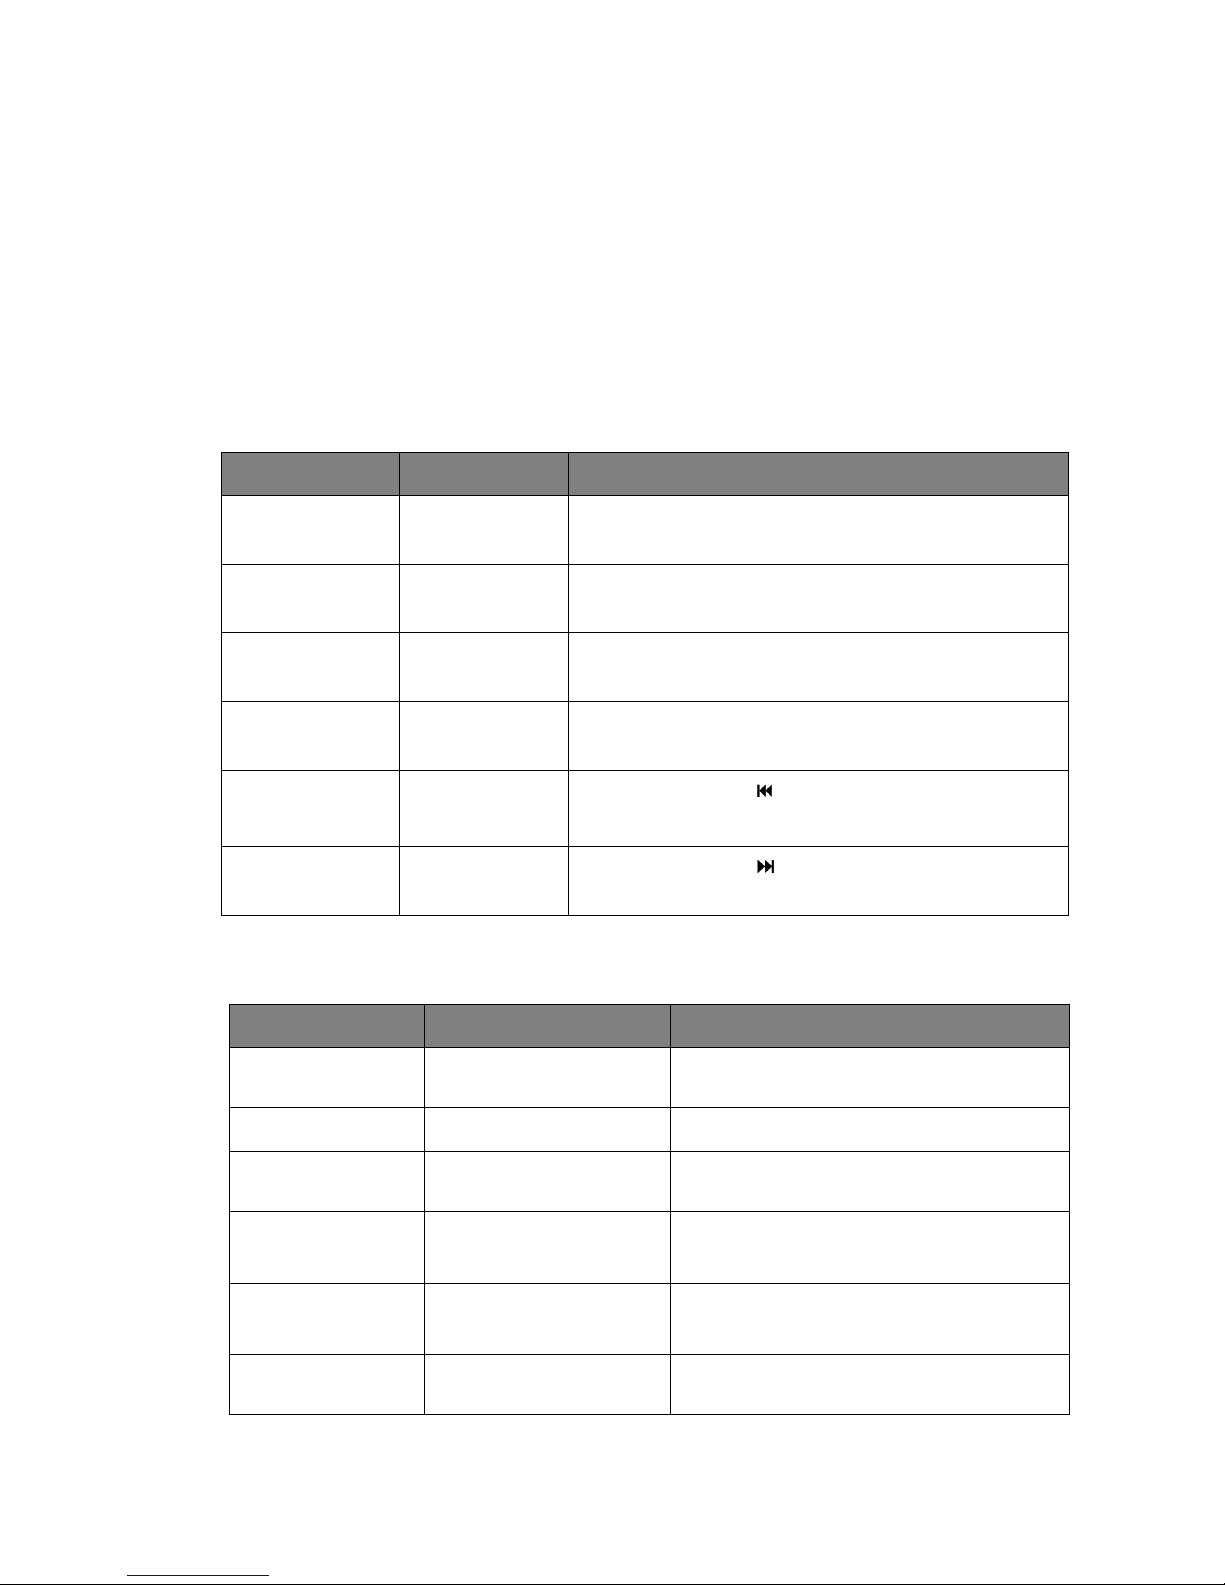
Control Function
Function
Operation
Button
Increase Volume
Playing music
A long press on the V+ button once will increase the
volume
Decrease Volume
Playing music
A long press on the V- button once will decrease the
volume
Pause
Playing music
A short press on the Play / Pause button will pause the
music
Play
Pausing
A short press on the Play / Pause button will restart the
music
Previous track
Playing music
A short press on the button will return you to the
previous track
Next track
Playing music
A short press on the button will take you to the next
track
Making a call with the Bluetooth Headphone in Bluetooth mode
Basic operation
Function
Operation
Button
Answer a call
Incoming Call
Press the Phone button once to answer an
incoming call
Reject Incoming Call
Incoming Call
Long press the Phone button
End a call
Incoming Call
After your phone conversation, short press
the Phone button.
Increase Volume
During a call
A long press on the V+ button once will
increase the volume
Decrease Volume
During a call
A long press on the V- button once will
decrease the volume
Redial last number
Standby mode and
connected to a device
Long press the Phone button
Page 6

6
Please Note
Not all mobile phones support all the functions listed above. Please refer to your cell
phone’s user’s manual for further information.
Certain functions and indication tone maybe vary depending on your mobile phone.
FM RADIO
Turn on the Headphone
Press and hold the Power ON/OFF button for around 6 seconds to turn ON the Headphone.
Auto-scan Stations & Play FM Radio
1. Press the FM/MP3 mode button once, it will enter FM mode with sound message
“FM mode”.
2. To AUTO-SCAN the stations, press Play / Pause button once.
3. It will take few minutes to search all the stations. Once all the stations are scanned,
they get registered in memory, automatically.
4. Press or to skip selected stations.
5. Long press the V+ or V- button to increase or decrease the volume.
Listening to Music using Micro SD card slot
1. Turn on the Headphone.
2. Insert Micro card into the card slot. There comes sound message “Play by TF card”
and music would be automatically streamed.
3. Press or to move forward or backward on your playlist.
4. Press Play / Pause button to Play or Pause a track.
5. Long press the V+ or V- button to increase or decrease the volume.
Note: While using Bluetooth, if you insert Micro SD card, Headphone would disconnect the
Bluetooth connection and switch to Micro SD card function. You can press FM/MP3 mode
button again, to select the Bluetooth mode.
Tips!!
1. Press the FM/MP3 mode button to switch different functions of the Headphone. The
functions are – Bluetooth / FM / TF card.
2. When the headphone is not in use, turn it OFF to save the battery power.
Listening to Music using AUX-In Mode
1. Insert the 3.5mm auxiliary cable (included) in to the Aux input of the Headphone.
And, the other end of the cable connects to the audio device (such as cell phone /
computer / tablet etc.).
Page 7
7
2. Select your favorite song at the source device and play.
(Note: Using this Aux-in mode, you do not need to turn on the Headphone, and you need to
control the volume increase/decrease, play/pause, next/previous track through your source
device.)
Do’s and Don’ts
Do not play music at excessive levels. Damage to hearing and/or equipment may result.
Do not use outdoors in wet or in damp surroundings.
Care and Maintenance
Read the following recommendations before using the Bluetooth Headphone. Following
these you will be able to enjoy the product for many years.
Do not expose the Bluetooth Headphone to liquid, moisture or humidity to avoid the
product’s internal circuit being affected.
Don’t use abrasive cleaning solvents to clean the device.
Do not expose the device to extremely high or low temperature as this will shorten the
life of electronic devices, destroy the battery or distort certain plastic parts.
Don’t dispose of the device in a fire as it will result in an explosion.
Don’t expose the device to contact with sharp objects as this will cause scratches and
damage.
Don’t let the device fall on the floor. The internal circuit might get damaged.
Don’t attempt to disassemble the device as it may get damaged if you are not
professional.
In case the device doesn’t function properly, send it to the store you bought it. The staff will
help you to the problem.
Specifications
Bluetooth specification
Bluetooth 3.0
Operating distance
33 Feet
FM frequency range
87.5 – 108MHz
Working time
About 3 hours
Charging input voltage
DC 5V
Charging time
About 2 hours
Speaker output
35mW total
Built-In Battery
160mAh
Micro SD card
Support up to 32GB
(Note: Battery life & charging time may vary based on usage & types of devices used.)
Page 8

8
FCC Instructions
Changes or modifications not expressly approved by the party responsible for compliance
could void the user’s authority to operate the product.
NOTE: This product has been tested and found to comply with the limits for a Class B digital
device, pursuant to Part 15 of the FCC Rules. These limits are designed to provide reasonable
protection against harmful interference in a residential installation. This product generates,
uses and can radiate radio frequency energy and, if not installed and used in accordance with
the instructions, may cause harmful interference to radio communications. However, there is
no guarantee that interference will not occur in a particular installation. If the product does
cause harmful interference to radio or television reception, which can be determined by
turning the equipment off and on, the user is encouraged to try to correct the interference
by one or more of the following measures :
- Reorient or relocate the receiving antenna.
- Increase the separation between the product and receiver.
- Connect the product into an outlet on a circuit different from that to which the receiver is
connected.
- Consult the dealer or an experienced radio/TV technician for help.
The device complies with Part 15 of the FCC Rules. Operation is subject to the following two
conditions: (1) this device may not cause harmful interference, and (2) this device must
accept any interference received, including interference that may cause undesired operation.
Page 9

9
LIMITED WARRANTY
This manufacturer's product warranty extends to the original consumer purchaser of the product.
Neither the retailer nor any other company involved in the sale or promotion of this product is a
co-warrantor of this manufacturer warranty.
WARRANTY DURATION: All materials and workmanship are warranted to the original consumer
purchaser for a period of ninety (90) days from the original purchase date.
WARRANTY COVERAGE: This product is warranted against defective materials or workmanship. This
warranty is void if the product has been damaged by accident, in shipment, unreasonable use,
misuse, neglect, improper service, commercial use, repairs by unauthorized personnel or other
causes not arising out of defects in materials or workmanship. This warranty doesn’t cover the
following which may be supplied with this product, including but not limited to; LCD Screens,
glass parts, lenses, bulbs etc. This warranty is effective only if the product is purchased and
operated in USA and Canada, and does not extend to any units which have been used in violation
of written instructions furnished by manufacturer or to units which have been altered or modified or,
to damaged products or parts thereof which have had the serial number removed, altered, defaced
or rendered illegible.
WARRANTY DISCLAIMERS: This warranty is in lieu of all warranties expressed or implied and no
representative or person is authorized to assume for manufacturer any other liability in connection
with the sale of our products. There shall be no claims for defects or failure under any theory of tort,
contractor commercial law including but not limited to, negligence, gross negligence, strict liability,
breach of warranty and breach of contract. Under no circumstances will Manufacturer’s /
Distributor’s maximum liability exceed the retail value of the product.
WARRANTY PERFORMANCE: During the above 90 day warranty period, a product with a defect will
be either repaired or replaced with a reconditioned comparable model (at manufacturer's
option). The repaired or replacement product will be in warranty for the balance of the 90 day
warranty period and an additional one-month period. No charge will be applicable for such repair or
replacement.
SERVICE AND REPAIR: If service is required for this product, you should first contact Midwest Trading
Group Customer Service at [email protected] or by calling 1 (866) 815-4714, Monday to
Friday 10am to 6pm EST.
NOTE: Manufacturer cannot assume responsibility for loss or damage during incoming shipment.
As a precautionary measure, carefully package the product for shipment, and insure it with the
carrier. Be sure to enclose the following details with the product: your full name, return address
and daytime phone number, a note describing the problem you experienced, a copy of your sales
receipt or other proof of purchase to determine warranty status. C.O.D. shipments cannot be
accepted.
 Loading...