

Page 1
G
etting
My friends
Keep in touch
s
tarted
April 2006
Page 2

Getting started My friends
Contents
Introduction ................................................................................................ 3
Instruction symbols................................................................................. 3
Use My friends to keep in touch............................................................. 3
Before you start .......................................................................................... 3
Receive data connection settings using the Phone setup...................... 4
Set up My friends manually .................................................................... 4
Logging in to your My friends server ...................................................... 4
Contacts list ............................................................................................ 5
Chat with a contact................................................................................. 7
Chat groups ............................................................................................ 7
Conversations ......................................................................................... 8
My status ................................................................................................ 9
Strangers................................................................................................. 9
Settings ................................................................................................... 9
2 April 2006
Page 3
Introduction
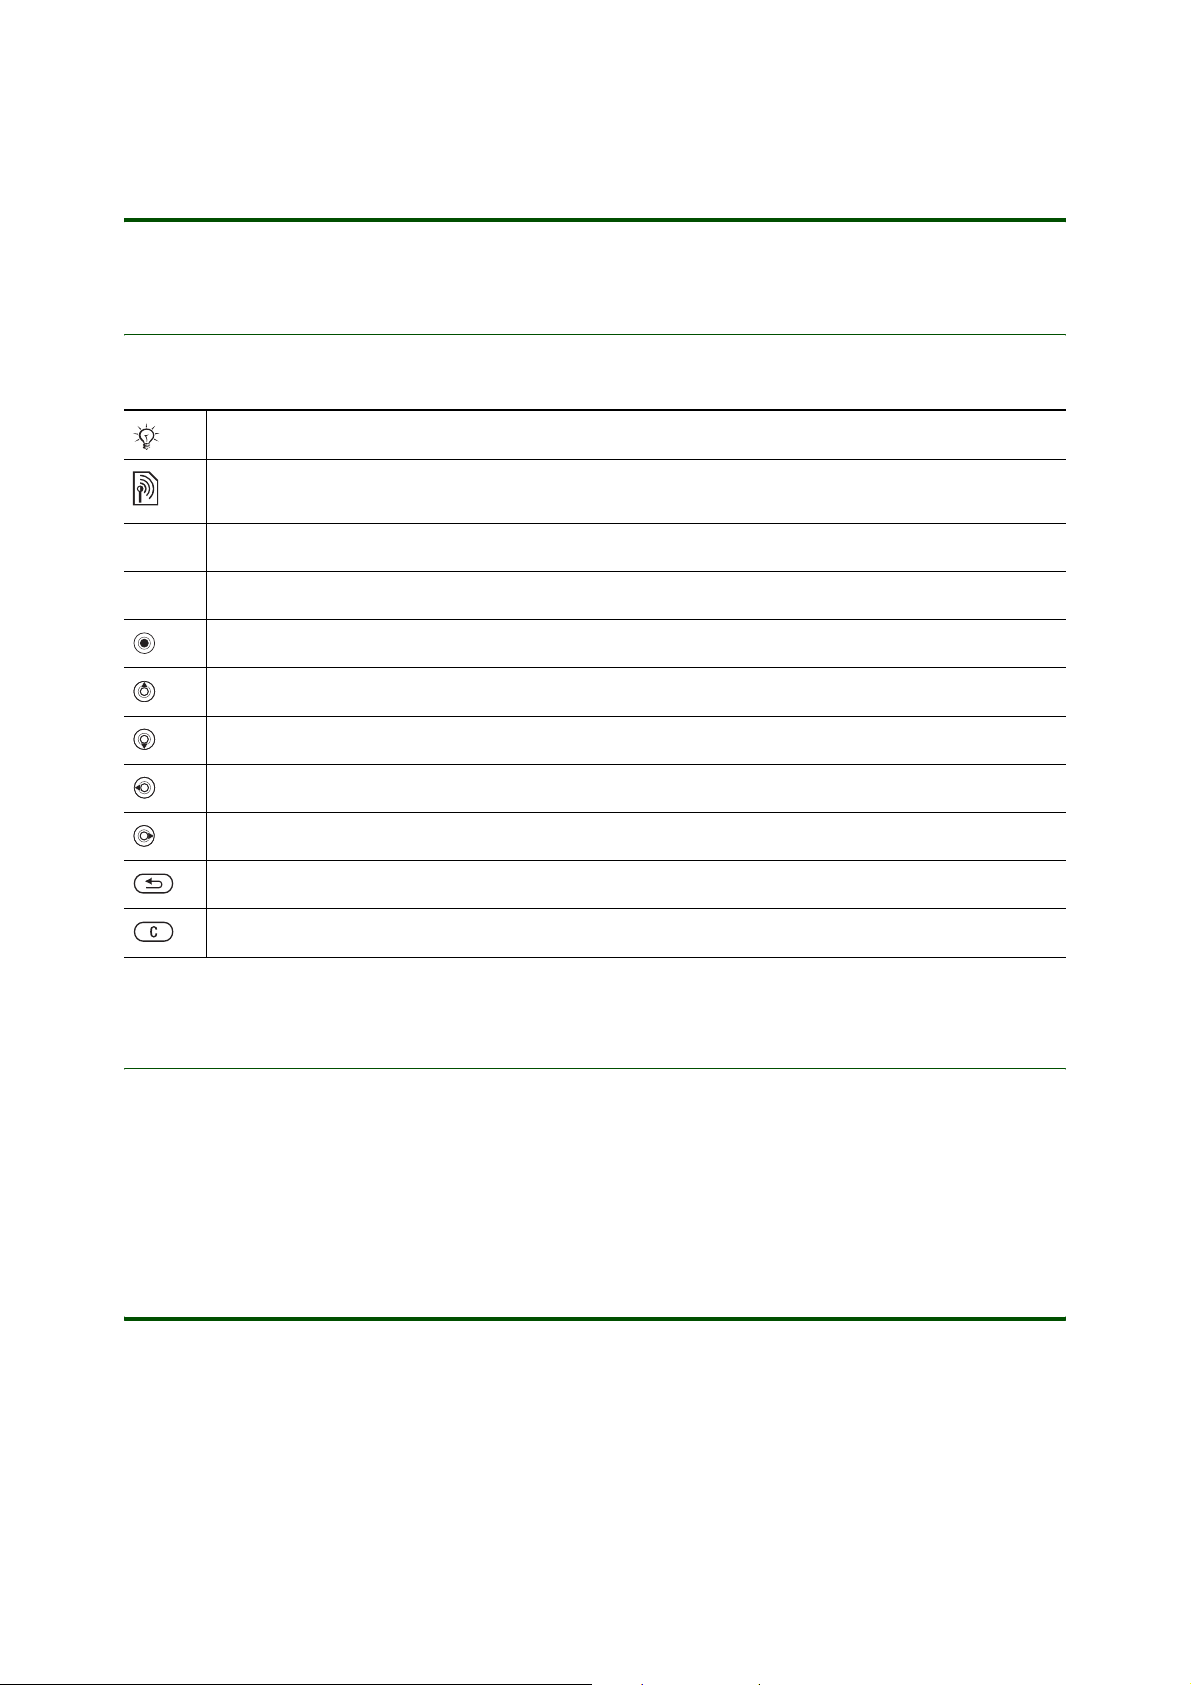
Instruction symbols
The following instruction symbols may appear in this Getting started guide:
Note
Indicates that a service or function is network- or subscription-dependent.
Contact your network operator for details.
Getting started My friends
%
}
See also page ...
Use the selection keys or the navigation key to scroll and select.
Press the navigation key centre.
Press the navigation key up.
Press the navigation key down.
Press the navigation key to the left.
Press the navigation key to the right.
Back key.
Clear key.
Use My friends to keep in touch
Connect and log in to the My friends server to communicate online with your favourite friends. If your
subscription supports instant messaging and presence services, you can send and receive messages
and see contact status if online. If no settings exist in your phone, you need to enter server settings.
Before you start
Before you can use this functionality, please make sure that your subscription supports data connection
using GPRS. Check with your network operator.
You also need an account for My friends on a My friends server. Check with your network operator or
a separate service provider.
3 April 2006
Page 4

Getting started My friends
The settings for data connection (WAP settings) and My friends must be stored in your phone. Settings
may already be entered when you buy your phone. If not, make sure you have your information about the
data connection and My friends at hand before you start setting up your phone.
Receive data connection settings using the Phone setup
For automatic settings for data connection (WAP), please visit www.sonyericsson.com/support.
Choose region and country. Select your phone model and choose Phone setup.
To set up the data connection manually, please refer to the Using the Internet Getting started guide.
Set up My friends manually
To edit settings manually
1. } Messaging } My friends.
Configure if there are no previous My friends settings in the phone or
• }
• }
More } Settings } Server settings.
2. Edit username, password, server information and select an Internet profile to use. This information
is supplied by your service provider.
Done } Save to save the settings.
3. }
Logging in to your My friends server
To log in
} Messaging } My friends } Log in. Login is successful when the My friends status icon appears in the
status bar on the screen .
You can set your phone to automatically log in to My friends when you start your phone % 10 To set
automatic log in.
Should the login fail, make sure that GPRS is within range. If so, check that your My friends settings are
correct. This is especially important if you have entered the settings manually. Check that:
• you are using the correct data connection (WAP) profile.
• you are using the correct server address.
• you are using the correct username and password. You will be notified if either the username or the
password is incorrect.
If you still cannot log in, please contact your service provider.
To log out from your My friends server
} Messaging } My friends } More } Log out.
4 April 2006
Page 5

Getting started My friends
Contacts list
You can create a list of contacts that you want to contact on a regular basis. You can sort the list of
contacts
To add a contact by phone number or from Contacts in your phone
1. } Messaging } My friends } the Contacts tab } More } Add contact.
2. }
3. When the My friends server has found the contact, you can:
4. }
To add a contact by username on the My friends server
1. } Messaging } My friends } the Contacts tab } More } Add contact.
2. }
3. When the My friends server has found the contact, you can:
4. }
% 10 To sort the list of contacts.
By number.
• Enter the phone number }
• }
Look up and select a contact from Contacts in your phone } Select.
Edit nickname and edit the nickname } OK.
• }
Link to Contacts and select the contact in Contacts in your phone that you want to create a link to.
• }
Continue or
Done to add the contact.
By username and enter the username } OK.
Edit nickname and edit the nickname } OK.
• }
Link to Contacts and select the contact in Contacts in your phone that you want to create a link to.
• }
Done to add the contact.
To add a contact by searching on the My friends server
1. } Messaging } My friends } the Contacts tab } More } Add contact.
2. }
Search and enter some search items, for example the name or an email address } Search.
3. If the My friends server finds several matches, use or to scroll between the matches,
}
Previous hits and } Next hits to display more matches } Add.
4. When the My friends server has found the contact, you can:
• }
Edit nickname and edit the nickname } OK.
• }
Link to Contacts and select the contact in Contacts in your phone that you want to create a link to.
Save to add the contact.
5. }
To delete a contact
1. } Messaging } My friends } the Contacts tab and select a contact.
More } Manage contact } Delete or
• }
•
Yes.
2. }
To view the status of a contact
1. } Messaging } My friends } the Contacts tab and select a contact.
2. }
More } View status to see the current information and status for the contact.
Update to refresh the information and status.
3. }
5 April 2006
Page 6

Getting started My friends
When you are online, each contact icon on the
colour reveals the status:
• – Available.
• – Busy.
• – Offline.
• – Not available.
• – Stranger.
Contacts tab reveals the mood of the contact, and the icon
To edit a nickname
1. } Messaging } My friends } the Contacts tab and select a contact.
More } Manage contact } Edit nickname.
2. }
3. Edit the nickname }
You can edit the nickname already when you add the contact. You can only edit nicknames for
contacts that have a username on the My friends server.
OK. The nickname is saved. It will only be displayed to you for this contact.
To link a contact to Contacts in your phone
1. } Messaging } My friends } the Contacts tab and select a contact.
2. }
More } Manage contact } Link to Contacts and select the contact in Contacts in your phone that you
want to create a link to. This gives more options when you have selected the contact in
• }
More } Call to call the contact.
• }
More } Send message to send a text, picture or voice message or an email to the contact, if this
contact information is saved in
3. }
More } Manage contact } Delete link to remove the link from the contact to Contacts in your phone.
Contacts in your phone.
My friends:
You can link to Contacts already when you add the contact.
Blocking a contact
A blocked contact can not view your status information, and can not send chat messages to you.
When a blocked contact tries to get in touch with you, your status appears as offline.
To block or unblock a contact
1. } Messaging } My friends } the Contacts tab and select a contact.
More } Manage contact } Block. This icon appears next to the contact: .
2. }
More } Manage contact } Unblock if you want to unblock the contact.
3. }
Online contact alert
You can select to be notified when a contact comes online. The notification is indicated by an icon next to
the contact. When you log off, or when the contact has come online, the notification is cleared.
To set an online contact alert
1. } Messaging } My friends the Contacts tab and select a contact.
More } Manage contact } Alert me. This icon appears next to the contact: .
2. }
6 April 2006
Page 7

Getting started My friends
Chat with a contact
To send a chat message to a user on your contacts list
1. } Messaging } My friends } the Contacts tab and select a contact.
2. }
Chat.
3. Edit your message }
Send.
To receive and answer chat messages
As long as you are online in My friends an alert sounds and an icon appears in the status bar, when you
receive a message. In an ongoing chat, you are able to see messages, and send answers, directly.
You can also continue a chat conversation from the Conversations tab.
Chat groups
You can join a chat group discussion to exchange opinions, comments and thoughts with others.
A chat group can be started by your service provider, by an individual My friends user or by yourself.
You can save chat groups by saving a chat invitation or by searching for a specific chat group.
The Chat groups tab is only visible if this function is available on your My friends server. If available,
the Chat groups tab will appear after your first login.
To start a new chat group
1. } Messaging } My friends } the Chat groups tab } More } Add chat group.
2. }
New chat group and scroll through your contact list } Mark for all contacts to invite to the chat group
Continue.
}
3. Edit the name of your group and a short invitation text that will be sent to participants. If you want,
you can join the group using another chat name.
4. }
Send.
To add an existing chat group
1. } Messaging } My friends } the Chat groups tab } More } Add chat group:
By group ID to enter chat group ID directly or
• }
• }
Search and enter some search items } Search. If the My friends server finds several matches,
use or to scroll between the matches, }
Add.
2. }
• }
Edit to edit the information displayed to you for the chat group or
• }
More to Join chat group or Add chat group.
Previous hits and } Next hits to display more matches.
To accept a chat group invitation
When the invitation arrives } Join chat. The chat group is automatically added to your chat group list.
7 April 2006
Page 8

Getting started My friends
To join a chat group
1. } Messaging } My friends } the Chat groups tab and select a chat group.
2. }
Join chat. Send and receive messages in the chat group. When you receive a new message, an icon
appears in the status bar. You can join more than one chat group.
You can join a chat group already when you add the chat group.
To exit a chat group conversation temporarily
1. to exit the conversation but stay as a chat group participant.
2. Select the chat group }
Enter to enter the conversation again.
To handle your chat groups
1. } Messaging } My friends } the Chat groups tab and select a chat group.
2. }
More to display options:
Join chat (if you are logged out of My friends) – To log in and join the chat group.
•
•
Participants (if you have joined the chat group) – Display the participants in the chat group.
•
Leave chat group (if you have joined the chat group) – To leave the chat group.
Edit chat group (if you have not joined the chat group) – Edit the information displayed to you for the
•
chat group.
Add chat group – To add a chat group, as described separately.
•
To delete a chat group from your chat group list
1. } Messaging } My friends } the Chat groups tab and select a chat group.
• }
More } Delete chat group or
•
2. }
Yes.
If you started the chat group, it will also be deleted from the My friends server. If you did not start the chat
group, it will only be removed from your
Chat groups tab.
Conversations
Your chat conversations are visible on the Conversations tab. Invitations and alerts may also be displayed
on the
To start a new conversation
Conversations tab as a reminder, until you decide what to do with them.
1. } Messaging } My friends } the Conversations tab.
• }
Chat if the conversation list is empty or
• }
More } Chat with.
2. Enter a username or search for a user.
3. Edit your message }
Send.
You can also start a conversation from the Contacts tab.
To continue a conversation
1. } Messaging } My friends } the Conversations tab and select a conversation in the list.
2. }
Chat to enter the conversation again.
8 April 2006
Page 9

Getting started My friends
To end a conversation
1. } Messaging } My friends } the Conversations tab and select a conversation in the list.
2. }
More } End conversation. The conversation is removed from the Conversations tab.
My status
To change your own status
1. } Messaging } My friends } the My status tab.
2. Select from the options:
Picture – Select a picture from Pictures or take a picture with the camera. You can change and
•
remove pictures at will.
•
About me: – Write a short text about yourself.
•
Availability: – Select what to show others when you are online. If you select Invisible, you will appear
as offline to others.
Mood: – Select a mood from the list.
•
3. }
Save.
You can choose how to show your status % 9 To choose how to show your status.
Strangers
If you get an instant message from someone that is not in your list of contacts, an icon indicates that you
have received a message from a stranger. You can add the stranger to your list of contacts or block the
stranger from viewing your status and sending messages to you. If you do not perform any action the
stranger disappears when you log out from the My friends server.
To add a stranger to the list of contacts
1. } Messaging } My friends } the Conversations tab and select the stranger.
More } Add as contact and follow the instructions.
2. }
To block a stranger
1. } Messaging } My friends } the Conversations tab and select the stranger.
More } Block.
2. }
Settings
To choose how to show your status
1. } Messaging } My friends } More.
Settings } Show my status and select an option:
2. }
•
To all if you want to show full status to friends but limited to others or
Only to contacts if you want to show full status to friends on your contacts list but nothing to others.
•
Save.
3. }
9 April 2006
Page 10

Getting started My friends
To sort the list of contacts
1. } Messaging } My friends } More } Settings.
2. }
Sort contacts: and select an option:
By availability – Available contacts are listed first.
•
•
Alphabetically – In alphabetic order by nickname.
3. }
Save.
To select alert sound
1. } Messaging } My friends.
2. }
More } Settings } Chat alert: and select an alert.
Save.
3. }
To set automatic log in
1. } Messaging } My friends } More } Settings.
Auto-login: } On. You will be logged in automatically when you turn on your phone.
2. }
3. }
Save.
Roaming networks
You can select if you want to continue to be logged in to My friends when you enter a roaming network,
that is, when your home network is not within range. The cost may change when you enter a roaming
network.
To allow connection in roaming networks
1. Make sure you are logged out from My friends to change this setting.
Messaging } My friends } More } Settings.
2. }
Allow connection: and select an option:
3. }
•
Home network – You are disconnected from My friends when you leave your home network.
•
Anywhere – You can be logged in to My friends independently of network.
Save.
4. }
This Getting Started guide is published by:
Sony Ericsson Mobile Communications AB,
SE-221 88 Lund, Sweden
Phone: +46 46 19 40 00
Fax: +46 46 19 41 00
www.sonyericsson.com
© Sony Ericsson Mobile Communications AB,
2006. All rights reserved. You are hereby granted
a license to download and/or print a copy of this
document.
Any rights not expressly granted herein are
reserved.
Publication number: EN/LZT 108 8384 R1A
This document is published by Sony Ericsson
Mobile Communications AB, without any
warranty*. Improvements and changes to this text
necessitated by typographical errors, inaccuracies
of current information or improvements to
programs and/or equipment, may be made by
Sony Ericsson Mobile Communications AB at any
time and without notice. Such changes will,
however, be incorporated into new editions of this
document. Printed versions are to be regarded as
temporary reference copies only.
*All implied warranties, including without limitation
the implied warranties of merchantability or fitness
for a particular purpose, are excluded. In no event
shall Sony Ericsson or its licensors be liable for
incidental or consequential damages of any
nature, including but not limited to lost profits or
commercial loss, arising out of the use of the
information in this document.
10 April 2006
 Loading...