

Sony Z90 Cctv Producer User Manual
SONY Z90
CCTV PRODUCER MANUAL - CAMERA BASICS
FULL AUTO SETTINGS
CCTV Media Training // Intro to Camera // January 2019!
!1
IN THIS MANUAL
2 - SD Requirements
3 - Camera Accessories in the case & the Tripod
Setting up the Camera
4 - Battery & Charging
5 - SD Card - Inserting & Formatting
6 - Microphone & Audio Settings
8 - Turning the Camera on
9 - LCD Screen Display
Recording with the Z90
10 - Record Settings
11 - Record & Zoom Controls
12 - Thumbnail Playback - watching what you recorded
Z90 Settings
13 - Default Settings
14 - Navigating the Menu & Making Changes
15 - Camera Buttons Map
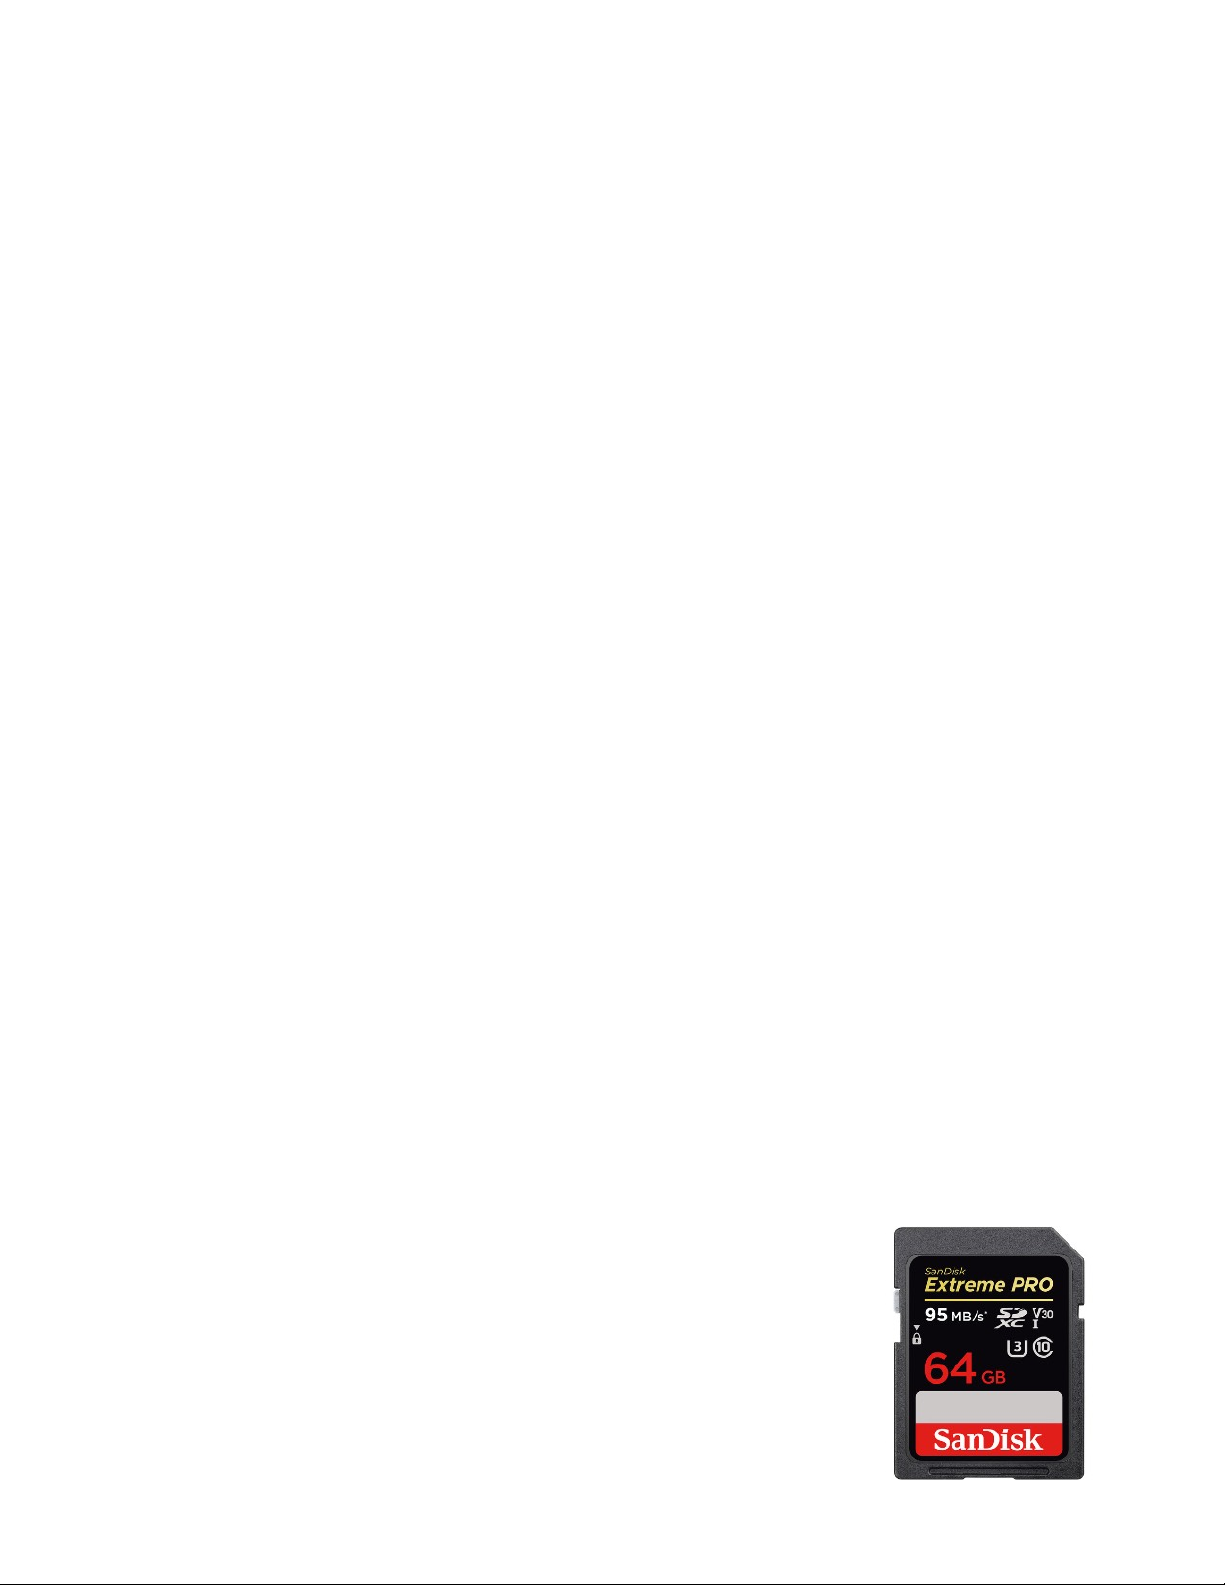
MEMORY CARD REQUIREMENTS
SONY z90
SDXC
Class 10 - U3 (or higher)
64 GB minimum
!2

INSIDE THE CASE
When you get your camera from CCTV It will come with the following items. You are responsible for each of
these items.
1. Camera (with Handle mount & lens cap)
2. Battery - 2 large
3. Shotgun Microphone
4. Wired Remote
5. Headphones
6. AC Adapter
TRIPOD
Follow the instructions for how to set up and use the Tripod.
Be sure to unlock the pan/tilt options when using. You should never have to force the camera to move.
1. Tripod Plate
2. Safety Latch
3. Release Nob
4. Handle
5. Pan Lock
6. Pan Adjust (red)
7. Tilt Lock
8. Tilt Adjust (red)
9. Head Adjust
When Indoors - be sure to check that the rubber feet protectors are screwed out the whole way to cover the
spikes. Only use spikes outdoors or in approved places - they can damage floors.
!3
1
2
3
4
5
6
1
2
3
4
567
8
9
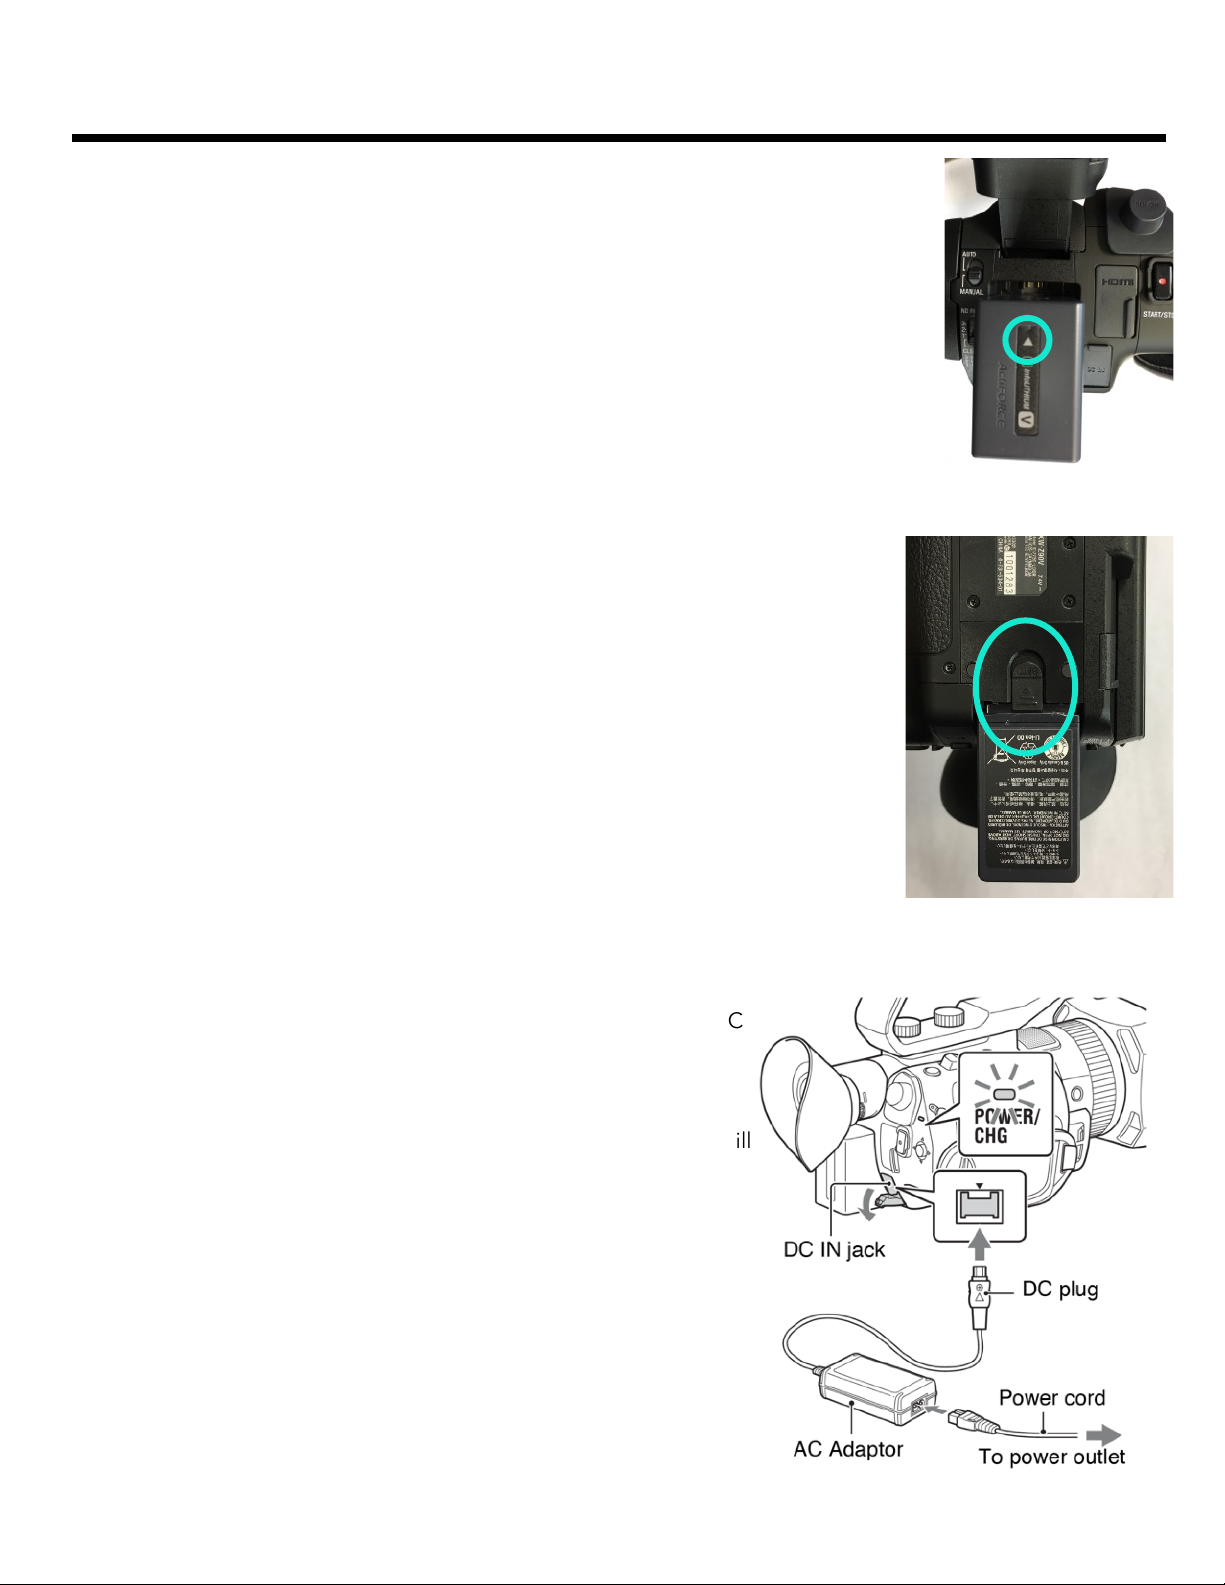
BATTERY & CHARGING
ATTACHING THE BATTERY
The battery goes into the back of the camera under the eye cup. Make sure the arrow is
pointing towards the eye cup - place it in the slot and push up to click it into place.
REMOVING THE BATTERY
The battery release is located on the bottom of the camera. Slide the release & pull
the battery down to remove it from the camera.
CHARGING THE BATTERY
The battery charges while attached to the camera. You will find a DC
IN port to the right of the batter near the bottom of the camera open this tab and plug in the power adapter.
You can also plug in the camera while recording video however, it will
not charge the battery while recording.
!4
SD CARD SETTINGS
INSERTING & REMOVING YOUR SD CARD
Open the LCD display and locate the SD card door. Open the door & insert your SD
card. Cards will push in and click into place. To remove the card - push the card in to
release and it will pop out.
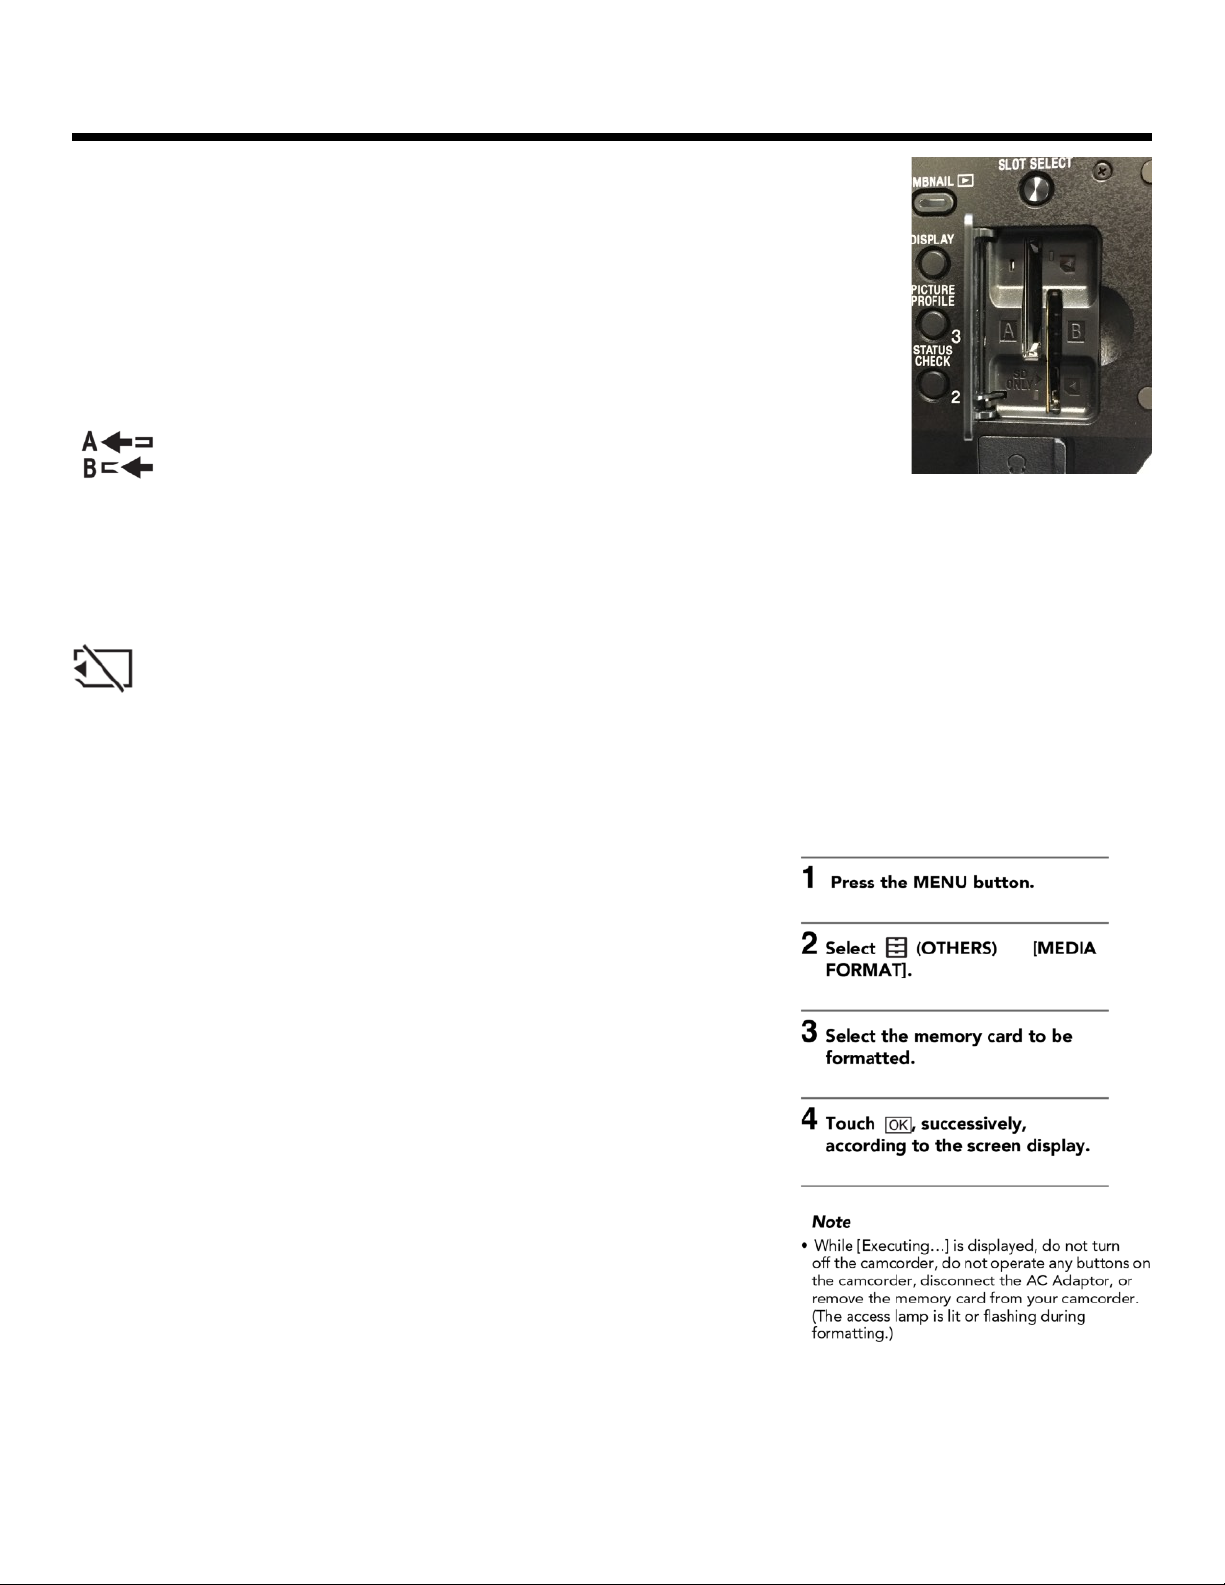
CARD RECORD SETTINGS
By default, the camera will be set to relay record. On the LCD screen you
will see this icon next to the record settings. When one card gets full, the
camera will start recording on the second card - if available.
If you have two cards inserted - you can use the “Slot Select” button (located above the SD cards) to choose
which card the camera will record onto.
If you are only using one SD card you will see this icon flashing icon in the middle of your LCD screen,
alerting you that it cannot relay record because there is only one card.
FORMATTING YOUR SD CARD
If you are using a new SD card - you should always format it in the
camera before using.
If you use an SD card in a new camera (different make or model of
cameras) you should format the card to that camera so it can build the
correct file managements systems to properly save your media.
If you had any problems with the card, or have deleted files from the
card on a computer - it is smart to reformat the card before recording
new media as well.
!5
 Loading...