

Sony XTL-6100 Operating Manual
Mobile Color TV
Operating Instructions
Bedienungsanleitung
For installation and connections, see the supplied installation/connections
manual.
Zur Installation und zum Anschluß siehe die mitgelieferte Installations-/
Anschlußanleitung.
EN
D
XTL-6100
1998 by Sony Corporation

EN
Welcome!
Thank you for purchasing the Sony Mobile Colour TV.
• This unit can receive the TV broadcasts in the United Kingdom and
other CCIR B/G system areas such as Germany.
• You can connect both PAL and NTSC video playback units.
• The low reflection liquid crystal panel reduces the glare from outside
lighting sources.
• You can manually adjust the brightness of the display according to the
prevailing light conditions of the surrounding environs.
• The visual off function turns the picture off so that you can listen to the
TV or video sound only.
• The automatic memory function can store up to 12 stations.
• This unit has several input/output terminals so you can connect a video
player and rear monitor.
2

Table of Contents
Warning and Precautions..................................................................................... 4
Getting Started
Selecting a TV system ........................................................................................ 5
Storing TV stations automatically (Automatic memory function) ............. 6
Watching a TV Programme ................................................................................. 7
Watching a Video .................................................................................................. 8
Listening to the TV/video Sound with the Picture Off
(Visual off function) ........................................................................................... 9
Adjusting the Picture .......................................................................................... 10
Adjusting the Screen Brightness ....................................................................... 12
Location of Controls............................................................................................ 13
Additional Information ...................................................................................... 14
Specifications........................................................................................................ 16
Troubleshooting Guide....................................................................................... 17
EN
3
Warning and Precautions
Warning
Never use a fuse with an amperage rating exceeding the one supplied
with the unit as this could damage the unit.
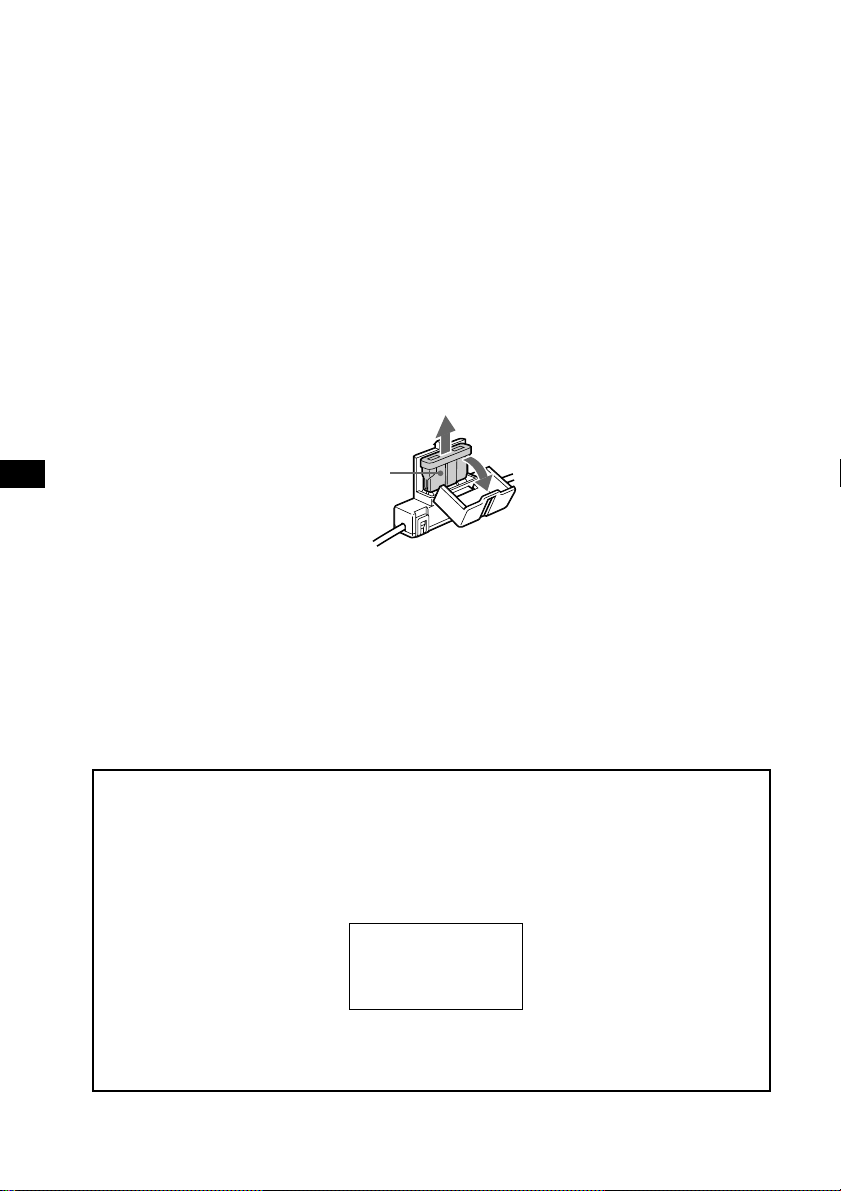
Fuse replacement
When replacing the fuse, be sure to use one that matches the
amperage described on the original fuse. If the fuse blows, check the
power connection and replace the fuse. If the fuse blows again after
replacement, there may be an internal malfunction. In such a case,
consult your nearest Sony dealer.
EN
Fuse
Precautions
• Do not mount the monitor where it will obstruct the driver’s view.
• Do not touch the TV aerial and monitor at the same time during
storms. You may get an electric shock.
• If your car was parked in direct sunlight resulting in a considerable
rise in temperature inside the car, allow the unit to cool off before
operating it.
If you have any questions or problems concerning your unit that are
not covered in this manual, please consult your nearest Sony dealer.
Preventing accidents
The TV/video pictures appear only after you park the car and set the
parking brake.
When the car starts moving, the TV/video pictures automatically
disappear for safety reasons,
5 seconds.
Do not operate equipment connected to the TV tuner unit or watch
the monitor while driving. You may cause a traffic accident if your
attention is distracted by the monitor.
after displaying the following caution for
PICTURE OFF
FOR
YOUR SAFETY
Comply with the Road Traffic Laws in your country.
4
Getting Started
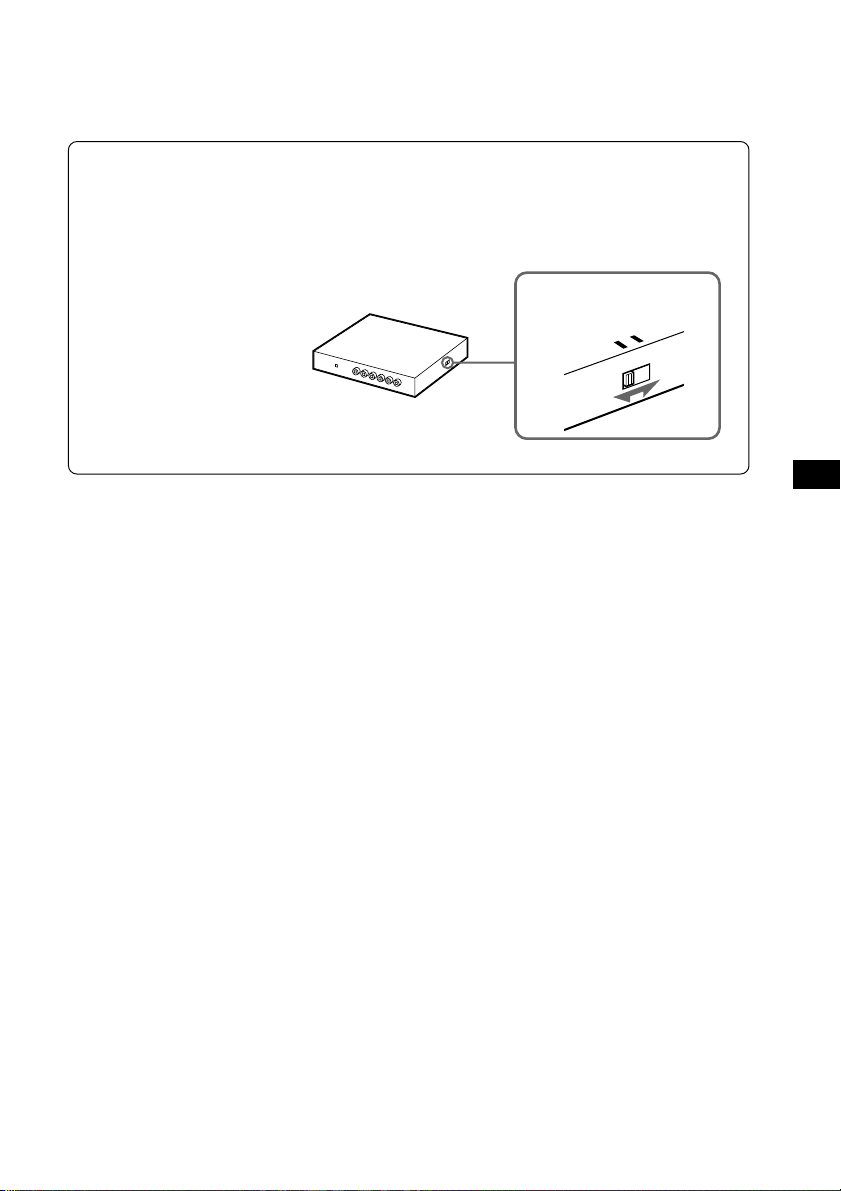
Selecting a TV system
Set the TV system selector on the side of the TV tuner unit to the
correct position for your area.
Areas except United Kingdom: set to 1
United Kingdom: set to 2
TV system selector
2
1
SYSTEM
TV
continued n
EN
5
(Continued)
Storing TV stations automatically
(Automatic memory function)
You can store up to 12 VHF/UHF stations.
VHF stations on program numbers 2 through 12 are stored on the
program number buttons. UHF stations on program numbers 21
through 69 are stored in order after the stored VHF stations.
EN
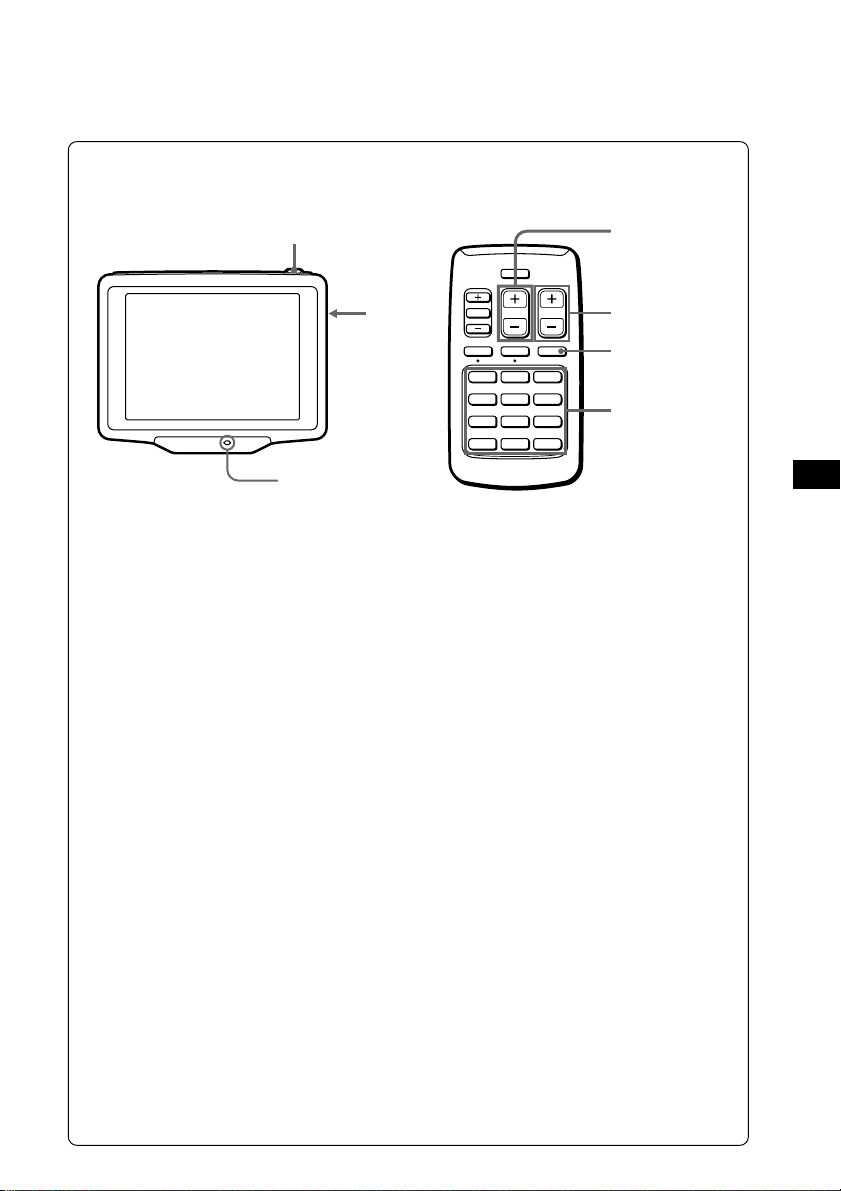
1
POWER indicator
TV/VIDEO
SEL
123
456
789
10 11 12
A MEMV OFF DSPL
2SEC
SEEKVOL
2
3
Program number
buttons
1 Press (POWER) on the TV.
The power indicator lights up.
2 Press (TV/VIDEO) repeatedly until a TV
programme appears on the display.
3 Press (AMEM) on the wireless remote for two
seconds.
The wireless remote stores VHF stations on the program
number buttons corresponding to the VHF station numbers.
UHF stations are stored on the remaining program number
buttons in order.
Example
Program number button
VHF station
UHF station
21
1
2
-
2
-
24
4
5
27
6
-
6
-
3
4
-
-
32
8
7
-
9
8
-
-
34
10
10
11
12
-
12
48
-
-
6
Watching a TV Programme
Note
The TV picture does not appear while the car is moving for safety reasons.
1
3
POWER indicator
TV/VIDEO
SEL
123
456
789
10 11 12
A MEMV OFF DSPL
2SEC
SEEKVOL
3
SEEK button
DSPL button
2
1 Press (POWER).
The POWER indicator lights up.
2 Press the programme number buttons (1 through
12) to select the desired TV station.
The TV programme number appears for five seconds in
the upper right corner of the display each time you select
a station.
3 Adjust the volume dial.
Turn the VOL dial on the monitor or press (VOL) on the
wireless remote.
Note
Adjust the volume on the monitor before adjusting the volume
on the wireless remote.
EN
Turning on the on-screen display
Press (DSPL).
To turn off the display, press it again.
Turning off the TV
Press (POWER).
If you cannot receive the stored stations while traveling
Press (SEEK) momentarily to search for the station automatically.
When the unit receives a station, it stops scanning. Press the button
repeatedly until the desired station is received.
7
TV/VIDEO
SEL
A MEMV OFF DSPL
2SEC
789
123
456
10 11 12
SEEKVOL
Watching a Video
Note
The video picture does not appear while the car is moving for safety
reasons.
You can watch video CDs and cassettes recorded in either the PAL
or NTSC colour system. Make sure you have connected a video
player to the TV tuner unit correctly.
For details, see the Installation/Connections manual.
EN
8
1
POWER indicator
1 Press (POWER).
The POWER indicator lights up.
2 Press (TV/VIDEO) to select the input you
connected the
Each time you press (TV/VIDEO), the indication changes
as follows.
z TV programme number z VIDEO 1 z VIDEO 2
video player to, VIDEO 1 or VIDEO 2.
3 Turn the video player on and begin playback.
The unit displays PAL or NTSC colour system video
pictures and the following display appears for five
seconds.
NTSC Video
VIDEO 1
NTSC
PAL Video
VIDEO 2
PAL
2
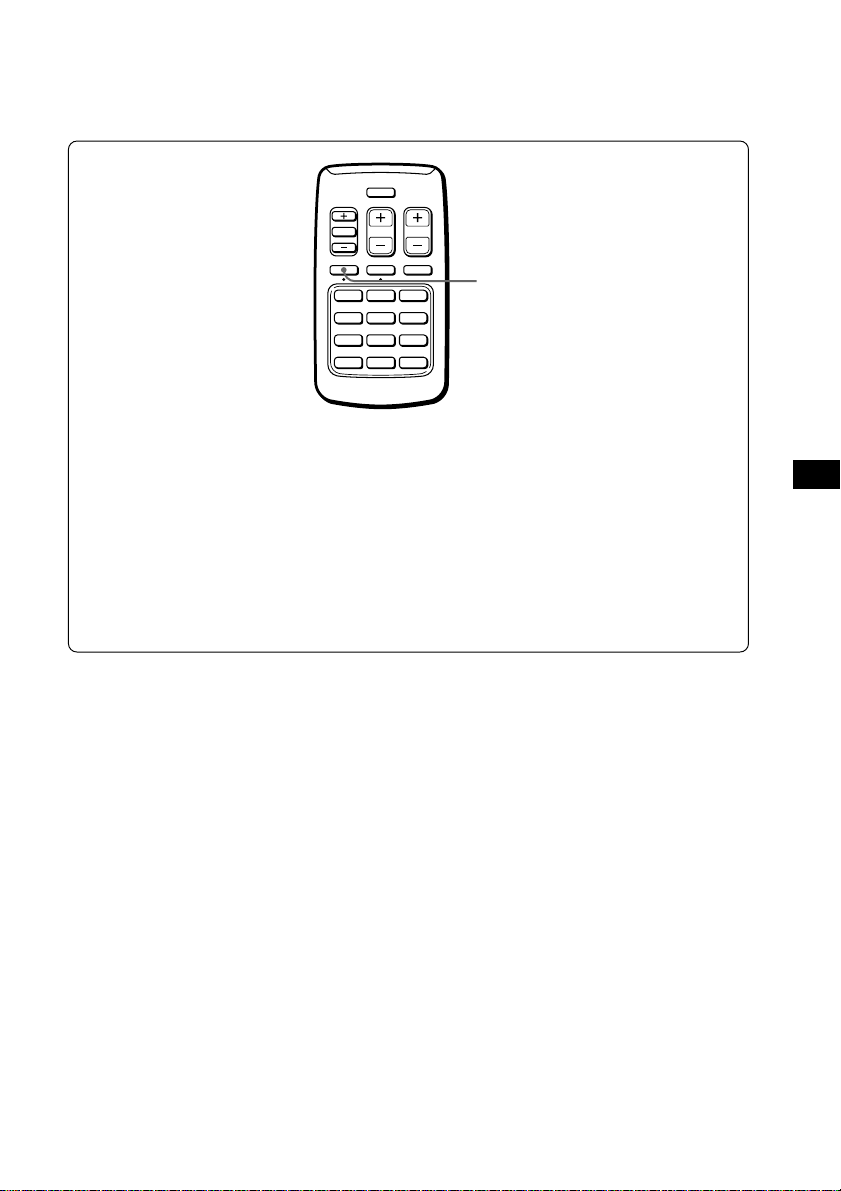
Listening to the TV/video Sound
with the Picture Off
TV/VIDEO
SEL
A MEMV OFF DSPL
2SEC
123
456
789
10 11 12
(Visual off function)
SEEKVOL
V (visual) OFF button
Press (VOFF) for two seconds.
You only hear the sound of the selected programme.
To cancel the visual off function, press (VOFF) again. If you
turn the unit off or turn the ignition switch to the OFF position,
the visual off function will be cancelled.
The visual off function is also canceled when you select another
TV programme with the programme number buttons (TV only).
EN
9
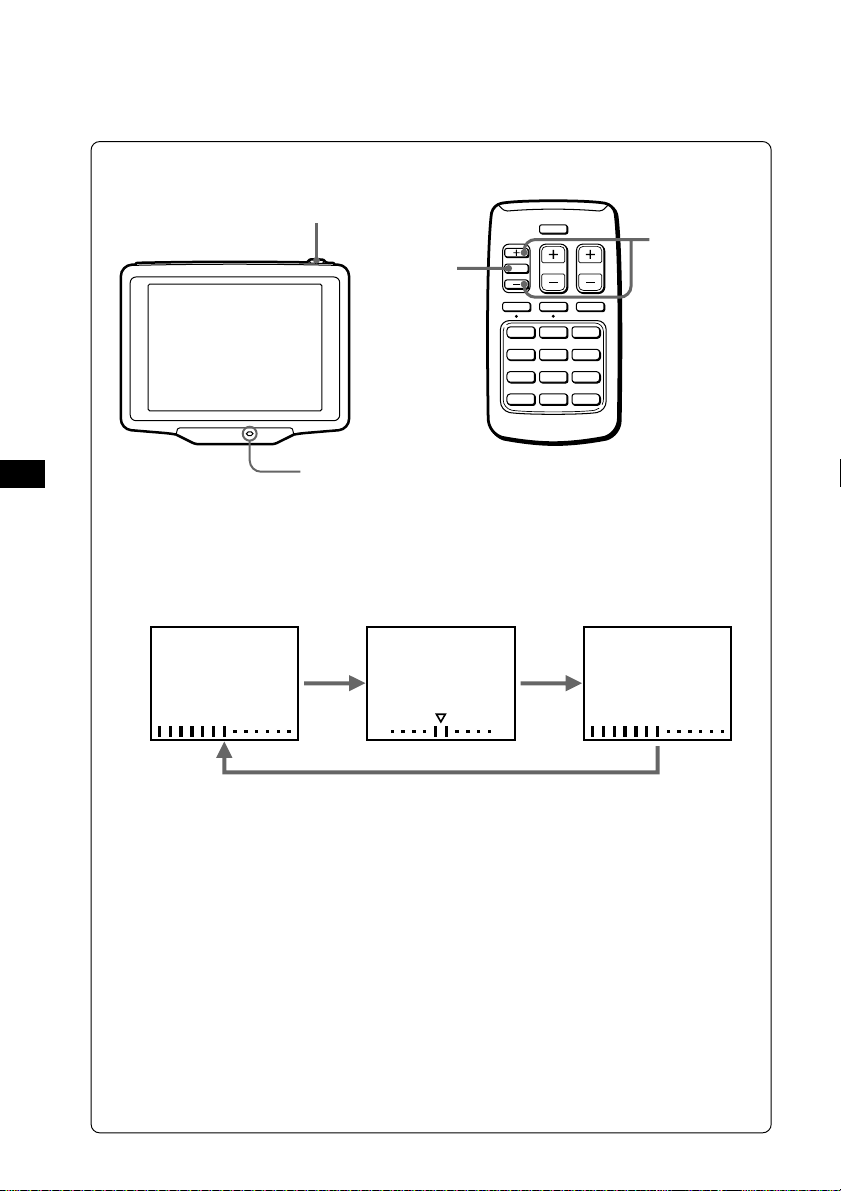
Adjusting the Picture
You can adjust the colour, hue and brightness of the picture.
EN
1
2
POWER indicator
TV/VIDEO
SEL
A MEMV OFF DSPL
2SEC
123
456
789
10 11 12
1 Press (POWER).
The POWER indicator lights up.
2 Press (SEL).
Each time you press (SEL), the items change as follows.
COL (colour)
HUE
RG
SEEKVOL
3
BRIGHT (brightness)
BRIGHTCOL HUE
10
Note
You do not need to adjust HUE when watching a TV
programme or playing back PAL video sources. When you
press (SEL), only COL and BRIGHT appear.
3 Press either SEL(+) or (–) to adjust.
Press one of these buttons within five seconds. The item
will be cancelled after five seconds if you do not touch the
(+) or (–).
Hue
To make the
picture greenish
<
To make the
picture reddish
(+)
(–)
Colour
For more colour
intensity
<
For less colour
intensity
Brightness
To brighten
the picture
<
To darken the
picture

Tips
• To restore the factory settings, press (SEL) for more than two seconds,
VISUAL STD (standard) appears.
• When the picture is too dark or too bright from the viewing position,
press (SEL) to select BRIGHT and press (+) or (–).
EN
11
 Loading...