

Sony Xperia Tablet Z GP311, Xperia Tablet Z SGP312 Startup Manual

Startup guide
Xperia™ Tablet Z
SGP311/SGP312
Sony Mobile Communications AB
SE-221 88 Lund, Sweden
www.sonymobile.com
1270-4718.2
Welcome
Important Information
Before you use your device, please read the Important
Information provided in your device or in the box.
Water and dust resistance
Your device has IP (Ingress Protection) ratings of IP5X,
IPX5 and IPX7. This means that your device is dust
protected and protected against the effects of immersion
in water in depths of between 0 to 100 cm for up to 30
minutes, and is also protected against the effects of a low
pressure water stream.
The covers for the micro USB port, the micro SD card and
the headset connector must be firmly closed in order for
the device to meet the stated IP rating.
More information about IP codes and important details
about your device’s resistance to water can be found in
the User guide for your device and on the Sony Mobile
support website.
www.sonymobile.com/support
Assembly
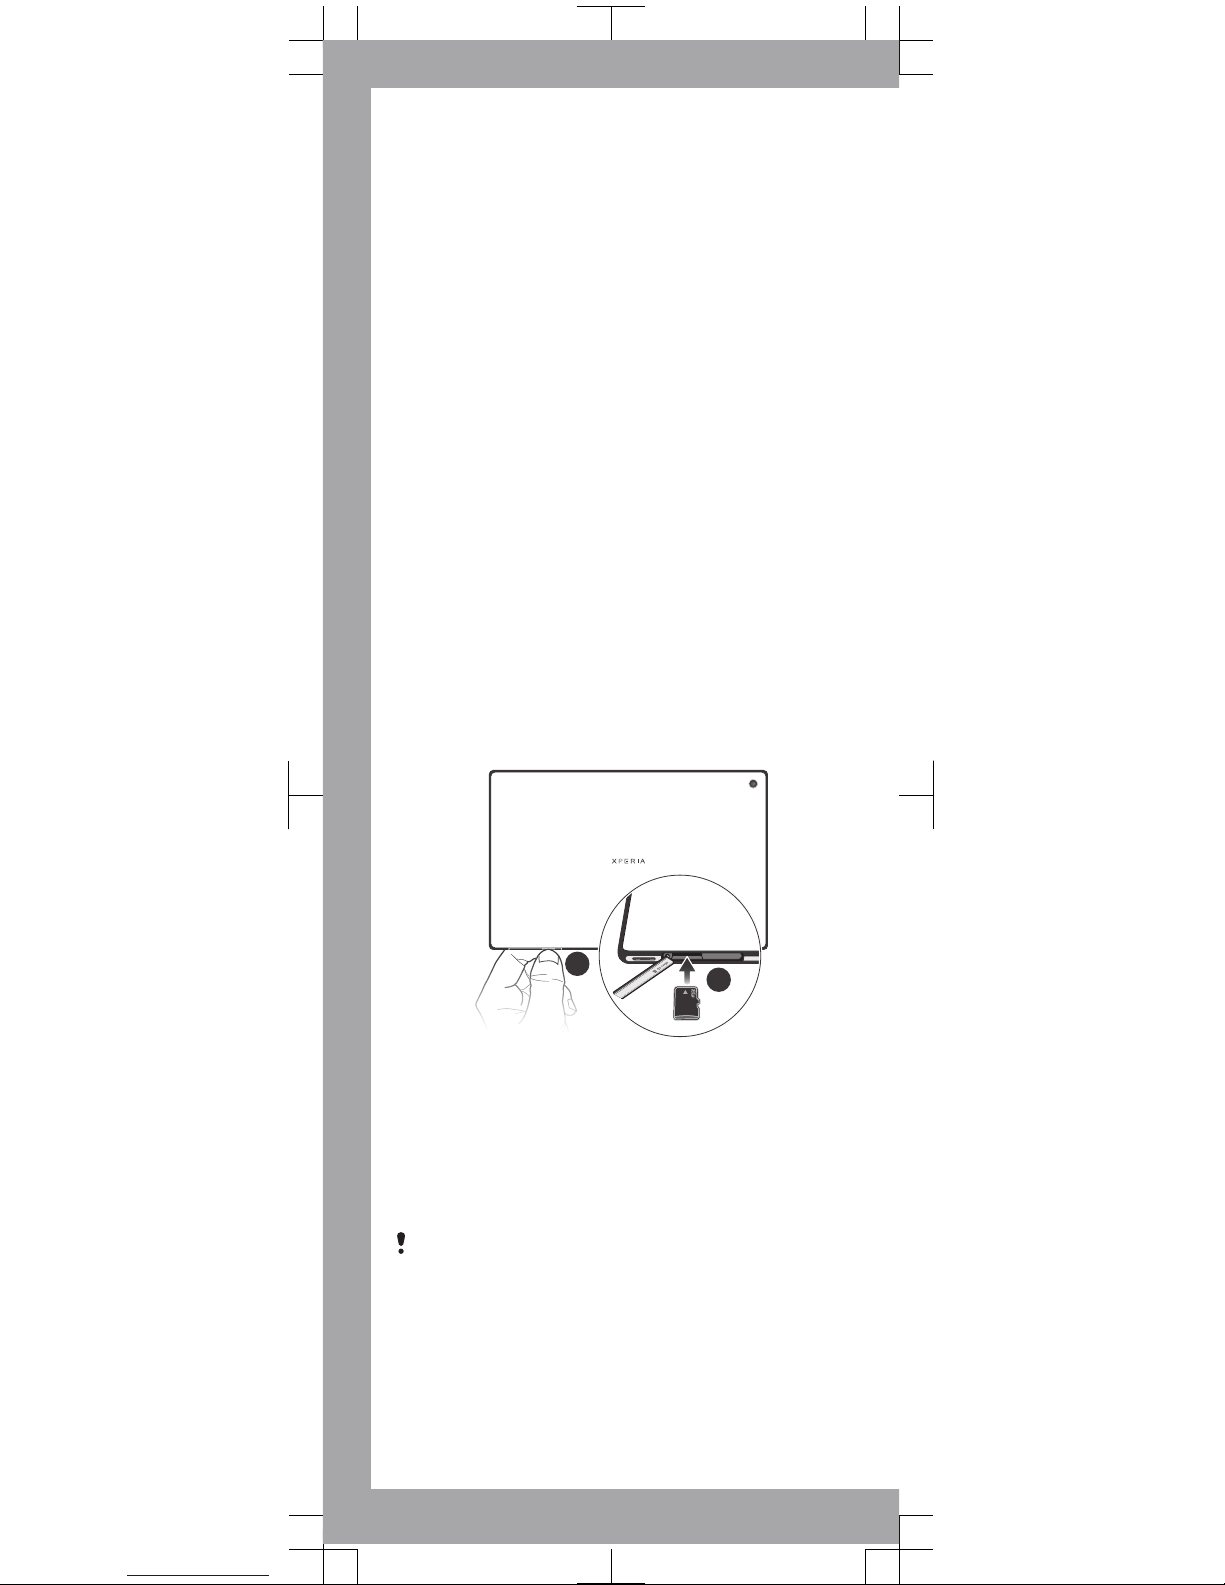
To insert the memory card
1
2
1
Insert a fingernail into the gap between the memory card
cover and the bottom side of the device, then detach
the memory card cover.
2
Place the memory card in the memory card slot, with the
gold-coloured contacts facing down, then push the
memory card all the way into the slot until you hear a
locking sound.
3
Reattach the memory card cover.
The memory card may not be included at purchase in
all markets.

Device overview
1 2
34
6
7
5
8
9
Not For Sales 00440254-021066-7 FFGG 2012/10 MADE IN CHINA
10 11
141516
12
1317
18
1. Light sensor
2. Front camera
3. Speaker A
4. Speaker B
5. Charging dock
connector
6. Volume key
7. Notification light
8. Power key
9. Headset jack
10. Microphone
11. Infrared sensor
12. Main camera
13. Speaker B (same as 4)
14. Port for charger/USB
cable
15. Hole for attaching the
charger port cover
16. Memory card slot
17. Speaker A (same as 3)
18. NFC™ detection area
Use the accessories provided with your device, or
other compatible accessories, for optimal
performance.
Turning on the device
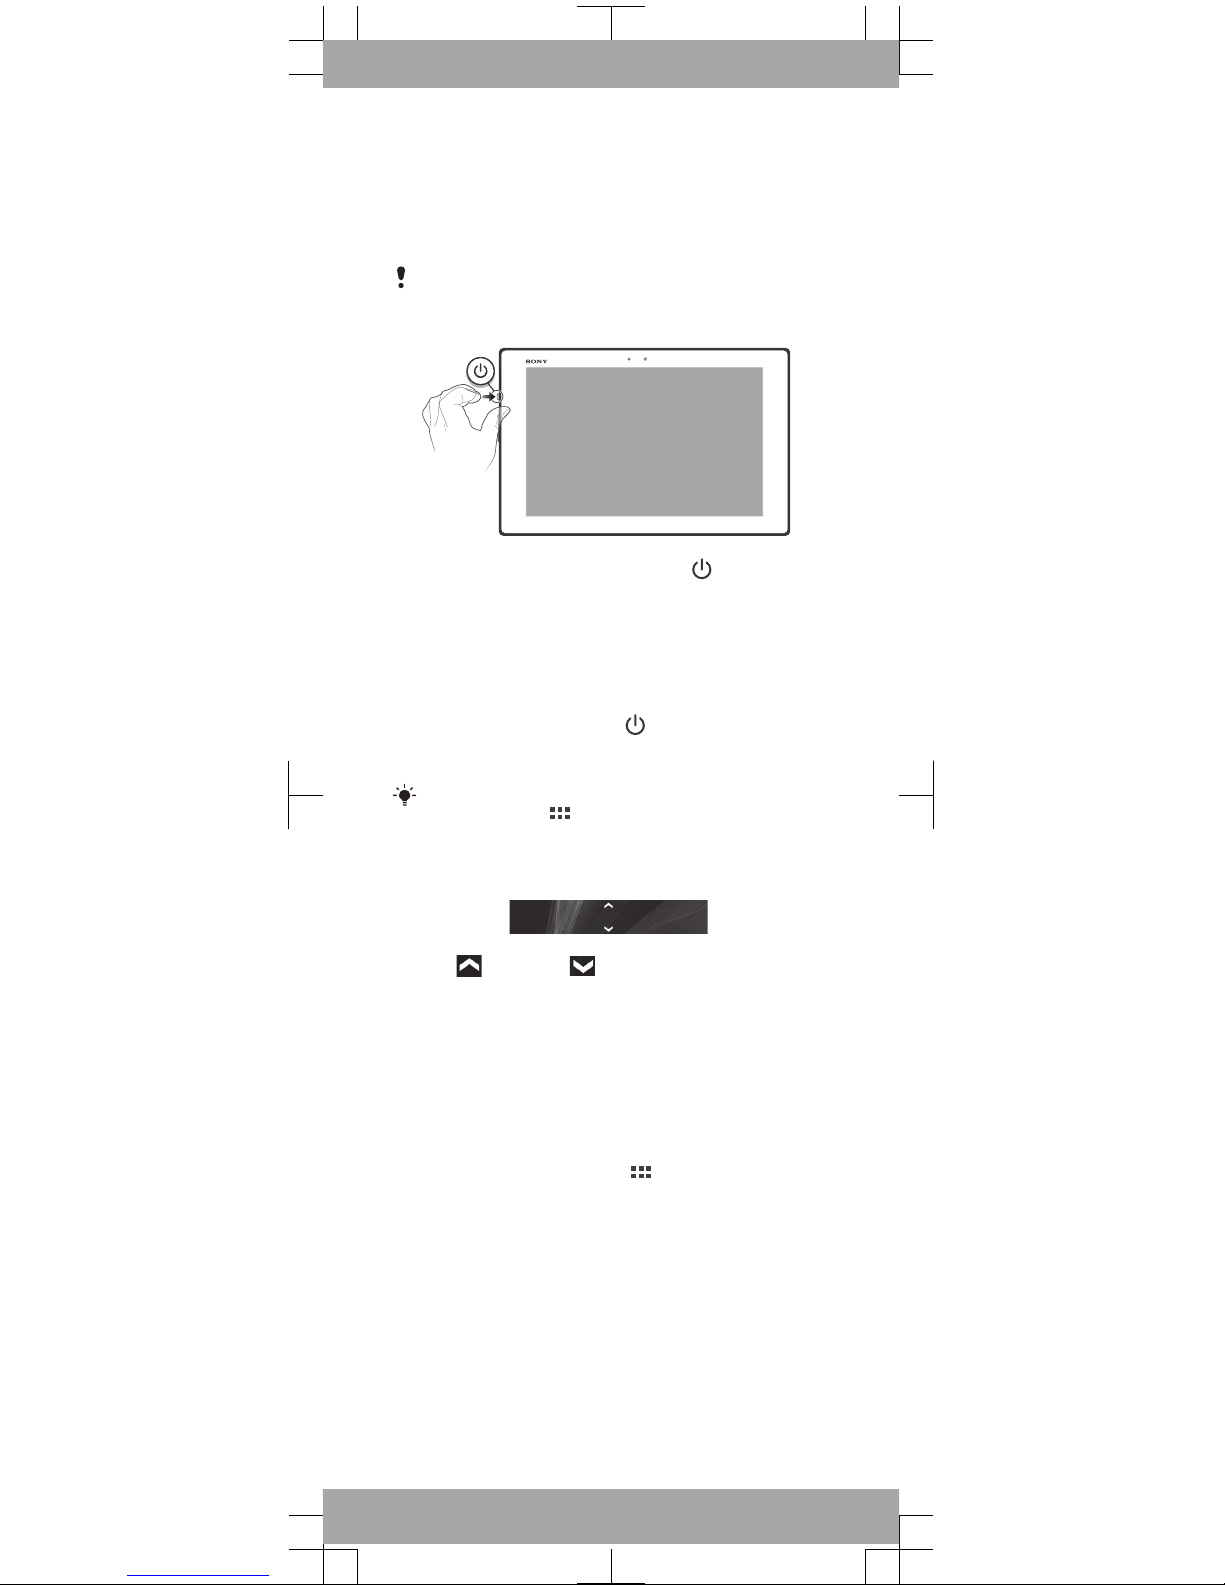
To turn on the device
Make sure that the battery is charged for at least 30
minutes before you turn on the device for the first
time.
1
Press and hold down the power key until the
notification light flashes once.
2
Wait a while for the device to start.
Waking up the screen
To activate the screen
•
Briefly press the power key
.
•
If Tap to wake up mode is enabled, double-tap the
screen.
To enable Tap to wake up mode, go to the Home
screen, then tap > Settings > Display > Tap to
wake up.
To unlock the screen
•
Drag up or drag down.
Basic settings
The first time you start your device, a setup guide
explains basic device functions and helps you enter
essential settings. You can also access the setup guide
later.
To access the setup guide manually
1
From the Home screen, tap
.
2
Tap Settings > Setup guide.
 Loading...