

Page 1
Start Up Guide
1
Xperia™ Tablet S
This "Start Up Guide" explains how to operate your tablet device,
connect to the Internet and update the software system.
Basic Operations of Your Tablet Device
Parts and Controls
Basic Operations of the Home Screen
Connecting to the Internet Using Wi-Fi
Page 2

Advanced Operations of Your Tablet Device
2
Updating the Software System
Using the Online Version of the Sony Tablet Help Guide
© 2012 Sony Corporation
Page 3
Start Up Guide
3
Xperia™ Tablet S
Back to the top
Basic Operations of Your Tablet Device
Touch screen operations
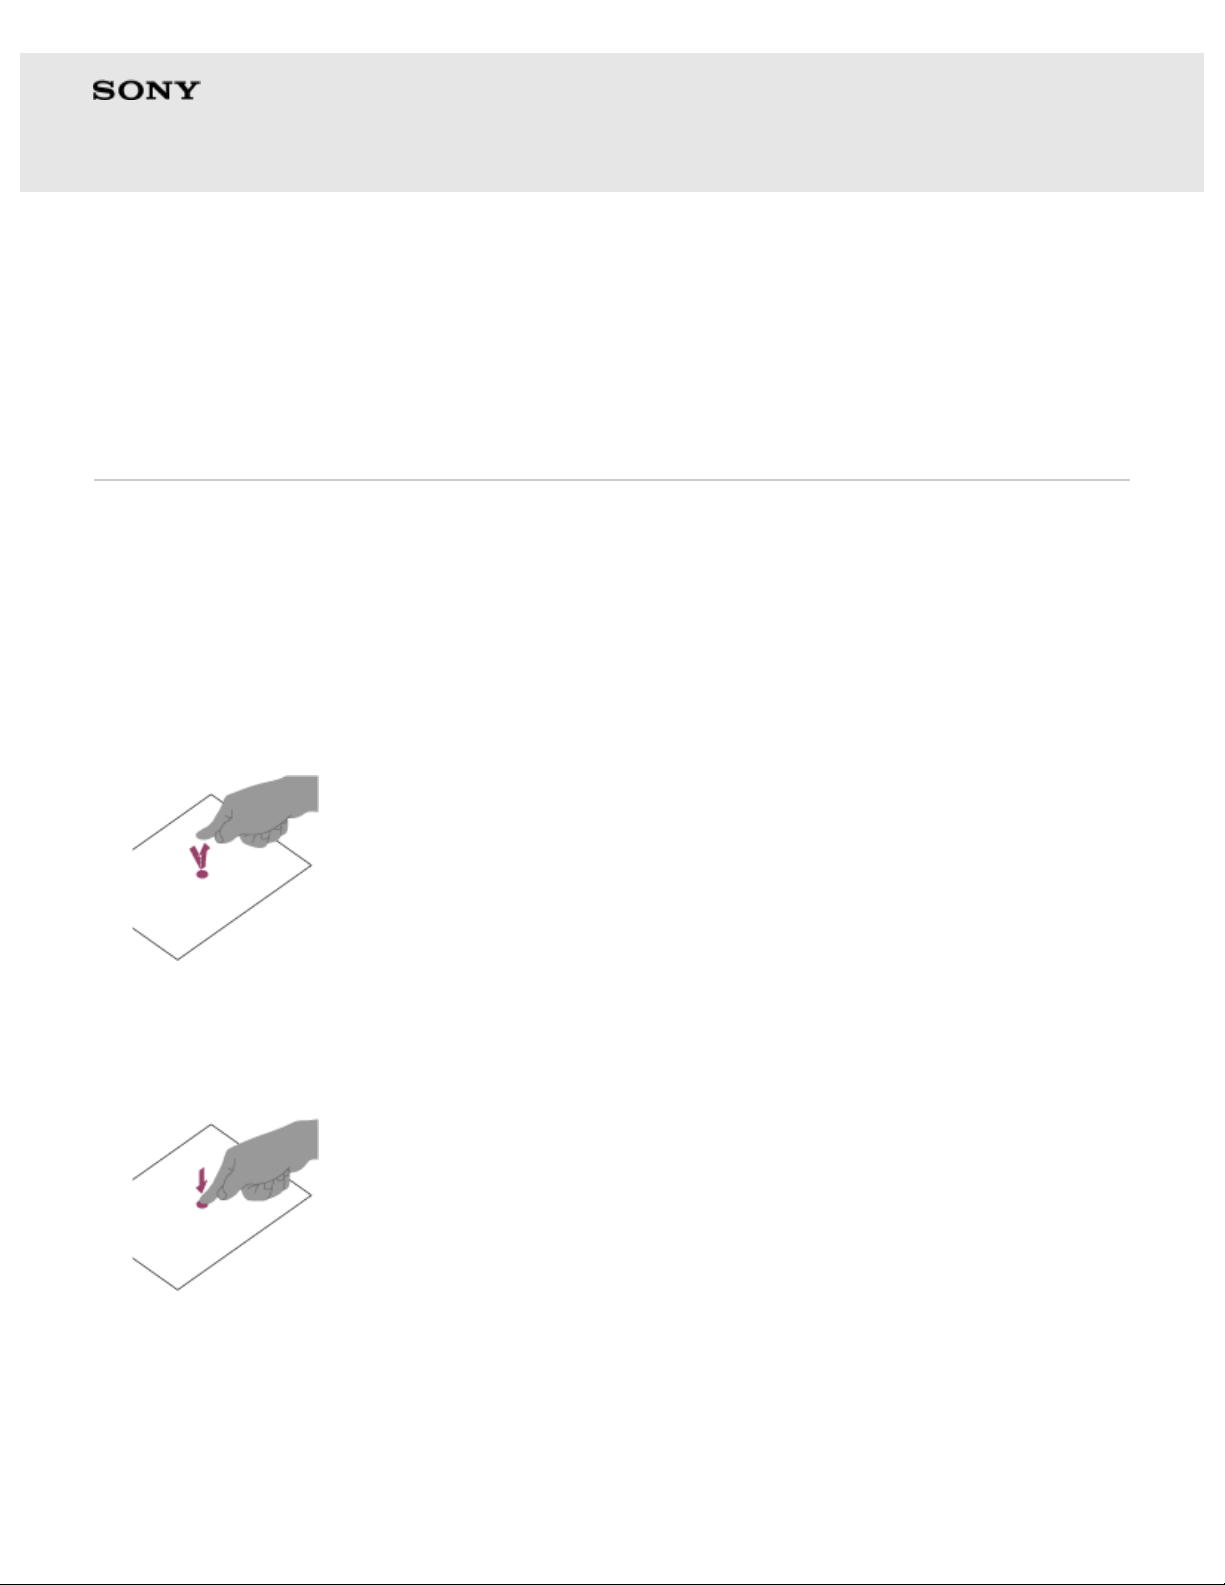
Tap
Selects an icon or option.
Tapping twice quickly allows you to zoom in or out images or other screen
items.
Tap & hold
Opens an option menu.
Drag
Moves an item or scrolls a page slowly.
Page 4
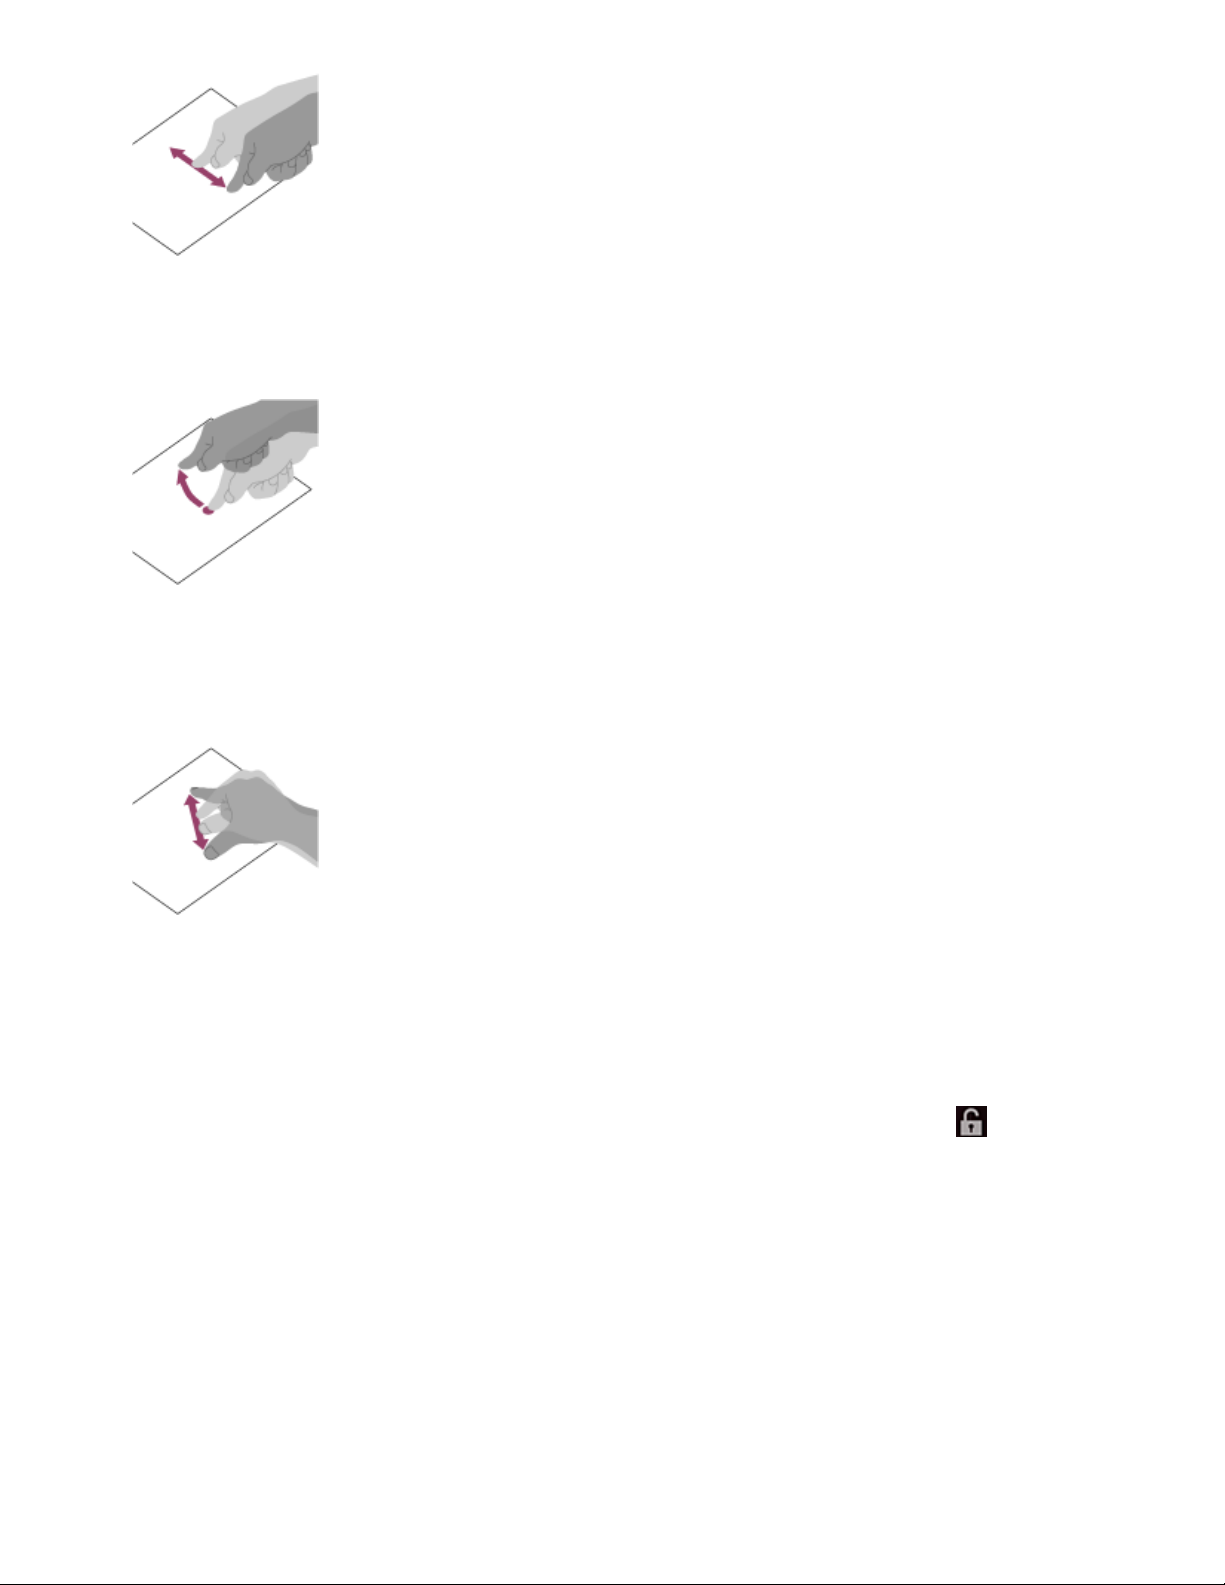
Flick
4
Scrolls a page quickly.
Pinch
Zooms in or out.
To unlock the screen
When the screen is locked, a key icon is displayed on the screen.
You can unlock the screen by dragging the key icon to the
right.
on the
Page 5
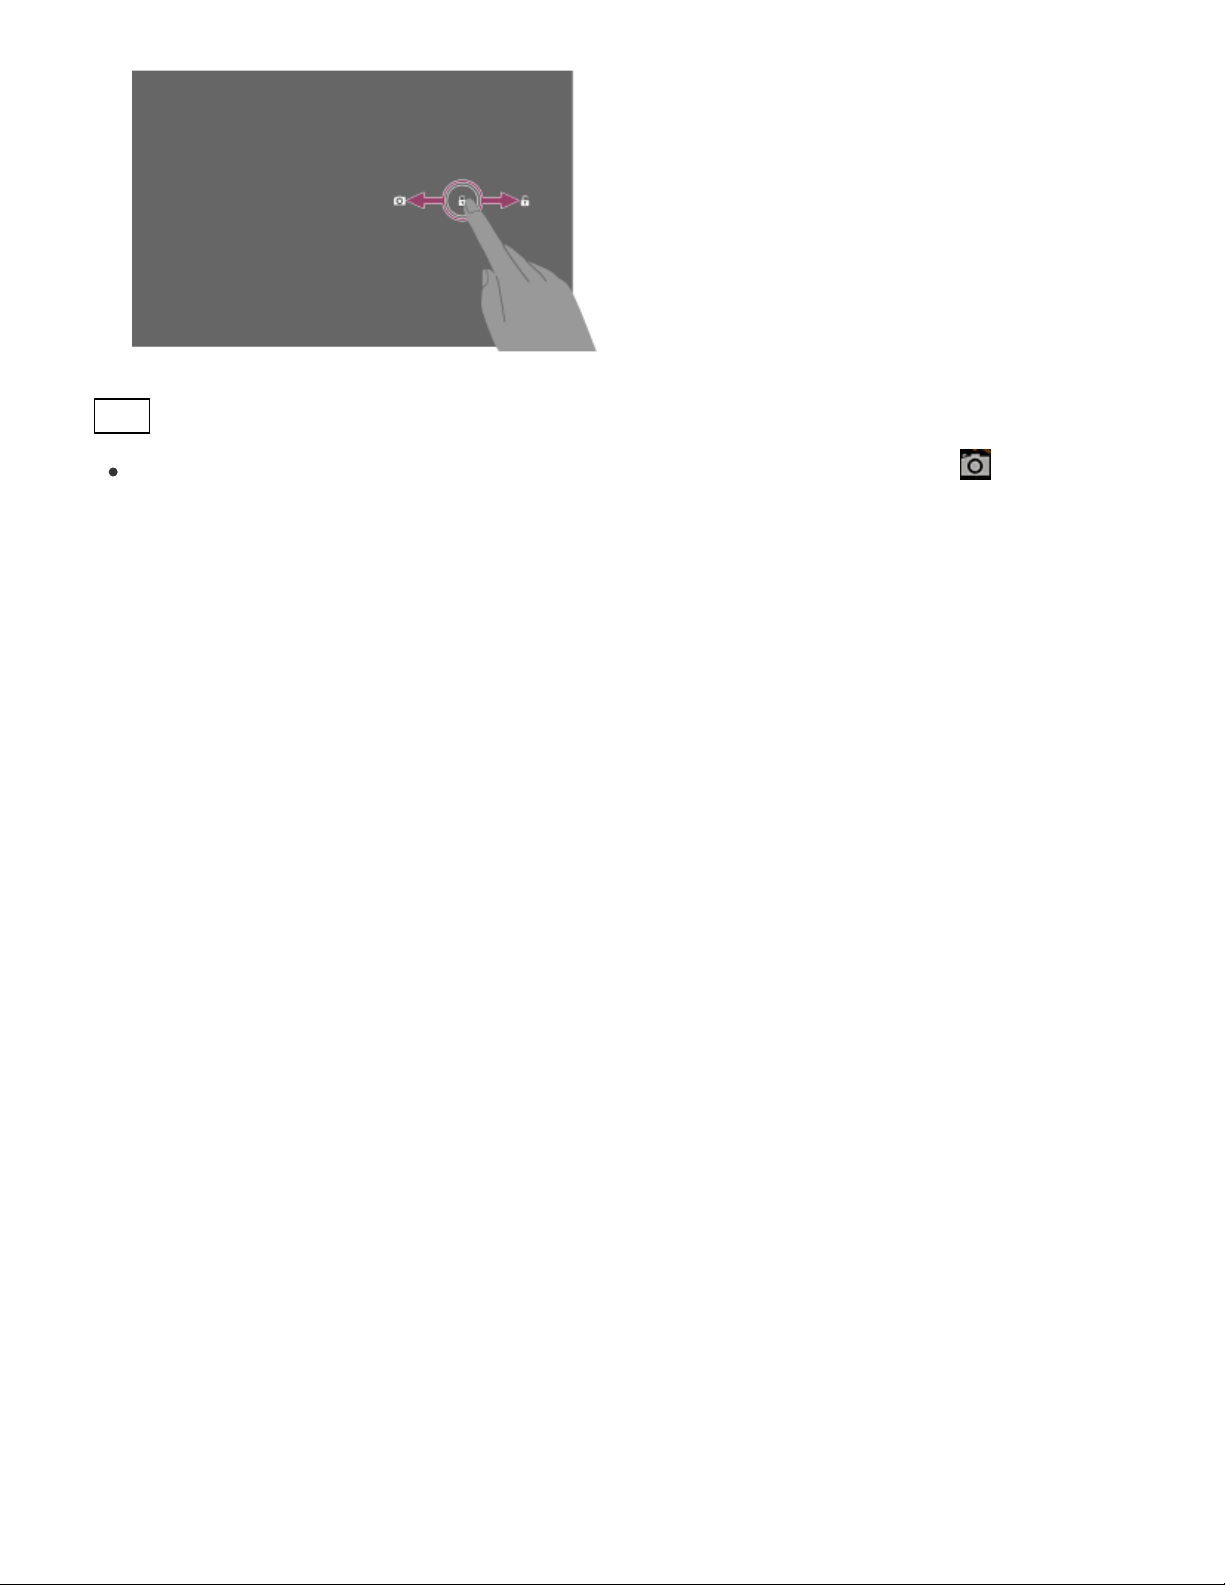
Hint
5
You can start the Camera app by dragging the key icon to the on the
left.
© 2012 Sony Corporation Back to the top
Page 6
Start Up Guide
6
Xperia™ Tablet S
Back to the top
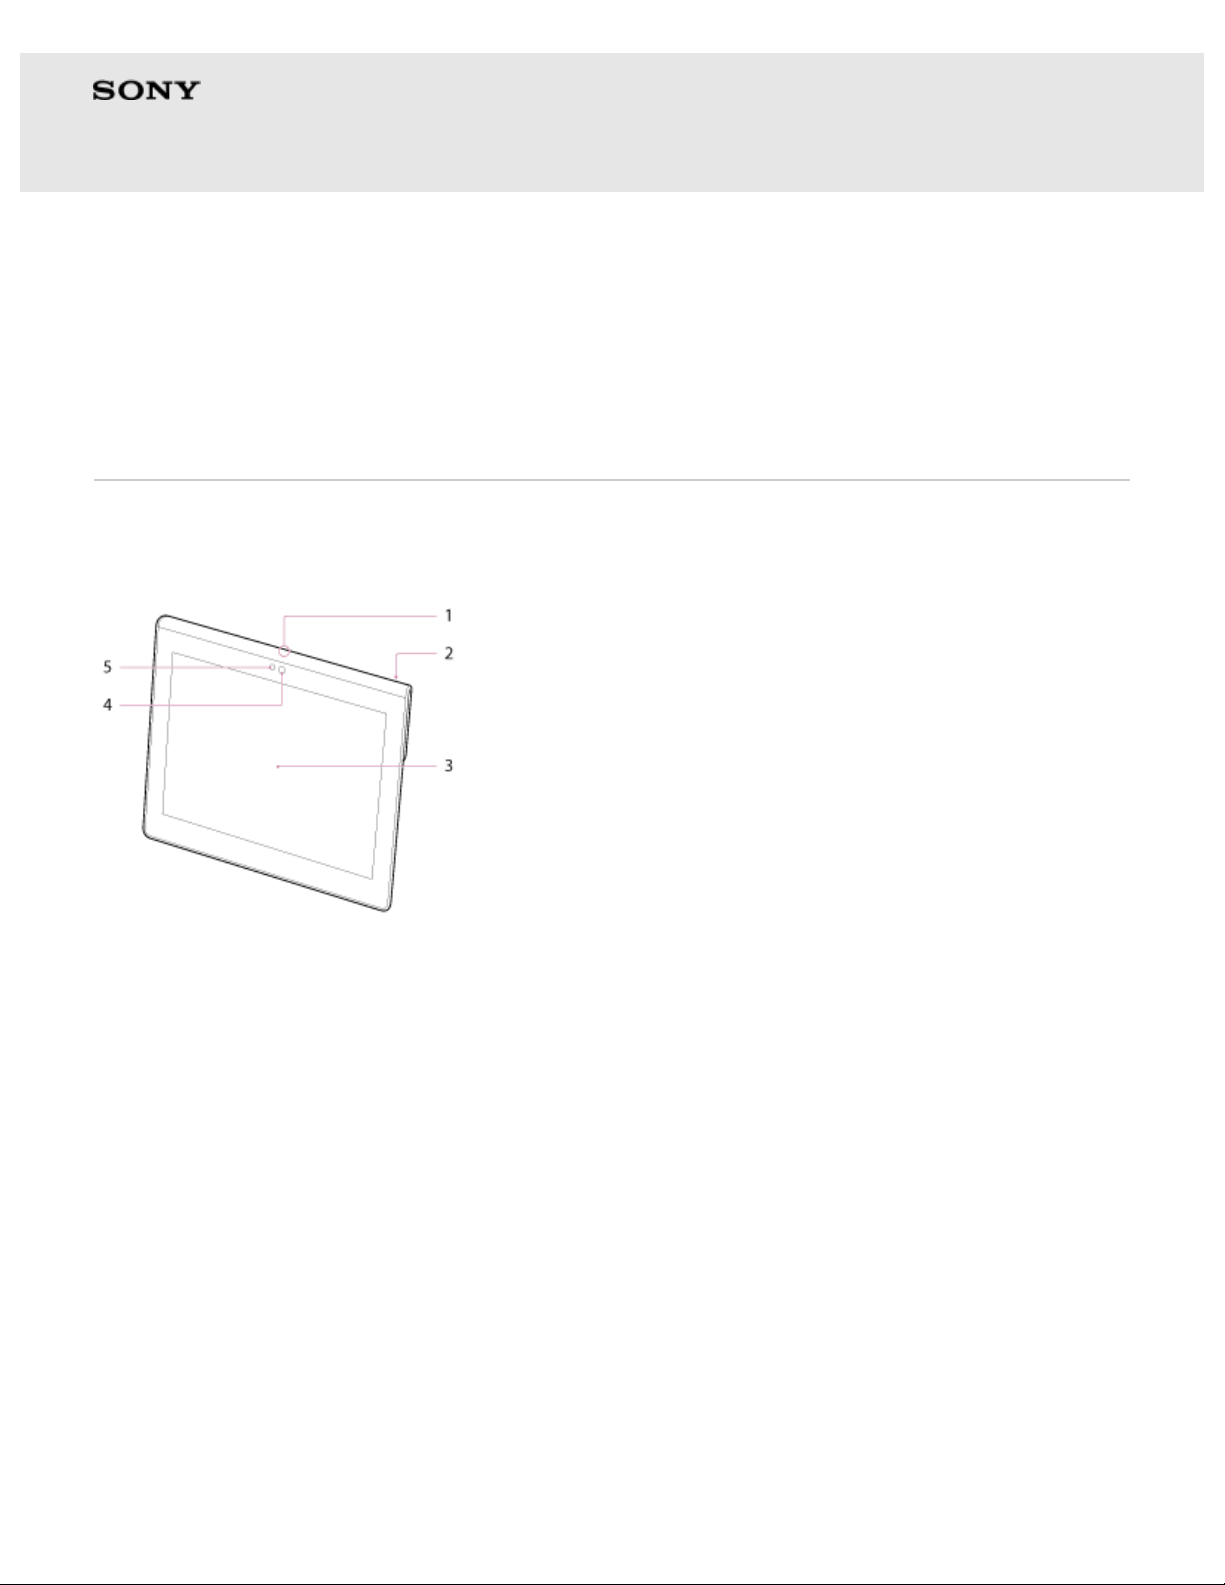
Parts and Controls
Front
1. Microphone
2. IR data port
3. Touch screen
4. Front camera lens
5. Ambient light sensor
Side
Page 7

1. (Power) button
7
2. Notification LED
3. Charge indicator
4. VOL + / - (Volume) button
The button has a tactile dot on the "+" side to help you operate
your tablet device easier.
Rear
SGPT12
Page 8

1. (Headset) jack
8
2. SD memory card slot
3. Built-in speaker (L)
4. Multi Port
5. Built-in speaker (R)
6. Rear camera lens
SGPT13
*1
1. (Headset) jack
2. SD memory card slot
3. Built-in speaker (L)
4. Multi Port
5. Built-in speaker (R)
6. Rear camera lens
Page 9

7. SIM card slot
9
*1 This model may not be sold in some countries and regions.
© 2012 Sony Corporation Back to the top
Page 10

Start Up Guide
App shortcuts, status bars, widgets, and more are displayed on the
10
Xperia™ Tablet S
Back to the top
Basic Operations of the Home Screen
Home screen. The Home screen consists of five pages, and you can
flick left/right to scroll the pages.
A: Quick search box/Quick launcher
Quick search box
Tap the box to easily search with Google.
Quick launcher
Tap icons in the Quick launcher to start apps. Since the Quick
launcher is displayed on every page of the Home screen,
registering apps you often use gives you quick access to them.
Hint
Tap and hold icons to sort them in the Quick launcher or move them in
and out of the Quick launcher.
Page 11

B: Guest Mode/Apps & Widgets
11
Guest Mode
Tap this to start the Guest Mode. Using the Guest Mode, you can
restrict available functions and apps when your tablet device is
shared by multiple users or when you lend it to others.
Hint
When you start the Guest Mode for the first time, a registration screen
is displayed. Follow the on-screen instructions to register the Guest
Mode.
Apps & Widgets
Tap this to display the app list and the widget list.
C: App and widget area
You can choose your favorite apps and widgets from the app and
widget list and place them on the Home screen.
D: Basic operation buttons
(Back) : Tap this to return to the previous screen.
(Home) : Tap this to display the Home screen.
(Recent Apps) : Tap this to display the apps used recently.
E: Small Apps
You can start apps that are available as Small Apps even another app
is already in use. To start an additional app, tap
to display the
Small Apps launcher and select the desired app.
F: Digital clock
Tap the digital clock to display the notification panel that shows items
such as the date, status of the Internet connection and battery charge
level of your tablet device.
Page 12

© 2012 Sony Corporation Back to the top
12
Page 13

Start Up Guide
Connect your tablet device with a Wi-Fi network (access point) to
13
Xperia™ Tablet S
Back to the top
Connecting to the Internet Using Wi-Fi
download apps or enjoy content on the Internet.
Establishing a Wi-Fi connection
Connect using a method appropriate for the wireless router you wish
to connect to in places such as your home or office or a Wi-Fi hotspot.
Refer to the operating instructions supplied with the Wi-Fi router or
those for the Wi-Fi hotspot you are using.
See the following procedures for configuring to connect to a Wi-Fi
network.
Connecting to an available wireless network in the Wi-Fi network
list
If you are at home, your office or a Wi-Fi hotspot, you can
establish a Wi-Fi connection by choosing an available Wi-Fi
network from the list.
Connecting to a wireless network with the WPS button
When you use a WPS-compatible router, the connection or security
settings will be configured automatically by pushing the WPS
button.
Connecting to an available wireless network in the Wi-Fi network list
1. Display the Wi-Fi setting screen.
Page 14

You can also display the Wi-Fi setting screen by tapping the button shown
below this procedure.
14
2. Tap the network you want to connect to from the Wi-Fi networks
displayed.
3. Enter the password.
4. Tap [Connect].
[Connected] appears below the name of the Wi-Fi network you connected
to after you have established a connection.
To display the Wi-Fi
setting screen.
Connecting to a wireless network with the WPS button
1. Display the Wi-Fi setting screen.
You can also display the Wi-Fi setting screen by tapping the button shown
below this procedure.
2. Tap the network you want to connect to from the Wi-Fi networks
displayed.
Page 15

3. Place a check mark in the [Show advanced options] box.
15
4. Select [Push button] in [WPS].
5. Activate the WPS function by pushing the WPS button on the Wi-Fi router.
6. Tap [Connect] on your tablet device.
[Connected] appears below the name of the Wi-Fi network you connected
to after you have established a connection.
To display the Wi-Fi
setting screen.
If you cannot connect your tablet device to the Wi-Fi
network
Start the Wi-Fi checker app by tapping the button below if you cannot
connect your tablet device to the Wi-Fi network even though you have
configured the settings. Start checking by following the on-screen
instructions. The Wi-Fi checker app enables you to check the Wi-Fi
connection of your tablet device when a connection problem occurs.
To display the Wi-Fi
checker app.
Page 16

© 2012 Sony Corporation Back to the top
16
Page 17

Start Up Guide
Download and install apps such as useful tools and games from
17
Xperia™ Tablet S
Back to the top
Advanced Operations of Your Tablet Device
Google Play Store to get more use out of your tablet device.
Setting up a Google account
A Google account is required to use Google services such as Google
Play, Gmail and Calendar. Those services are provided free of charge.
You can add a Google account by tapping [ Apps & Widgets] (at
the Home screen) - [
ACCOUNT] (at the top right of the screen) - [Google] in that order.
Settings] - [Accounts & sync] - [ADD
Downloading recommended apps with Sony Select
Sony Select introduces helpful and fun apps recommended by Sony
that are just right for your tablet device. You can then download the
apps you like from Google Play Store.
To display Sony Select.
© 2012 Sony Corporation Back to the top
Page 18

Start Up Guide
We recommend that you use your tablet device with the system
18
Xperia™ Tablet S
Back to the top
Updating the Software System
software updated to the latest version.
An update notification will be displayed in the lower right corner of the
Home screen only when your tablet device needs to be updated. After
updating, some features are added or the behavior of some features
will be improved. Refer to the support page for information on the
latest update.
Updating your tablet device
1. Tap the update notification displayed in the lower right corner of
the Home screen, then tap [System update].
2. Update your tablet device by following the on-screen instructions.
© 2012 Sony Corporation Back to the top
Page 19

Start Up Guide
The Sony Tablet Help guide gives more detailed explanations about
19
Xperia™ Tablet S
Back to the top
Using the Online Version of the Sony Tablet
Help Guide
tablet device operations and apps.
To display the Help
guide.
© 2012 Sony Corporation Back to the top
 Loading...