

Sony DVP-F11X Operating Instructions Manual

3-867-780-71(1)
CD/DVD Player
CD/DVD Player
Operating Instructions
DVP-F11X
© 2000 Sony Corporation

WARNING
For Your Safety
Sony products are designed with safety in mind.
However, any electric product, if used improperly,
may cause an accident resulting in injury or death
by fire or electric shock. In order to prevent such
accidents, be sure to observe the following
warnings and precautions.
v
Follow the safety precautions
Carefully read the precautions on the products in general on
pages 4 to 7 and those on handling this unit on page 10.
Check the products regularly
At the time of installation and at least once every year, make sure
that the AC power adapter and the AC power cord are not
damaged, that there is no dust between the wall outlet and the
power plug, and that the plug is connected firmly.
Meaning of the
warning symbols
You will find following symbols in the
operating instructions or on the
products. Learn the meaning of each
symbol before you read the following
warning and cautions.
WARNING
Indicates warnings that should be
strictly observed, otherwise an
accident resulting in injury or death
by fire or electric shock may occur.
CAUTION
Indicates cautions that should be
followed, otherwise electrical or other
damage to household goods may
occur.
Attention Symbols
Do not use a damaged product
As soon as you find that the product does not operate correctly, or
that the AC power adapter or the AC power cord is damaged,
contact the shop or refer to the Sony Web site where you
purchased this product.
If something unusual happens
1Turn off the power.
If the product
sounds or
smells unusual,
or emits smoke
b
2Disconnect the power
plug from the wall
outlet.
3Contact the shop or
refer to the Sony Web
site where you
purchased this product.
Fire
“Don’t Do” Symbols
Don’t do Don’t disassemble
Don’t touch
Required Action
Symbols
Compulsory Disconnect the
Electric shock
Fingers may get
pinched
Don’t touch with
wet hands
power plug.
2

TABLE OF CONTENTS
For Your Safety ..............................................2
WARNING• CAUTION.....4
About This Manual.......................................8
This Player Can Play the Following Discs 8
Precautions ...................................................10
Notes About the Discs.................................11
Getting Started ....................... 12
Unpacking.....................................................12
TV Hookups .................................................14
Receiver (Amplifier) Hookups...................16
2+1 Channel Surround Hookups ..............18
5.1 Channel Surround Hookups................19
Selecting the Language for the On-Screen
Display......................................................21
Playing Discs............................ 22
Playing Discs ................................................22
Searching for a Particular Point on a Disc 24
Resuming Playback from the Point Where
You Stopped the Disc (Resume Play) ...25
Using the DVD’s Menu...............................26
Playing VIDEO CDs with PBC Functions
(PBC Playback) ........................................27
Using the Front Panel Display...................28
Changing the Sound....................................36
Displaying the Subtitles..............................37
Changing the Angles...................................38
Digital Cinema Sound Settings..................39
Creating Your Own Program
(Program Play).........................................40
Playing in Random Order (Shuffle Play) .42
Playing Repeatedly (Repeat Play) .............43
Repeating a Specific Portion
(AyB Repeat) ........................................43
Checking the Play Information..................45
Settings and Adjustments ...... 46
Using the Setup Display .............................46
Setup Display Item List...............................48
Setting the Display Language or Sound
Track
(LANGUAGE SETUP)............................49
Settings for the Display (SCREEN SETUP)
50
Custom Settings (CUSTOM SETUP).........51
Settings for the Sound (AUDIO SETUP) ..54
Speaker Set Up .............................................57
Controlling Your TV or AV Receiver
(Amplifier) with the Supplied Remote 58
Using Various Functions with
the Control Menu .................... 30
Using the Control Menu Display ..............30
Control Menu Item List...............................32
Searching for a Title/Chapter/Track/
Index/Scene.............................................33
Checking the Playing Time and Remaining
Time...........................................................34
Selecting a Starting Point Using the Time
Code ..........................................................34
Viewing the Disc Information....................35
Additional Information........... 60
Troubleshooting ...........................................60
Warranty and Service ..................................63
Self-diagnosis Function...............................63
Specifications................................................64
Glossary.........................................................65
Language Code List.....................................67
Index to Parts and Controls........................68
Index ..............................................................71
3
The following warnings should be followed
strictly, otherwise an accident resulting in
WARNING
Fire
Electric Shock
death or injury by fire or electric shock may
occur.
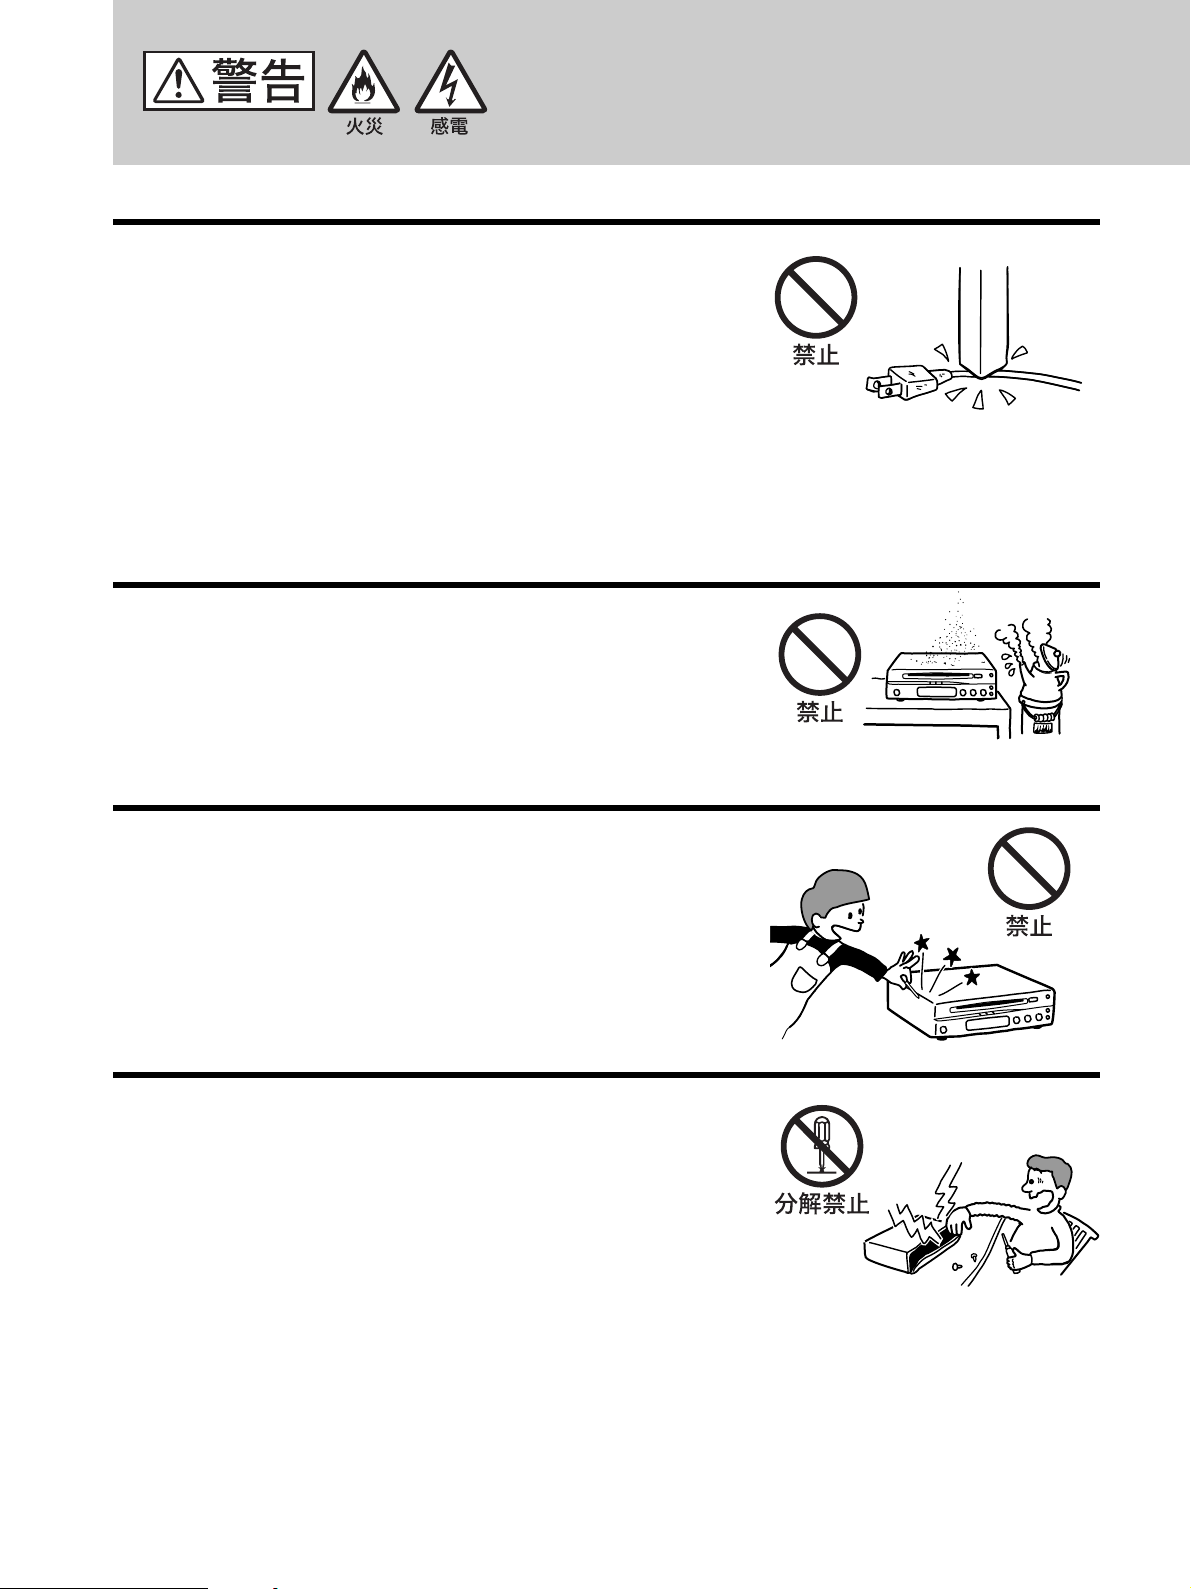
Do not damage the AC power cord.
A damaged AC power cord may cause fire or electric shock.
• Do not catch the AC power cord between the product and the
wall or shelf.
• Do not disassemble or damage the AC power cord.
• Do not put heavy objects on the AC power cord, or pull the AC
power cord forcibly.
• Do not heat up the AC power cord or place it near heating equipment.
• Disconnect the AC power cord when you move the product.
• Make sure to grab the plug when you disconnect the AC power cord.
,If the AC power cord is damaged, contact the shop or refer to the Sony Web site where you
purchased this product.
Don’t do
Do not put the product in a humid or dusty
place. Keep the product away from oil-smoke
or steam.
Placing the product under such conditions may cause fire or
electric shock. Never use the product in a bathroom or near a
humidifier.
Do not put any foreign objects inside the
product.
Water or foreign objects inside the product may cause fire or
electric shock.
,If water or a foreign object gets inside the product,
immediately turn off the power and disconnect the AC power
adapter and AC power cord. Then contact the shop or refer to
the Sony Web site where you purchased this product.
Do not open the cabinet, or disassemble or
alter the product.
Doing so may cause fire, electric shock or injury.
,Contact the shop or refer to the Sony Web site where you
purchased this product.
Don’t do
Don’t do
Don’t
disassemble
4
Do not touch the product or power plug
when there is thunder or lightning.
Doing so may cause electric shock.
Use this product only in Japan.
Use this product on AC 100 V only. Using the product abroad on
a different power source and voltage may cause fire or electric
shock. Also, do not exceed the outlet rating.
Use only the specified AC power adapter.
Using another AC power adapter may result in explosion, fluid
leakage, or generation of heat and may cause fire, injury or
pollution.
Don’t touch
AC 100V
Compulsory
Don’t do
5
CAUTION
The following cautions should be followed, otherwise injury or
damage to household goods by electric shock or other cause
may occur.
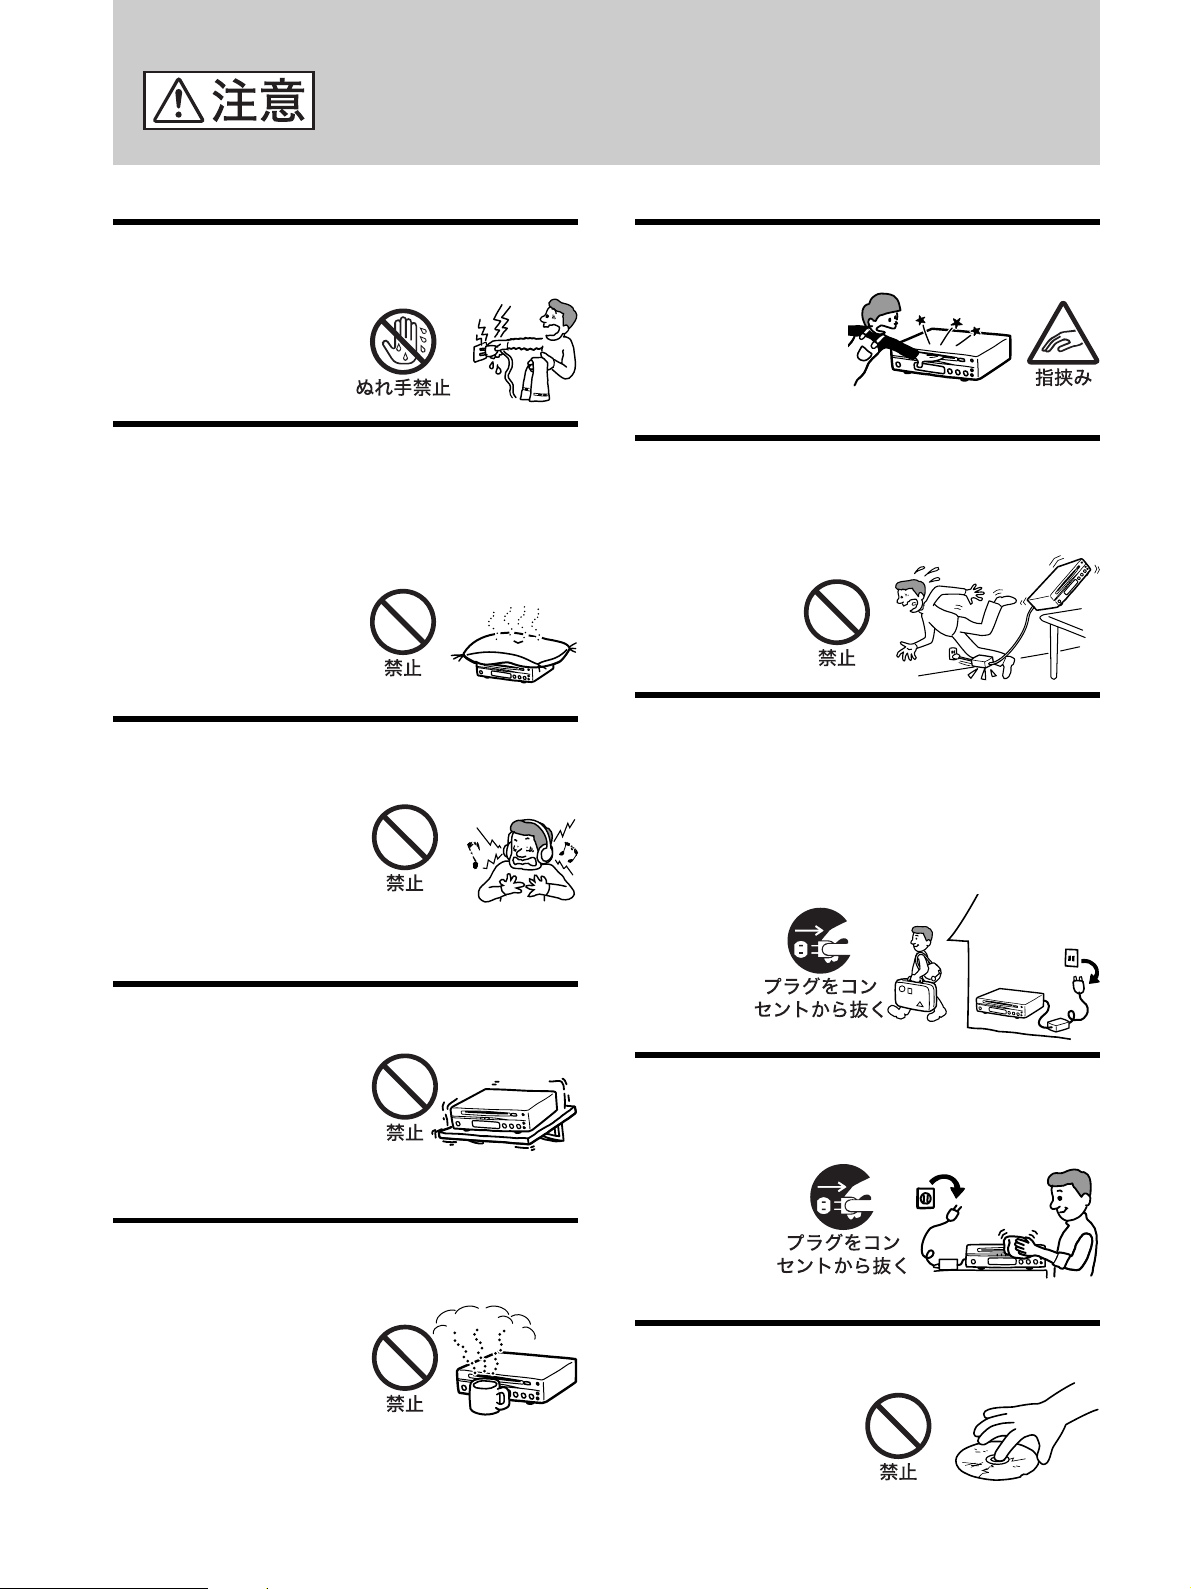
Do not touch the AC power adapter
or power plug with wet hands.
Electric shock may
occur.
Don’t touch with wet hands
Place the product in a well-ventilated
location. Do not block the ventilation
openings.
Do not cover the product with cloth, place it on a
thick carpet or mat or close to a wall or furniture, as
that may prevent the
natural radiation of heat.
Should this happen, the
product may overheat and
cause fire or electric shock.
Don’t do
Do not listen at loud volume for long
time.
Listening at loud volume for
long time may affect your
hearing. Be particularly
careful when you use
headphones.
,Listen at moderate
volume so that you can notice being called.
Don’t do
Keep the product away from
children.
Fingers may be
caught by the disc
slot and injured.
Keep children away
from the product.
Fingers may get
pinched
Arrange the cords neatly.
Arrange the AC power adapter cord, power cord,
and AV connecting cord neatly to avoid tripping on
the cords. Otherwise, the product may drop and
cause injury.
Connect and
arrange the
product and cords
carefully.
Don’t do
Disconnect the power plug when you
move the product or will not use it
for long time.
When you will not use the product for long time,
disconnect the AC power adapter and power plug
from the wall outlet for safety purposes. Fire may
occur due to the deterioration of insulation or
leakage of
electricity.
Place the product in a stable position.
If the product is placed on
an unstable stand or inclined
position, the product may
drop and cause injury. Make
sure that the product is
placed or installed in a
sturdy and level location.
Don’t do
Do not put anything in front of the
disc slot.
If you do, the disc slot will
push down the object when
the disc comes out, which
may cause damage or injury.
Do not leave anything in
front of the product.
Don’t do
6
Disconnect the power plug.
Disconnect the AC power adapter or
power plug when you clean the
product.
Keeping the
power plug
connected
during cleaning
may cause
electric shock.
Disconnect the power plug.
Do not play cracked or warped discs.
Such discs may break
inside the product and
cause injury.
Don’t do
Safety Precautions
on Batteries
The following precautions should be strictly
followed to avoid severe injury or loss of eyesight
caused by leakage, explosion or generation of heat.
WARNING
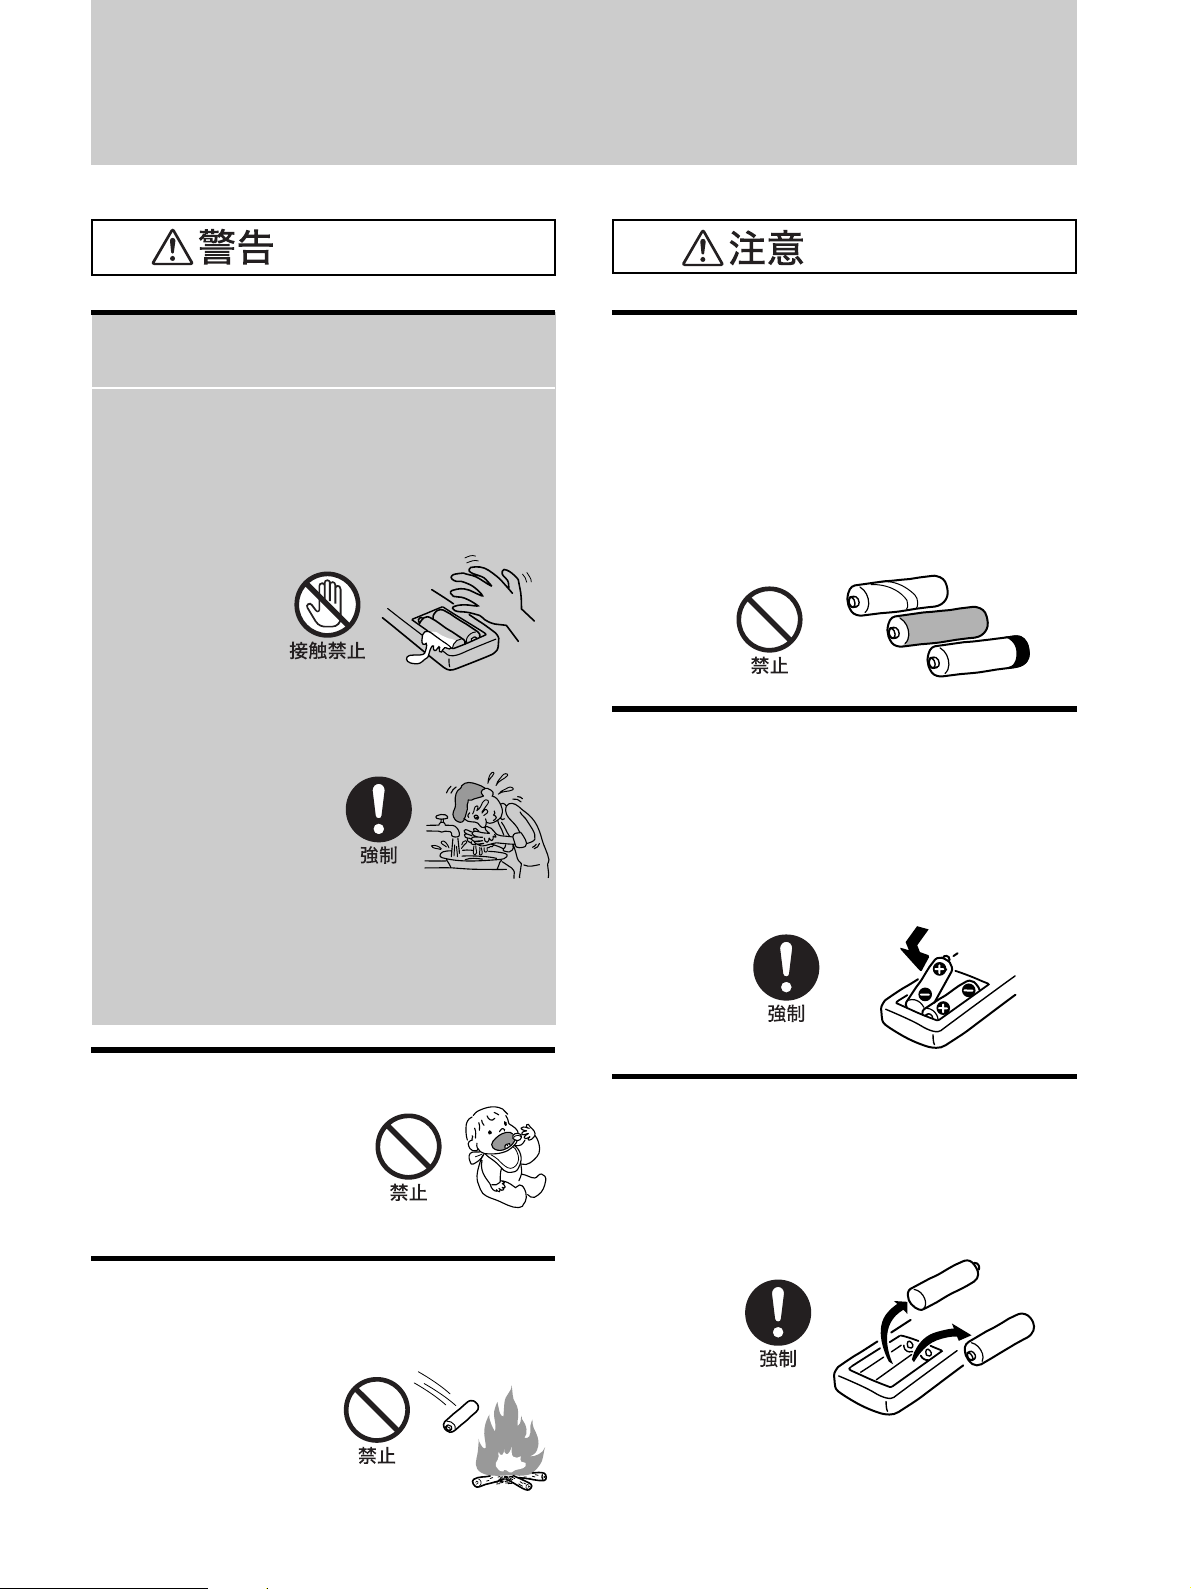
If fluid is leaking from an alkaline
battery
Do not touch the fluid directly.
The fluid from the alkaline battery may cause
loss of eyesight if it comes contact with eyes
or it may cause injury or inflammation of the
skin if it gets on the skin or clothes. Even if
nothing happens at the time, injury may
appear afterwards
due to chemical
reaction with the
fluid.
Don’t touch
Be sure to do
the following:
,If the fluid comes contact with eyes, do not
rub the eyes.
Immediately wash
away the fluid with
abundant clean
water and consult
a doctor.
,If the fluid gets on the skin or clothes,
immediately wash with clean water
carefully. If inflammation of the skin or
injury occurs, consult a doctor.
Compulsory
CAUTION
Use only the specified batteries. Do
not use different types of batteries or
a combination of old and new
batteries.
The difference in characteristics of batteries
may cause explosion or leakage that may result
in injury or burns.
,Make sure that the batteries are of the same
type and brand.
Don’t do
Be sure to insert the batteries with
the + – polarities matched to the + –
marks.
If you insert the batteries the wrong way, the
batteries may short and generate heat, explode
or leak, resulting in injury or burns.
,Insert the batteries correctly.
Compulsory
Keep the batteries away from small
children.
If a battery is swallowed, it
may cause suffocation or
injure the stomach.
,If a battery is swallowed,
immediately consult a doctor.
Don’t do
Do not throw batteries into a fire. Do
not heat, disassemble, alter, charge
or wet the batteries.
Doing so may cause
explosion or leakage that
may result in injury or
burns.
Don’t do
Take out the batteries when they are
dead or when you will not use them
for a long time.
Batteries left in the product may continue to
discharge, causing leakage that may result in
injury or burns.
Compulsory
7
About This Manual
Conventions
• Instructions in this manual describe the controls on the player.
You can also use the controls on the remote if they have the
same or similar names as those on the player.
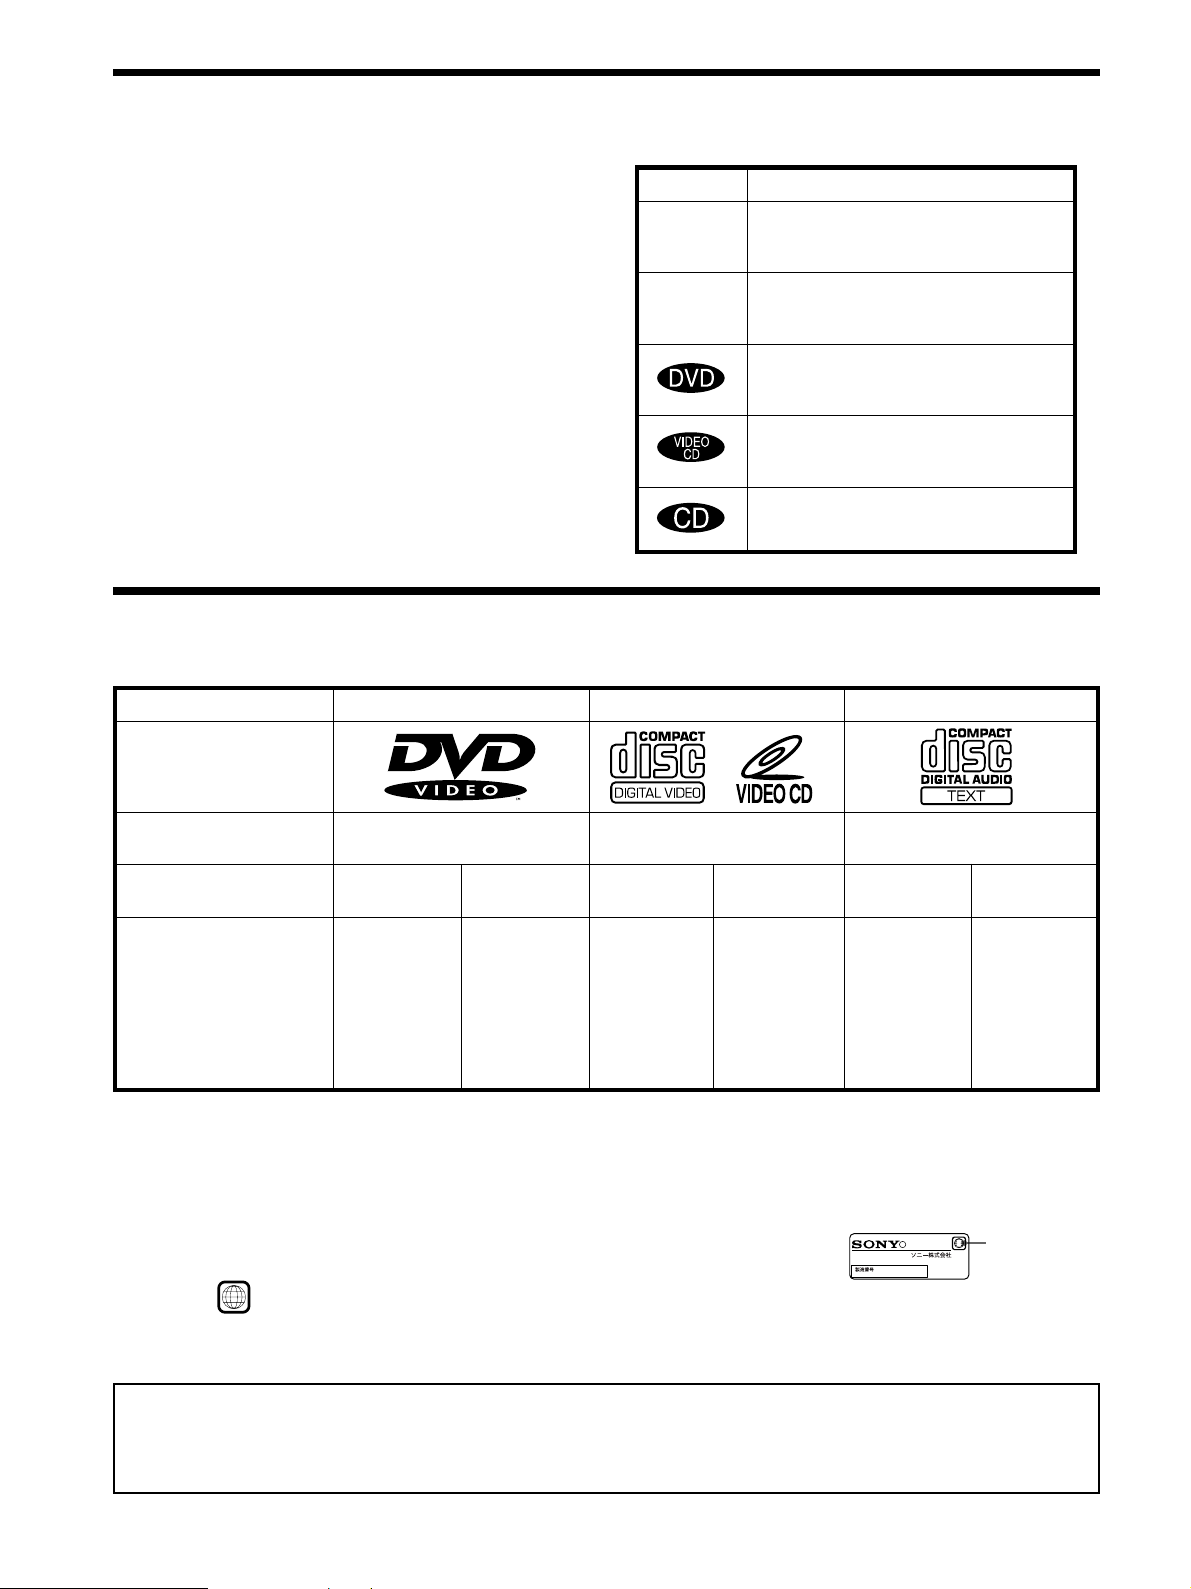
• The icons on the right are used in this manual:
Icon Meaning
Z
z
This Player Can Play the Following Discs
DVD VIDEOs VIDEO CDs Audio CDs
Disc logo
Indicates that you can use only the remote
to do the task.
Indicates tips and hints for making the
task easier.
Indicates the functions for DVD VIDEOs.
Indicates the functions for VIDEO CDs.
Indicates the functions for Audio CDs.
Contents
Disc size
Play time
This player conforms to the NTSC and PAL color systems, but not the SECAM color system. When you play a PAL disc, this player outputs
the video signal in the PAL system only. In this case, if your TV uses the NTSC system, there will be no picture.
Audio + Video
12 cm 8 cm
About 4 h (for
single-sided
DVD)/
about 8 h (for
double-sided
DVD)
About 80 min.
(for
single-sided
DVD)/
about 160 min.
(for
double-sided
DVD)
Region code of DVDs you can play on this unit
Your DVD player has a region code printed on the back of the unit and will only play DVDs
that are labeled with identical region codes.
DVDs labeled
If you try to play any other DVD, the message “Playing this disc prohibited by area limits.” will appear on the TV screen.
Depending on the DVD, no region code indication may be labeled even though playing the DVD is prohibited by the area limits.
ALL
will be also played on this unit.
Audio + Video Audio
12 cm
74 min.
8 cm
20 min.
12 cm
74 min.
“DVD VIDEO” logo is a trademark.
CD/DVD PLAYER
DC 10.5V
S KISARAZU
MODEL NO.
R
DVP-F11X
MADE IN JAPAN
0-000-000-00
(CD single)
X
Region code
8 cm
20 min.
Note on playback operations of DVDs and VIDEO CDs
Some playback operations of DVDs and VIDEO CDs may be intentionally fixed by software producers. Since this player plays DVDs
and VIDEO CDs according to the disc contents the software producers designed, some playback features may not be available. Also
refer to the instructions supplied with the DVDs or VIDEO CDs.
8
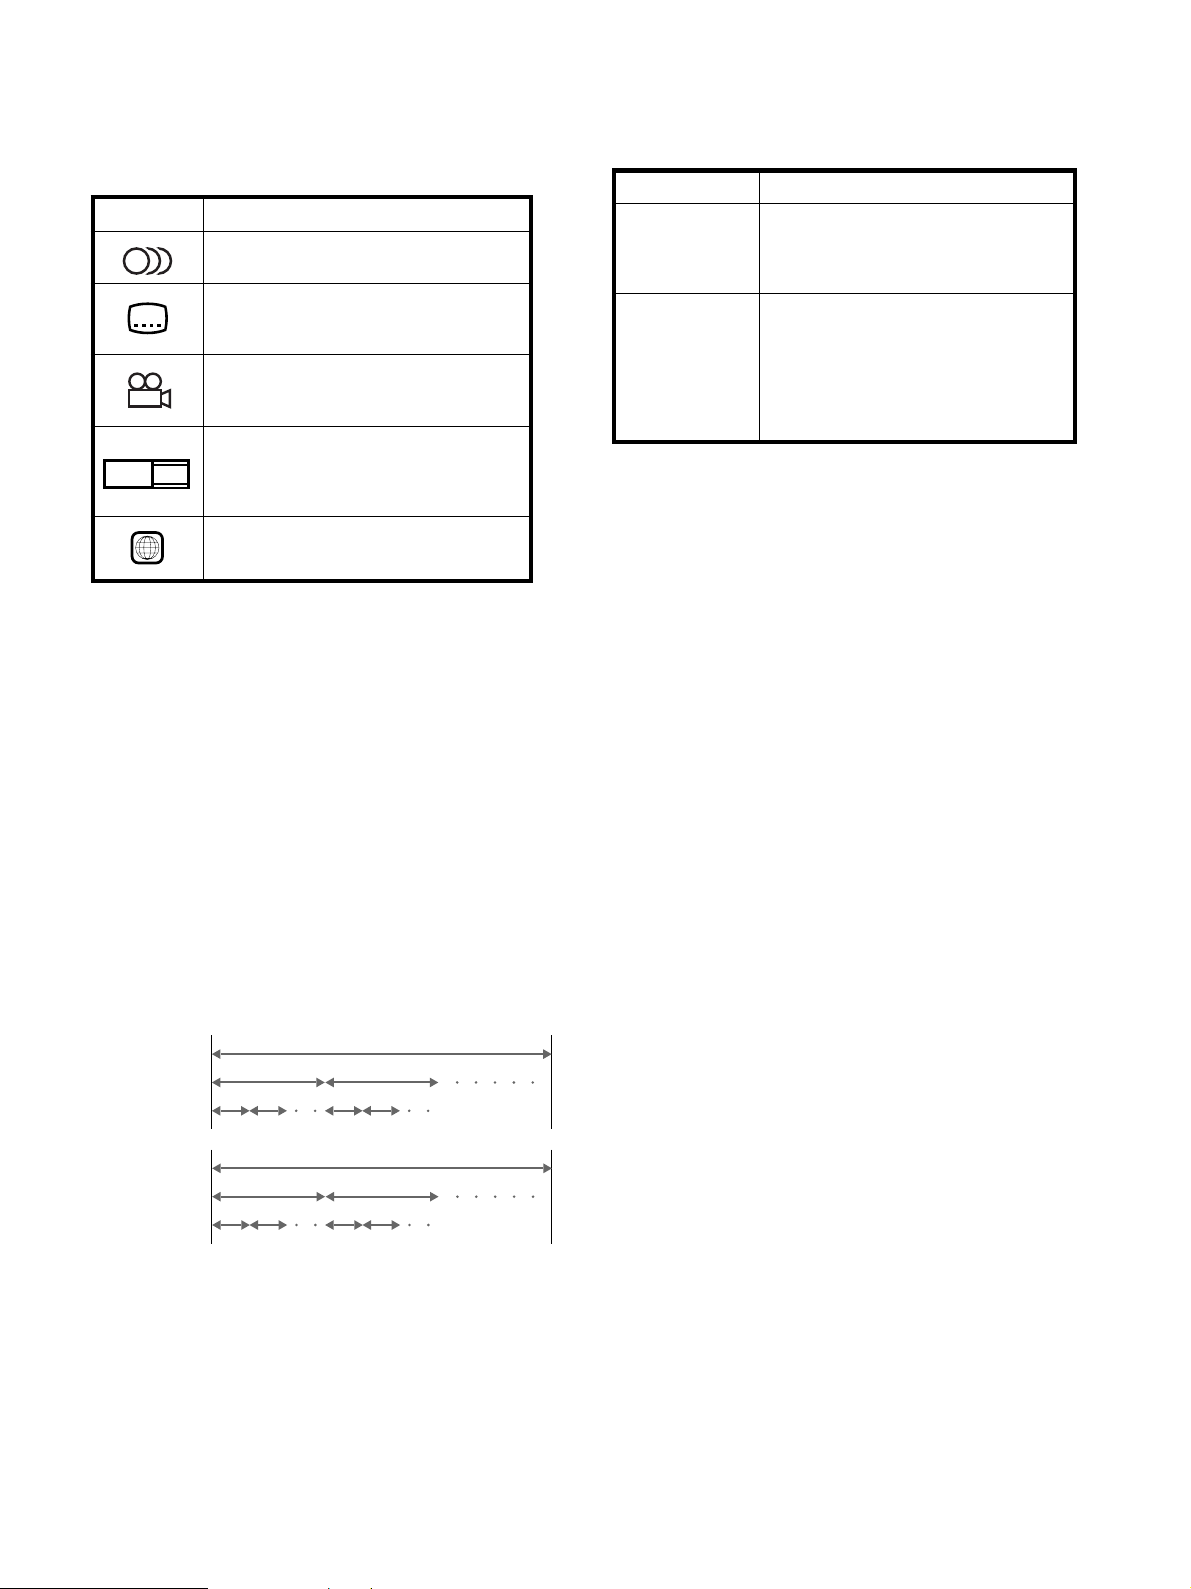
Symbols on the DVD
You will find the following symbols on the DVD disc or package.
These symbols indicates the contents and available features of the
disc. Even if the disc has the feature, the corresponding symbol
may not be indicated on the disc.
Symbol Meaning
Indicates the number of recorded tracks.
Indicates the number of recorded
subtitles.
Indicates the number of recorded angles.
Indicates the number of available aspect
ratio.
Indicates the playable region cord.
16:9
3
2
3
LB
2
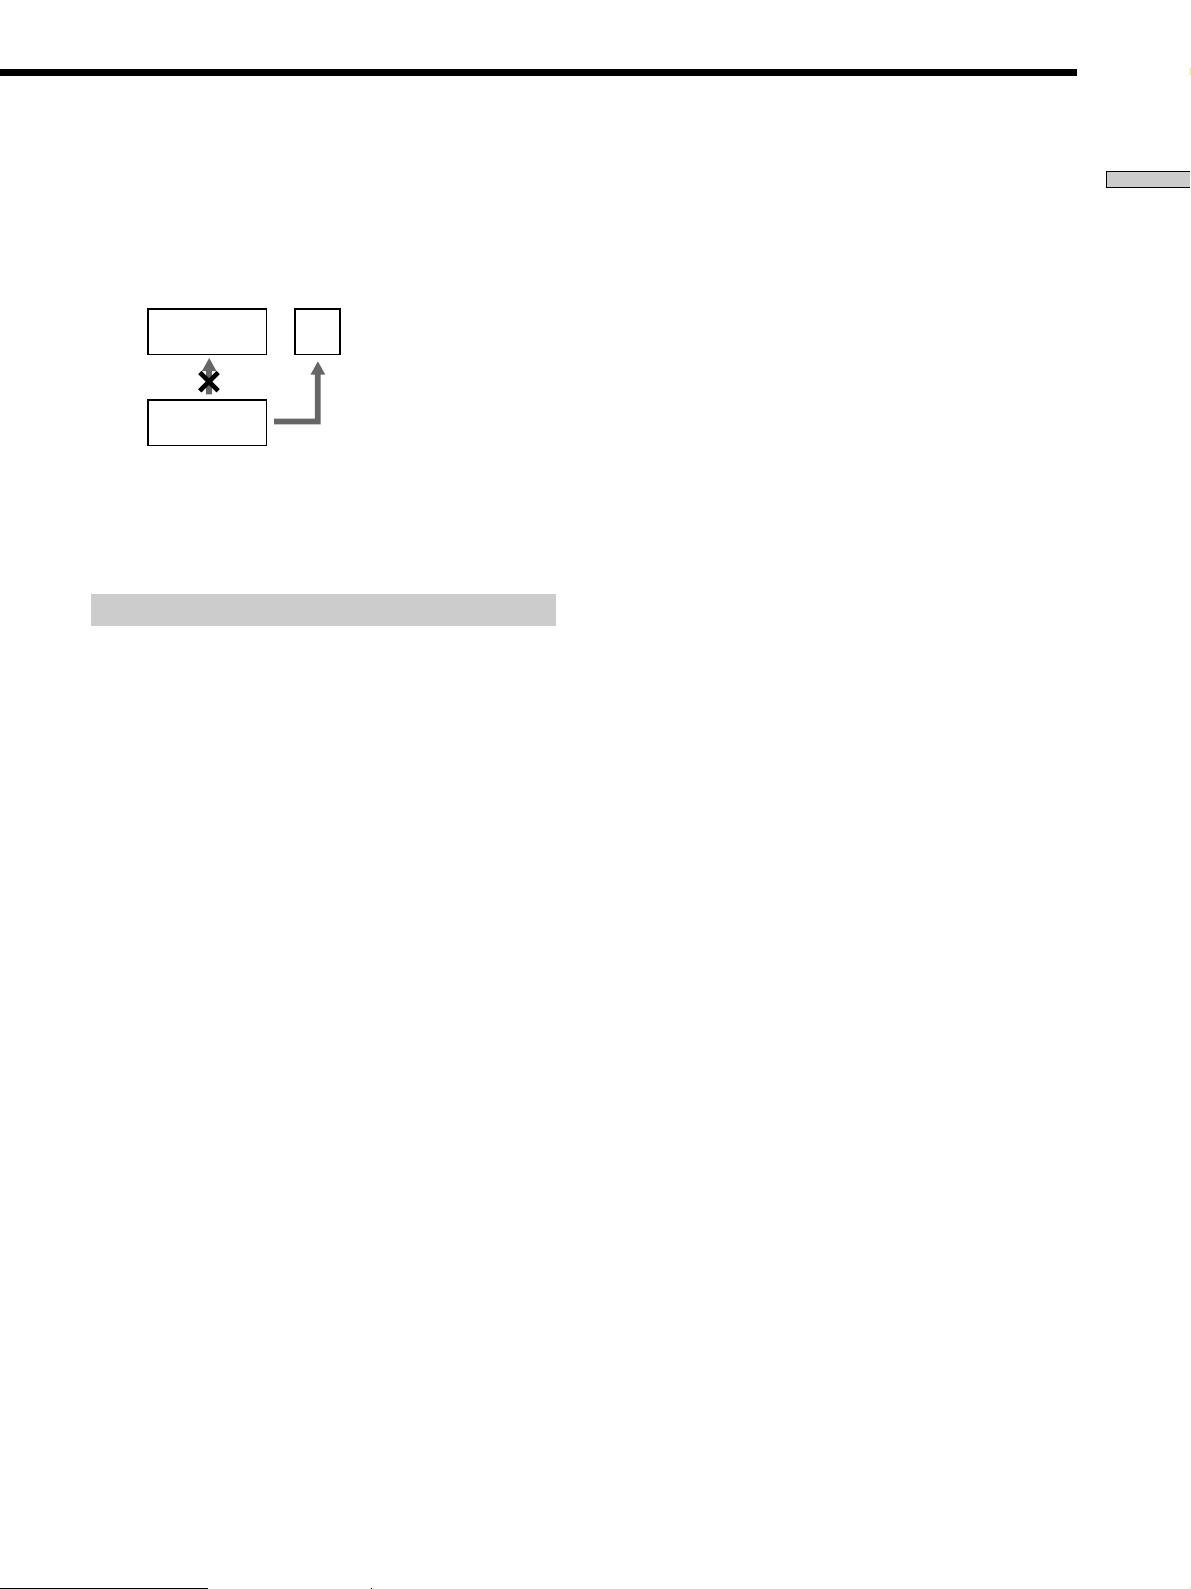
Terms for discs
• Title
The longest sections of a picture or a music piece on a DVD; a
movie, etc., for a picture piece on a video software; or an
album, etc., for a music piece on an audio software. Each title is
assigned a title number enabling you to locate the title you
want.
• Chapter
Sections of a picture or a music piece that are smaller than
titles. A title is composed of several chapters. Each chapter is
assigned a chapter number enabling you to locate the chapter
you want. Depending on the disc, no chapters may be
recorded.
• Track
Sections of a picture or a music piece on a VIDEO CD or a CD.
Each track is assigned a track number enabling you to locate
the track you want.
DVD
structure
VIDEO
CD or
Title
Chapter
Track
Disc
Disc
CD
structure
Index
• Index (CD) / Video Index (VIDEO CD)
A number that divides a track into sections to easily locate the
point you want on a VIDEO CD or a CD. Depending on the
disc, no indexes may be recorded.
• Scene
On a VIDEO CD with PBC functions, the menu screens,
moving pictures and still pictures are divided into sections
called “scenes.” Each scene is assigned a scene number
enabling you to locate the scene you want.
Note on PBC (Playback Control) (VIDEO CDs)
This player conforms to Ver. 1.1 and Ver. 2.0 of VIDEO CD
standards. You can enjoy two kinds of playback according to the
disc type.
Disc type
VIDEO CDs
without PBC
functions
(Ver. 1.1 discs)
VIDEO CDs with
PBC functions
(Ver. 2.0 discs)
You can
Enjoy video playback (moving pictures)
as well as music.
Play interactive software using menu
screens displayed on the TV screen (PBC
Playback), in addition to the video
playback functions of Ver. 1.1 discs.
Moreover, you can play high-resolution
still pictures, if they are included on the
disc.
Discs that the player cannot play
The player cannot play discs other than the ones listed in the
table on page 8. CD-R, CD-ROMs including PHOTO CDs, data
sections in CD-EXTRAs, DVD-ROMs, DVD-Audio, HD (high
density) layer of “Super Audio CD,” etc., cannot be played.
When playing DTS*-encoded CDs, excessive noise will be heard
from the analog stereo outputs. To avoid possible damage to the
audio system, the consumer should take proper precautions
when the analog stereo outputs of the DVD player are connected
to an amplification system. To enjoy DTS Digital Surround™
playback, an external 5.1-channel DTS Digital Surround™
decoder system must be connected to the digital output of the
DVD player.
This product incorporates copyright protection technology that is
protected by method claims of certain U.S. patents and other
intellectual property rights owned by Macrovision Corporation
and other rights owners. Use of this copyright protection
technology must be authorized by Macrovision Corporation, and
is intended for home and other limited viewing uses only unless
otherwise authorized by Macrovision Corporation. Reverse
engineering or disassembly is prohibited.
* “DTS,” “DTS Digital Surround” and “DTS Digital Out” are
trademarks of Digital Theater Systems, Inc.
9
Precautions
On safety
• Caution – The use of optical instruments with this
product will increase eye hazard.
• Should any solid object or liquid fall into the cabinet,
unplug the player and have it checked by qualified
personnel before operating it any further.
• Do not put any foreign objects in the DC IN 10.5 V
(external power input) jack.
On AC power adaptor and AC power cord
• Use only the supplied AC power adaptor. Do not use
any other AC power adaptor. It may cause a
malfunction.
Polarity of the plug
• If the AC power adaptor causes interference to the radio
reception, move it away from the radio.
• Do not touch the AC power adaptor with wet hands.
• The player is not disconnected from the AC power
source (mains) as long as it is connected to the wall
outlet, even if the player itself has been turned off.
• If you are not going to use the player for a long time, be
sure to disconnect the player from the wall outlet. To
disconnect the AC power cord (mains lead), grasp the
plug itself; never pull the cord.
• Should the AC power cord (mains lead) need to be
changed, contact the shop or refer to the Sony Web site
where you purchased this product.
• Use the player on AC 100 V only. If the player is used
on a car battery, the operation will not be guaranteed.
On operation
• If the player is brought directly from a cold to a warm
location, or is placed in a very damp room, moisture
may condense on the lenses inside the player. Should
this occur, the player may not operate properly. In this
case, remove the disc and leave the player turned on for
about half an hour until the moisture evaporates.
On adjusting volume
• Do not turn up the volume while listening to a section
with very low level inputs or no audio signals. If you
do, the speakers may be damaged when a peak level
section is played.
Manners when listening to stereo
• When you listen to music in stereo, turn down the
volume to avoid disturbing your neighbors. Sound
penetrates even at low volume
especially at night.
Take care to maintain a comfortable
environment by closing windows,
using headphones or such. This is
the symbol for good listening
manners.
On cleaning
• Clean the cabinet, panel and controls with a soft cloth
slightly moistened with a mild detergent solution. Do
not use any type of abrasive pad, scouring powder or
solvent such as alcohol or benzine.
If you have any questions or problems concerning your
player, please consult the shop or refer to the Sony Web
site where you purchased it.
On placement
• Place the player in a location with adequate ventilation
to prevent heat build-up in the player.
• Do not place the player and the AC power adaptor on a
soft surface such as a rug that might block the
ventilation holes on the bottom.
• Do not place the player in a location near heat sources,
or in a place subject to direct sunlight, excessive dust or
mechanical shock.
• Do not place the player where it is humid or extremely
cold.
• Keep the player away from TVs, AM receivers and
VCRs. (A TV, AM receiver or VCR may cause noise
during playback. Since an indoor antenna is liable to
cause noise, use of an outdoor antenna is
recommended.)
• Do not put any heavy object on top of the player. The
player may be damaged.
10
IMPORTANT NOTICE
Caution: The enclosed DVD player is capable of
holding a still video image or On screen display
image on your television screen indefinitely. If you
leave the still video image or On screen display image
displayed on your TV for an extended period of time
you risk permanent damage to your television screen.
Projection televisions are very susceptible.

Notes About the Discs
On handling discs
• To keep the disc clean, handle the disc by its edge. Do
not touch the surface.
• Do not stick paper or tape on the disc.
• Do not use a disc which has residue from adhesive tape
on it, such as a rental CD with a missing label. If you
use such a disc, you may not be able to eject it or it may
cause a malfunction.
On storing
• Do not expose the disc to direct sunlight or heat sources
such as hot air ducts, or leave it in a car parked in direct
sunlight as there can be considerable rise in temperature
inside the car.
• After playing, store the disc in its case.
On cleaning
• Fingerprints or dust on a disc causes distortion of the
picture or deterioration of the sound quality.
Before playing, clean the disc with a cleaning cloth.
Wipe the disc from the center out.
• Do not use solvents such as benzine, thinner,
commercially available cleaners or anti-static spray
intended for vinyl LPs.
On novelty discs
Do not use irregularly shaped CDs such as heart- or
star-shaped CDs as they may cause the player to
malfunction.
11

Getting
Unpacking
Started
This section describes how to hook up
the CD/DVD player to a TV (with
audio/video input jacks) and/or an
AV receiver (amplifier). You cannot
connect this player to a TV which
does not have a video input
connector. Be sure to turn off the
power of each component before
making the connections.
Check that you have the following items:
• Audio/video connecting cord (1)
• S video cord (1)
• AC power adaptor AC-F11 (1)
• AC power cord (1)
• Remote commander (remote) RMT-D109E (1)
• R6 (size AA) batteries (2)
• Stand SU-SF11 (1)
• Warranty Card (1)
Inserting batteries into the remote
You can control the player using the supplied remote.
Insert two R6 (size AA) batteries by matching the + and –
on the batteries. When using the remote, point it at the
remote sensor
on the player.
z
You can control TVs and AV receivers (amplifiers) using the
supplied remote
See page 58.
Notes
• To avoid possible damage from battery leakage or corrosion,
observe the following:
- Be sure to insert the batteries with the + – polarities matched
to the + – marks.
- Do not use a combination of new and old batteries.
- Do not use different types of batteries.
- Dry batteries are not rechargeable.
- If you will not use the remote for an extended period of
time, remove the batteries to avoid possible damage from
battery leakage and corrosion.
- If batteries are leaking, wipe off the liquid in the battery
compartment carefully before replacing the batteries.
• Do not leave the remote in an extremely hot or humid place.
• Do not drop any foreign object into the remote casing,
particularly when replacing the batteries.
• Do not expose the remote sensor to direct sunlight or lighting
apparatuses. Doing so may cause a malfunction.
12

Using the player in a vertical position
If you want to use the player in a vertical position, attach
the supplied stand.
1 Align the groove of the player and the projection
of the stand.
2 Fasten the stand with the supplied screw.
Getting Started
Notes
• When you place the player in a horizontal position, remove the
stand.
• To move the player, hold the player itself. If you hold the
stand, the stand may break.
• Do not place the player in a vertical position without attaching
the stand. If you do not attach the stand, the player will be
unstable and may fall over.
13

TV Hookups
Getting Started
This connection is for listening to the sound through TV
speakers (2ch – L, R). Refer to the instructions supplied
with the component to be connected.
Set “SUBWOOFER” in “SPEAKER SETUP” to “NONE” in
the setup display (page 57).
CD/DVD player
DC IN 10.5V
WOOFER
OUT
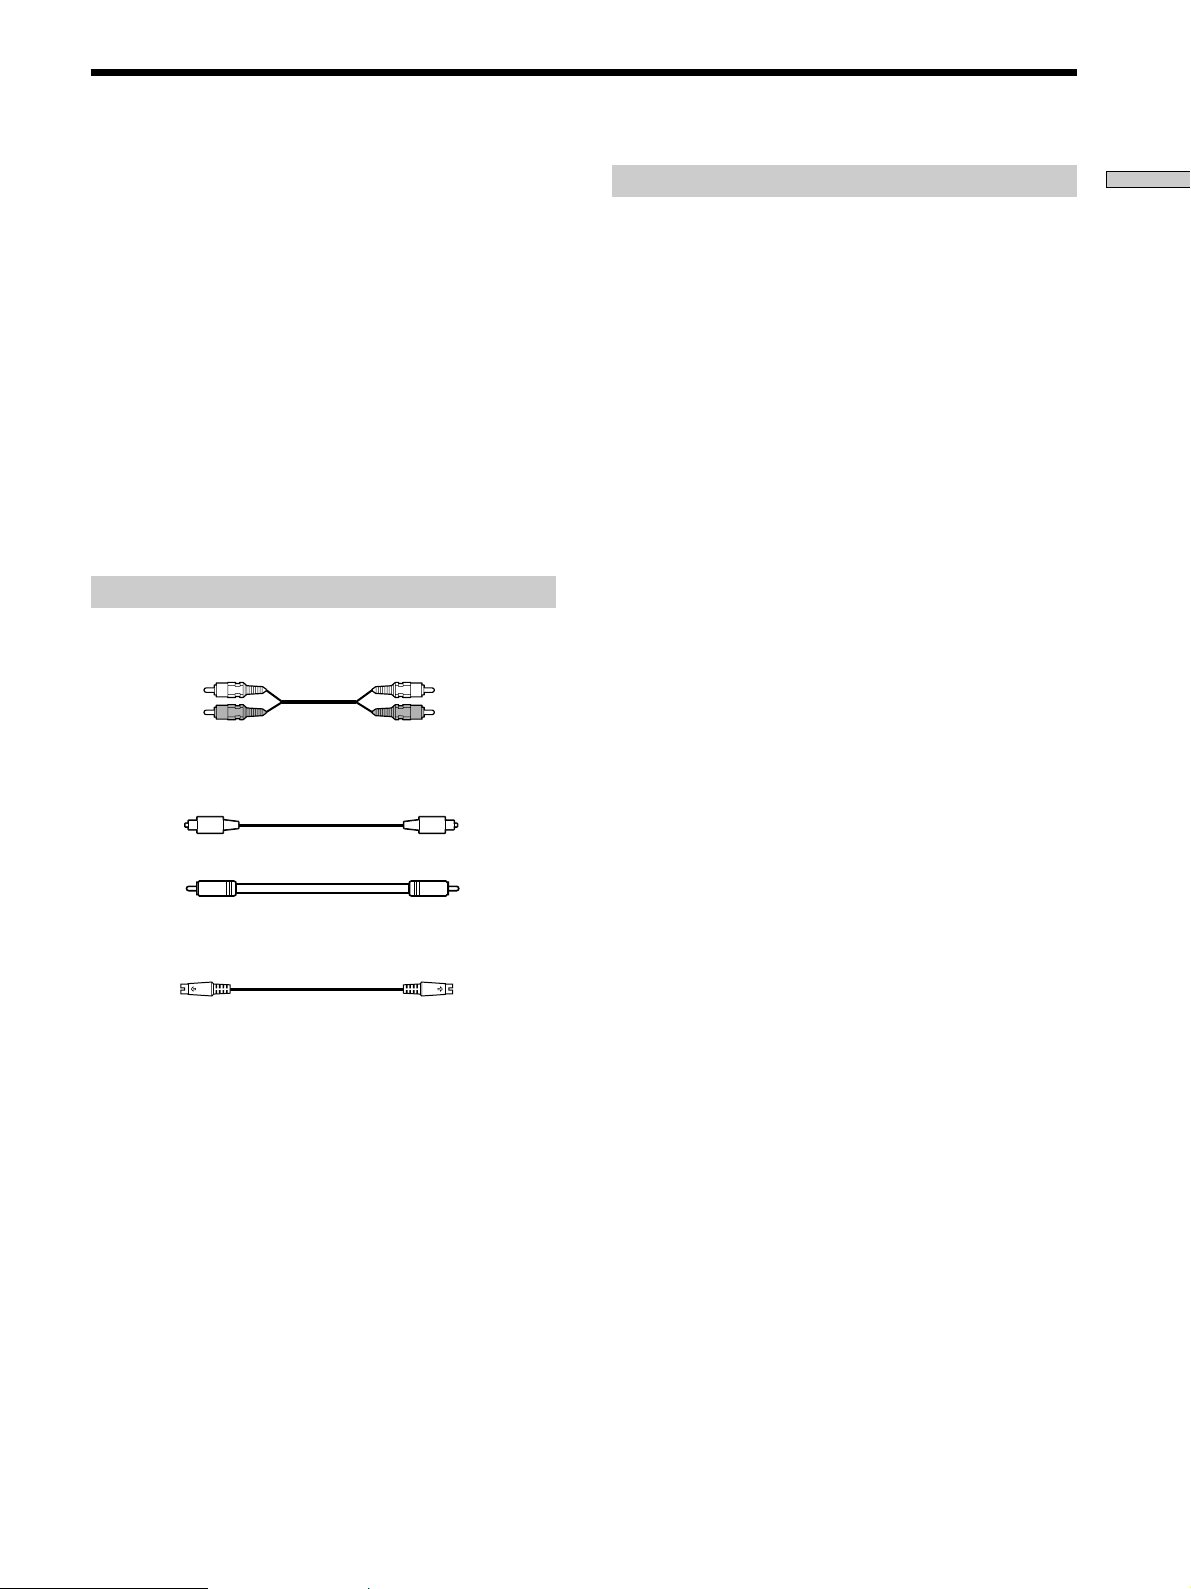
Required cords
Audio/video connecting cord (supplied) (1)
Yellow
White (L)
Red (R)
S video cord (supplied) (1)
When connecting the cords, be sure to match the color-coded
cord to the appropriate jacks on the components: Yellow (video)
to Yellow, Red (right) to Red and White (left) to White. Be sure to
make connections firmly to avoid hum and noise.
If your TV has an S video input connector, connect the
component via the S-VIDEO connector using the S video cord.
You will get a better picture.
Refer to the instructions supplied with the TV to be connected.
1
2
OPTICAL COAXIAL
PCM/DTS/
DOLBY DIGITAL (A C–3)
R – AUDIO – L VIDEO S–VIDEO
LINE OUT
/MPEG
Yellow
White (L)
Red (R)
To an AC outlet
AC power cord (supplied)
: Signal flow
AC power adaptor
(supplied)
To LINE
OUT
(AUDIO)
To LINE
OUT
(VIDEO)
To video
input
To audio
input
To LINE OUT (S-VIDEO)
To S VIDEO
input
AUDIO
TV
INPUT
VIDEO
S VIDEO
L
R
14
Notes
• Refer to the instructions supplied with the component to be
connected.
• Do not connect this player to a video deck. If you view the
pictures on your TV after making the connections shown
below, a picture noise may appear.
Getting Started
VCR
CD/DVD
player
• Depending on the TV or receiver (amplifier), sound distortion
may occur because the audio output level is high. In this case,
set “AUDIO ATT” in “AUDIO SETUP” to “ON” in the setup
display. For details, see page 54.
TV
Connect
directly.
Setups for the player
Some setup adjustments are necessary for the player
depending on the TV or other components to be
connected.
Use the setup display to change the various settings.
For details on using the setup display, see page 46.
• To connect the player to a wide-screen TV
In the setup display, set “TV TYPE” in “SCREEN
SETUP” to “16:9” (default setting). For details, see page
50.
• To connect the player to a normal TV
In the setup display, set “TV TYPE” in “SCREEN
SETUP” to “4:3 LETTER BOX” or “4:3 PAN SCAN.”
For details, see page 50.
15

Receiver (Amplifier) Hookups
Getting Started
This connection is for listening to the sound through
speakers (2ch–L, R) connected to a receiver. Refer as well
to the instructions supplied with the component to be
connected.
Set “SUBWOOFER” in “SPEAKER SETUP” to “NONE” in
the setup display (page 57).
z
You can enjoy surround sounds even if you connect front
speakers only
You can use 3D sound imaging to create virtual rear speakers
from the sound of the front speakers (L, R) without using actual
rear speakers (Virtual Enhanced Surround). For details, see page
39.
CD/DVD player
DC IN 10.5V
WOOFER
OUT
Required cords
Audio connecting cord (not supplied) (1)
White (L)
Red (R)
S video cord (supplied) (1)
When connecting the cords, be sure to match the color-coded
cord to the appropriate jacks on the components: Red (right) to
Red and White (left) to White. Be sure to make connections firmly
to avoid hum and noise.
1
2
OPTICAL COAXIAL
PCM/DTS/
DOLBY DIGITAL (A C–3)
R – AUDIO – L VIDEO S–VIDEO
LINE OUT
To LINE
OUT
(AUDIO)
To LINE
OUT
(S-VIDEO)
/MPEG
White (L)
Red (R)
To an AC outlet
AC power cord (supplied)
: Signal flow
AC power adaptor
(supplied)
TV
INPUT
S VIDEO
To S VIDEO
input
Receiver (Amplifier)
CD
L
R
To audio input
Note
You cannot enjoy the picture with S video signal if your TV is not
conformed to the S video signal. When your TV does not have S
VIDEO input, connect the component via the VIDEO INPUT
connector using the video connecting cord (not supplied) instead
of the S video cord. For details, see page 14.
Refer to the instructions supplied with your TV.
16

If you have a digital component such as a
receiver (amplifier) with a digital connector, DAT
or MD
Connect the component via the OPTICAL or COAXIAL
connector using an optical or coaxial digital connecting cord (not
supplied).
z If you have a digital component with a built-in DTS, Dolby*
Digital or MPEG decoder
You can enjoy multichannel surround sound by connecting the
component via the OPTICAL or COAXIAL connector using an
optical or coaxial digital connecting cord (not supplied). For
details on hookups and settings, see page 19.
Getting Started
x When using an optical digital connecting cord
Optical digital connecting cord
(not supplied)
Receiver (Amplifier)
with a digital
connector, MD deck,
CD/DVD player
OPTICAL COAXIAL
PCM/DTS/
DOLBY DIGITAL (A C–3)
/MPEG
DAT deck, etc.
DIGITAL IN
OPTICAL
x When using a coaxial digital connecting cord
Coaxial digital connecting cord
(not supplied)
Receiver (Amplifier)
with a digital
connector, MD deck,
CD/DVD player
DAT deck, etc.
DIGITAL IN
COAXIAL
Setups for the player
Some setup adjustments are necessary for the player
depending on the components to be connected.
Use the setup display to change the various settings.
For details on using the setup display, see page 46.
• To listen to the sound through speakers connected
to a receiver (amplifier) which has a digital
connector or to output the sound to a digital
component such as a DAT or MD deck
When you play a DVD, set “DIGITAL OUT” in
“AUDIO SETUP” to “ON” and then set “DOLBY
DIGITAL” to “D-PCM,” “MPEG” to “PCM” and “DTS”
to “OFF” in the setup display (page 55). These are the
default settings.
OPTICAL COAXIAL
PCM/DTS/
DOLBY DIGITAL (A C–3)
/MPEG
Notes
• Refer to the instructions supplied with the component to be
connected.
• You cannot make digital audio recordings of discs recorded in
multi-channel surround format directly using an MD deck or
DAT deck.
When you make the connections above, do not set
“DOLBY DIGITAL” to “DOLBY DIGITAL,” “MPEG” to “MPEG”
and “DTS” to “ON.” If you do, a loud noise will suddenly
come out from the speakers, affecting your ears or causing
the speakers to be damaged.
* Manufactured under license from Dolby Laboratories.
“Dolby,” “Pro Logic” and the double-D symbol are trademarks
of Dolby Laboratories.
Confidential unpublished works. ©1992-1997 Dolby
Laboratories. All rights reserved.
17

2+1 Channel Surround Hookups
Getting Started
This connection is for listening to the sound through the
left and right speakers of the TV, or speakers connected to
a receiver and the subwoofer. You can enjoy rich bass
frequencies by connecting a subwoofer. Refer to the
instructions supplied with the component to be
connected.
Set “SUBWOOFER” in “SPEAKER SETUP” to “YES” in
the setup display (page 57). Then set “FRONT SPEAKER
SIZE” to “TV” when you use the TV’s speakers, or to
“LARGE,” “MIDDLE” or “SMALL” when you use the
speakers connected to the receiver.
z
You can enjoy surround sounds even if you connect front
speakers only
You can use 3D sound imaging to create virtual rear speakers
from the sound of the front speakers (L, R) without using actual
rear speakers (Virtual Enhanced Surround). For details, see page
39.
CD/DVD player
DC IN 10.5V
WOOFER
OUT
Required cords
Audio connecting cord (not supplied) (1)
White (L)
Red (R)
S video cord (supplied) (1)
When connecting the cords, be sure to match the color-coded
cord to the appropriate jacks on the components: Red (right) to
Red and White (left) to White. Be sure to make connections firmly
to avoid hum and noise.
Monaural audio cord (not supplied) (1)
One for a subwoofer
1
2
OPTICAL COAXIAL
PCM/DTS/
DOLBY DIGITAL (A C–3)
R – AUDIO – L VIDEO S–VIDEO
LINE OUT
/MPEG
White (L)
Red (R)
To an AC outlet
AC power cord
(supplied)
Subwoofer
(Active type)
: Signal flow
AC power adaptor
(supplied)
INPUT
To WOOFER
OUT
To LINE
To LINE OUT (S-VIDEO)
OUT
(AUDIO)
To S VIDEO input
TV
INPUT
To audio input
VIDEO
S VIDEO
L
AUDIO
R
or
Receiver (Amplifier)
To audio input
CD
L
R
Note
You cannot enjoy the picture with S video signal if your TV does
not conform to the S video signal. When your TV does not have
an S VIDEO input, connect the component via the VIDEO INPUT
connector using the video connecting cord (not supplied) instead
of the S video cord. For details, see page 14.
Refer to the instructions supplied with your TV.
18
5.1 Channel Surround Hookups
With DVDs which contain DTS, Dolby Digital or MPEG
audio sound, you can enjoy the sorround sound while
producing the effect of being in a movie theater or a
concert hall, using a digital component with a built-in
DTS, Dolby Digital or MPEG decoder (not supplied). The
player outputs the surround sound signals from the
OPTICAL and COAXIAL connectors.
Using a receiver (amplifier) having the OPTICAL or
COAXIAL connector and the 6 speakers, you can enjoy
even greater real audio presence in the comfort of your
own home.
Note
When a DVD has a sound track with 7.1 channels recorded in
MPEG audio format, the output audio signals are mixed down to
5.1 channels.
Required cords
Audio connecting cord (not supplied)
One for the LINE OUT AUDIO jacks
White (L)
Red (R)
Optical or coaxial digital cord (not supplied)
One for the OPTICAL or COAXIAL jack
or
S video cord (supplied)
One for the S-VIDEO jack
White (L)
Red (R)
Setups for the player
Some setup adjustments are necessary for the player
depending on the components to be connected.
Use the setup display to change the various settings.
For details on using the setup display, see page 46.
• When you play a DVD that is recorded in DTS format
Set “DIGITAL OUT” in “AUDIO SETUP” to “ON” and
then set “DTS” to “ON” in the setup display (page 56).
• When you play a DVD that is recorded in Dolby
Digital format
Set “DIGITAL OUT” in “AUDIO SETUP” to “ON” and
then set “DOLBY DIGITAL” to “DOLBY DIGITAL” in
the setup display (page 55).
• When you play a DVD that is recorded in MPEG
format
Set “DIGITAL OUT” in “AUDIO SETUP” to “ON” and
then set “MPEG” to “MPEG” in the setup display (page
55).
Notes
• Refer to the instructions supplied with the component to be
connected.
• When you do not connect an audio component with a
built-in DTS decoder, do not set “DTS” to “ON.”
• When you do not connect an audio component with a
built-in DOLBY DIGITAL decoder, do not set “DOLBY
DIGITAL” to “DOLBY DIGITAL.”
• When you do not connect an audio component with a
built-in MPEG decoder, do not set “MPEG” to “MPEG.”
Getting Started
Connect the component via the OPTICAL or COAXIAL
connector using an optical or coaxial digital connecting cord (not
supplied). You do not need to connect both of these cords. See the
figure on the next page.
Notes
• Do not connect the power cord to an AC outlet or press the
POWER switch before completing all connections.
• Refer to the instructions supplied with the component to be
connected.
• The cord connectors should be fully inserted into the jacks. A
loose connection may cause hum and noise.
• Jacks and plugs of the connecting cords are color-coded as
follows:
Red jacks and plugs: Right audio channel
White jacks and plugs: Left audio channel
19
5.1 Channel Surround Hookups
Getting Started
Optical digital
connecting cord*
(not supplied)
Coaxial digital
connecting cord*
(not supplied)
* You do not need to
connect both of these
cords.
AV Receiver
(Amplifier) with a
built in DTS
decoder, DOLBY
DIGITAL decoder or
MPEG decoder
To
optical
digital
input
DIGITAL
TV/LD IN
AC-3 RF
DVD IN
COAX
DVD IN OPT
TV/LD IN OPT
CD IN OPT
MD/DAT IN OPT
MD/DAT OUT OPT
SIGNAL
GND
y
CD/DVD player
To
coaxial
digital
input
DVD
TV/LD
S-VIDEO
S-VIDEO
IN
VIDEO
VIDEO
AUDIO
AUDIO
IN
IN
IN
TUNER
PHONO
CD
DC IN 10.5V
To LINE OUT
(AUDIO)
Audio connecting cord
(not supplied)
To audio
input
VIDEO 1
MONITOR
VIDEO 2
S-VIDEO
S-VIDEO
S-VIDEO
IN
OUT
OUT
IN
VIDEO
VIDEO
VIDEO
AUDIO
AUDIOINAUDIO
OUT
REC OUT
MD/DAT
OUT
REC OUT
IN
TAPE
IN
IN
S-LINK
CTRL A1
S-VIDEO
S-VIDEO
IN
OUT
VIDEO
VIDEO
AUDIO
IN
L
R
IN
RLR LRL
L
R
WOOFER
OUT
5.1 INPUT
FRONT REAR
L
R
FRONTB REARA
To OPTICAL
digital output
R – AUDIO – L VIDEO S–VIDEO
LINE OUT
To S VIDEO
input
PRE OUT
FRONT REAR WOOFER CENTER
CENTER
L
R
WOOFER
SPEAKERS
CENTER
+
–
1
2
S VIDEO IN
OPTICAL COAXIAL
PCM/DTS/
DOLBY DIGITAL (AC–3)
/MPEG
To LINE OUT
(S-VIDEO)
AC OUTLET
To COAXIAL
digital output
TV
20
}]}]
Rear speaker (R)
: Signal flow
}]
}]}]
Center speaker
Front speaker
(R)
INPUT
Subwoofer
(Active type)
Front speaker
(L)
Rear speaker (L)
Selecting the Language for the On-Screen Display
You can select the language for the setup display, the
Control Menu display or the messages displayed on the
screen. The default setting is “ENGLISH.”
1
2
3
4
5
6
7
8
9
0
SET UP
ENTER
</M/m/,
1 Press SET UP and select “LANGUAGE SETUP” using
M/m, and then press ENTER.
LANGUAGE SETUP
OSD:
DVD MENU:
AUDIO:
SUBTITLE:
ENGLISH
ENGLISH
ORIGINAL
AUDIO FOLLOW
3 Select the desired language using M/m, then press
ENTER.
CHOIX DE LA LANGUE
ECRANS:
MENU DVD :
AUDIO:
SOUS-TITRE:
Pour le réglage, appuyez sur , puis
ENTER
sur . Pour quitter, appuyez sur .
To cancel using the setup display on the way
Press SET UP.
Note
The languages you can select are the ones displayed in Step 2.
For details, see page 49.
FRANÇAIS
ENGLISH
ORIGINAL
IDEM AUDIO
SETUP
Getting Started
To set, press , then .
To quit, press .
SETUP
ENTER
2 Select “OSD” using M/m, then press , or ENTER.
LANGUAGE SETUP
OSD:
DVD MENU:
AUDIO:
SUBTITLE:
To set, press , then .
To quit, press .
SETUP
ENGLISH
ENGLISH
FRANÇAIS
DEUTSCH
ITALIANO
ESPAÑOL
NEDERLANDS
DANSK
SVENSKA
ENTER
21
Playing Discs
This chapter describes how to play a
DVD/VIDEO CD/CD.
Playing Discs
Depending on the DVD or VIDEO CD, some
operations may be different or restricted. Refer to the
instructions supplied with your disc.
Press and adjust the headphone
?/1 (POWER)
volume, then press it again.
Disc type indicator
H
Connect headphones.
1 Turn on your TV.
Turn on the TV and select the video input so that you
can view the pictures from this player.
When using a receiver (amplifier)
Turn on the receiver (amplifier) and select the
appropriate position so that you can listen to the
sound from this player.
2 Press ?/1 (POWER) to turn on the player.
The indicator (red) above the ?/1 (POWER) button
changes to green and the front panel display lights up.
3 Insert the disc.
The corresponding disc type indicator lights up.
A
22
With the playback
side facing down
4 Press H.
The player starts playback (continuous play). Adjust
the volume on the TV or the receiver (amplifier).
After following Step 4
xWhen playing a DVD
A DVD menu or title menu may appear on the TV
screen (see page 26).
xWhen playing a VIDEO CD
The menu screen may appear on the TV screen
depending on the VIDEO CD. You can play the disc
interactively, following the instructions on the menu
screen. (PBC Playback, see page 27.)
 Loading...